Pages: 1 2 3 4 5 6 7 8 9 10 11 12 13 14 15 16 17 18 19 20 21 22 23 24 25 26 27 28 29 30 31 32 33 34 35 36 37 38 39 40 41 42 43 44 45 46 47 48 49 50 51 52 53 54 55 56 57 58 59 60 61 62 63 64 65 66 67 68 69 70 71 72 73 74 75 76 77 78 79 80 81 82 83 84 85 86 87 88 89 90 91 92 93 94 95 96 97 98 99 100 101 102 103 104 105 106 107 108 109 110 111 112 113 114 115 116 117 118 119 120 121 122 123 124 125 126 127 128 129 130 131 132 133 134 135 136 137 138 139 140 141 142 143 144 145 146 147 148 149 150 151 152 153 154 155 156 157 158 159 160 161 162 163 164 165 166 167 168 169 170 171 172 173 174 175 176 177 178 179 180 181 182 183 184 185 186 187 188 189 190 191 192 193 194 195 196 197 198 199 200 201 202 203 204 205 206 207 208 209 210 211 212 213 214 215 216 217 218 219 220 221 222 223 224 225 226 227 228 229 230 231 232 233 11,164 replies
|
D
danlovestikis
Posted
posted
on
Thu, Nov 11, 2010 3:59 PM
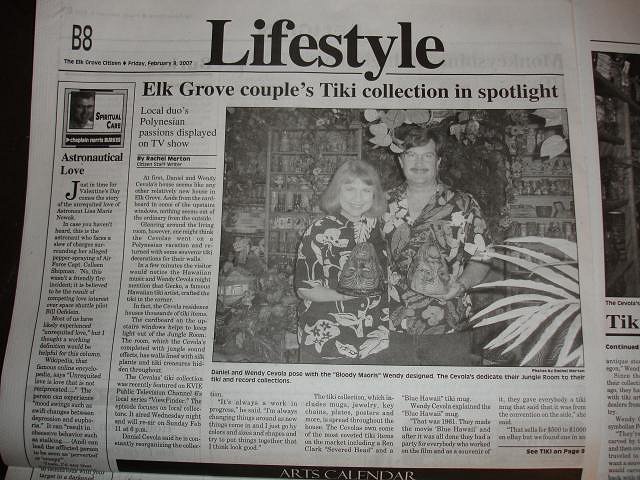
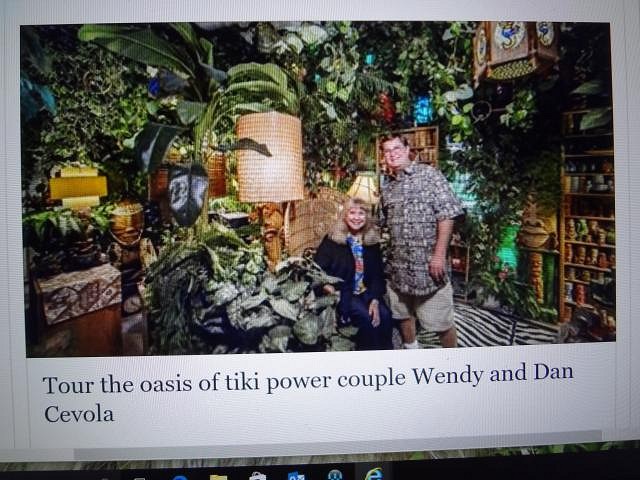
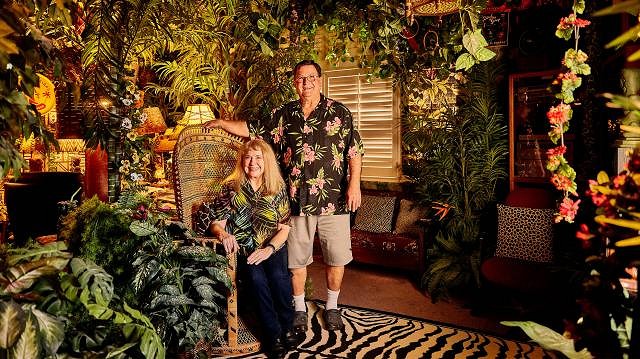
Welcome to my step by step thread of making tiki art and living the wonderful tiki life. Wendy A few times our Tiki Jungle Room has made the news. 2007 2016 2019 ========================================================================================================================================================================================================================================================================== The next post from VampiressRN refers to the story of Frankoma Pottery and their horrific fire. I reposted it further down. [ Edited by danlovestikis on 2026-01-17 09:28:22 ] |
|
V
VampiressRN
Posted
posted
on
Thu, Nov 11, 2010 6:00 PM
Wow...sad history but great pictures. That Tiki couldn't have gone to a better person. Looking forward to your moldy posts. :) |
|
S

swizzle
Posted
posted
on
Thu, Nov 11, 2010 6:55 PM
Great stuff Wendy. I'm looking forward to you showing everyone the process of how to make a mold. |
|
B

Babalu
Posted
posted
on
Thu, Nov 11, 2010 7:00 PM
Nice start Wendy...your going to have great fun I'm sure! :) |
|
D
danlovestikis
Posted
posted
on
Thu, Nov 11, 2010 9:27 PM
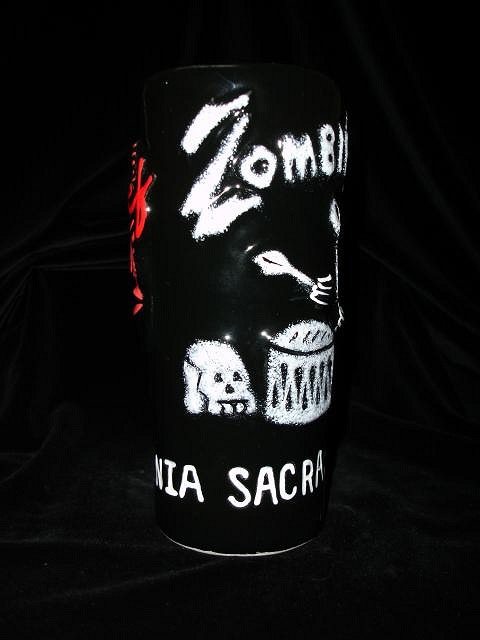
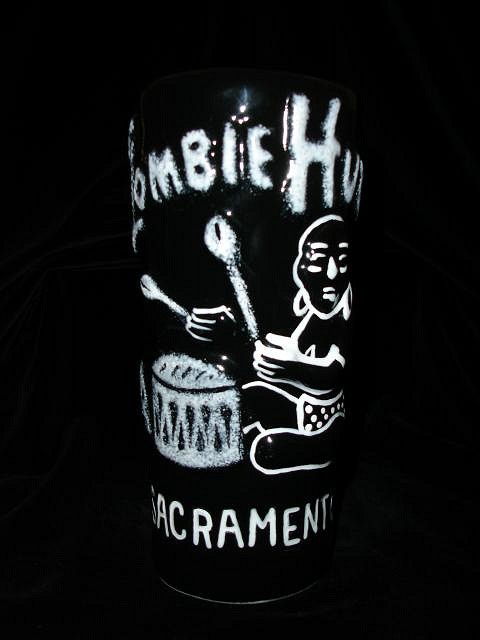
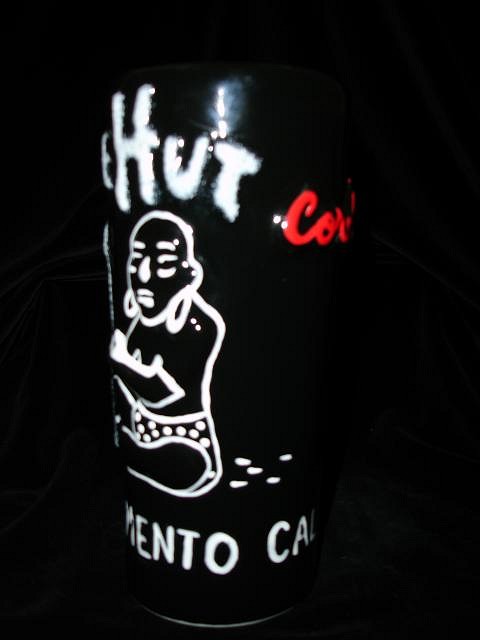
Hi, I've been slow to starting this thread because I've had so much fun posting finished art to the Gallery page. But now I'd like to share Step by Step how I create my art. What is be missing from this thread will be the projects that I do for the Sacramento Crawl each year. If you go to the event page and choose that thread you will follow my progress to make the next ceramic for the 2011 crawl. Maybe you will want to come be part of a wonderful weekend in October. Before starting this thread I posted all of my Step by Step photos of the production of the Zombie Hut mug on the Sacramento Crawl Thread. Here is the link to see that work. Cheers, Wendy
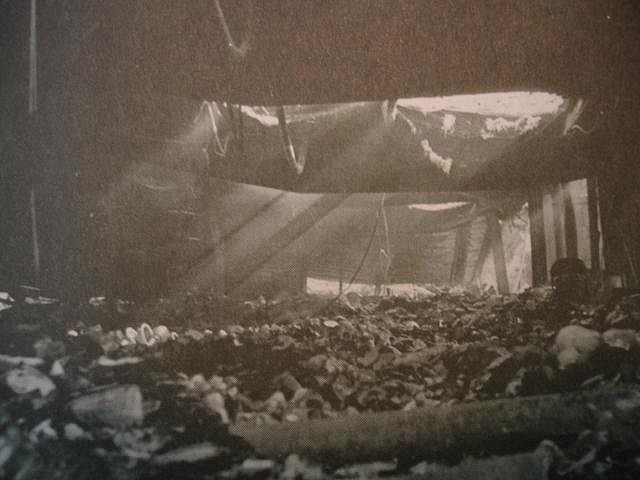
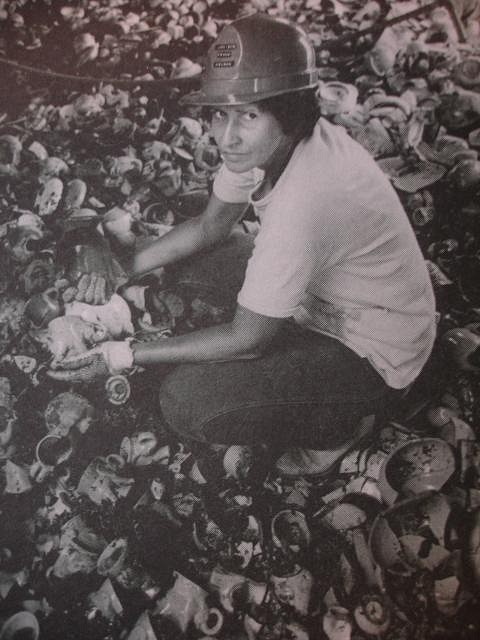
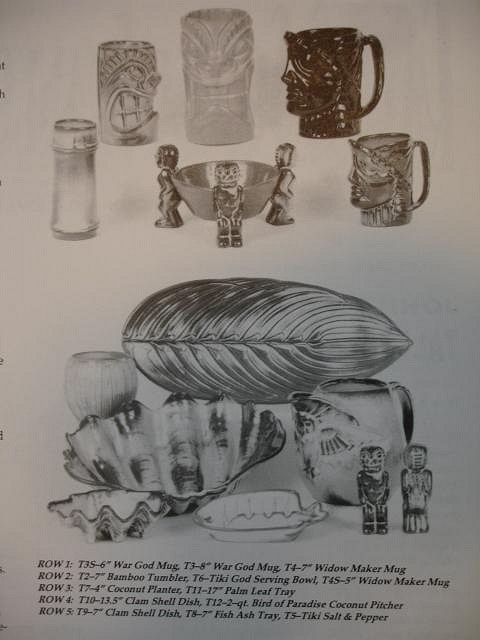
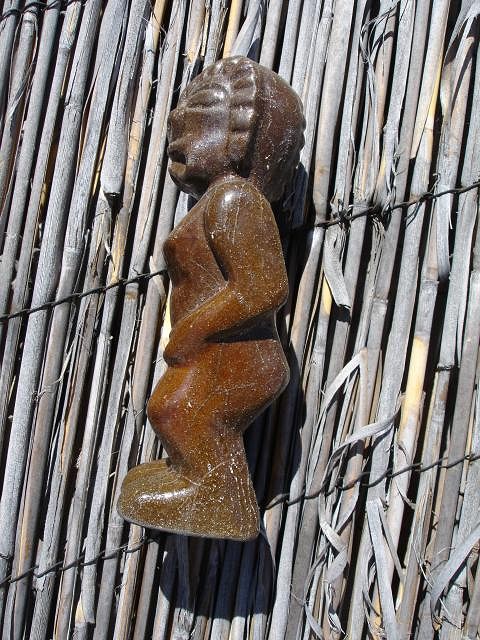
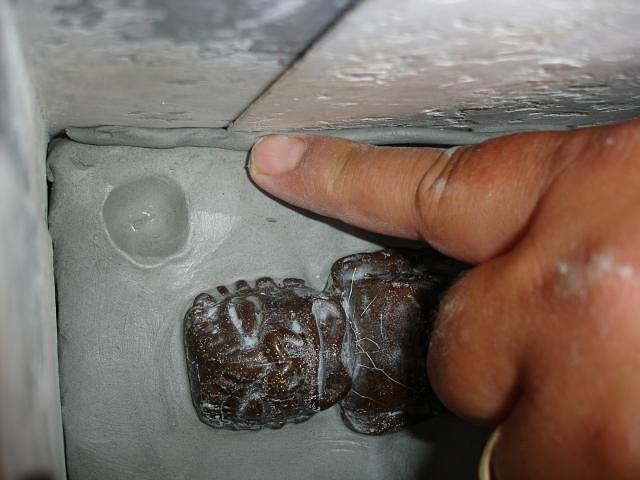
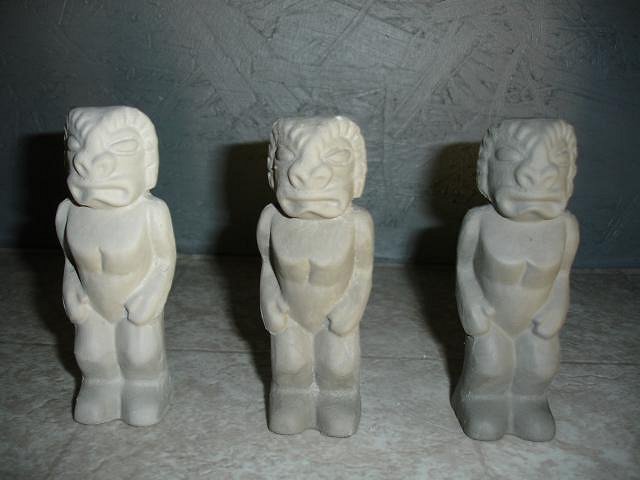
Today 11/20/11 Sven (BigBroTiki) was on TV and so was my mug. It's on the top of his CD shelf next to the pole! It gives me great pleasure to call Joniece Frank of Frankoma Pottery my friend. She and I have been enjoying each others love of clay for years now. She sent me a precious gift. When Frankoma burnt to the ground in 1983 all of the master molds were destroyed. Every tiki mold gone.
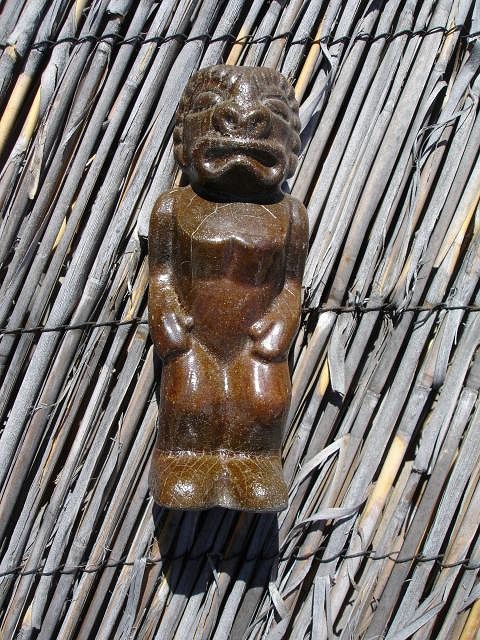
As she went through the rubble she found an intact small tiki that had been saved and fired in the heat. She sent me that special tiki.
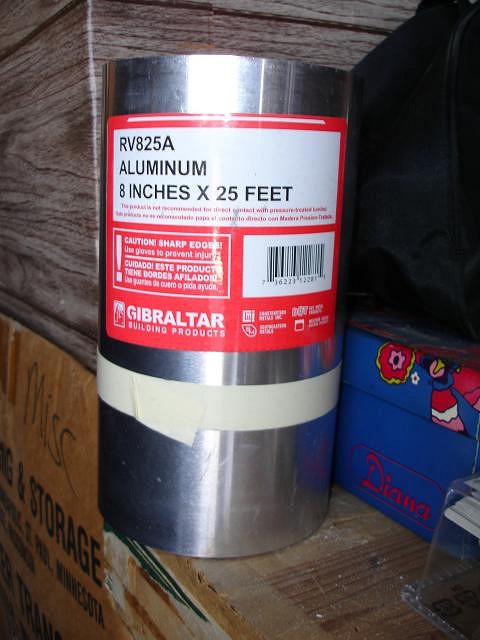
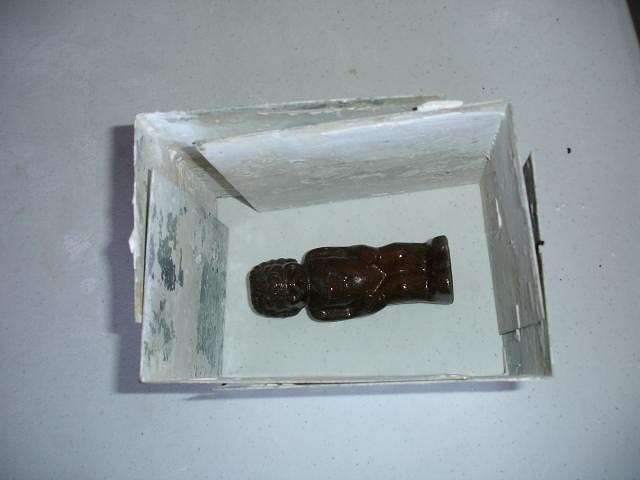
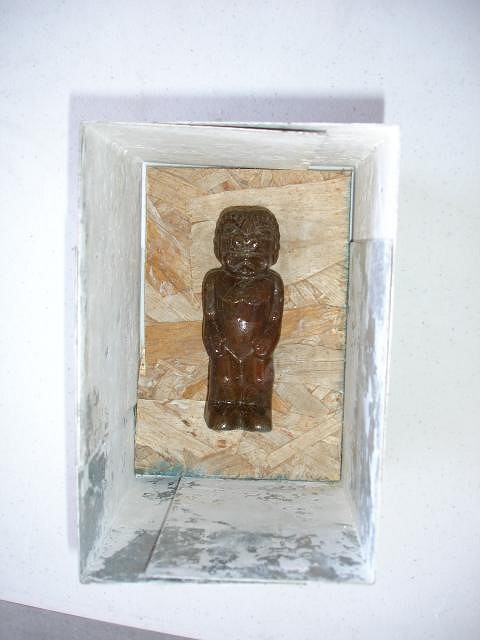
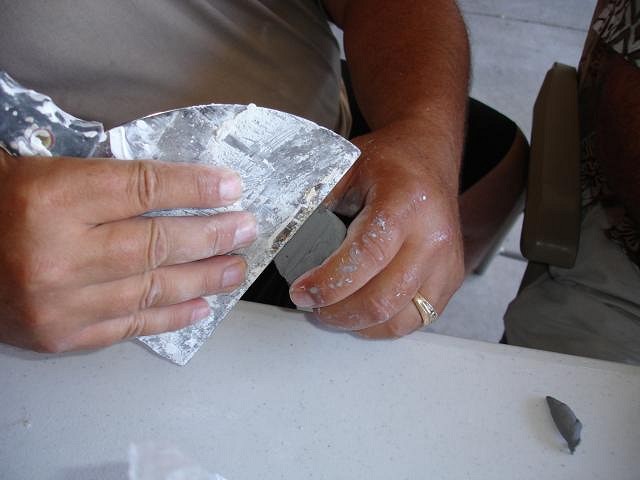
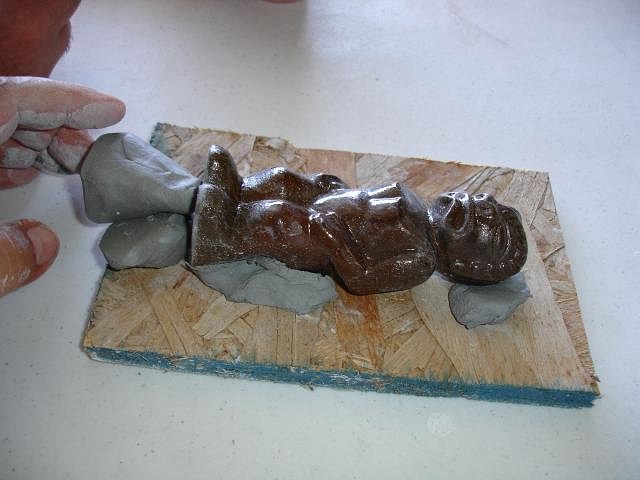
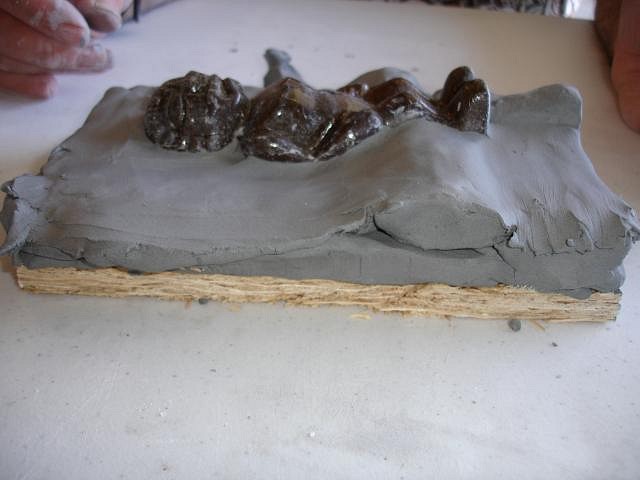
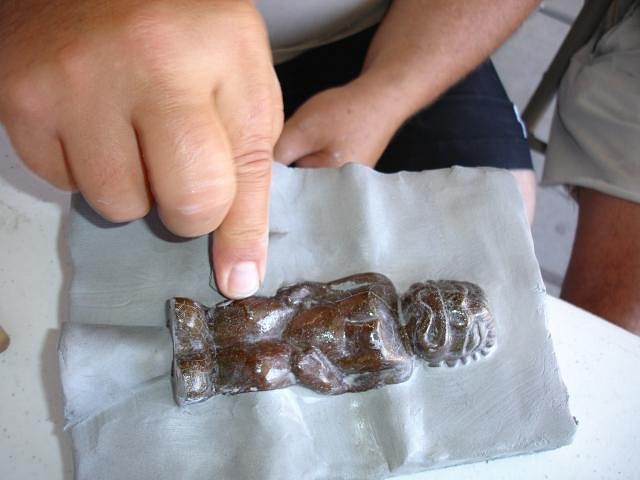
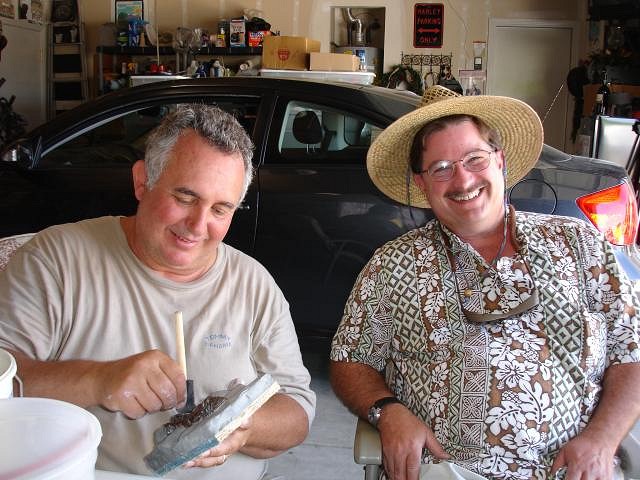
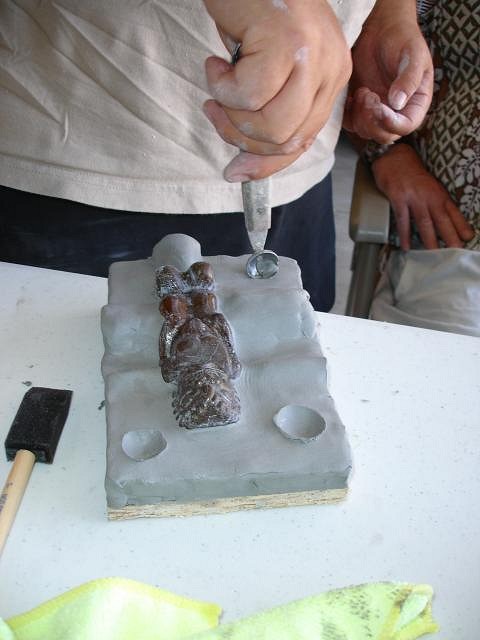
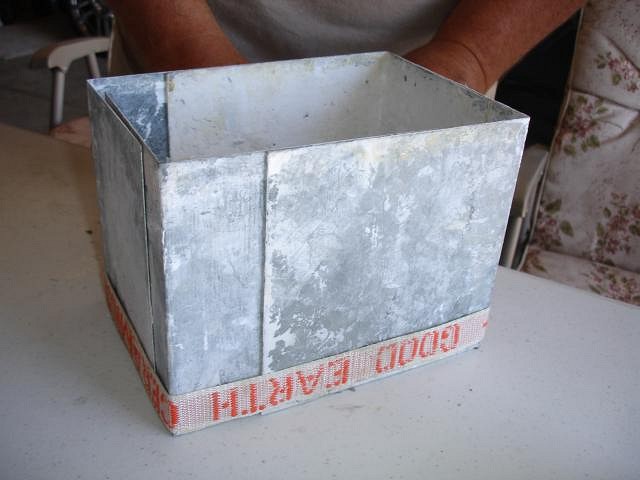
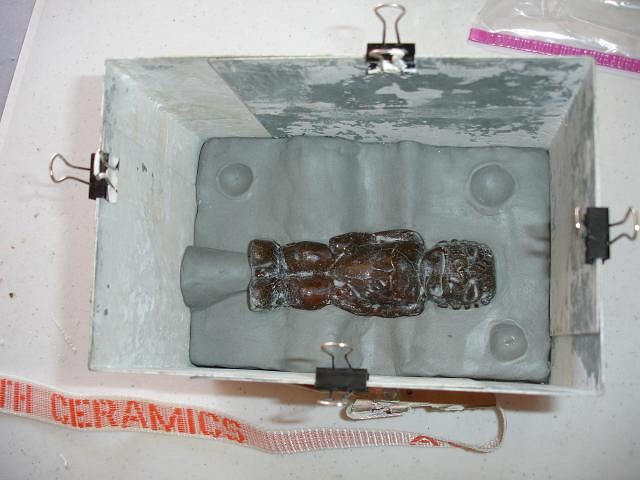
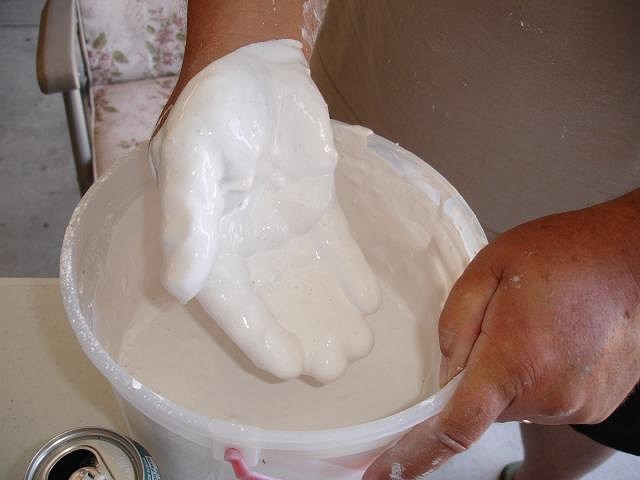
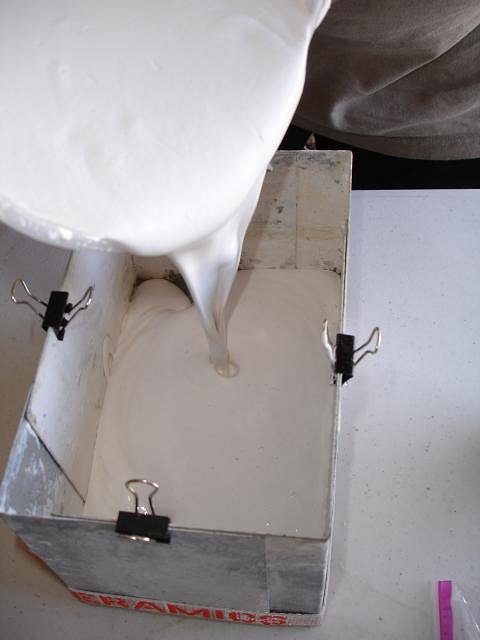
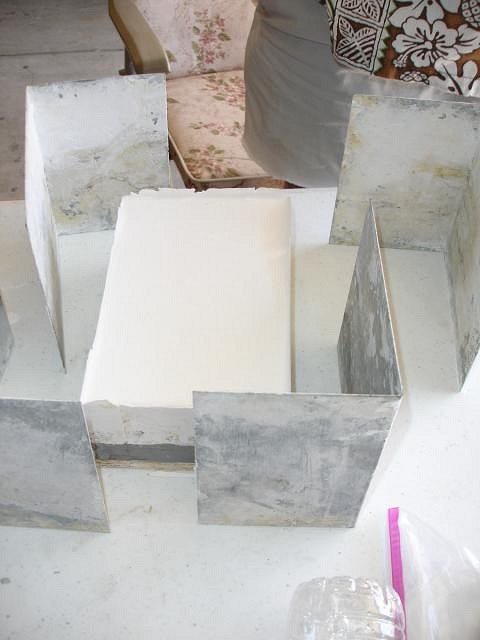
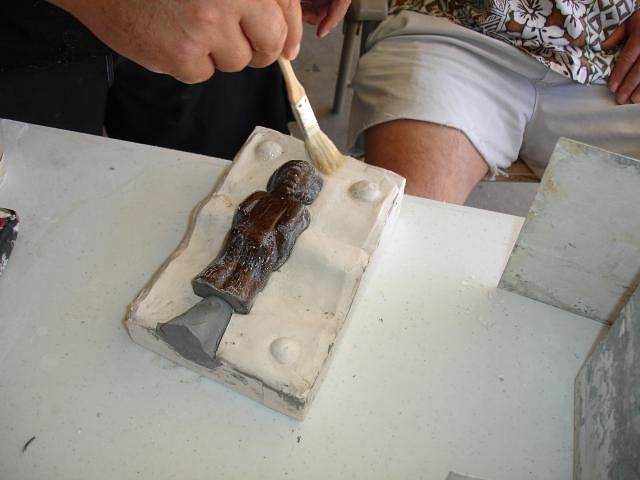
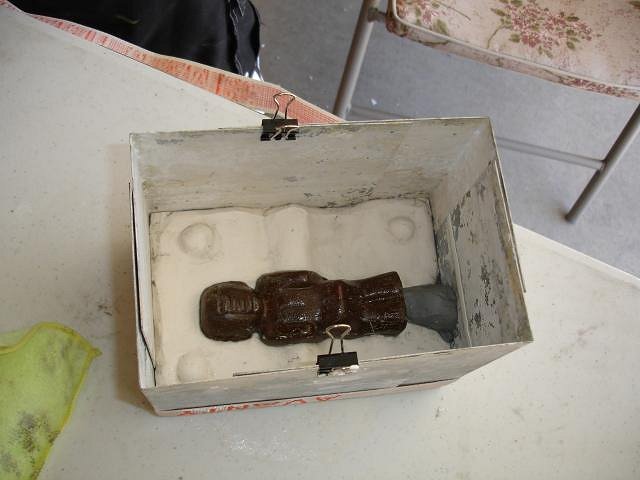
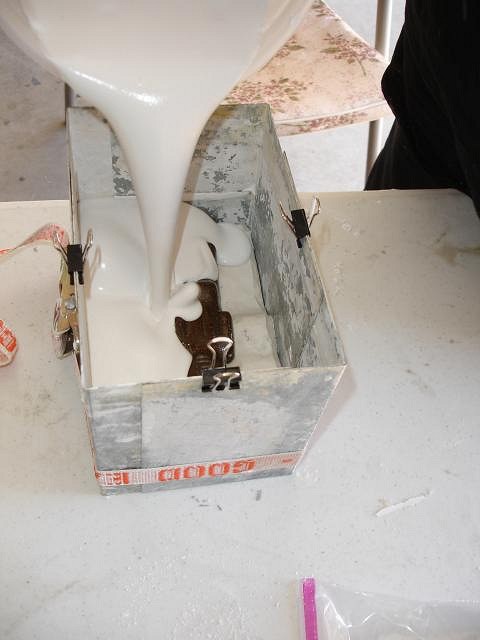
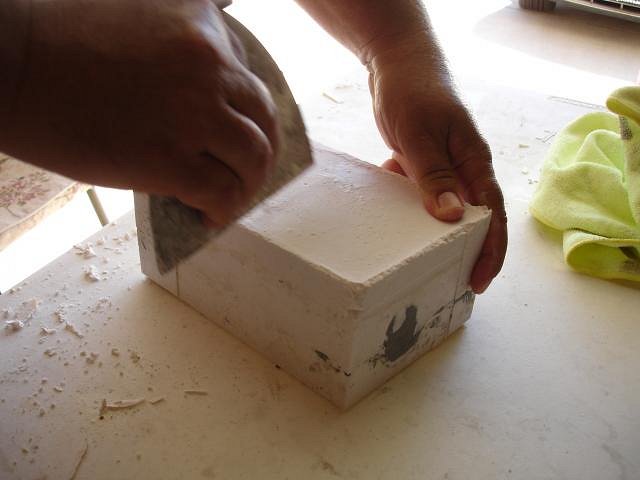
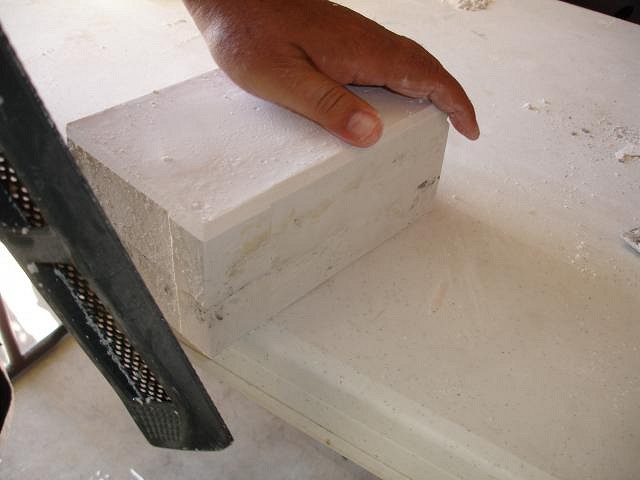
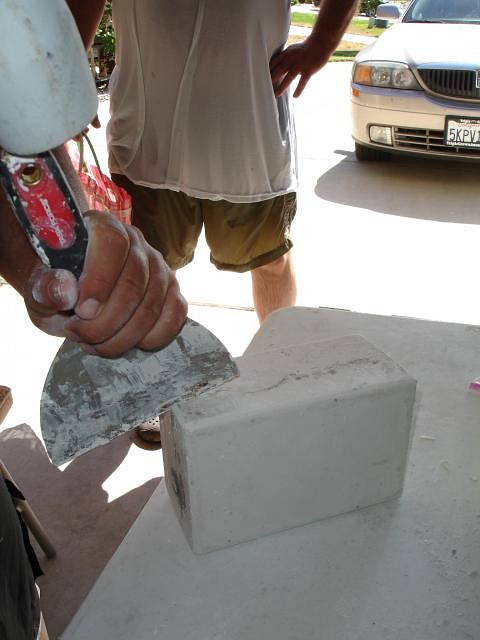
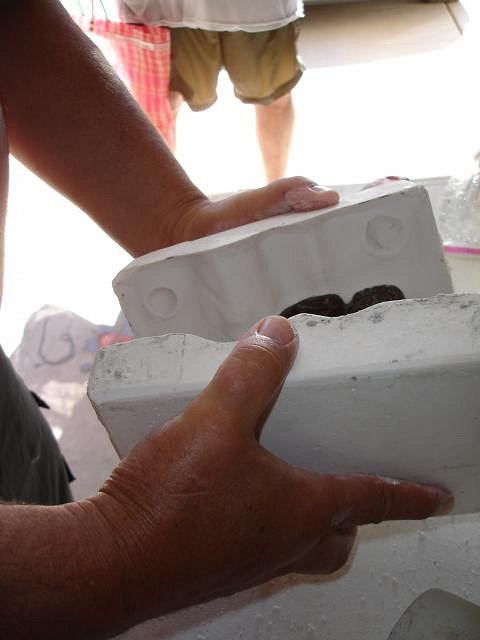
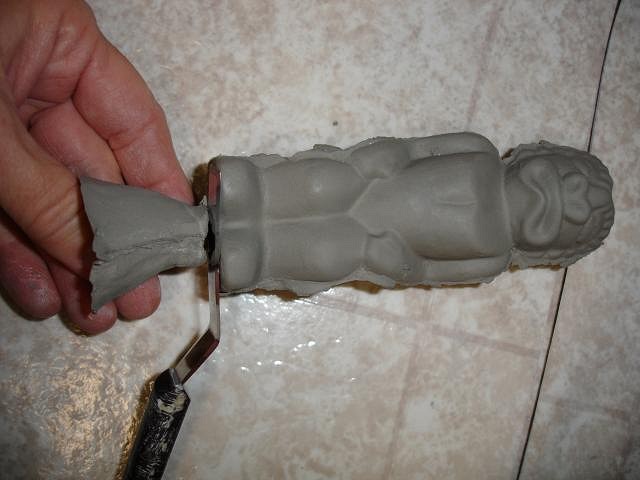
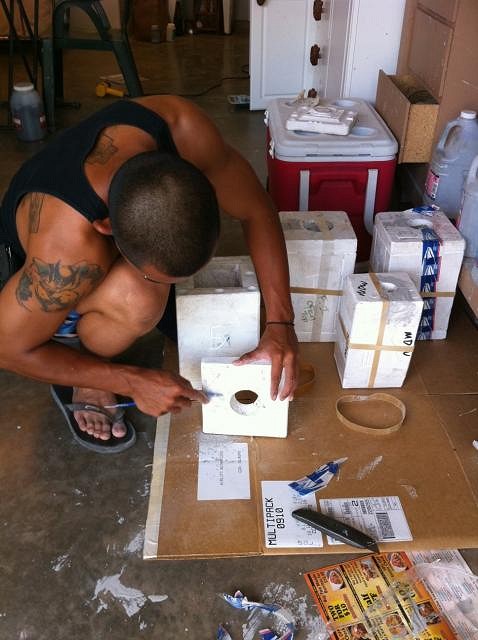
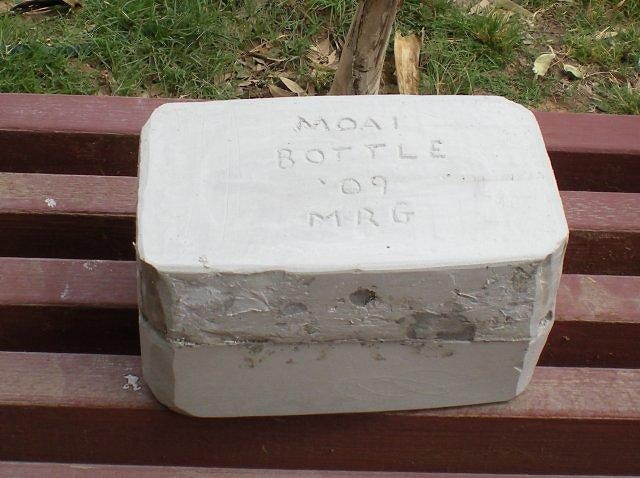
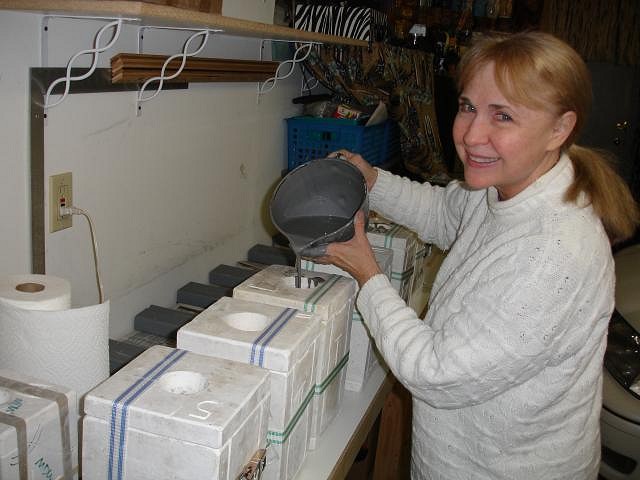
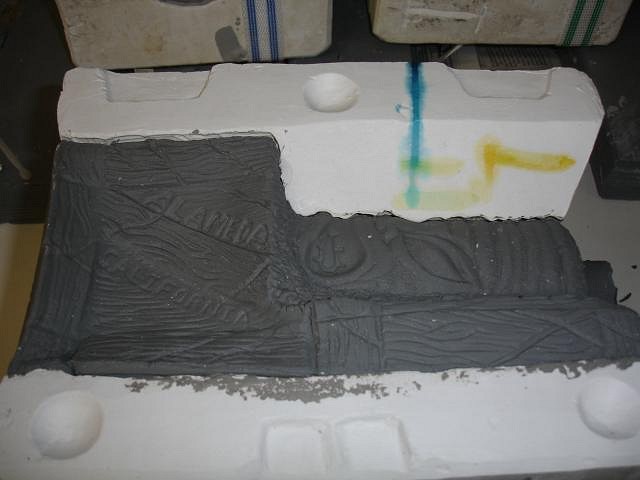
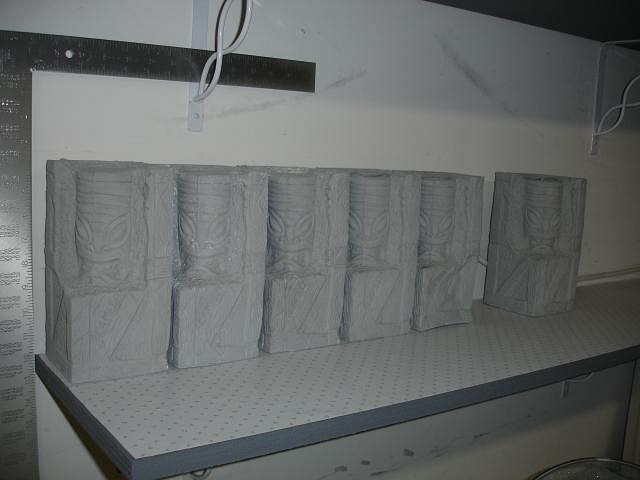
Years ago she gave me the copy write to the Frankoma Tiki line. That is why I did a sculpt that Gecko made into the ceramic war gods. This time with Joniece's blessing I have made a mold with my friend Mike L. and will in the future bring back the actual tiki salt & pepper and three tiki bowl. They will not have the same glaze or the name Frankoma on them. But they will be the tiki that survived the fire. Here I will share the step to make a two piece mold. Hey Vamp, Swizzle and Babalu, thank you for visiting here and commenting. Step one: choose your materials for the box. Mike is a master mold maker with more than 25 years experience. He starts off by bending this metal into L shapes. [ Edited by: danlovestikis 2012-09-08 08:40 ] |
|
D
danlovestikis
Posted
posted
on
Fri, Nov 12, 2010 7:20 PM
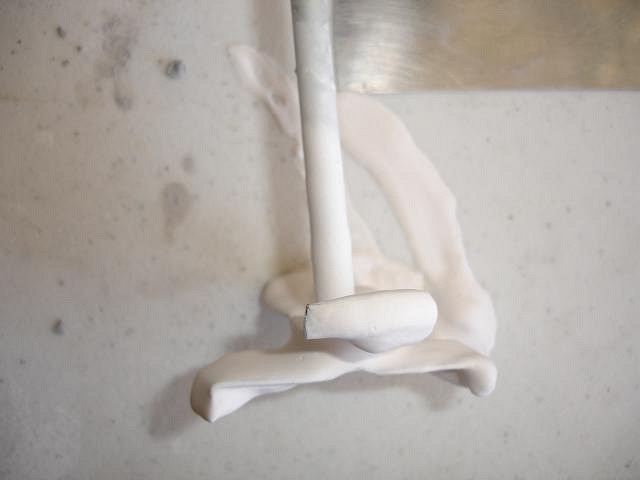
Use a round object to make mold locks for fitting pieces together. this is a melon kitchen utensil. [ Edited by: danlovestikis 2010-11-13 08:02 ] |
|
S

swizzle
Posted
posted
on
Fri, Nov 12, 2010 7:33 PM
Hi Wendy, just a couple of questions. I assume that the clay is wet when you pour the plaster over it, is that correct? I gather that the plaster doesn't stick to the clay. And also do you need to coat the sculpt/master with anything so that the plaster doesn't stick to that? |
|
M
MadDogMike
Posted
posted
on
Fri, Nov 12, 2010 7:43 PM
Very cool Wendy! Looking forward to see all the projects you have planned for this Phoenix Tiki that has risen from the ashes! |
|
G
GROG
Posted
posted
on
Fri, Nov 12, 2010 8:08 PM
When you mix plaster you should wear an air mask. Plaster is activated by adding water, and it hardens by a catalyst, which is why it gets hot as it hardens. If you breathe in the plaster dust it can get in your lungs, harden, and cause breathing problems. |
|
D
danlovestikis
Posted
posted
on
Fri, Nov 12, 2010 9:15 PM
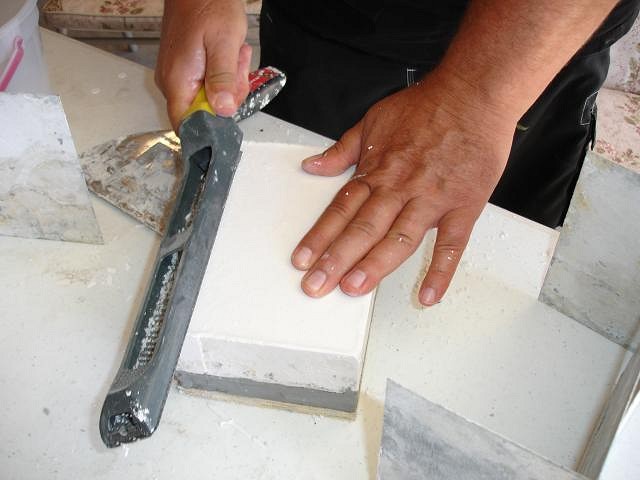
Thanks Grog, that's important information. I can't remember if Mike the Mold maker was wearing one or not. I wear a mask all the time when I sand or carve clay. MadDogMike, I'm looking forward to this project and so many more, thank you. Swizzle the clay is wet. When the plaster has hardened about 45 minutes remove the sides. More soon, Goodnight, Wendy |
|
M
MadDogMike
Posted
posted
on
Fri, Nov 12, 2010 9:29 PM
GROG shouldn't worry his pretty little head, Wendy is so safety conscious that she wears a mask when she opens a new box of masks! :lol: :D :P You go girl! |
|
V
VampiressRN
Posted
posted
on
Sat, Nov 13, 2010 7:48 AM
So fun to read your journey through this process. Thanks for the great descriptions and pictures. |
|
D
danlovestikis
Posted
posted
on
Sat, Nov 13, 2010 5:14 PM
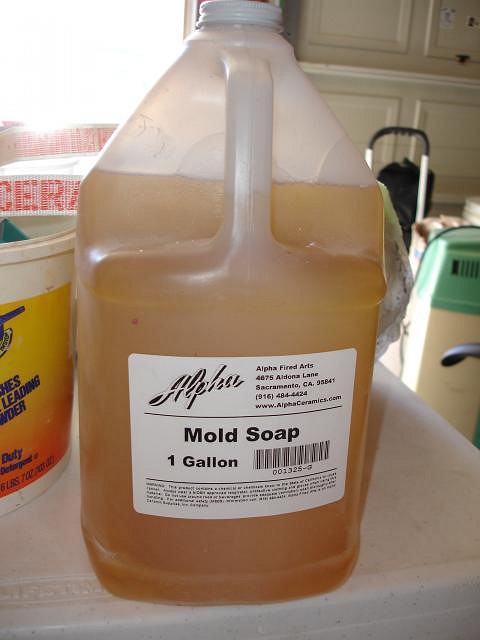
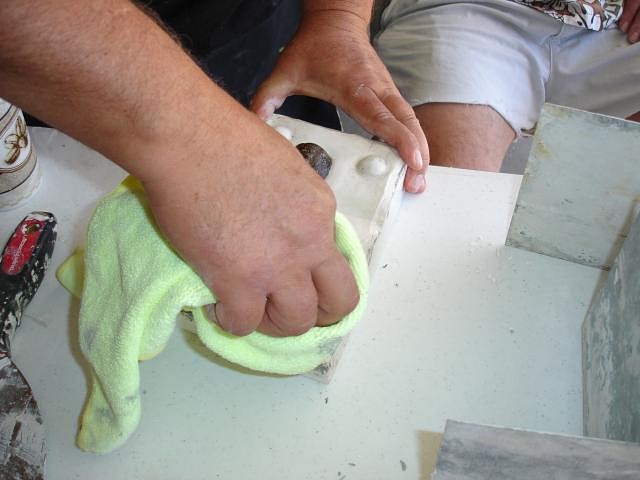
Mold soap should have been used on the first side of the tiki but is wasn't so you'll see what happens by the end. Cover all the surfaces, plaster and tiki with three coats of mold soap. More soon, Wendy |
|
B
Beachbumz
Posted
posted
on
Sat, Nov 13, 2010 7:38 PM
Wendy Very Cool info, mahalo.. I like the way you cut the metal and form the sides around the base there.. I was having a hard time building up the clay around my piece where the part line is, having it out of the box looks so much easier to get the clay even and just where you want it.. Aloha |
|
D
danlovestikis
Posted
posted
on
Sun, Nov 14, 2010 5:21 AM
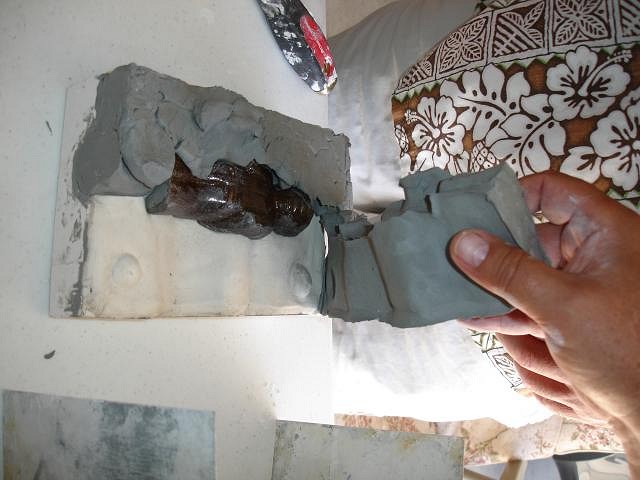
The only soft clay that is not removed is at the base. It's for the opening used to pour in the slip.
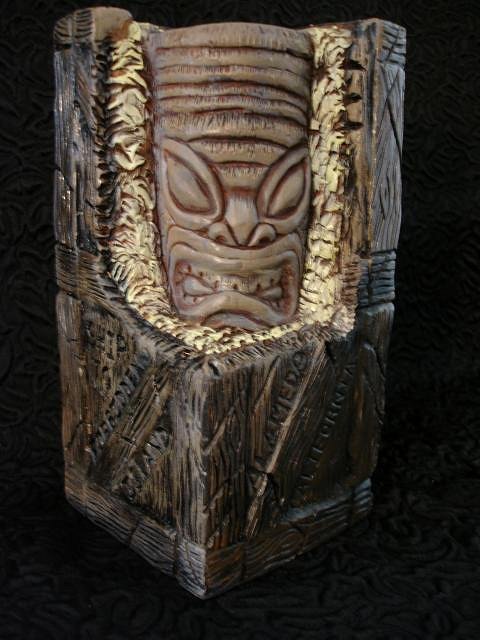
As much as I would like to start some projects with this tiki I have others to finish first. As of yesterday I have contracted with Forbidden Island to produce my Tiki Crate mug and statue for their anniversary party in April 2011. I also am working on my Eat Drink and Be Merry mug which will be my next post on this thread. Every one of the mugs will be an artist proof with a different glaze. That is how I will learn about each glaze and under glaze. More photos soon, Wendy [ Edited by: danlovestikis 2018-03-19 09:11 ] |
|
TB
Trad'r Bill
Posted
posted
on
Sun, Nov 14, 2010 1:33 PM
Wendy- Thanks so much for posting this step-by-step - you explain each step very clearly. -Trad'r Bill |
|
E
ebtiki
Posted
posted
on
Sun, Nov 14, 2010 9:30 PM
Just amazing, Wendy - and one of the best threads ever posted! |
|
M
MauiTiki
Posted
posted
on
Mon, Nov 15, 2010 10:15 AM
WOW, Thanks so much Wendy for the all the details. It's great to share tips. It makes us all better! Keep the posts coming... |
|
LLT
little lost tiki
Posted
posted
on
Mon, Nov 15, 2010 9:54 PM
Wow! so much goes into mold-making |
|
D
danlovestikis
Posted
posted
on
Mon, Nov 15, 2010 10:19 PM
Hey men you are making my head spin but in a good way. Thank each one of you for your fun comments. It's been a long time coming but I want to have a thread that is really fun, informative and shows my art like Little Lost tiki and Babalu. Kenny, I like your suit, you are such a doll I wish I could have been there for one of your famous hugs. ebtiki, what a fabulous compliment. I hope I can add more information in the future so that I may be worthy. Trad'r Bill, I hope to make enough so everyone that wants a Tiki Crate will be able to grab one. Maui Tiki, you have shown how good you are at glazing on your ornaments/necklaces. I have to live up to that! Until next time, Wendy |
|
D
danlovestikis
Posted
posted
on
Wed, Nov 24, 2010 8:30 AM
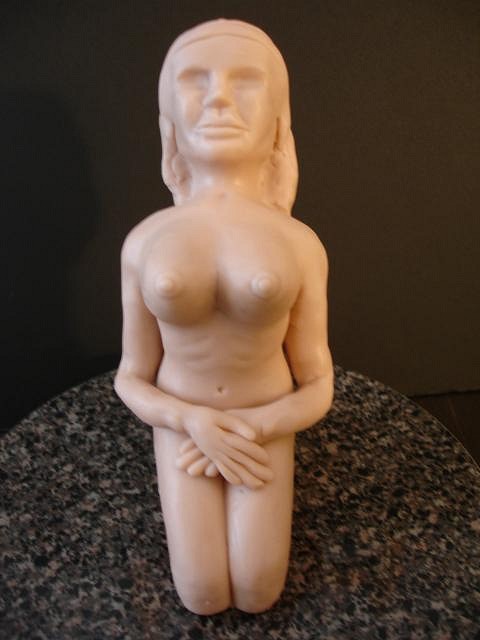
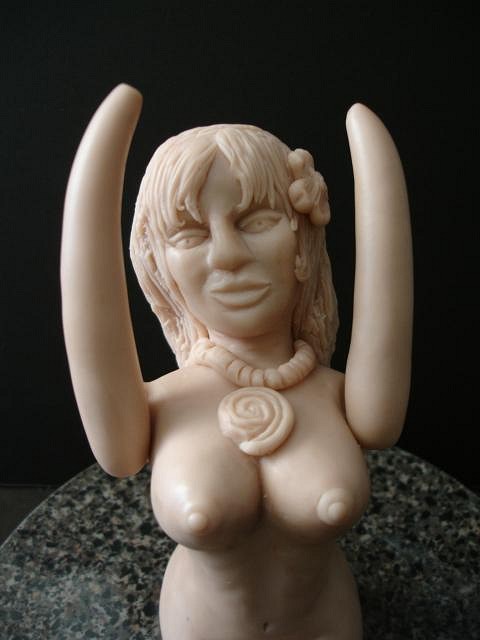
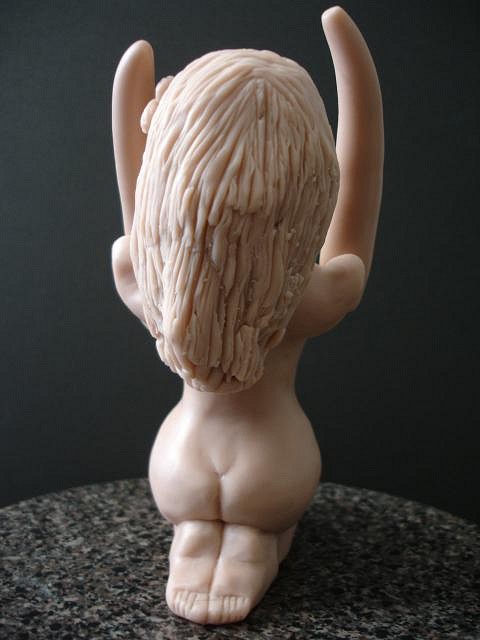
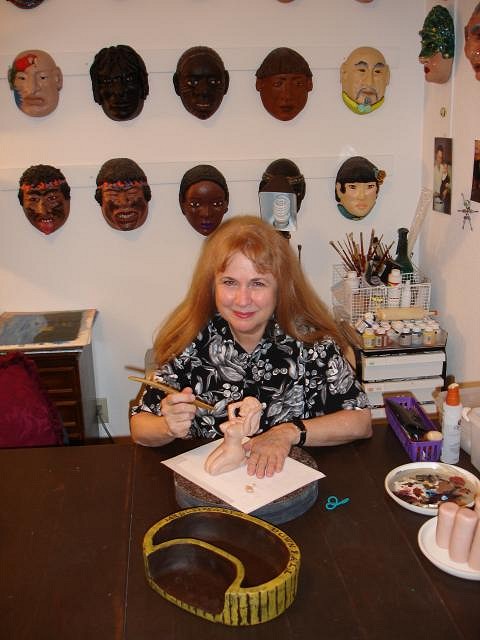
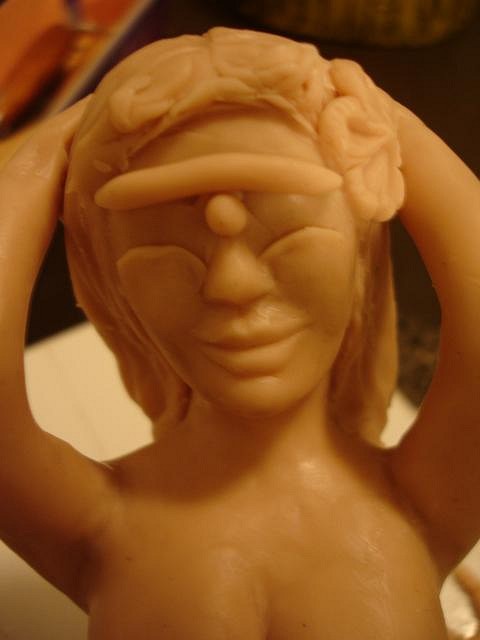
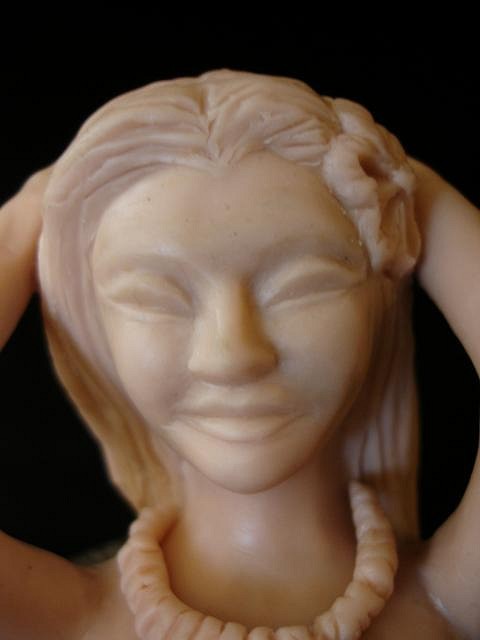
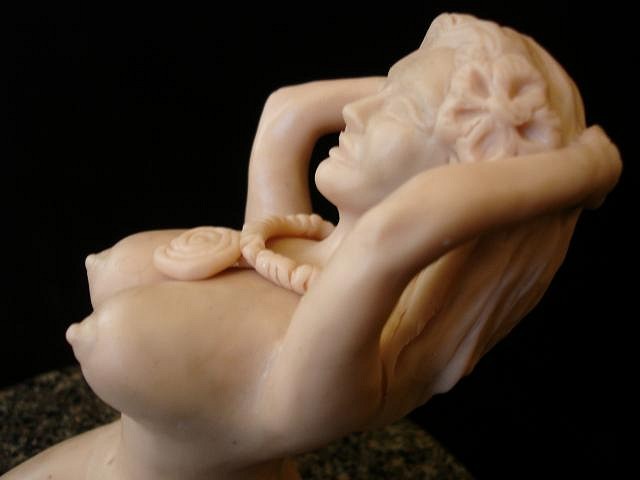
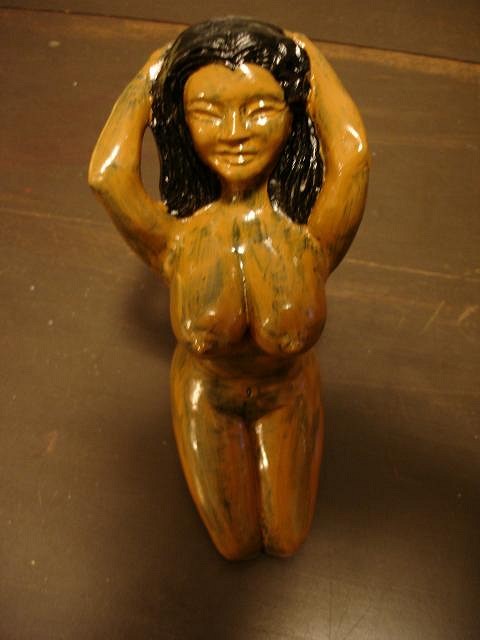
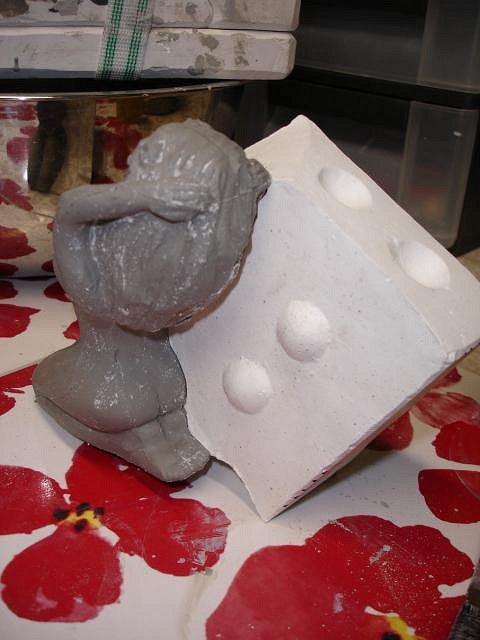
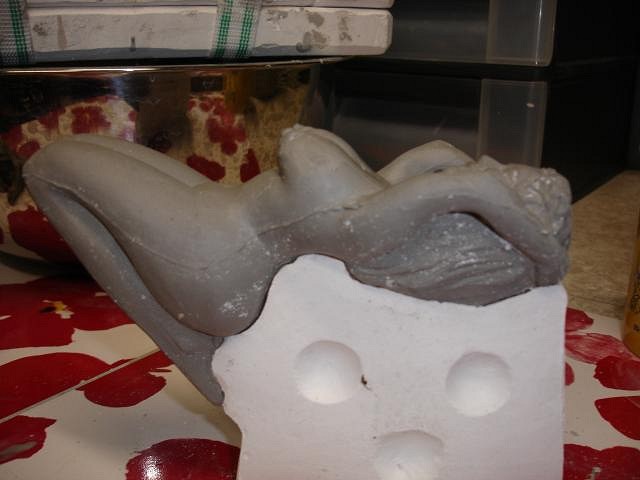
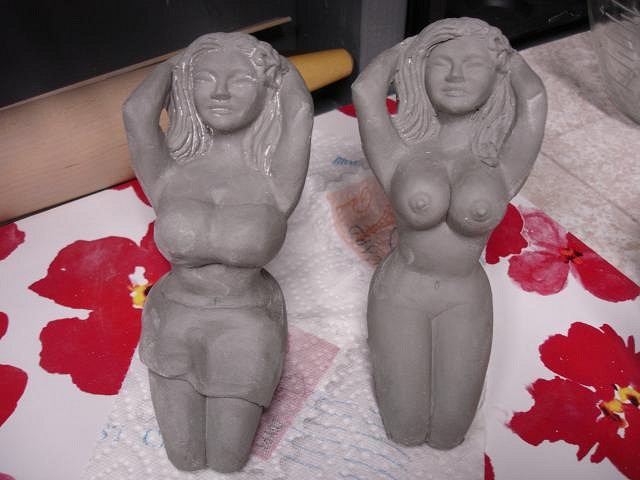
Step by step on the Missionary's Downfall topless hula girl. Dan was my advisor! Here goes. Wendy
I added clay and fine tuned the face.
I baked her too long in the convection oven. She did not become brittle so I was lucky.
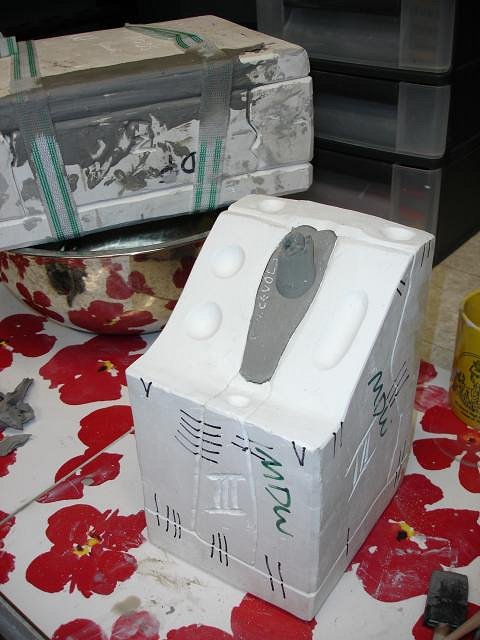
I sent her to Hawaii and Gecko made a 6 piece mold.
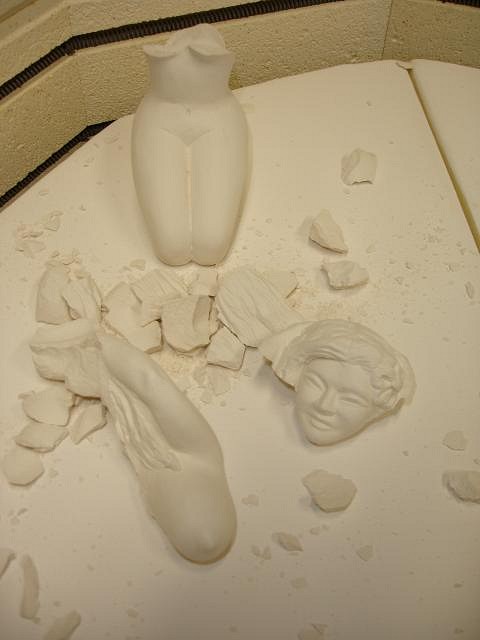
When I got one of the molds I cast two and added clothing to one. The poor topless girl exploded in the kiln when she was fired. Until I actually glaze one or Gecko makes some this will be the end for the Missionary's Downfall bowl and hula girl. [ Edited by: danlovestikis 2010-11-24 09:10 ] |
|
M
MadDogMike
Posted
posted
on
Wed, Nov 24, 2010 9:21 AM
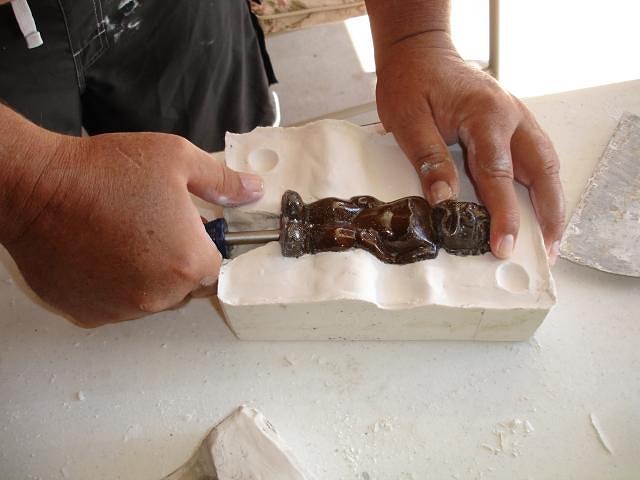
Wendy, I missed your last installment! Great looking mold you've got there. What an AWESOME Crated Tiki Mug! Unique idea and well executed. Waiting for the Hula Girl (did you say topless? :o ) I see that picture of Dan trying to chisel the mold open. I picked up a tip here (probably from Babalu or Bowana - I never can keep those 2 straight :lol: ) about putting some clay wedges to the outside of the mold. It gives you a place to open the mold. Here's a couple pictures that might help illustrate.
You just stick a screwdriver or butter knife in the hole and give it a little twist, the mold pops open. Let me know if I need to explain better :) |
|
HJ
Haole Jim
Posted
posted
on
Wed, Nov 24, 2010 8:20 PM
WOW! 'Never saw a step-by-step of this detail before. THANK YOU! |
|
Z
zerostreet
Posted
posted
on
Wed, Nov 24, 2010 8:23 PM
Great work Wendy! Love the work on her hair! |
|
RH
Robb Hamel
Posted
posted
on
Thu, Nov 25, 2010 2:53 PM
Looking great - I'm sooo sorry about the kiln incident. I've been there myself when I lost 8 at one time! |
|
V
VampiressRN
Posted
posted
on
Thu, Nov 25, 2010 3:59 PM
Those boobs were just too much for the kiln...LOL |
|
IK
Iokona Ki'i
Posted
posted
on
Fri, Nov 26, 2010 10:43 AM
that F. I. crate mug is crazy cool. |
|
Z

ZeroTiki
Posted
posted
on
Fri, Nov 26, 2010 4:42 PM
You are going to get tired of me constantly telling you how amazing your work is! :) |
|
D
danlovestikis
Posted
posted
on
Sun, Nov 28, 2010 9:02 PM
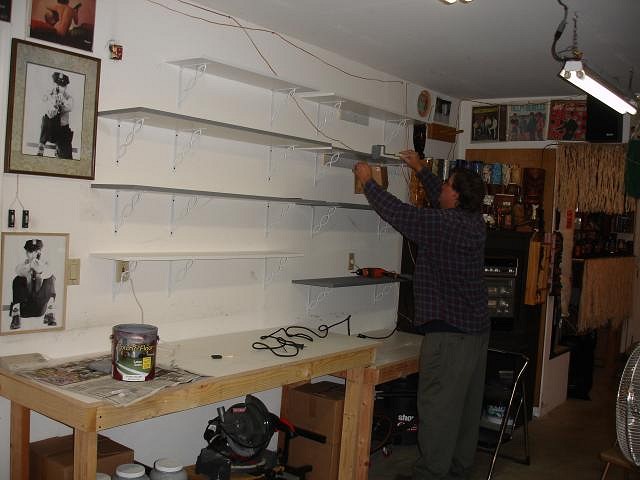
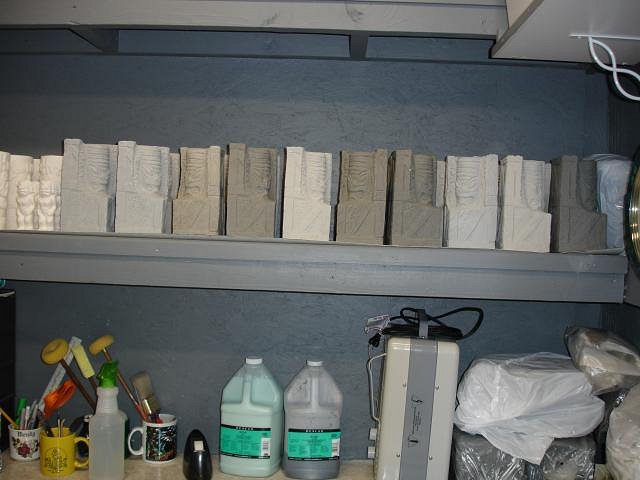
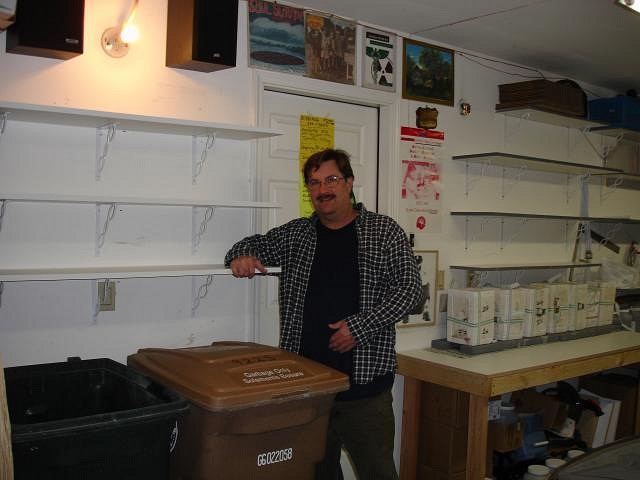
Thank you Haole Jim. I love the HGTV building shows so Step by Step is my passion. zerostreet, so you like her hair like I said I like your Monkey's fur! Robb Hamel - I missed your ceramics, love your paintings. I had more problems today, I'll show you. Vamp - those were big enough to blow up, at least the kiln survived. Iokona Ki'i - Jason, Bai and I picked the same favorite. It's such an emotional painting. I think her sailor just left her for the sea. ZeroTiki - I never tire of your compliments, thank you. I look at your bird painting every day, it's terrific. Well we have been busy, a quick trip to Oregon for Thanksgiving to start. When we got back we put up more shelves so I can have more room for drying molds and what I cast. My first six for the Forbidden Island Anniversary party on April 22, 2011 came out fine with only one caving in a bit.

More shelves. Now on my next set after I poured out the excess slip they started pulling away from the mold sides and collapsed. I could see that by looking in so I just took them out of the molds and let them melt like the witch on Wizard of OZ. My guess is that the molds were still too wet. It's so cold here that they do not dry well even with a fan on them for 24 hours. I need a grow light to heat them. [ Edited by: danlovestikis 2010-11-29 01:33 ] |
|
QK
Queen Kamehameha
Posted
posted
on
Tue, Nov 30, 2010 2:36 PM
Wendy, I must say your mugs are amazing, and I love the step by step, thank you for sharing and taking the time to show us how it's all done. Amy |
|
M
MadDogMike
Posted
posted
on
Wed, Dec 1, 2010 1:36 PM
Wendy, I hope you got you "slumping" problem solved. You may have to move farther south where the weather is warmer :D |
|
D
danlovestikis
Posted
posted
on
Thu, Dec 2, 2010 7:07 PM
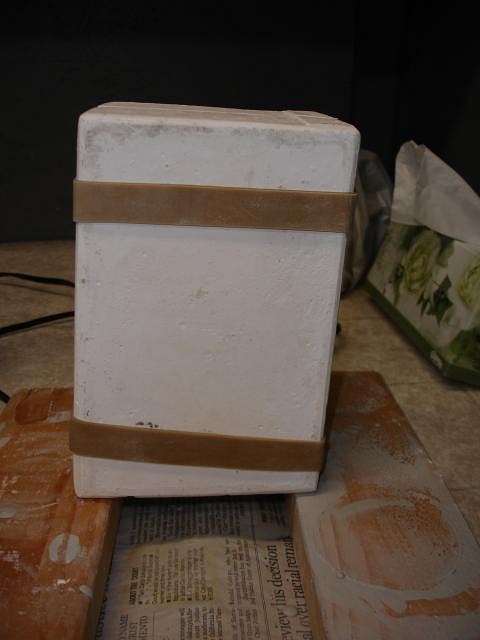
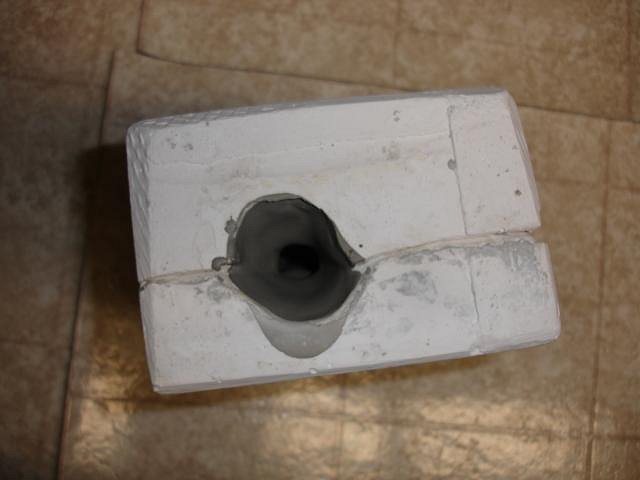
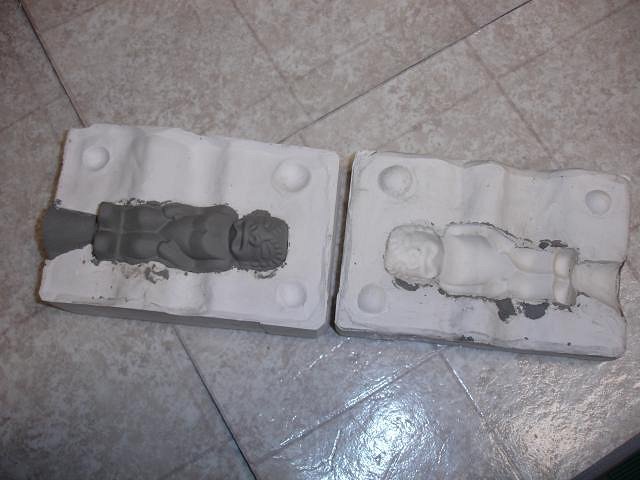
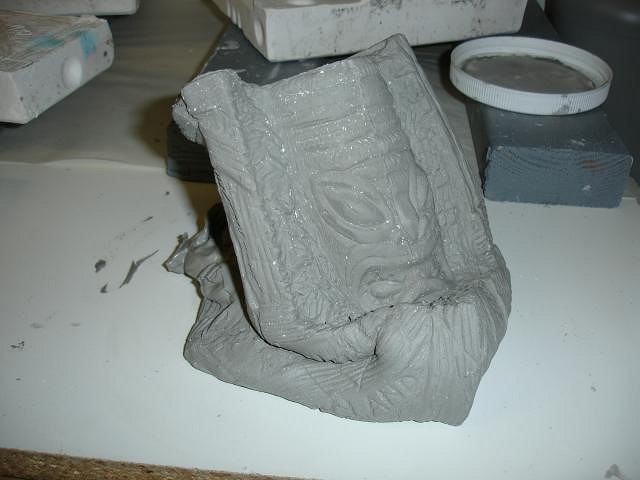
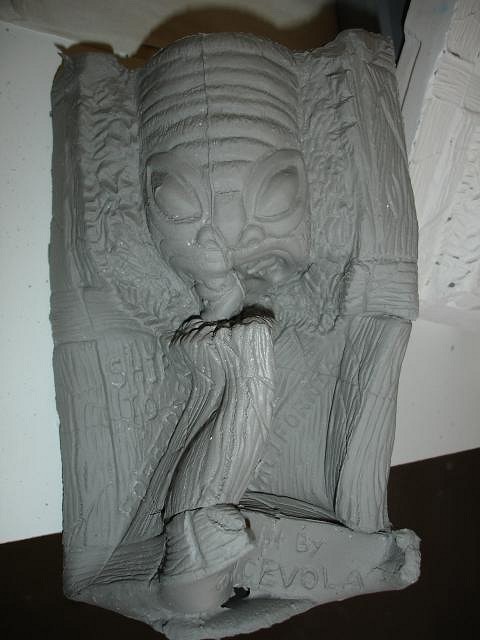
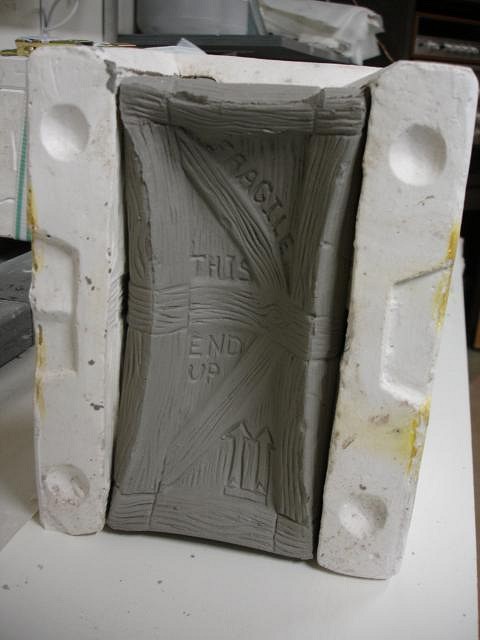
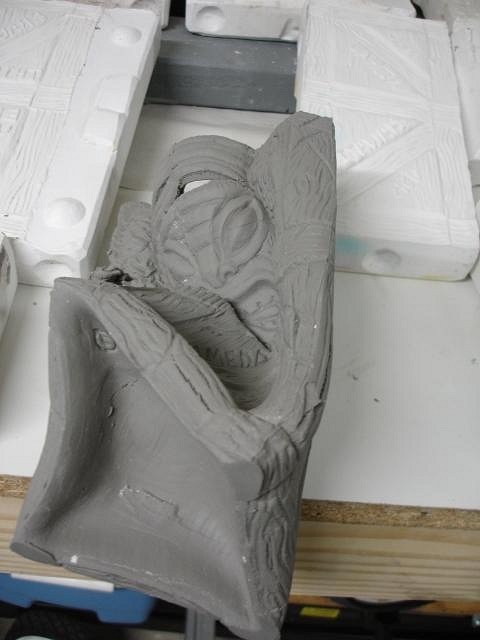
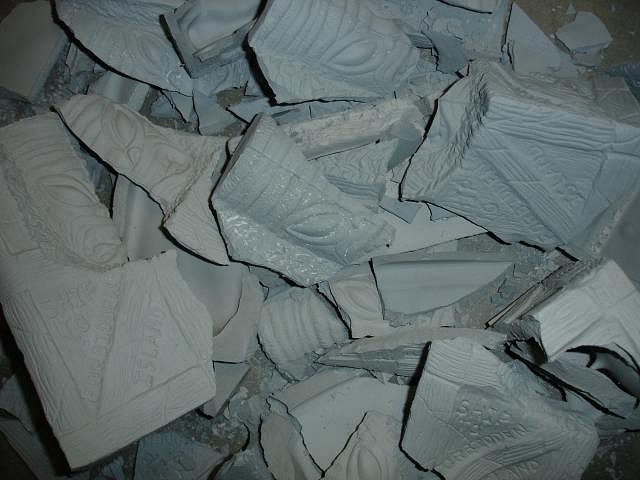
Hi Mike, nope the problem is not solved. I do know that #5 has failed every time. I can see the sides pulling loose before I pour out the excess slip. The defects are at the least very interesting. I have been testing different methods of pouring. At least I get two or three that come out each time. Some of the failures are good on three sides and caved in on the fourth. Sometimes the entire tiki is inside the mold all collapsed. I'll keep working on it. Wendy I left them in the mold for several days, these are the shapes they were inside the molds all firm and leather hard.
|
|
M
MadDogMike
Posted
posted
on
Thu, Dec 2, 2010 7:53 PM
That is weird! Is it always the same mold? The others are working OK? |
|
D
danlovestikis
Posted
posted
on
Thu, Dec 2, 2010 8:56 PM
Hi Mike, No this last time it was three different molds as shown in the three photos. But I do know that number five fails every time. I've written the numbers down so I'll see if I ever get a good cast from one that has failed in the past. I'm going to let them dry out for a few more days then try again. Wendy |
|
S

swizzle
Posted
posted
on
Thu, Dec 2, 2010 11:49 PM
They could probably be used as props on a horror movie. :) |
|
D
danlovestikis
Posted
posted
on
Mon, Dec 6, 2010 10:42 AM
FORBIDDEN ISLAND TIKI CRATE: Big time correction. None of the sides were pulling loose after the slip was poured into the mold. I was looking at part of the mug that was indented and miss-interpreting what I was seeing. So every mug that was ruined was because the slip was being poured out too fast and the cast was pulled loose from the sides like a deflating balloon. I did a set where the slip was slowly poured out and they were all perfect. I learn from my mistakes. Thank you Poptiki, MadDogMike and Gecko for all your helpful suggestions. Wendy PS Swizzle you are giving me ideas [ Edited by: danlovestikis 2010-12-06 10:42 ] |
|
M
MauiTiki
Posted
posted
on
Thu, Dec 9, 2010 7:31 PM
Hi Wendy, love this thread! I've only had this happen once and it was because I was in a rush and poured out the slip too early. It was just too thin and wet to hold itself up. I was able to tilt the mold during the drying process and saved the bowl. Also it helps if the plaster is really dry to soak up the moisture from the clay. I like to leave my molds out in the hot Maui sun during the day, because I usually pour at night after work. Good to hear you've got it worked out. Must be nice to have so many friends helping you out. I wish I could get Gecko to make molds for me! Great job, Keep it up! |
|
M
MadDogMike
Posted
posted
on
Thu, Dec 9, 2010 8:26 PM
YAY WENDY!!!! Glad you solved your problem! In hindsight, I guess there is no way that it could pull away from the mold while it was full - it would have to collapse after the excess slip was poured out. Now it's full steam ahead |
|
D
danlovestikis
Posted
posted
on
Fri, Dec 10, 2010 10:52 AM
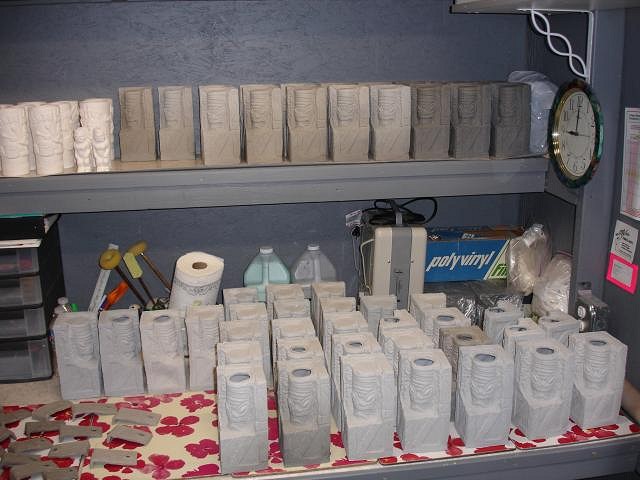
Thank you MauiTiki and MadDogMike, I have needed help. I'm posting on the Sacramento Crawl Thread my step by step in making the Crawl Decanter. Dan and I will be doing our first mold (of the decanter) in the future and it will have 6 pieces. We may practice on something easier first. I will post photos for the Decanter on that thread any thing else will go here. The train is on the track, we are pouring super slow and nothing but success now. Dan does the heavy work and clean up. So what's left for me? I supervise! We are starting to see progress as the shelves start to fill. Cheers, Wendy PS MauiTiki is cold and rainy here, you lucky guy living in paradise [ Edited by: danlovestikis 2010-12-10 10:53 ] |
|
Z

ZeroTiki
Posted
posted
on
Fri, Dec 10, 2010 4:46 PM
Awesome awesome awesome pretty awesome cool! So there. :) |
|
M
MauiTiki
Posted
posted
on
Fri, Dec 10, 2010 7:41 PM
Ahhhh I now know what you did. You poured to fast and got the Glug Glug. I've never experienced this but Gecko told me about it. The suction from the Glug Glug caused the clay to pull from the sides. No sunshine in Maui today, hopefully I can do some glazing this weekend. Keep up the good work! |
|
D
danlovestikis
Posted
posted
on
Mon, Dec 13, 2010 2:02 PM
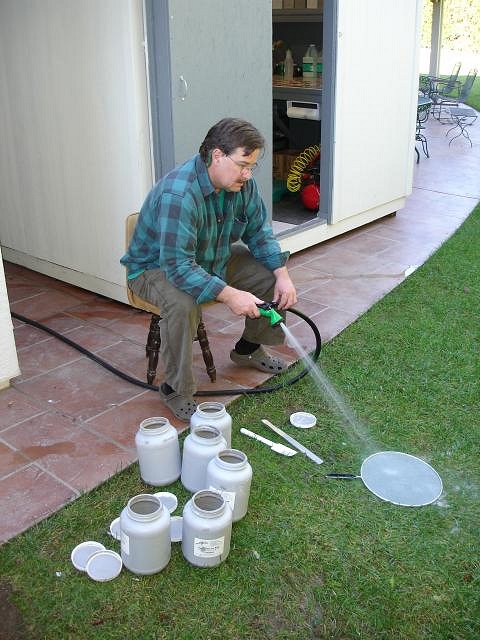
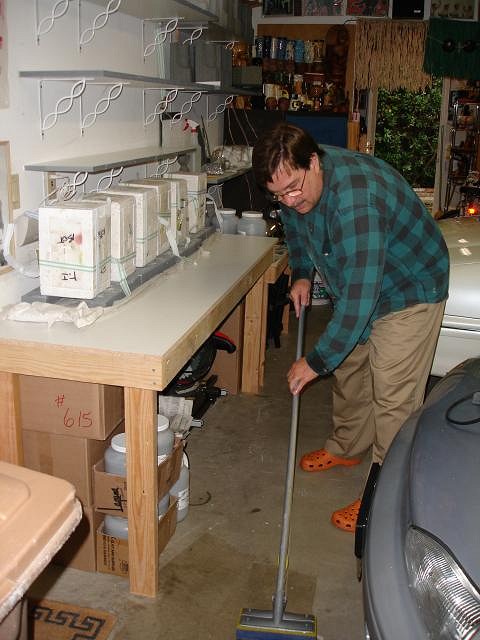
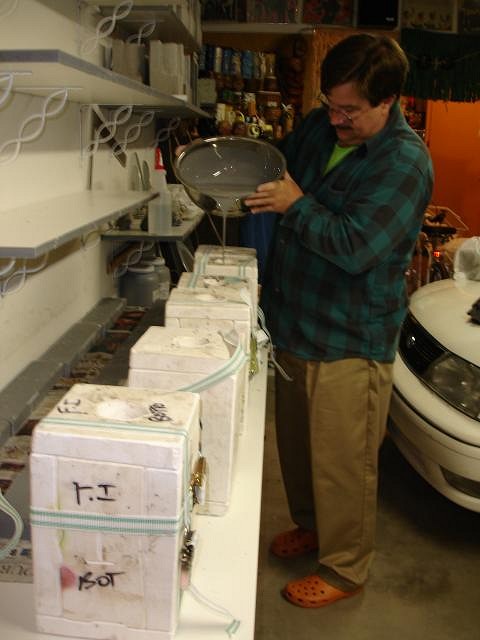
Thank you Zerotiki and Maui Tiki, you fellows are special and I love your art. Every day we are up early to pour the Forbidden Island mugs. VampiressRn said her favorite photos I've posted are on my carving thread and feature Dan sweeping. When she found out that Dan is now mopping she requested a photo. Hey Vamp you said Dan is a fashionista, you are right check out his shoes! Wendy
Quality control.
[ Edited by: danlovestikis 2010-12-13 14:45 ] |
|
V
VampiressRN
Posted
posted
on
Mon, Dec 13, 2010 5:16 PM
Krikeeeeeee...you guys are cranking em out...what a team!!! Yeah Wendy. Dan....orange you glad you had those shoes on for that photo op!!! And the hose picture is simply mesmerizing. :lol: |
|
M
MauiTiki
Posted
posted
on
Wed, Dec 15, 2010 7:30 PM
Start Firing those Crates! Nobody said you had to pour all 50 before you could go on to the next step. Get to the fun part, then you'll be inspired to pour more. We want to see some finished ones! |
|
E
ebtiki
Posted
posted
on
Wed, Dec 15, 2010 10:44 PM
Lookin' good! |
|
D
danlovestikis
Posted
posted
on
Thu, Dec 16, 2010 9:16 AM
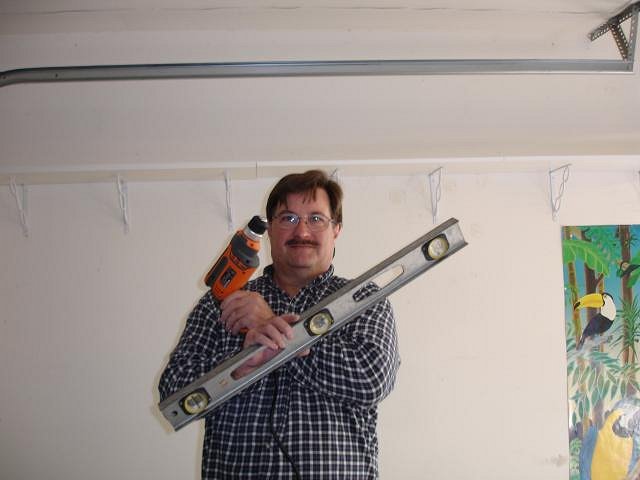
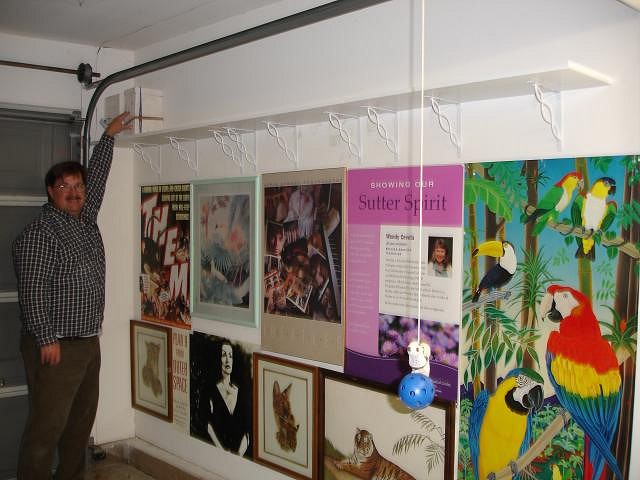
MauiTiki, I'm looking forward to the next step too. We are working all day every day. There is a huge space issue when it comes to making so many ceramics. We are in the process of placing shelves in every nook and cranny of the garage. The crates are just starting to dry. Most of them are not there yet. When we are done with all the shelves I will start carving to fine tune them and as I do that I will load them into the kiln. When I have a load I will bisque them. Then I'll do all my test glazing. I'm getting close. Today we will put up another 6 shelves. Here's a photo of Dan as we finished putting up three shelves on Tuesday. Thanks for caring. Vamp, he has red shoes too! ebTiki, thanks for checking in. Wendy |
|
E
ebtiki
Posted
posted
on
Sat, Dec 18, 2010 1:54 AM
So I've been wondering ... why is it that Dan's doing all the work in your pix? |
|
D
danlovestikis
Posted
posted
on
Sat, Dec 18, 2010 11:27 AM
Hi ebTiki, he's in all the photos because I also enjoy photography. One time (1980's) he walked the runway in a modeling competition. As you can see here he still has a gift for posing! I do my share of the work I just haven't documented it yet. We put up the last shelf. This one will be used to store molds that are not in use. Wendy
|
Pages: 1 2 3 4 5 6 7 8 9 10 11 12 13 14 15 16 17 18 19 20 21 22 23 24 25 26 27 28 29 30 31 32 33 34 35 36 37 38 39 40 41 42 43 44 45 46 47 48 49 50 51 52 53 54 55 56 57 58 59 60 61 62 63 64 65 66 67 68 69 70 71 72 73 74 75 76 77 78 79 80 81 82 83 84 85 86 87 88 89 90 91 92 93 94 95 96 97 98 99 100 101 102 103 104 105 106 107 108 109 110 111 112 113 114 115 116 117 118 119 120 121 122 123 124 125 126 127 128 129 130 131 132 133 134 135 136 137 138 139 140 141 142 143 144 145 146 147 148 149 150 151 152 153 154 155 156 157 158 159 160 161 162 163 164 165 166 167 168 169 170 171 172 173 174 175 176 177 178 179 180 181 182 183 184 185 186 187 188 189 190 191 192 193 194 195 196 197 198 199 200 201 202 203 204 205 206 207 208 209 210 211 212 213 214 215 216 217 218 219 220 221 222 223 224 225 226 227 228 229 230 231 232 233 11164 replies

