Pages: 1 2 3 4 5 6 7 8 9 10 11 12 13 14 15 16 17 18 19 20 21 22 23 24 25 26 27 28 29 30 31 32 33 34 35 36 37 38 39 40 41 42 43 44 45 46 47 48 49 50 51 52 53 54 55 56 57 58 59 60 61 62 63 64 65 66 67 68 69 70 71 72 73 74 75 76 77 78 79 80 81 82 83 84 85 86 87 88 89 90 91 92 93 94 95 96 97 98 99 100 101 102 103 104 105 106 107 108 109 110 111 112 113 114 115 116 117 118 119 120 121 122 123 124 125 126 127 128 129 130 131 132 133 134 135 136 137 138 139 140 141 142 143 144 145 146 147 148 149 150 151 152 153 154 155 156 157 158 159 160 161 162 163 164 165 166 167 168 169 170 171 172 173 174 175 176 177 178 179 180 181 182 183 184 185 186 187 188 189 190 191 192 193 194 195 196 197 198 199 200 201 202 203 204 205 206 207 208 209 210 211 212 213 214 215 216 217 218 219 220 221 222 223 224 225 226 227 228 229 230 231 232 233 11,141 replies
|
D
danlovestikis
Posted
posted
on
Mon, Oct 12, 2015 8:32 AM
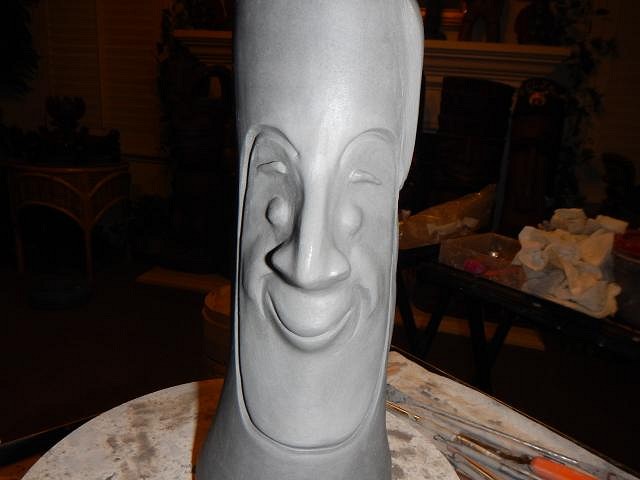
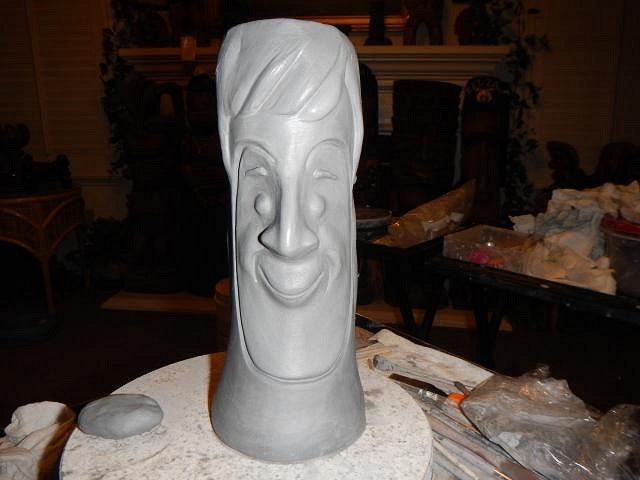
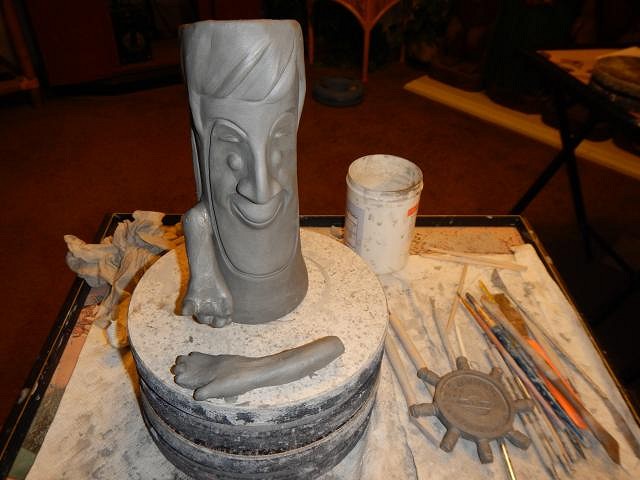
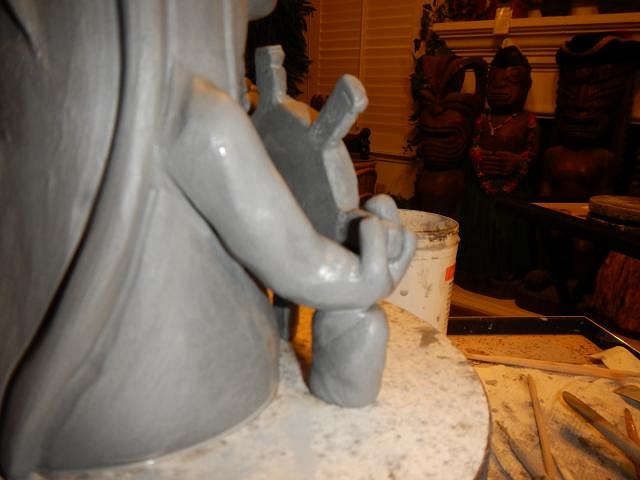
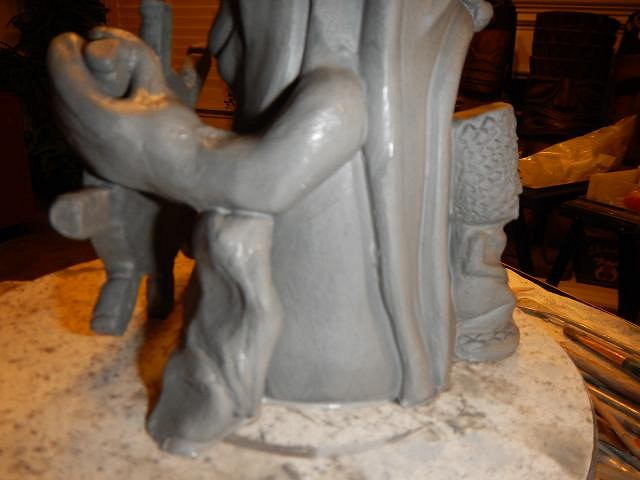
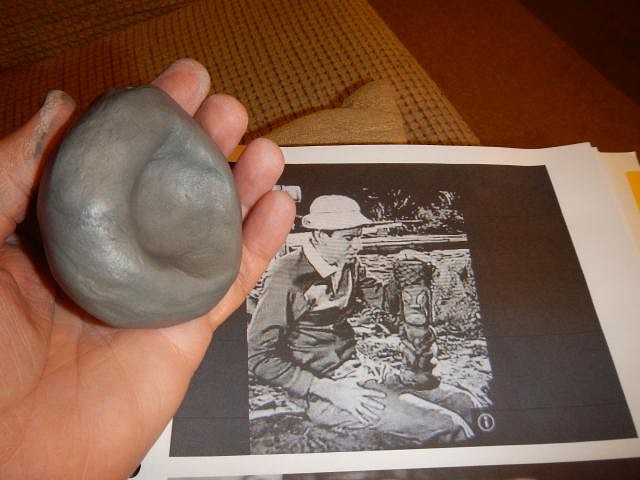
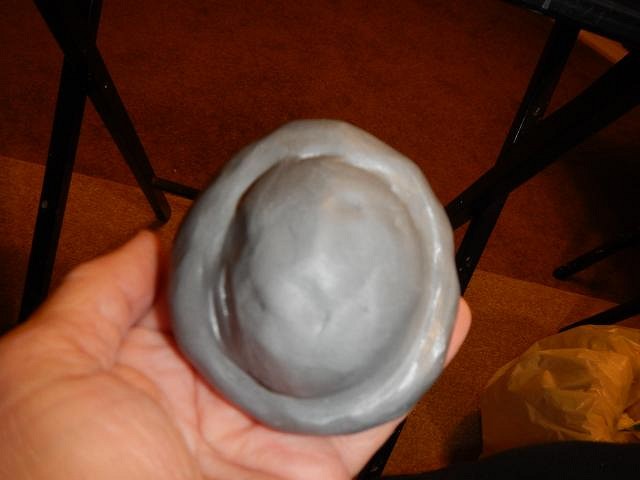
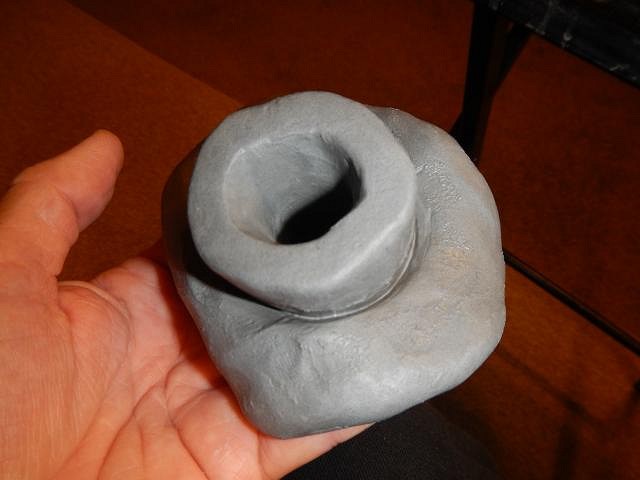
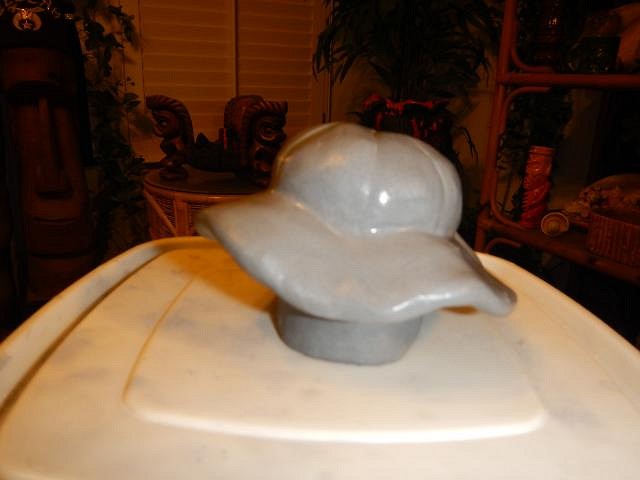
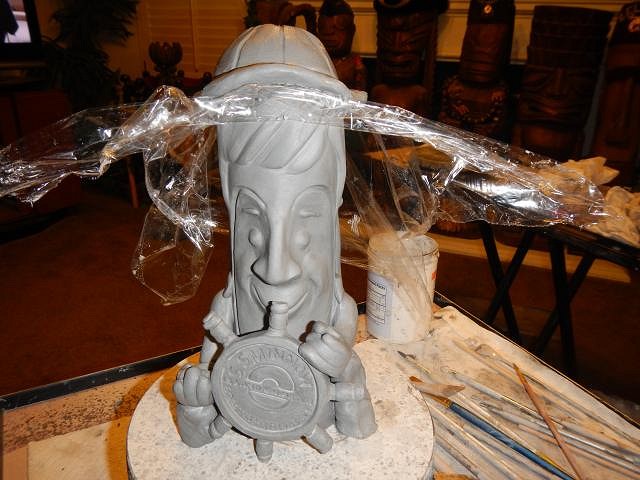
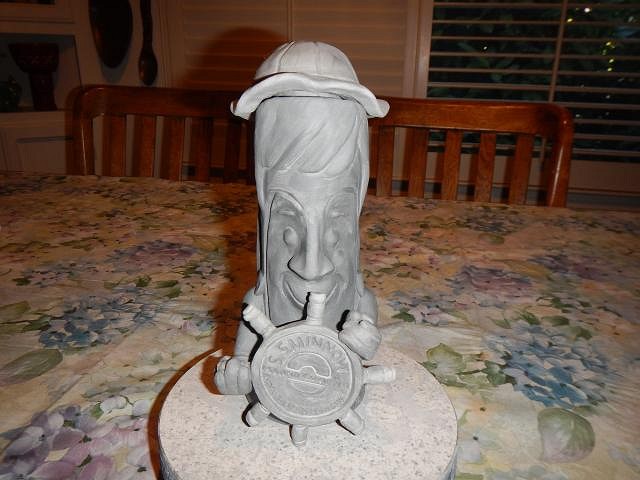
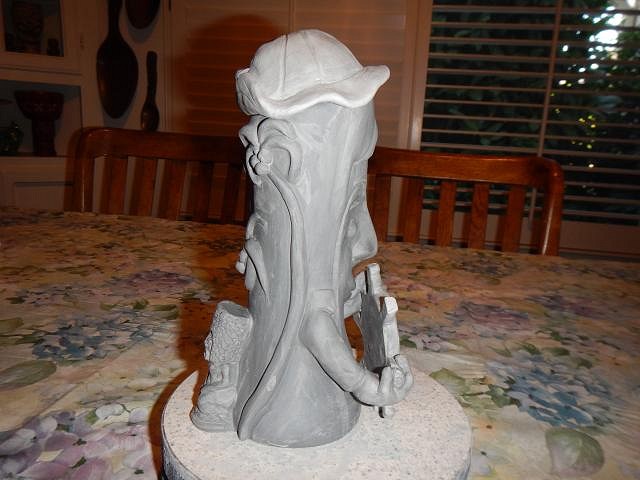
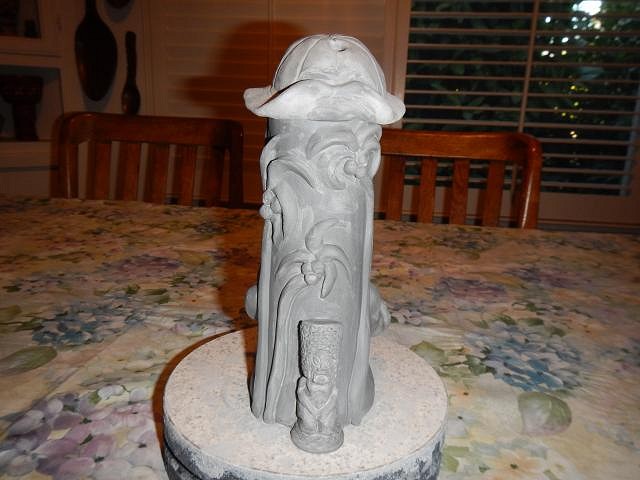
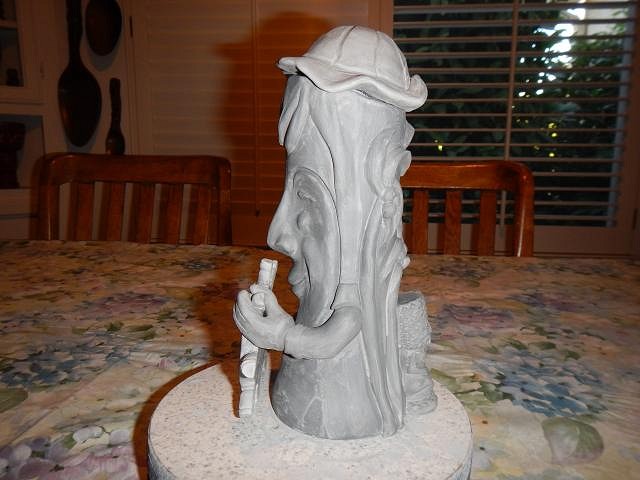
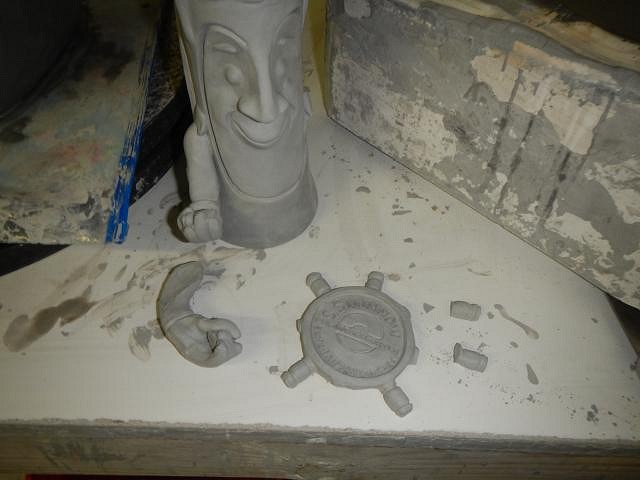
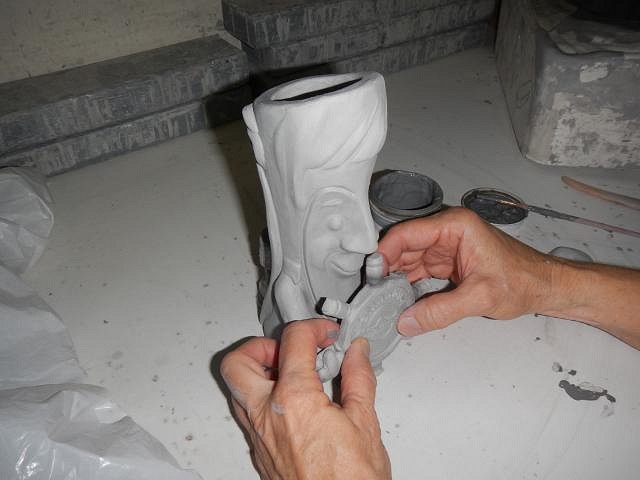
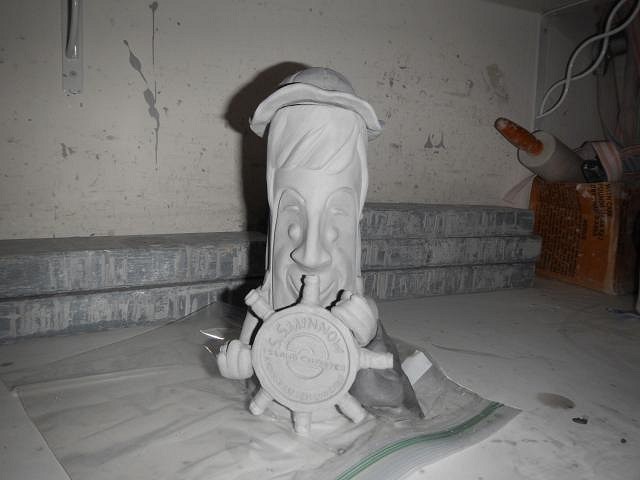
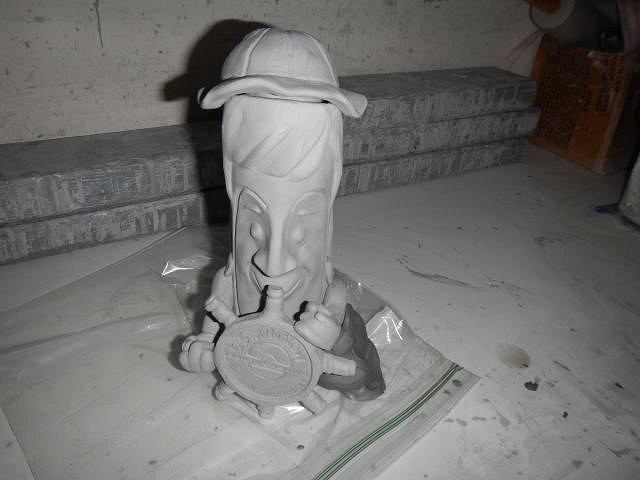
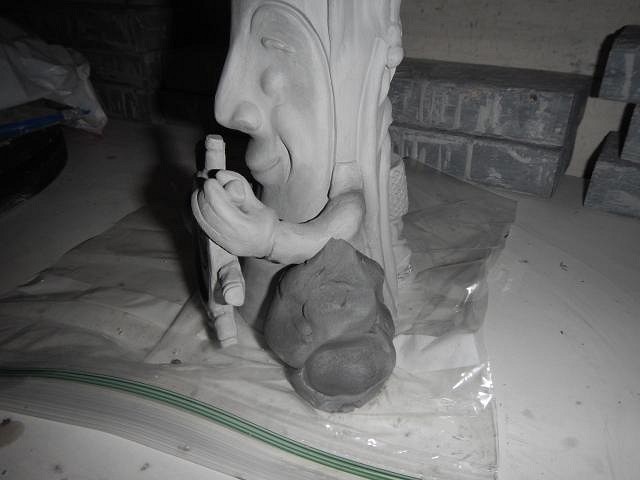
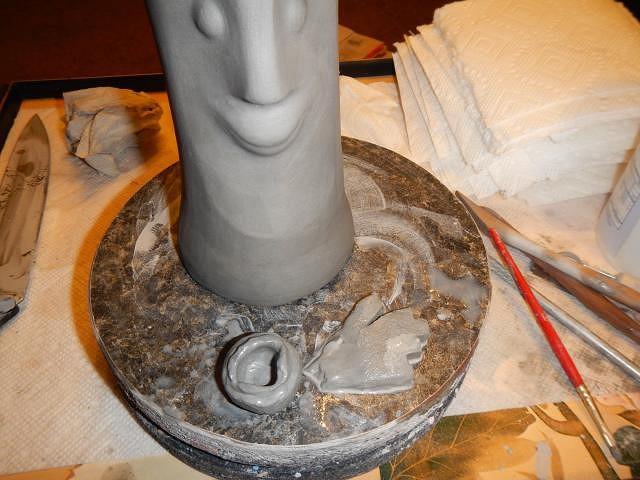
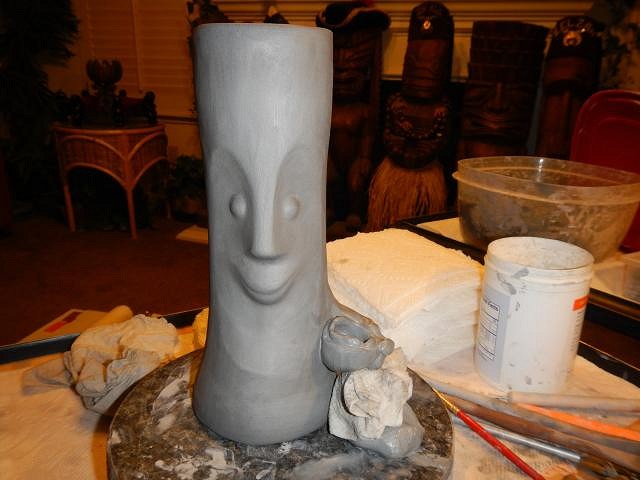
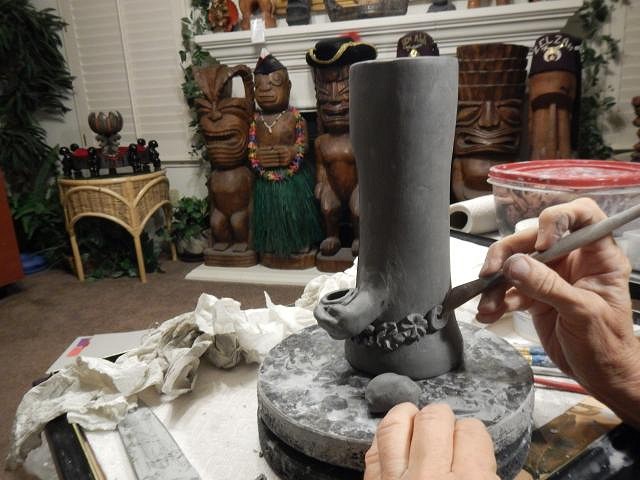
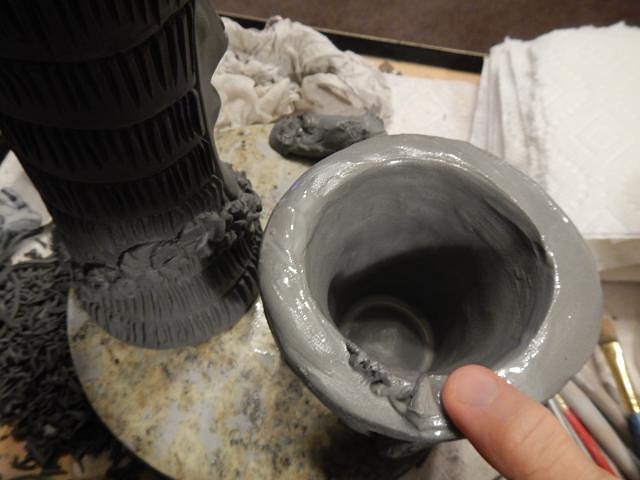
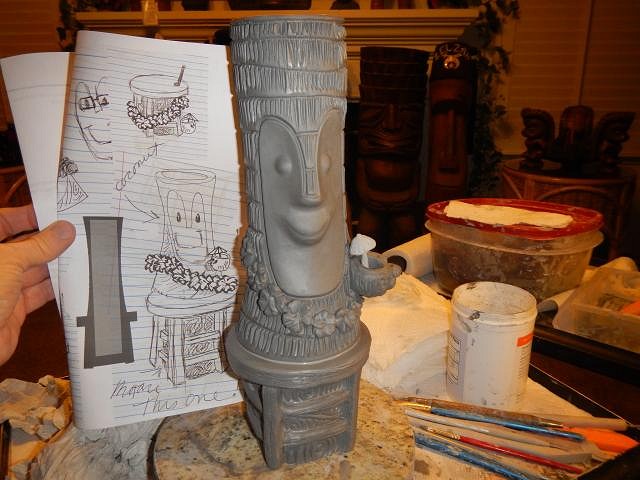
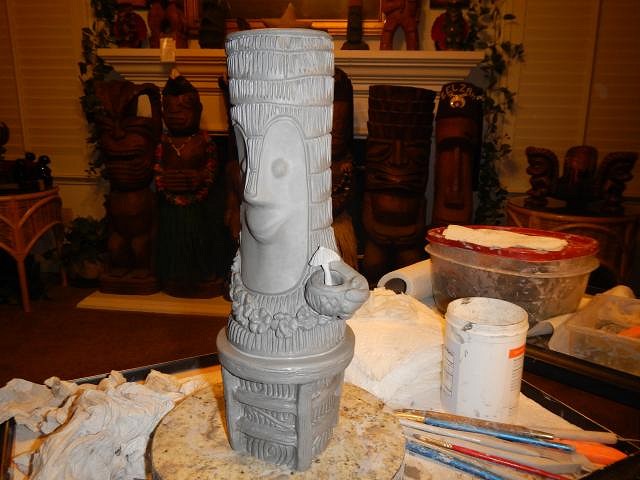
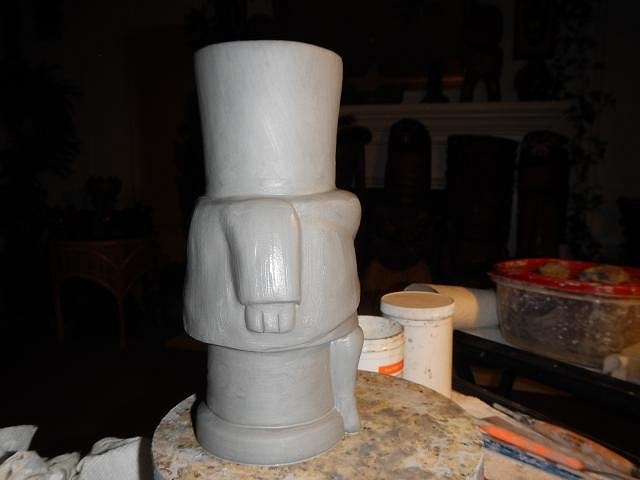
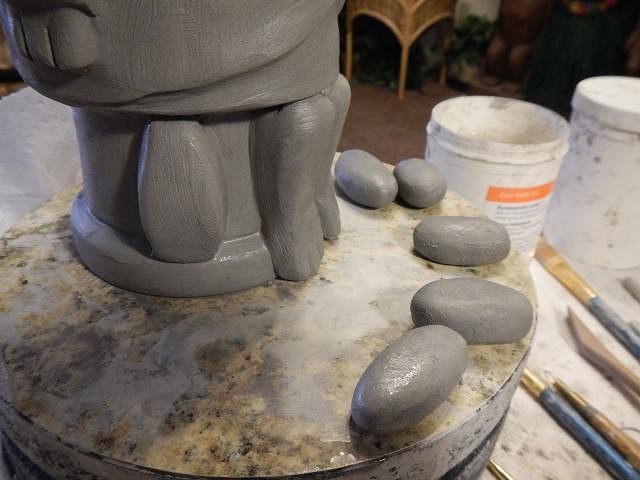
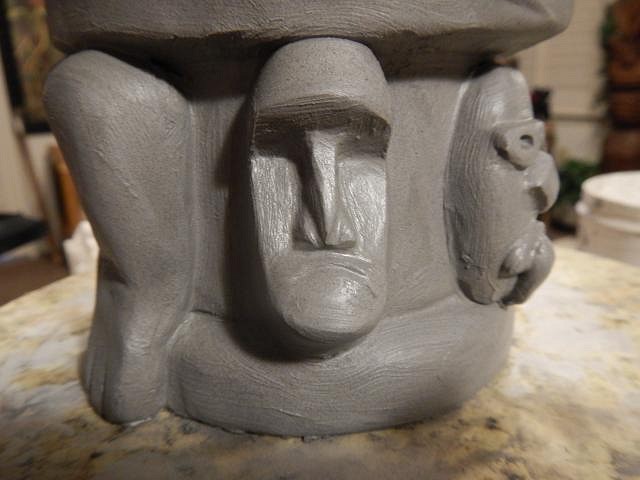
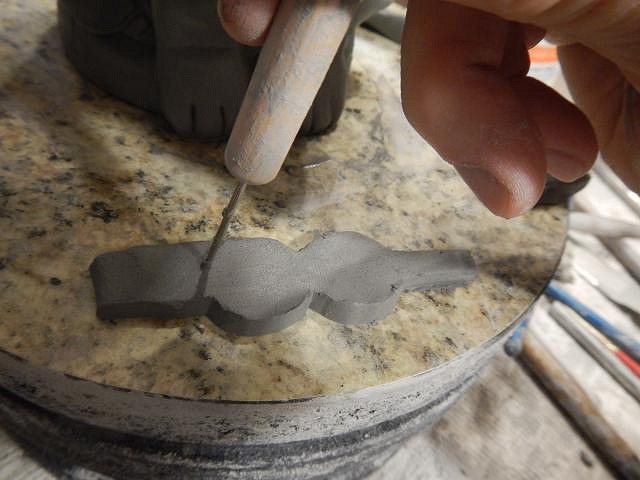
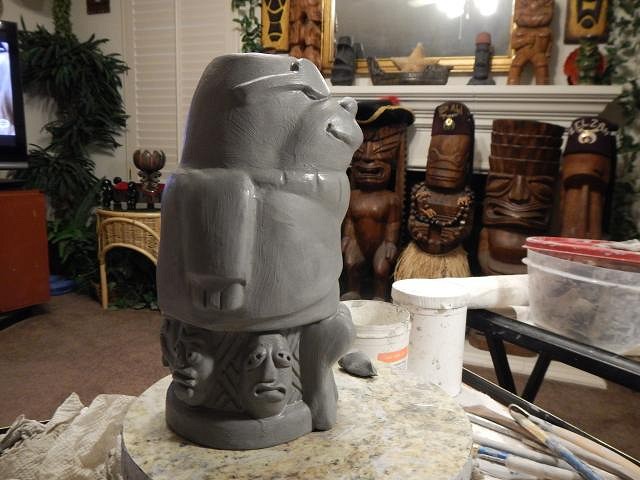
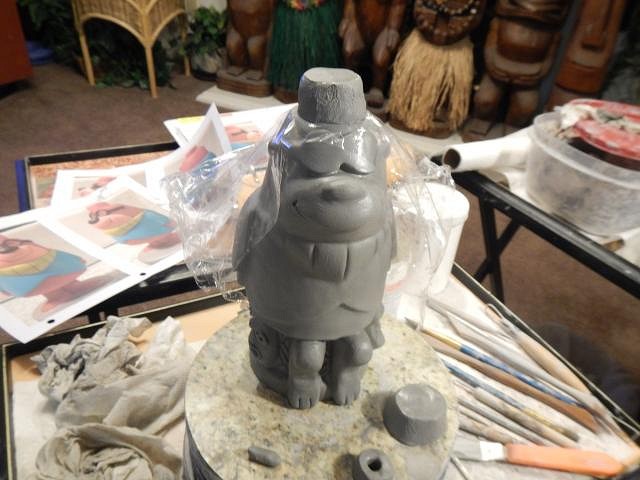
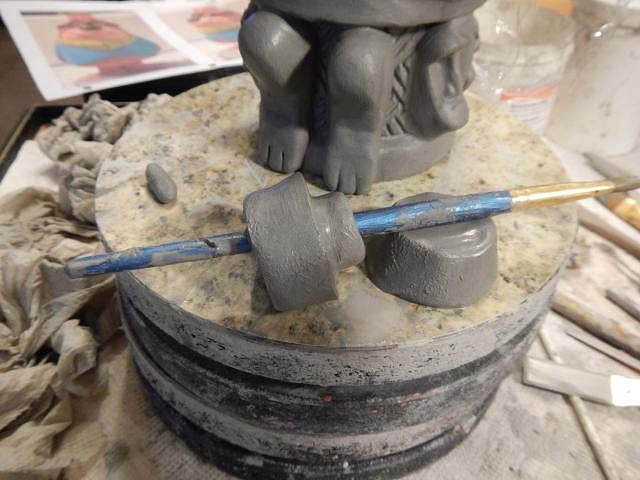
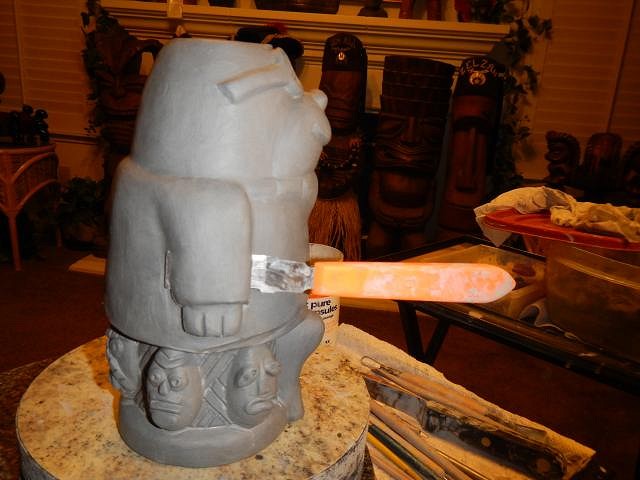
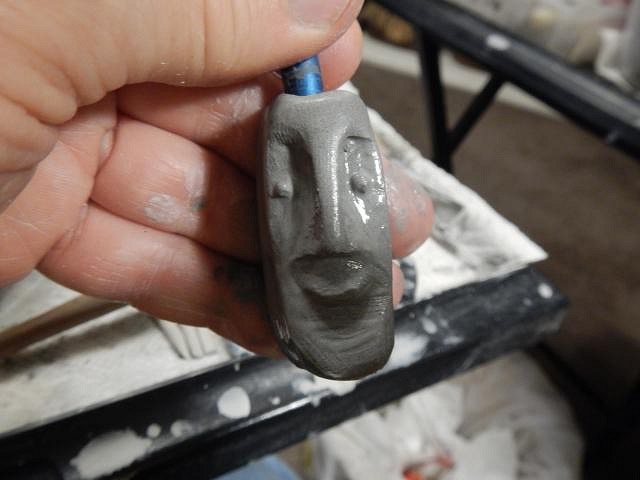
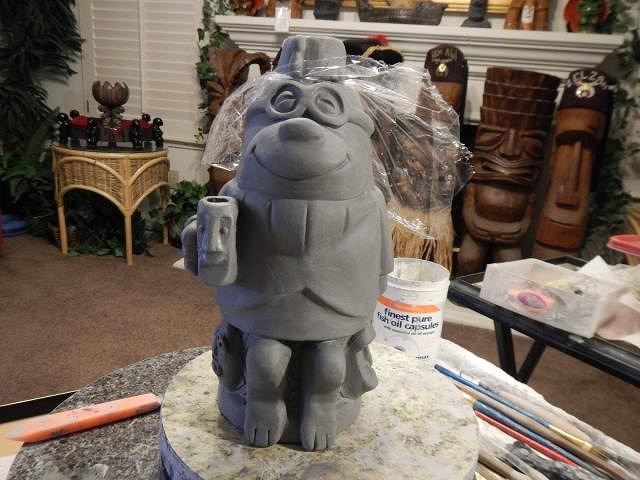
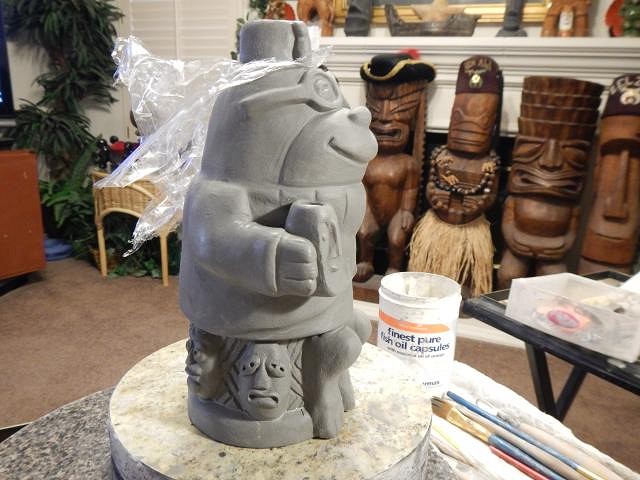
Wish List #6 update. Tikiwahini if Gilligan gets tipsy this will help him not tip over. Next steps. I used the photos of Gilligan to try to match his eyebrows, cheekbones, nose and of course it's still a Tiki Bob smile. Then the hair came next. The real challenge came when making arms and hands to grip the boat wheel. Here's one side and then the next. they have clay supports so they don't move. I made the cap starting with a ball of clay.
The back of his cap is folded up, I did that too. Front of the cap. Cheers, Wendy |
|
L
lunavideogames
Posted
posted
on
Tue, Oct 13, 2015 12:41 AM
The Gilligan mug is looking great! What a fun idea for a mug. |
|
D
danlovestikis
Posted
posted
on
Tue, Oct 13, 2015 12:45 PM
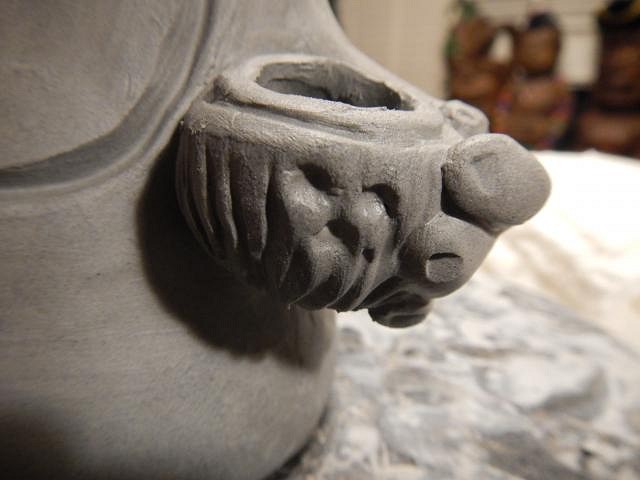
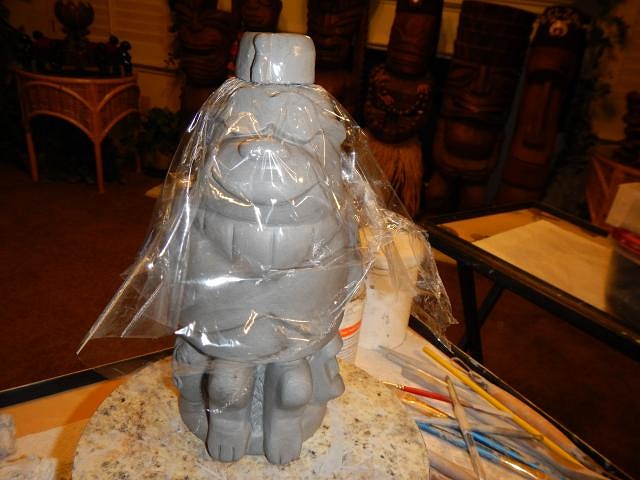
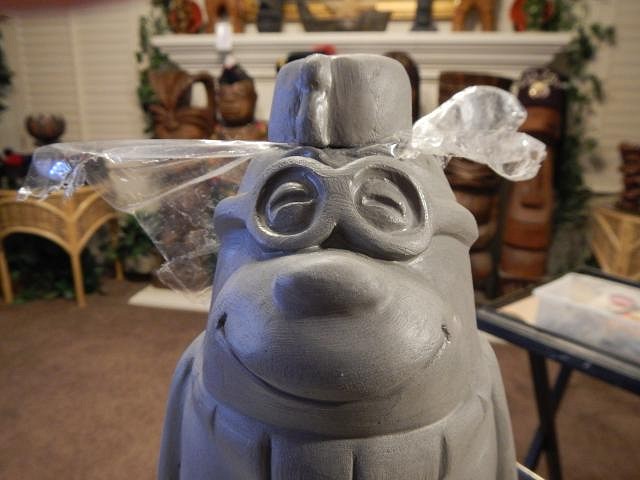
lunavideogames when Tiki Wahini adds this one to her collection maybe we can get a photo of her three mugs together. She has great ideas. ========================== Wish List #6 update continues with Gilligan in crisis! When I'm making the hat it helps to put it into place. It will stick there and not come out so I use plastic wrap. Days have passed and both the mug and cap are dry enough to place them together.
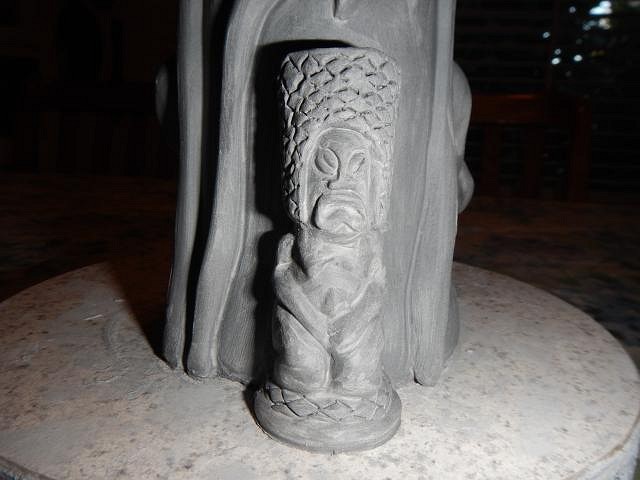
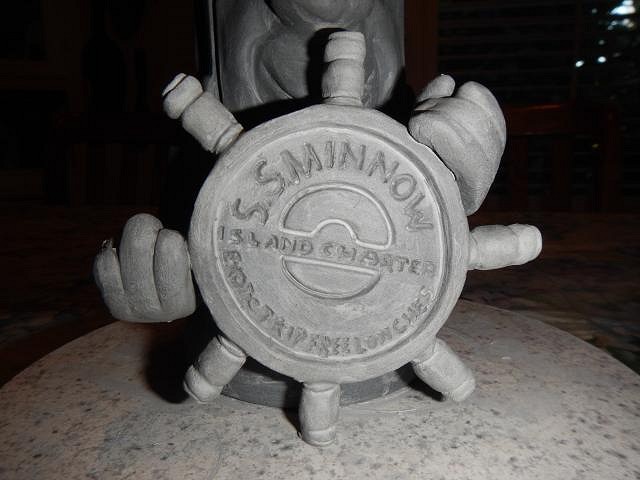
Close up of the special little tiki. Close up of the ships wheel. NOT THE END TO THIS STORY. YOU KNOW GILLIGAN ALWAYS GETS INTO TROUBLE. I did this. I wasn't thinking and I went to pick it up with my thumb on the ships wheel. MadDogMike told me years ago about Magic Mend for ceramics. It looks like slip but doesn't have water in the mix. That way as it dries it doesn't shrink. I put this Humpty Dumpty back together again. He has dried. When he fires I'll hope for the best. If these pieces don't hole together I'll do it all over again. Clay is brittle until fired and I didn't concentrate. Oh well. Cheers, Wendy |
|
T
Tikiwahini
Posted
posted
on
Tue, Oct 13, 2015 4:36 PM
Well he wouldn't be Gilligan without a little trouble! He looks fantastic!! I love him! |
|
L

LoriLovesTiki
Posted
posted
on
Tue, Oct 13, 2015 5:13 PM
Nice recovery! I love the way his little hands hold the wheel!!!! |
|
H

hang10tiki
Posted
posted
on
Tue, Oct 13, 2015 8:47 PM
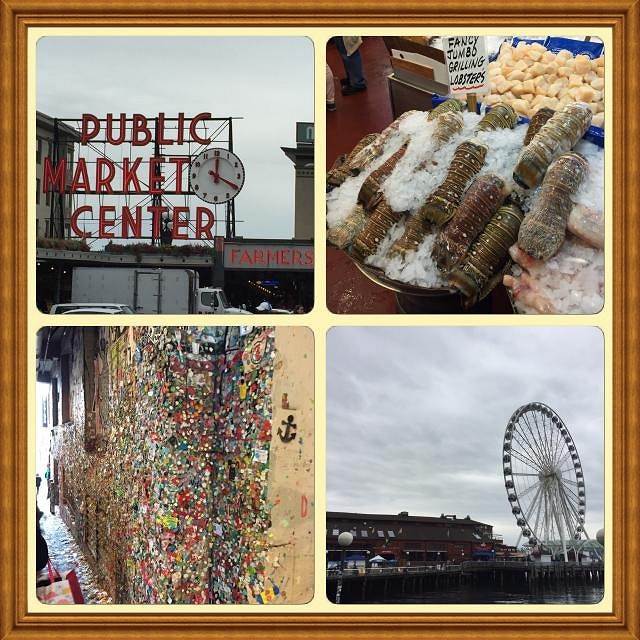
Great idea and you made it look great Took a quick road trip to Seattle
3 bars close to our hotel
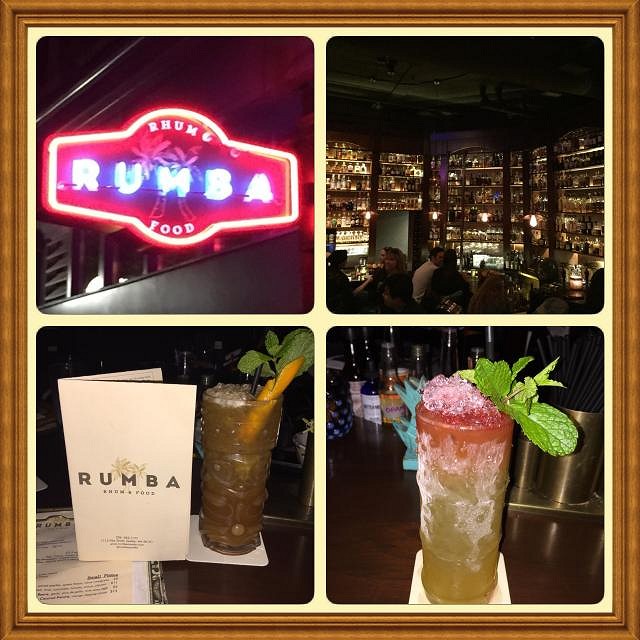
This awesome rum bar (thanks for the tip about this place TikiAno)
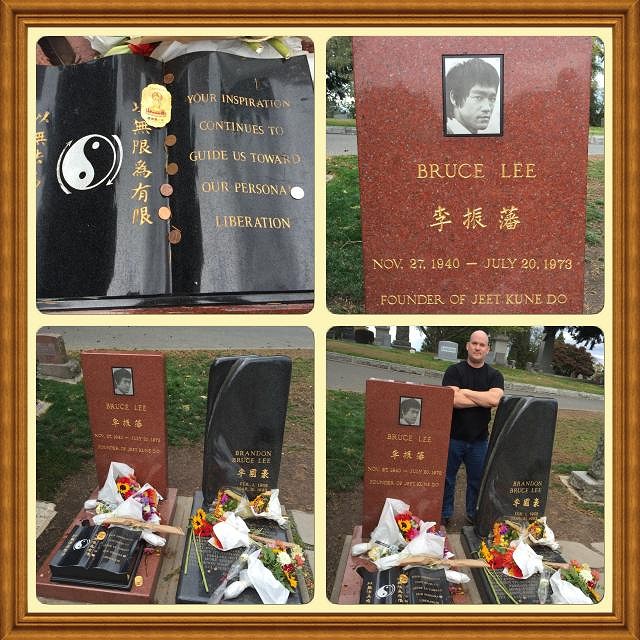
Been waiting a long time to pay my respects
Treasures brought home:
|
|
R
RVICTOR
Posted
posted
on
Wed, Oct 14, 2015 7:39 AM
Wendy - Hope Gilligan works out, great idea and execution! Hang10 - You were right in my back yard...If you are ever up this way longer... |
|
D
danlovestikis
Posted
posted
on
Wed, Oct 14, 2015 1:08 PM
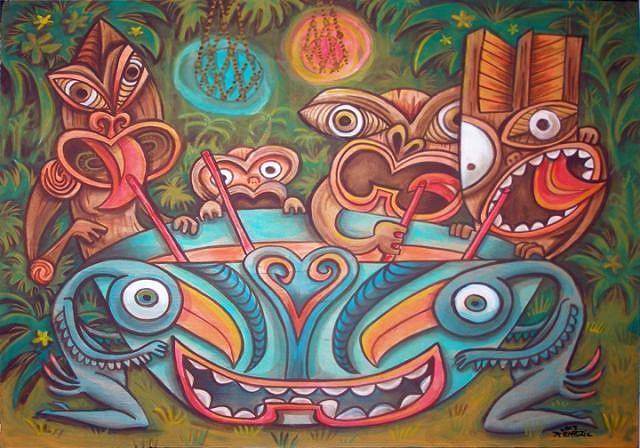
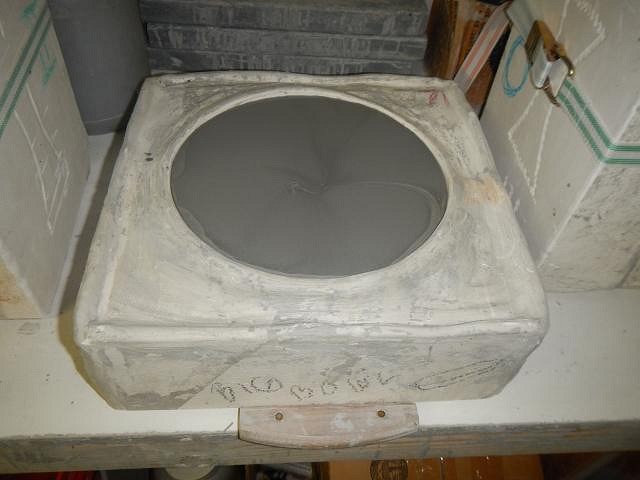
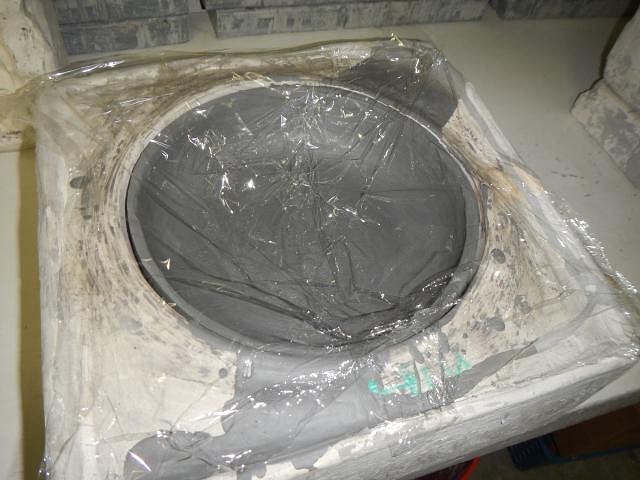
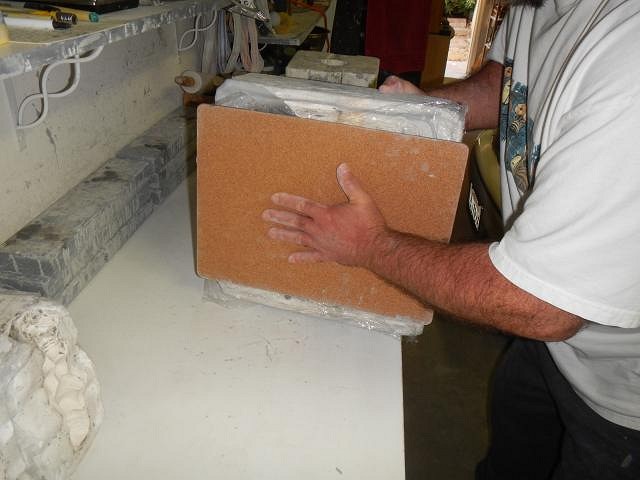
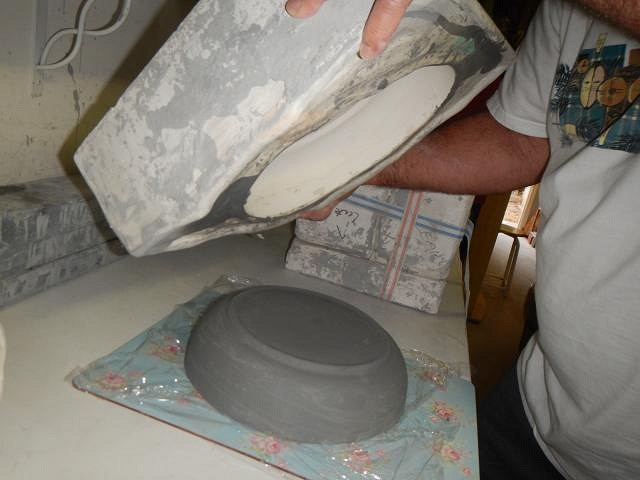
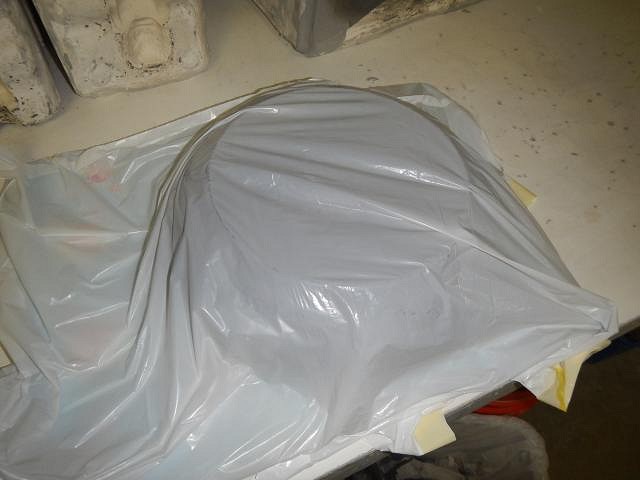
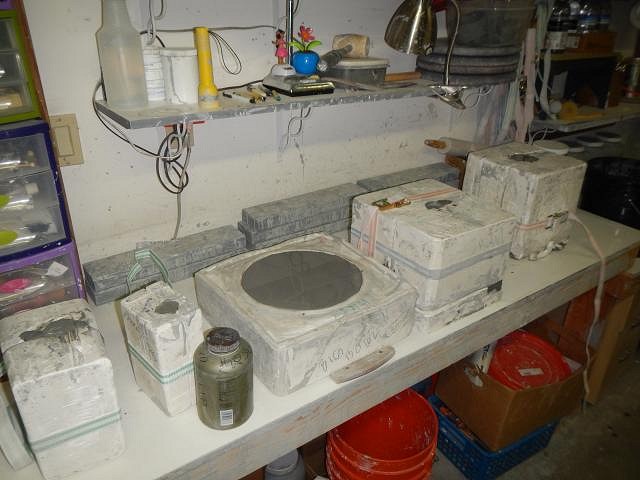
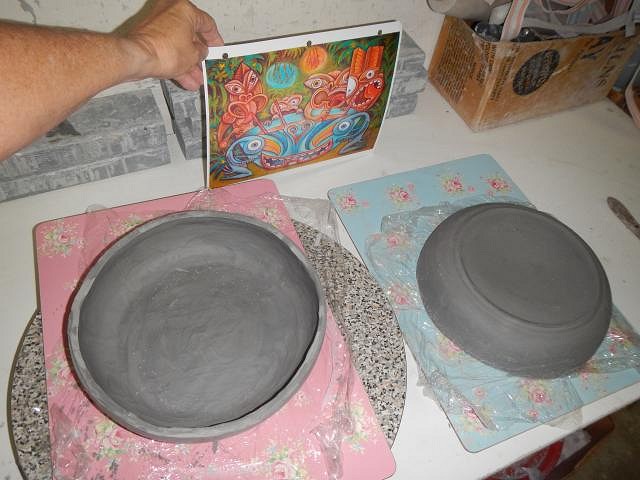
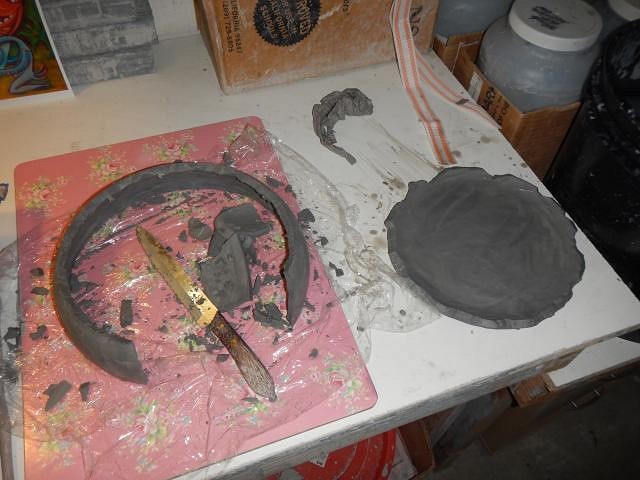
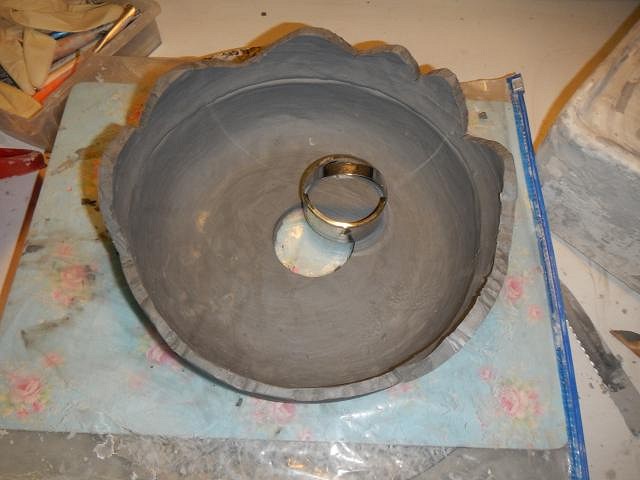
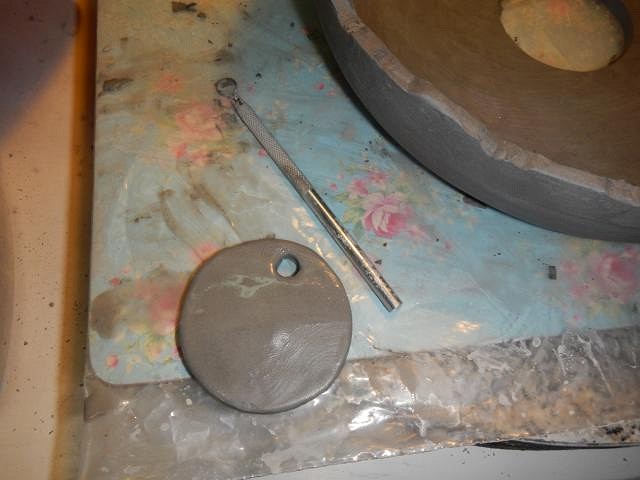
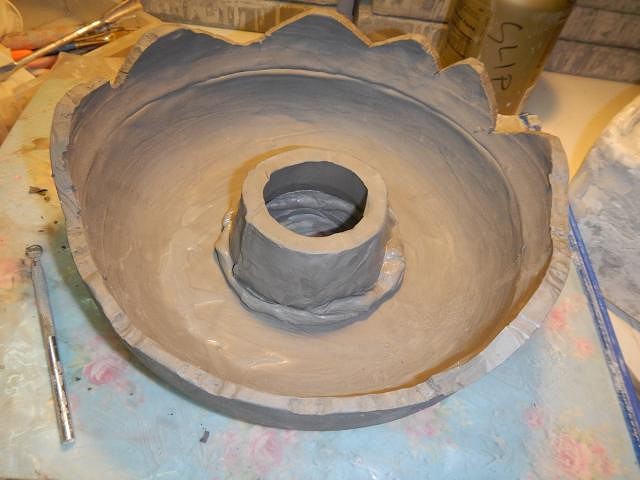
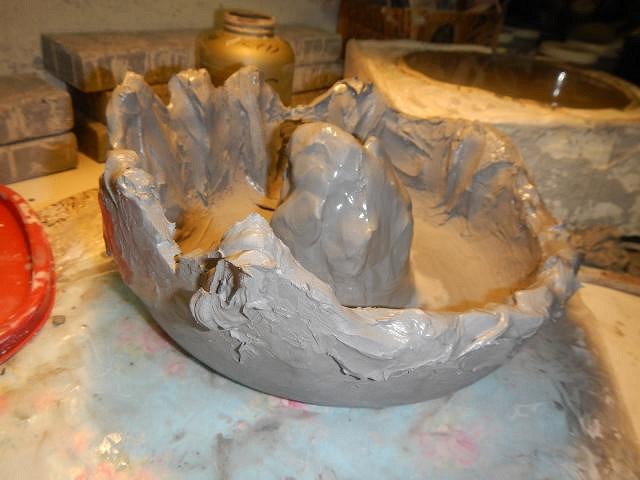
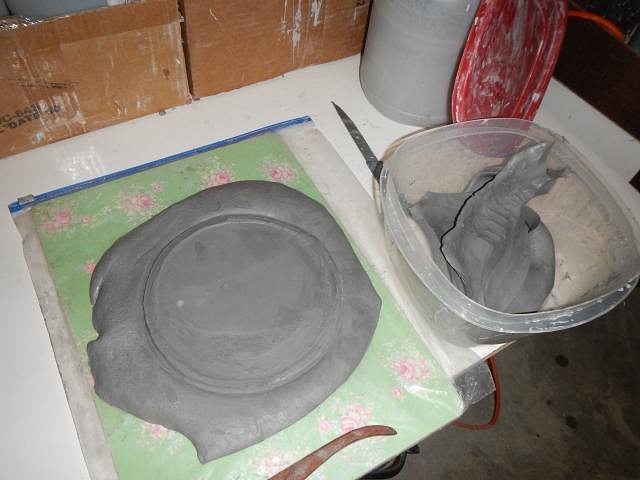
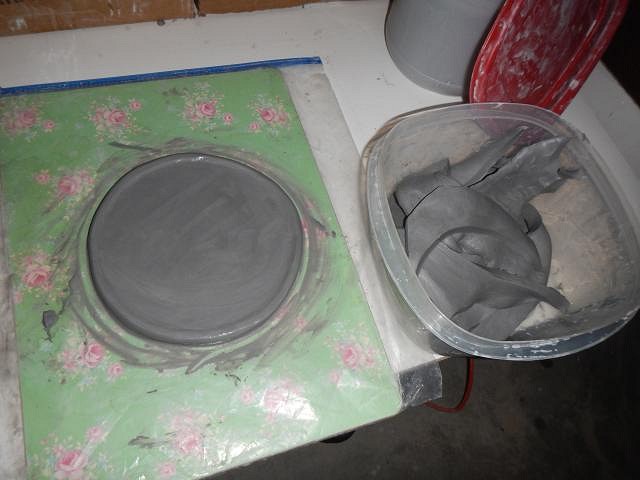
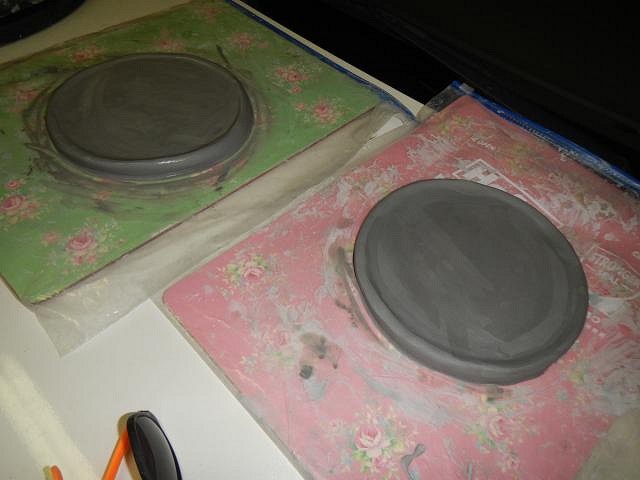
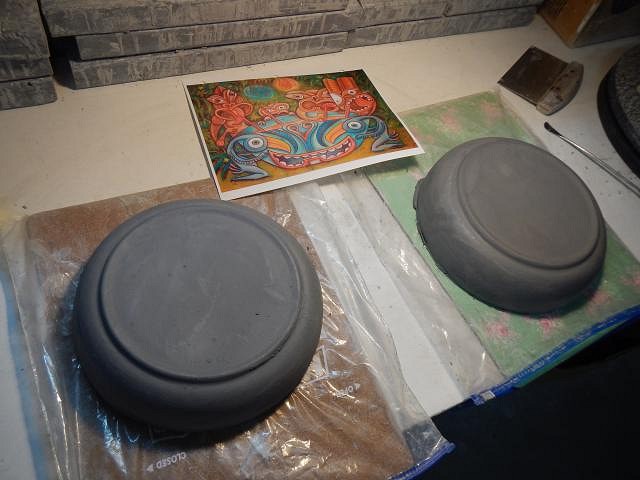
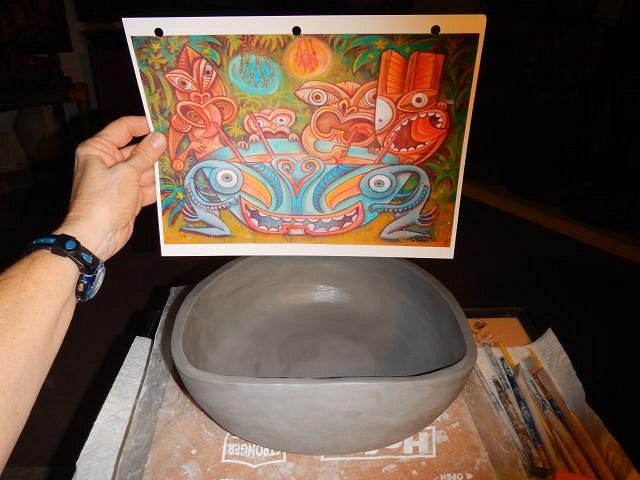
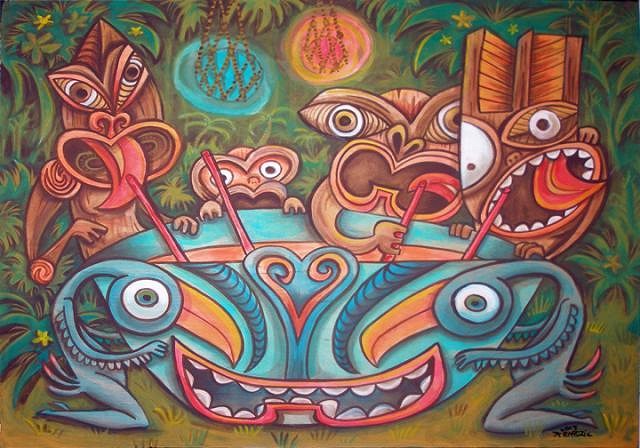
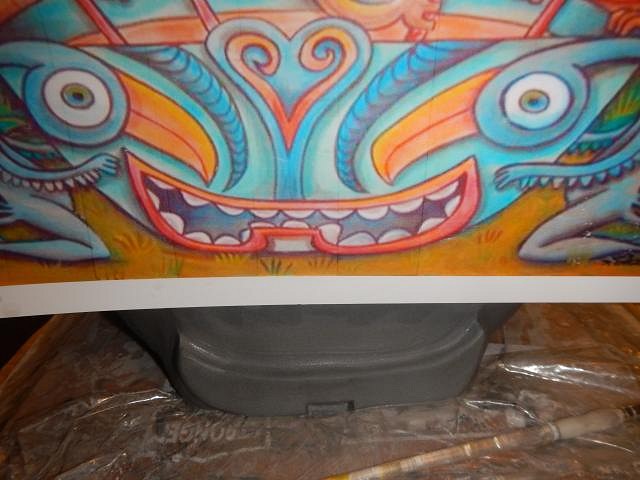
Tikiwahini wonderful. No worries. If he falls apart in the kiln I'll make him again. It's easier the second time around. LoriLovesTiki thank you. Getting it all put back together was harder than making him. I hope he is fine. It's awhile before I fire these. I need to make a whole load first. hang10tiki what a fun trip. It's also nice to have closure by going to a cemetery. The one I visited was at Trinity Church on Manhattan Island, New York. I wanted to see where Alexander Hamilton was buried. He was right next to Robert Fulton who invented the steam ship. I wonder if they new each other. RVICTOR thank you, the challenge will be the glazing. Progress Report on Wish List #6 Jen Tiki's bowl based on little lost tiki's painting (with his permission) I will be making the bowl minus the background tikis hanging on it. I cast a bowl on August 29th. I put plastic wrap on it so it wouldn't stick and Dan flipped it over onto a board for me. The next day we removed the mold and wrapped the bowl in plastic. Once the mold was dry we did it again. I need taller sides for this bowl and I need to combine the two and trim off the excess. 6 weeks have passed and it's time to make Jen Tiki's bowl. I start to cut the first bowl to add to the second and find that it has dried out and is super brittle. It just breaks up. I know that I'll not be able to use these for her bowl. So now I need to see if I can make something else. So the part still intact I add to the second bowl. I cut out the center. I will use this for a necklace. Next I start to build a volcano. Then I add clay to the sides. I hope that keeping this in a bag for a month will help all the clay to come to the same state of moisture. If it doesn't it will crack. Here's how it looked at the end. Backside. So after the crawl ended I cast two more bowls. Today I added slip to the edge of one and then some sticky clay so that I can stick them together. I lifted the second bowl into place and then they both just started melting. So I cut off the excess clay and saved the two centers. I'll think of something to use them on in the future. So now it's the Goldilocks' story. One was too dry and one was too wet. The next two will have to be just right! It's not just Gilligan who gets in trouble. Cheers, Wendy [ Edited by: danlovestikis 2015-10-14 13:28 ] |
|
J

JenTiki
Posted
posted
on
Wed, Oct 14, 2015 4:21 PM
Aw man! I was all excited to finally see my name in the title of the thread! I knew this one would be a challenge, but I know you're up to it and I guess I'll try to be patient a bit longer. |
|
D
danlovestikis
Posted
posted
on
Thu, Oct 15, 2015 9:05 AM
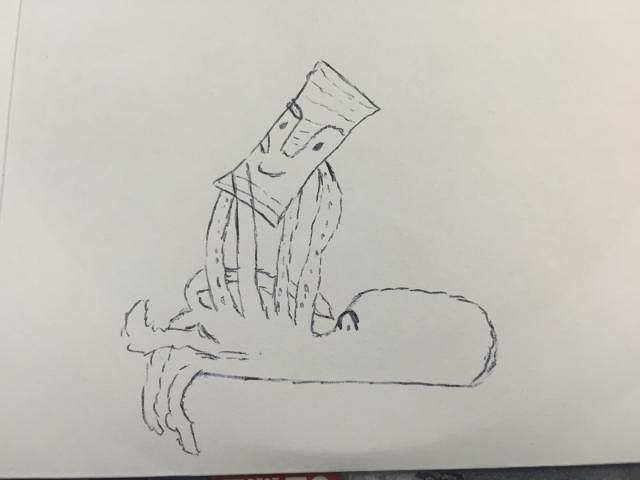
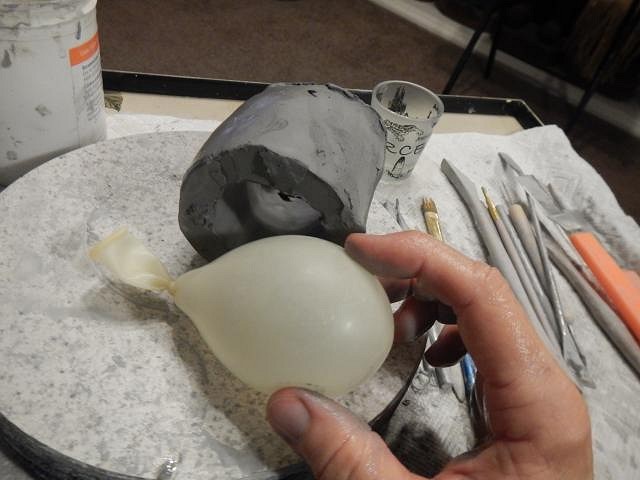
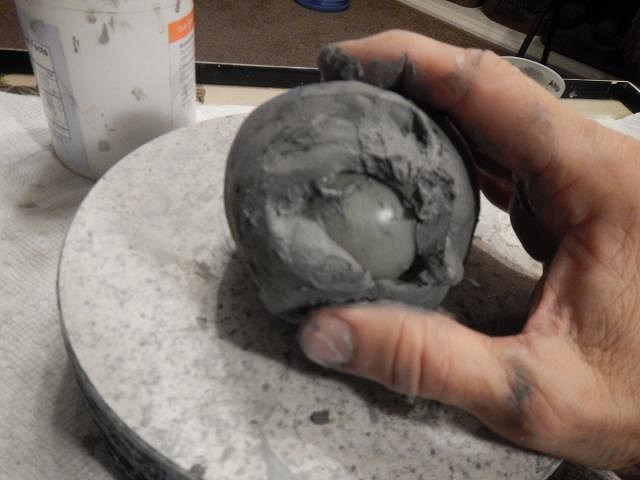
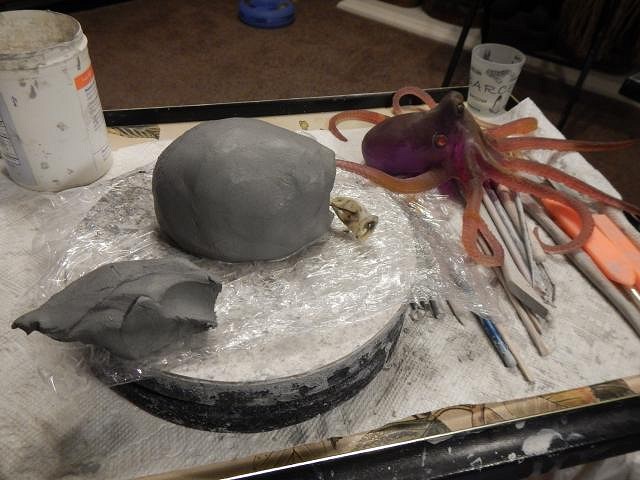
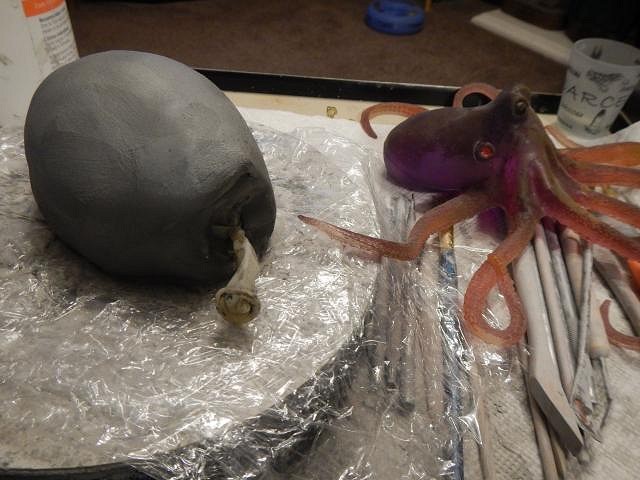
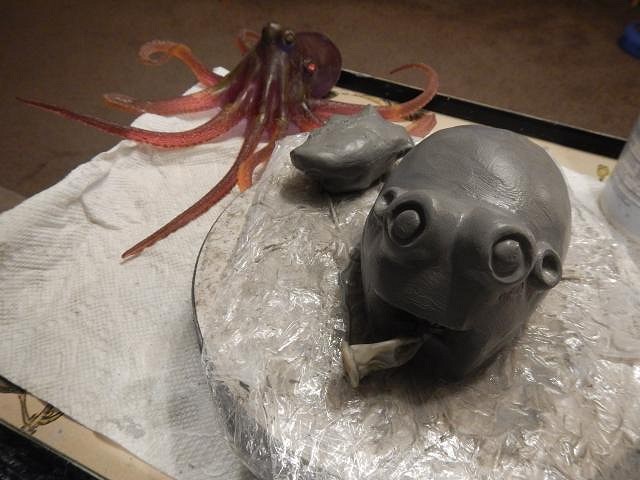
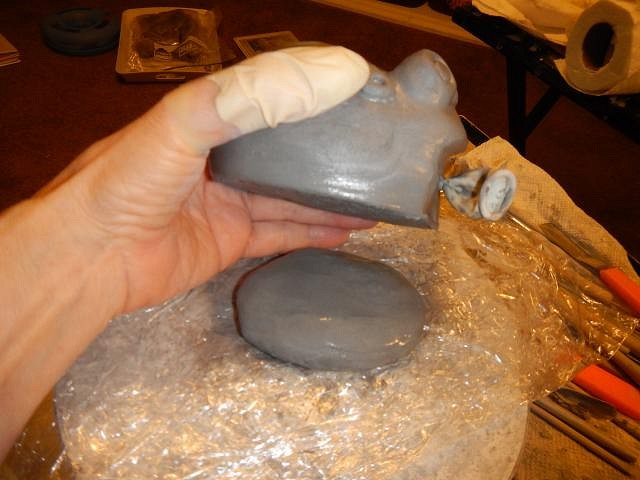
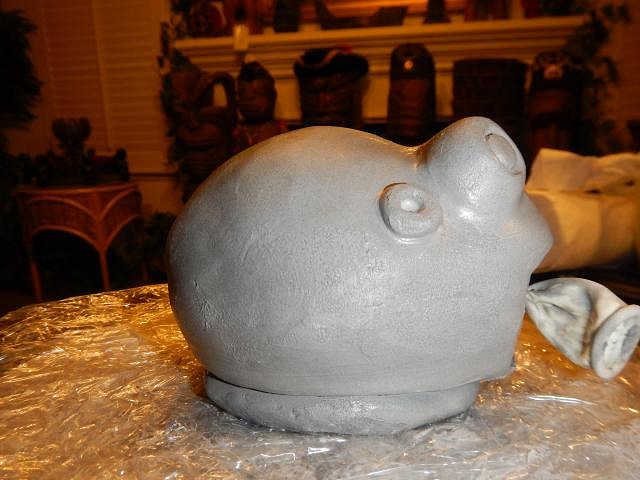
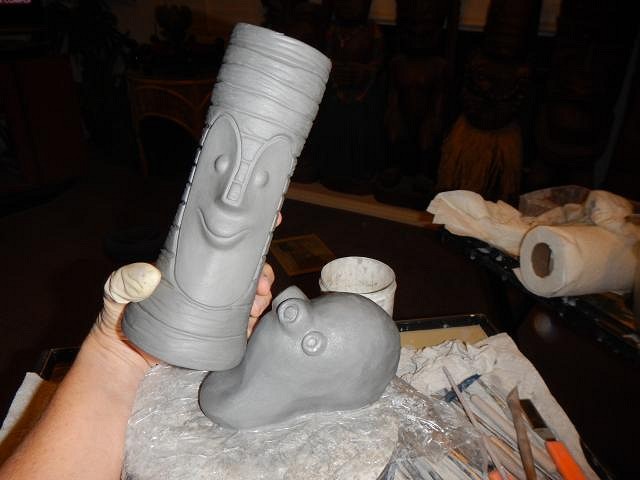
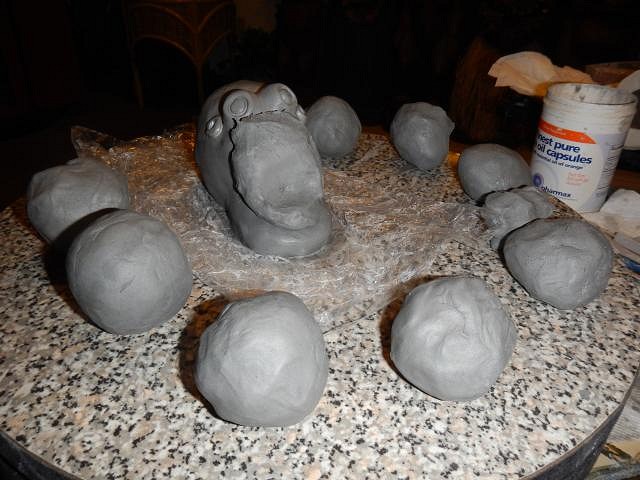
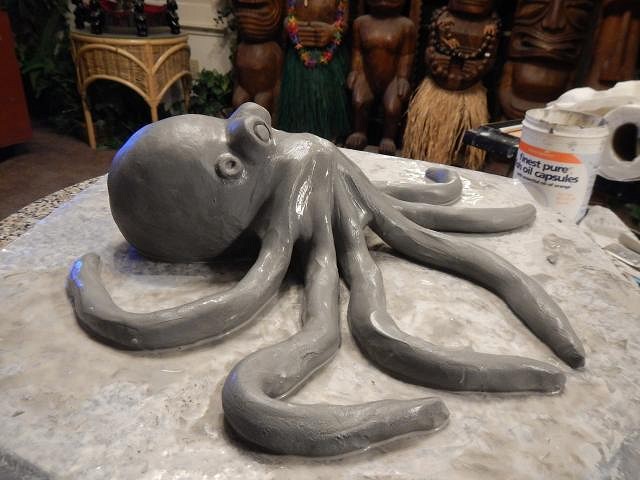
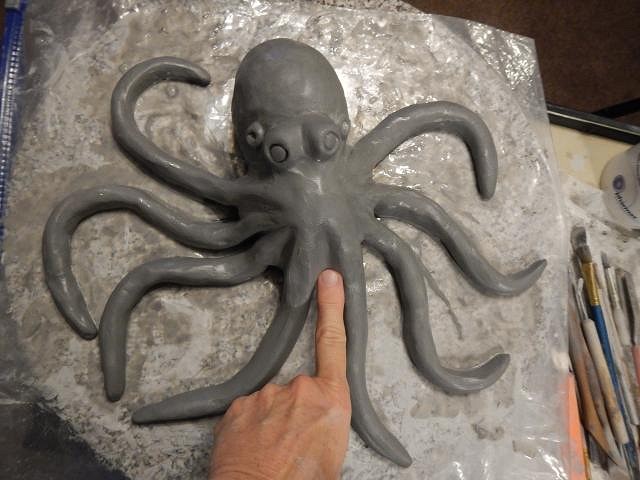
JenTiki we will pour the next bowl later today. So I learned that 6 weeks in the plastic is too long and 1 week is too short. The bowls felt fine as I put them together and then like the Wicked Witch they began to melt. The bottom bowl couldn't support the weight. I think I'll flip them over after a week and let them dry in the bag the the top exposed for awhile. =============================== Wish List #6 Progress Report, this time for lunavideogames aka Treg. Treg's idea was to have a Tiki Bob floating in the ocean until one day he was captured by an octopus. This is his drawing to help me understand the project. I thought about what I would have to do to build the octopus. I remembered how a balloon is used with paper Mache, why not with clay. I stuck the balloon into a ring of clay. I added more clay to cover the ends. Dan's dad gave him this octopus years ago and I barrowed it to use as a guide. I smoothed it until I was happy with the shape. I added octopus detail. Smoothed again. The octopus will hold a lot of weight so I decided to add more clay to the bottom for both weight and strength. Suck on with sticky clay. I will smooth the bottom until it is part of the body. Next I poked the rest of the balloon inside of the body and closed it inside. I will eventually need to remove the balloon. I have a plan. Here I am just starting to add clay for the tentacles. That's it for today. Cheers, Wendy |
|
L
lunavideogames
Posted
posted
on
Thu, Oct 15, 2015 11:48 AM
What a great artist I am! :wink: Wendy that picture will be worth money someday :) :) :) I am excited to see how this progresses... |
|
D
danlovestikis
Posted
posted
on
Fri, Oct 16, 2015 7:29 AM
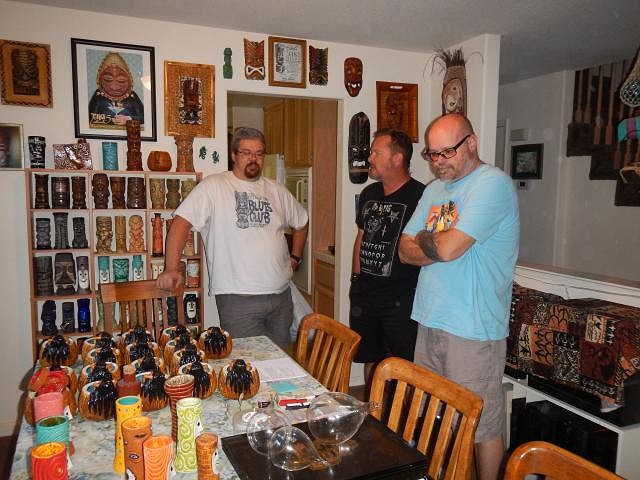
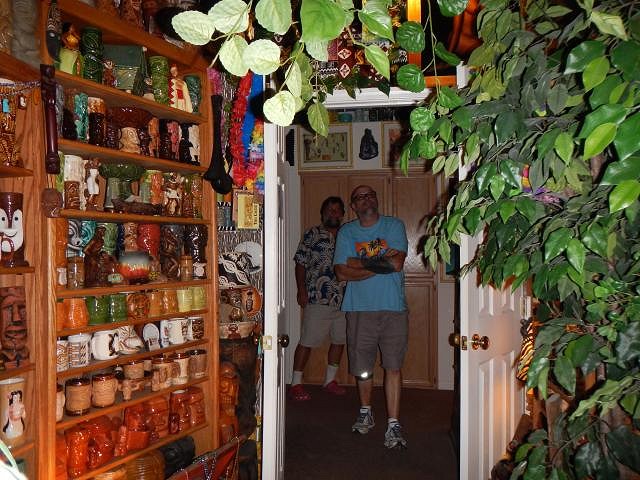
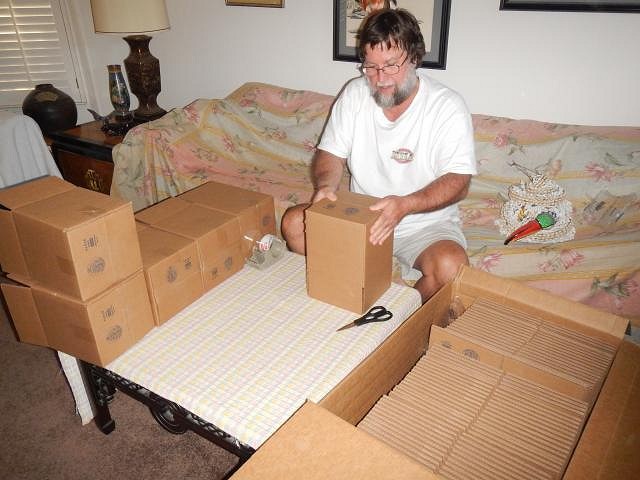
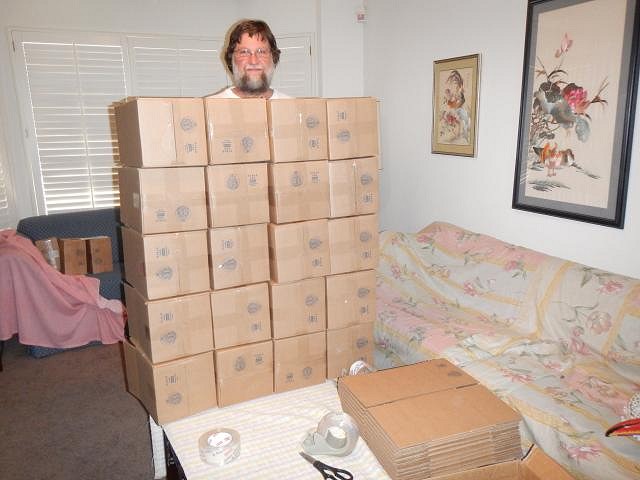
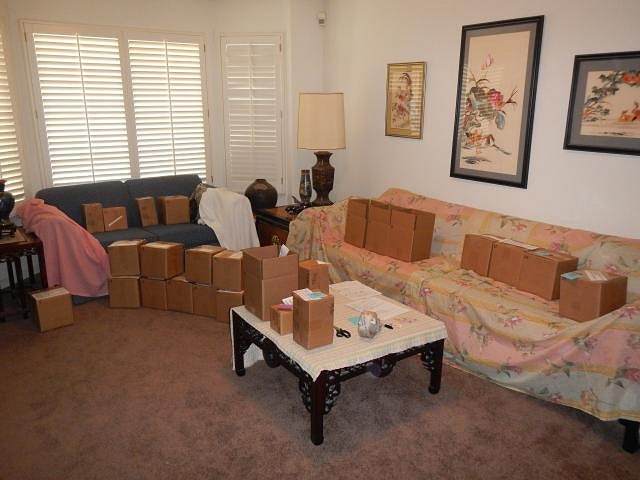
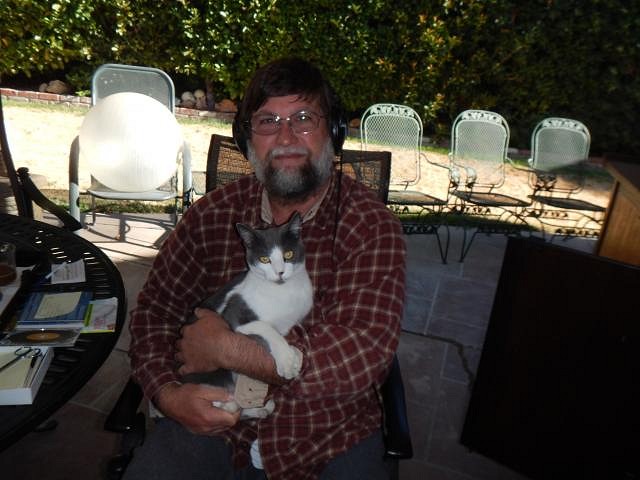
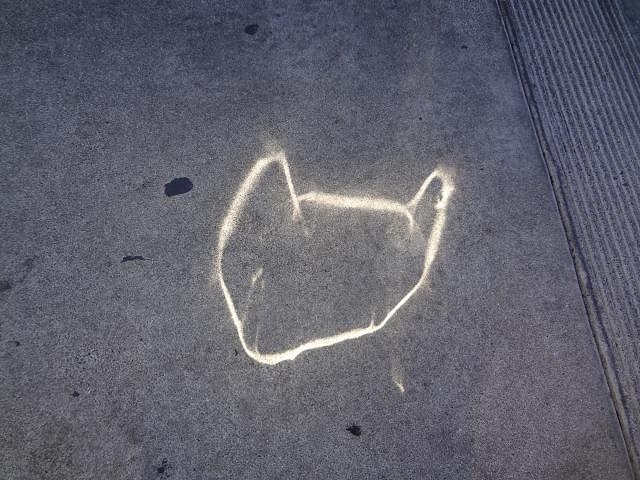
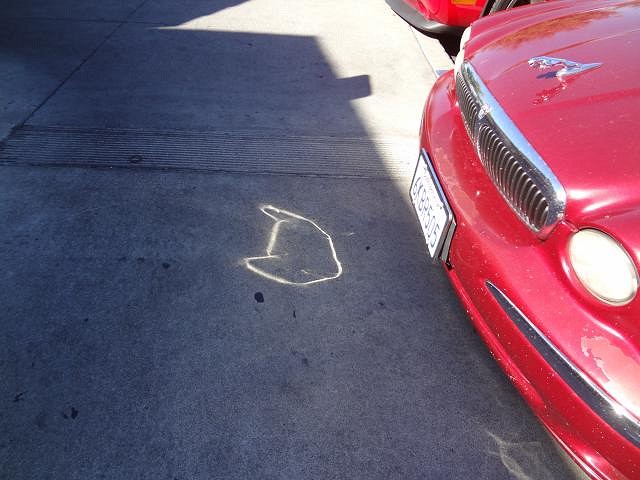
Catch ups. On Sunday we had a fun visit with Psycho Tiki D and Tiki Hula. Also in our group were Mahalo Tiki. There was one last look at the Hot Tub Hula Girls before they were boxed up for shipping. I have now made 30 of these mugs. I have a waiting list so I'll be making a few more over the next few months. We took Duane's friend for a tour. The next day Dan went to work boxing the mugs. It wasn't a fast job and my living room was back to being a tiki factory. These have all shipped. I love coincidences. A cat came into our backyard and was very friendly. We both got to play with it. Once it ran inside our home. Then Dan and I went out to lunch. When we came outside to leave we found this reflection. We couldn't figure out what was doing it so we guessed it was a message from our new friend. Progress Report #6. The next steps for... lunavideogames keep your drawing with the mug and you'll see that what you did surpassed what I could do with clay!
Another fun day playing with clay. Cheers, Wendy |
|
H

hang10tiki
Posted
posted
on
Fri, Oct 16, 2015 11:41 PM
That's freekin awesome |
|
D
danlovestikis
Posted
posted
on
Sat, Oct 17, 2015 10:14 AM
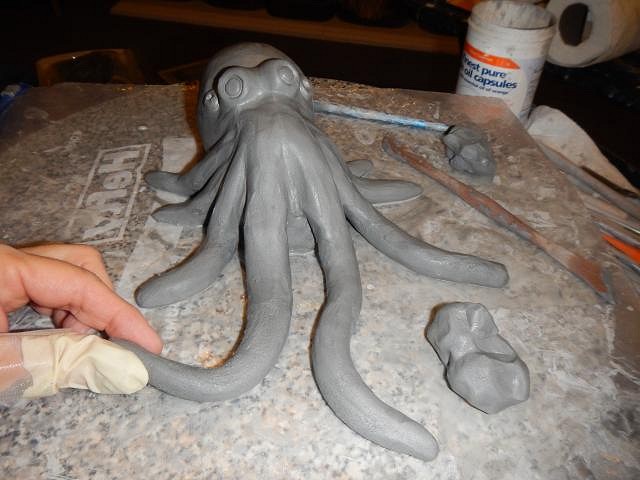
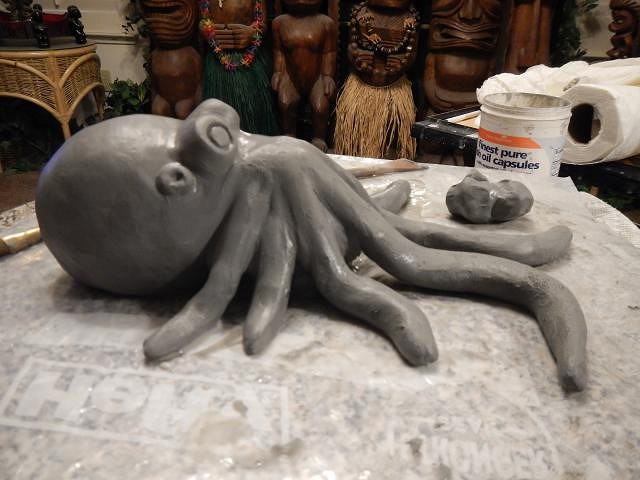
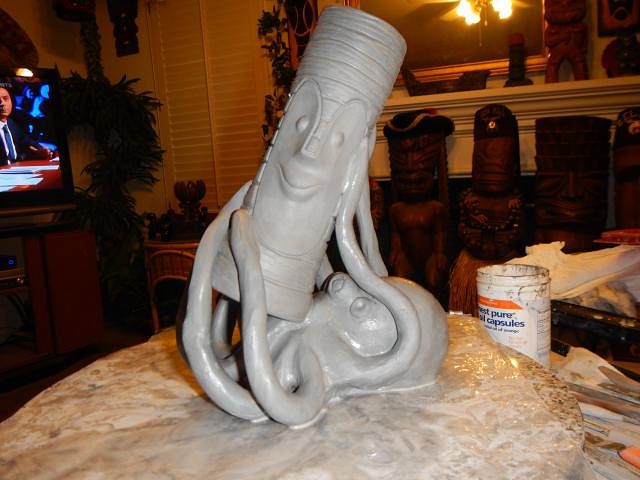
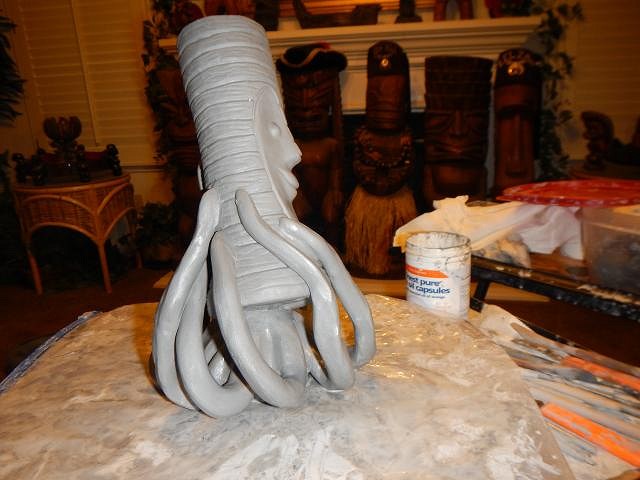
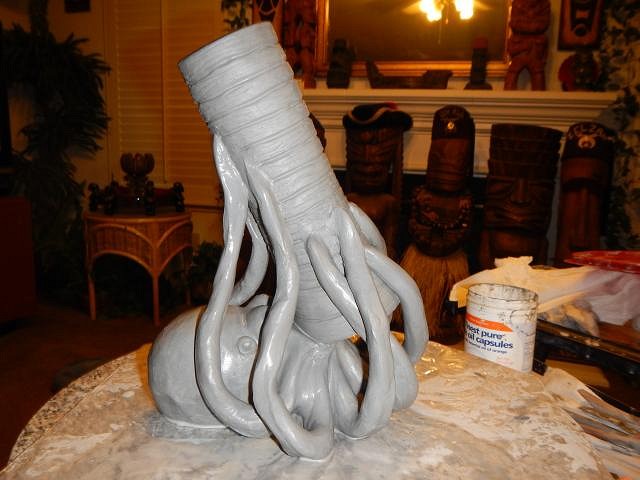
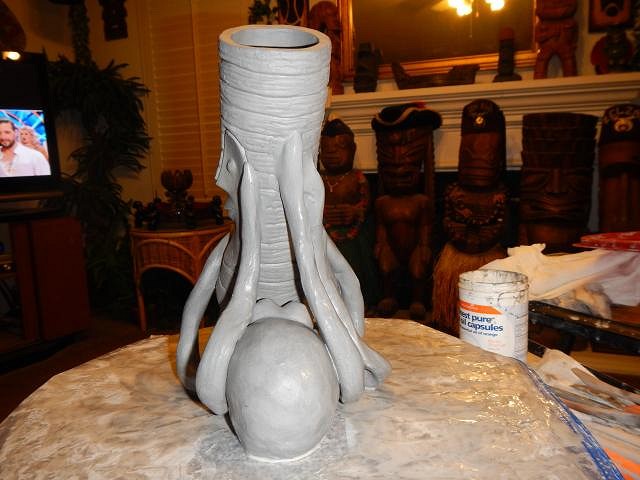
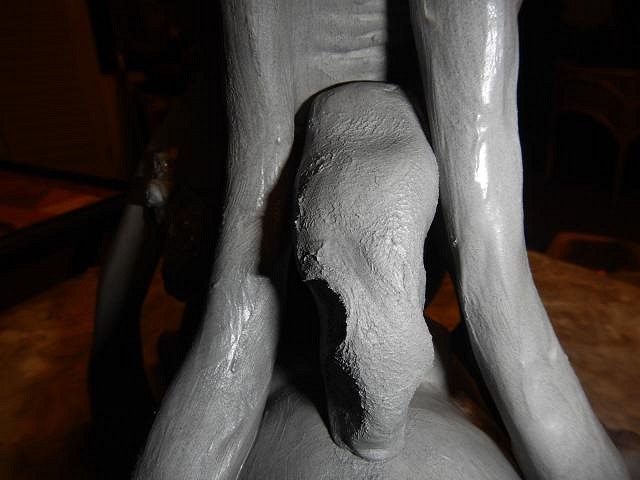
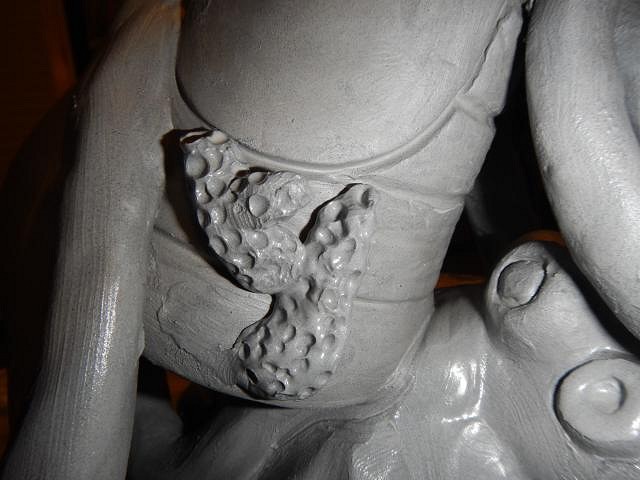
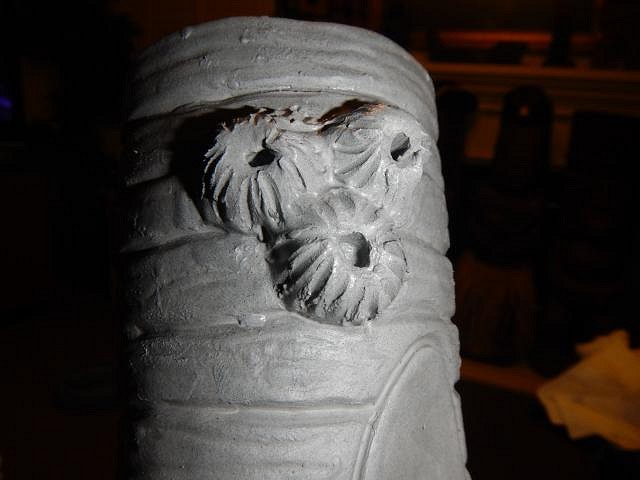
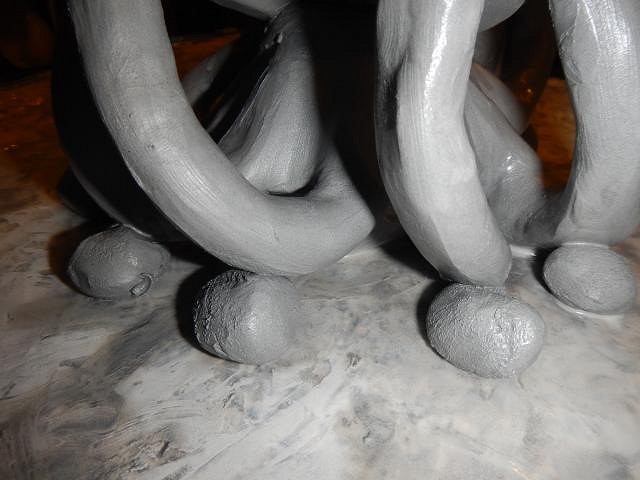
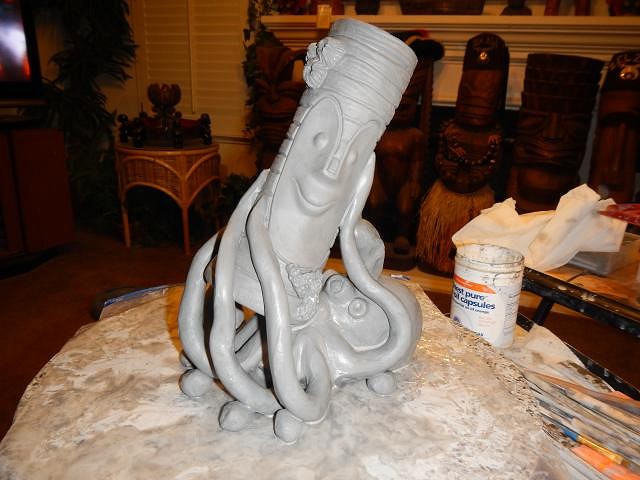
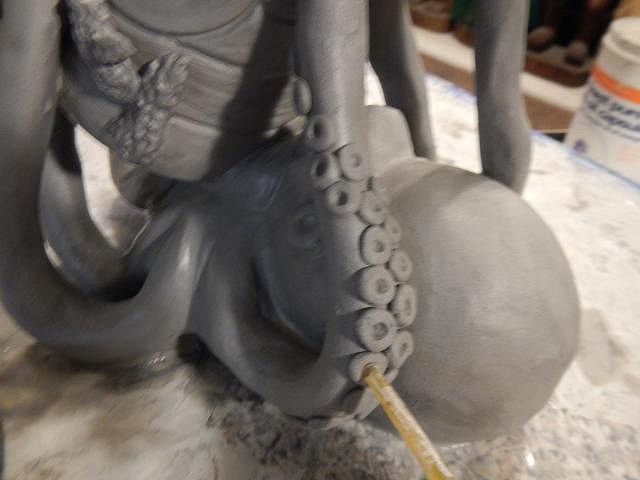
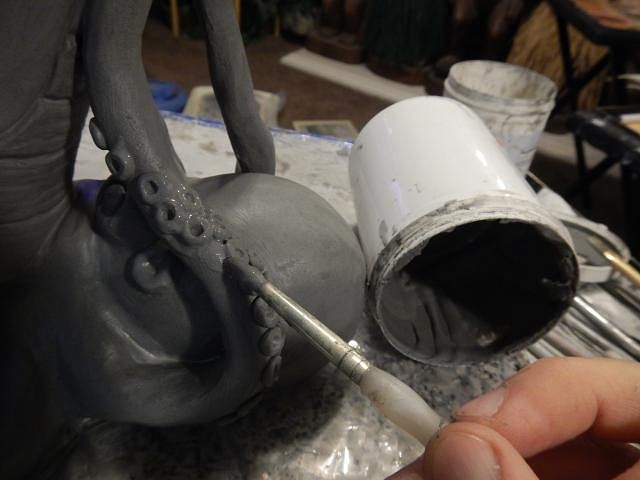
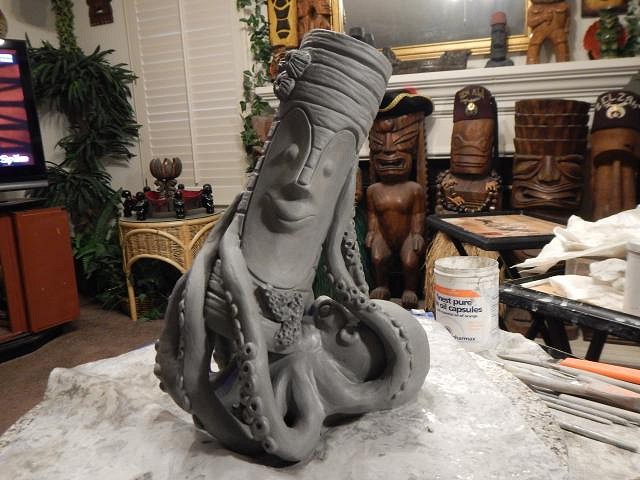
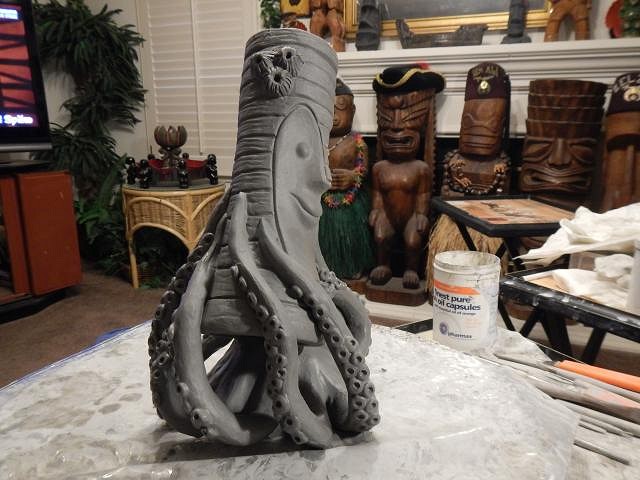
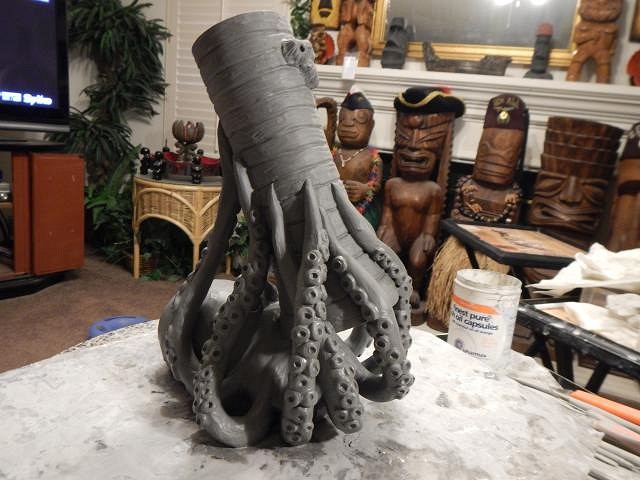
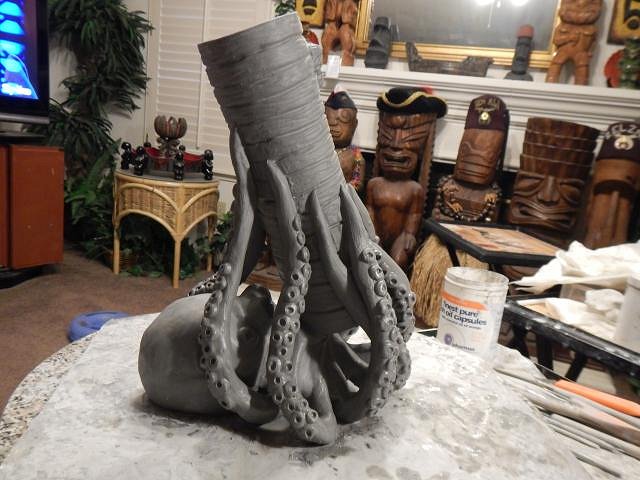
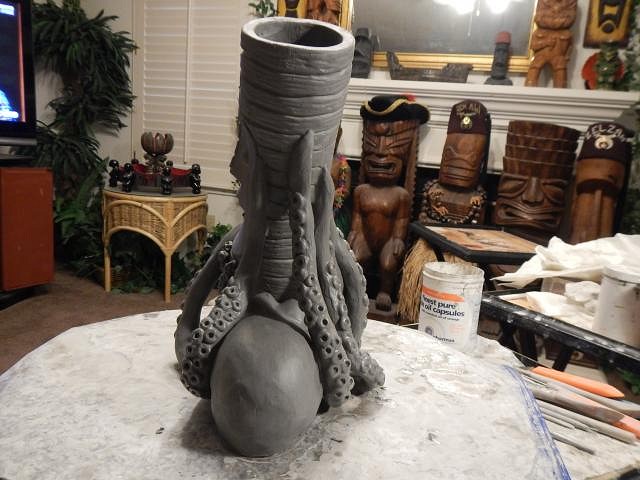
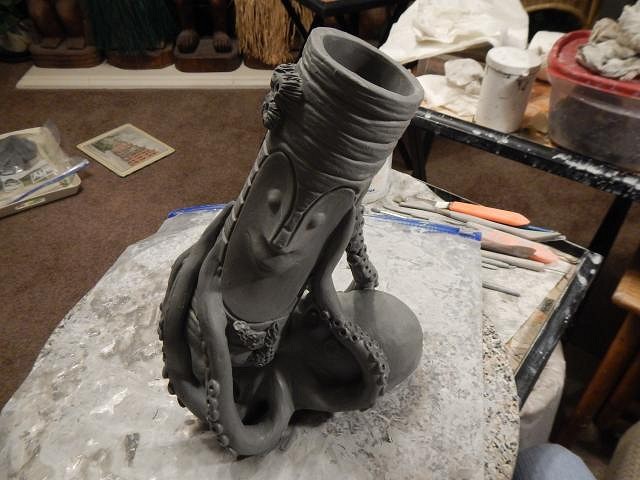
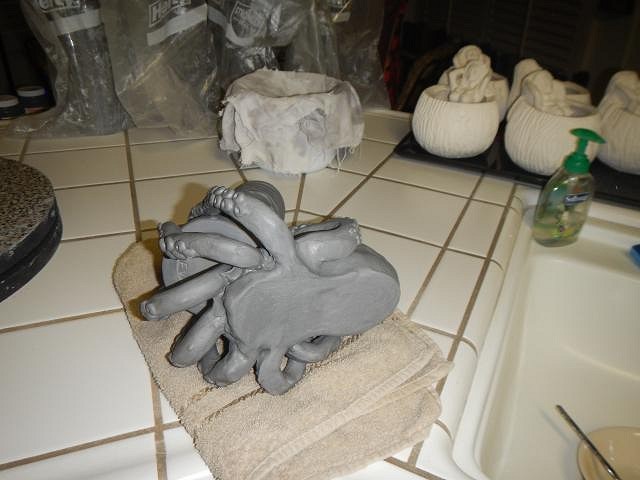
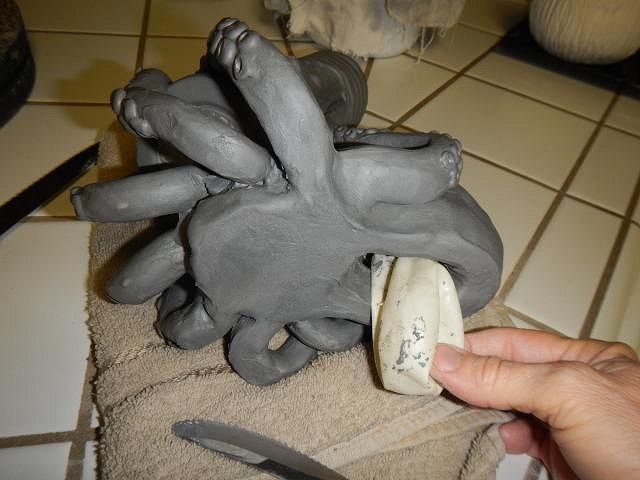
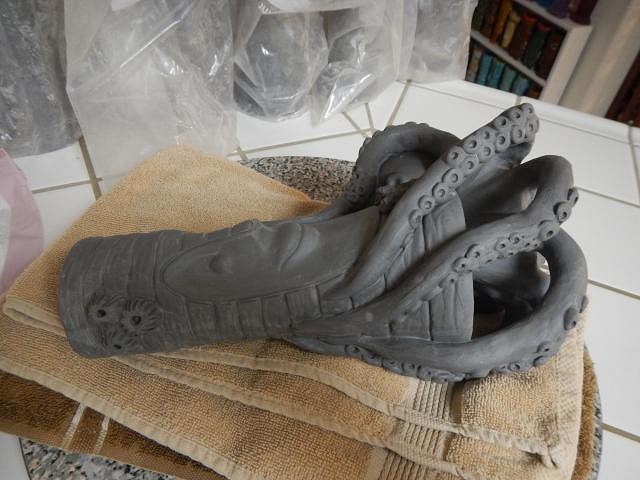
hang10tiki for a split second I thought you and Jonelle were coming here. Treg, you lucky guy, a visit from either of you two are on my Wish List. ======================= Wish List #6 more steps for lunavideogames Octopus vs Tiki Bob. These are the steps that show how I had to make it. If I didn't support Tiki Bob with the octopus body I couldn't make it. This was so tricky. Dan had to help. A tentacles up here... rotate and place another tentacle opposite. Legs at the back. Tentacles at the front of the octopus. Once I had them all up I used clay supports to keep Bob from pulling on the tentacles too much. This is soft wet clay. Tiki Bob was in the water a long time before he was trapped. He has a piece of coral growing on his body. He even has barnacles. I had to support the tentacles. Some legs broke and had to be repaired during this time. lunavideogames I hope this works for you. Next up will be all those little suckers!!! Wendy |
|
L
lunavideogames
Posted
posted
on
Sat, Oct 17, 2015 10:53 AM
Looks pretty great so far! I am excited to see how it turns out!!! |
|
D
danlovestikis
Posted
posted
on
Sun, Oct 18, 2015 7:54 AM
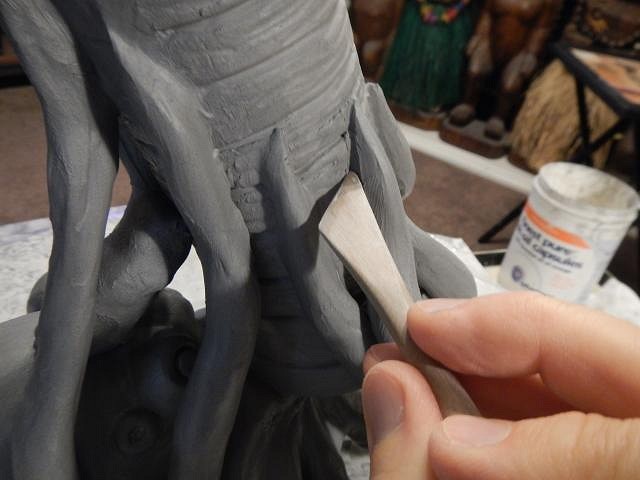
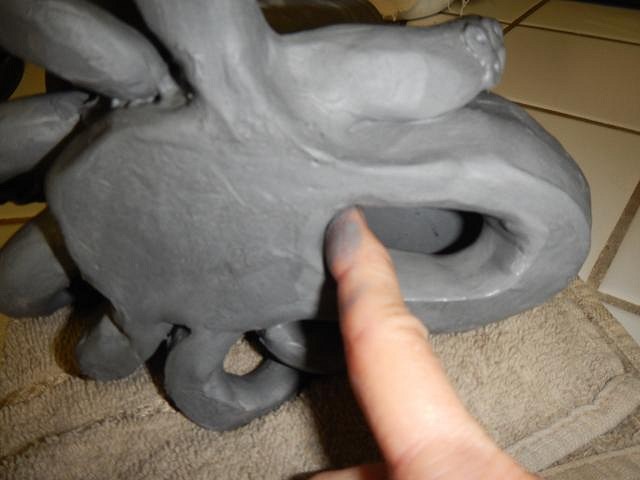
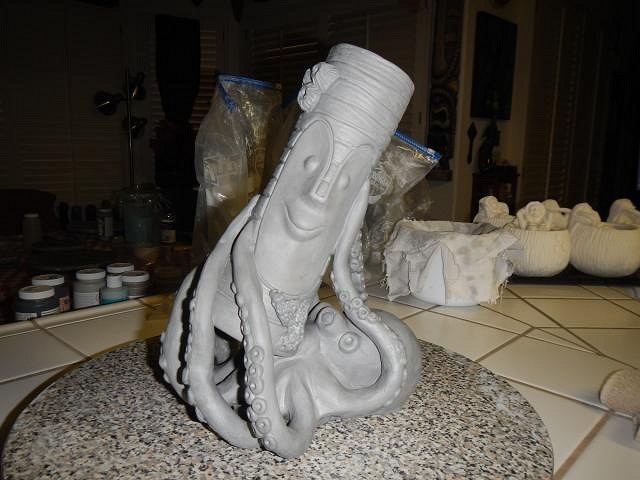
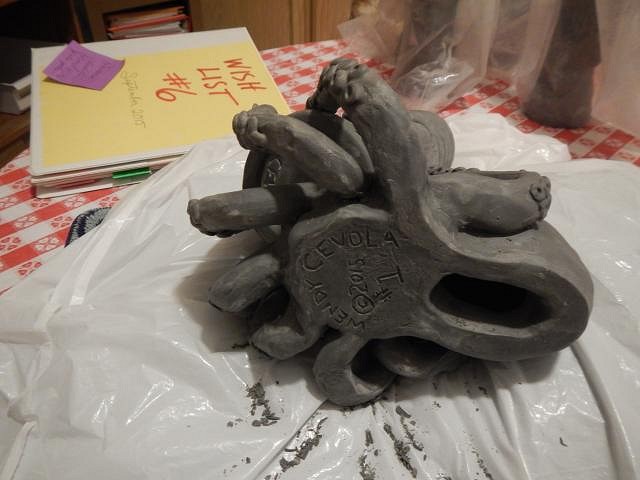
Wish List #6 the end of the step by steps for the Octopus vs Tiki Bob mug. lunavideogames here are the final steps to sculpting your piece. I've had two "I want one of these" so far. How do you feel about more being made? Yours says #1 on the bottom. The next step was to carves around each tentacle attached to Tiki Bob. The tentacles need to look separate from his body, not blended in. Next I started making all the little suckers. One by one and attaching them to the tentacles. After they were all in place I painted clay slip around each one. The tentacle suckers are under the octopus and as he lifted them at the tips he had to rotate the suckers toward Bob to trap him.
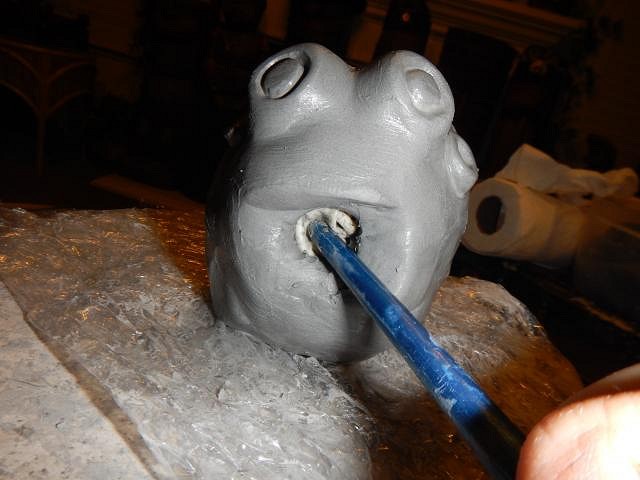
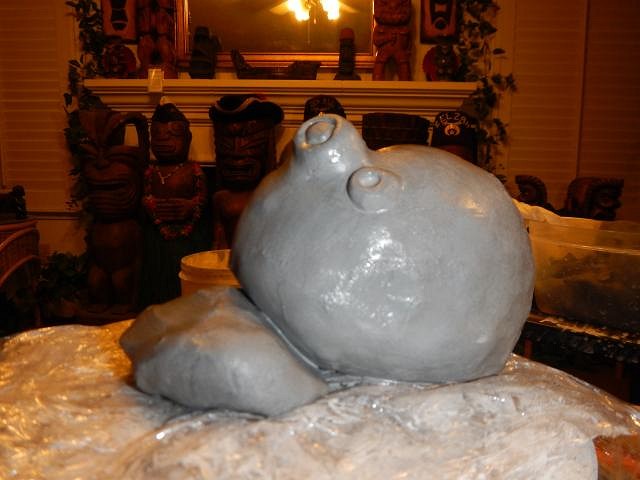
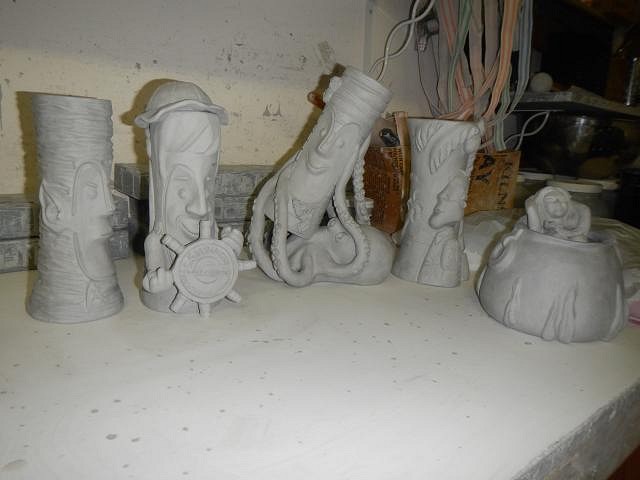
I cut a hole in the bottom of the octopus body. I punctured the balloon and then removed it. I smoothed it with water. Pinup photo of Tiki Bob. I protected him when I put him on his side. However I didn't want him to dry out so I quickly put a layer of plastic over the towel. I carved in my information on the bottom. He has been in and out of a plastic bag for weeks. He had to be dried very slowly. Now he's with friends. I need to make everything and dry them before I fire again. No deadlines.
He dried without cracking a major obstacle to get passed. Cheers, Wendy |
|
L
lunavideogames
Posted
posted
on
Sun, Oct 18, 2015 5:05 PM
Looks amazing Wendy!! Great job. The octopus looks so real. I am glad to hear it didn't crack. Hopefully it will make it through the glazing process. Thanks for putting so much work into it, and for even humoring my request for such a huge task. It is better than I could have imagined.
Thanks for asking Wendy. Yeah I would love it if more people could add this mug to their collection. It is up to you how many of these you will want to make, I am sure it is a lot of work. It was just my idea, your artistic talent is what shines in this mug in my opinion. |
|
L
lunavideogames
Posted
posted
on
Sun, Oct 18, 2015 5:12 PM
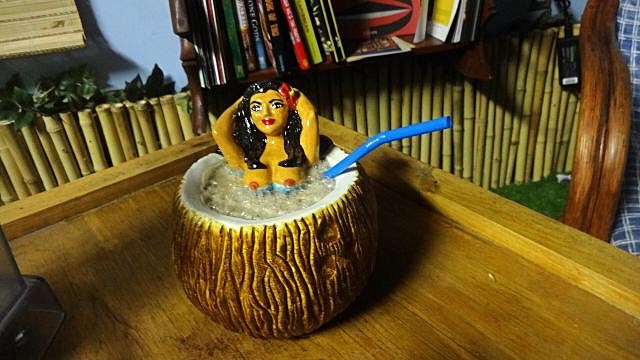
Also, I received the Coconut Hot Tub mug on Friday and put it right to use...
It took 2 Three Dots and a Dash to fill up (6 Dots and 2 Dashes?). Great mug. Thanks! |
|
B
bkrownd
Posted
posted
on
Sun, Oct 18, 2015 5:28 PM
That's one happy hula girl! |
|
H

hang10tiki
Posted
posted
on
Sun, Oct 18, 2015 5:56 PM
Wendy- looking good Treg- that drink looks great |
|
D
danlovestikis
Posted
posted
on
Mon, Oct 19, 2015 7:56 AM
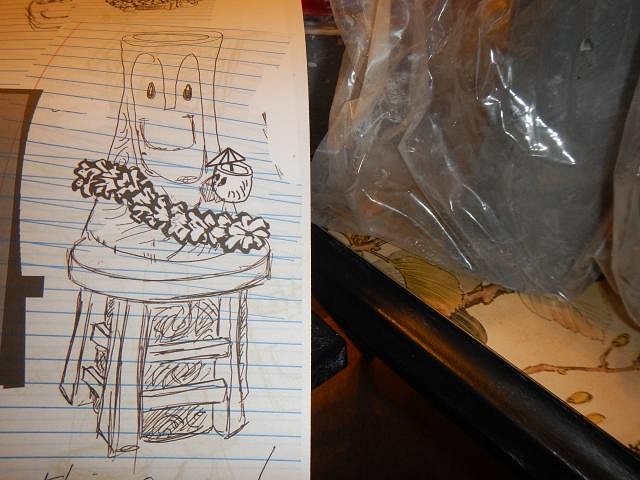
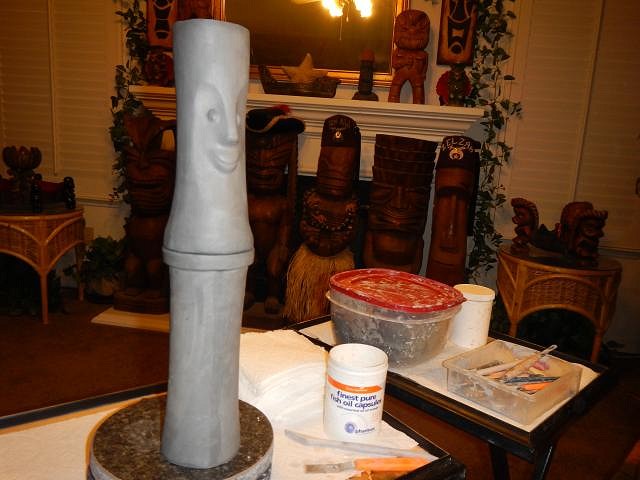
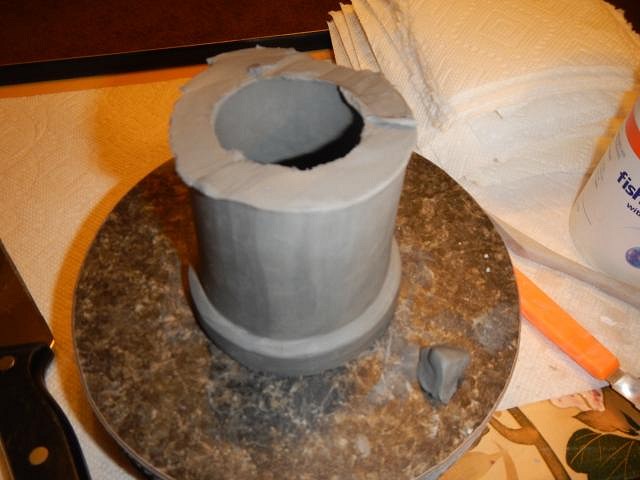
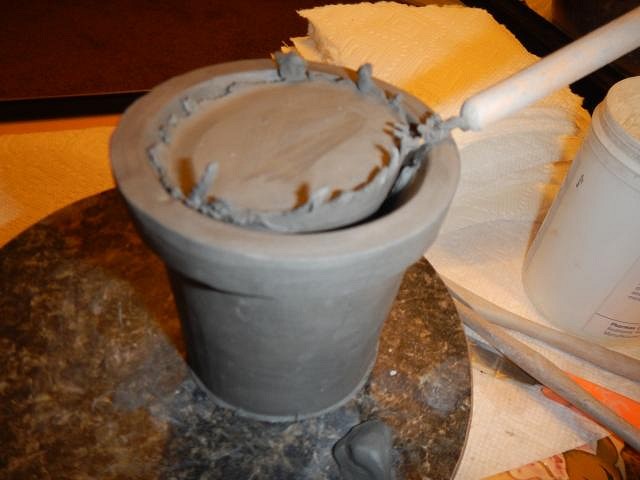
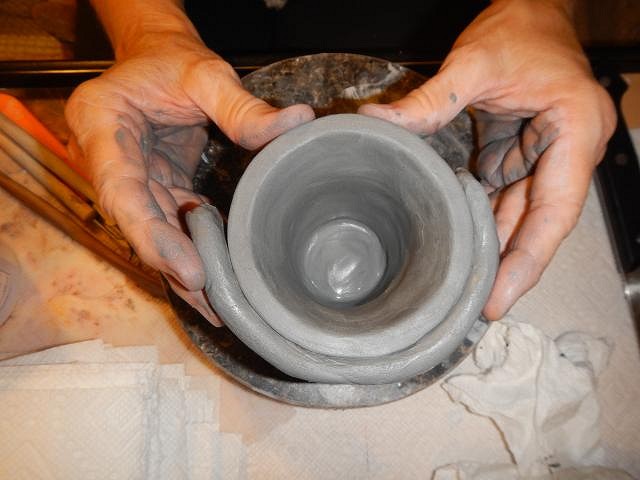
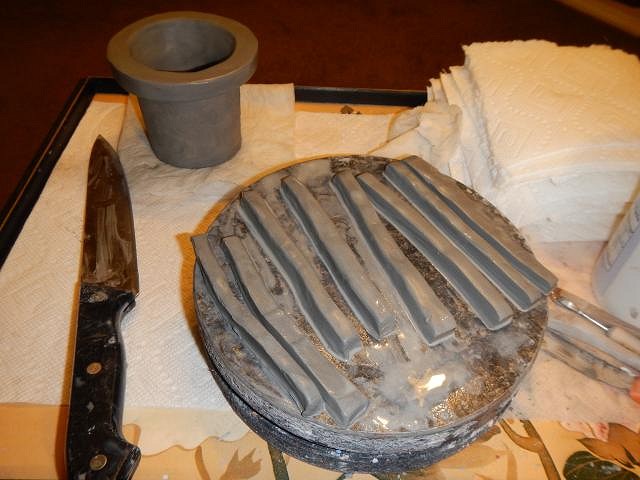
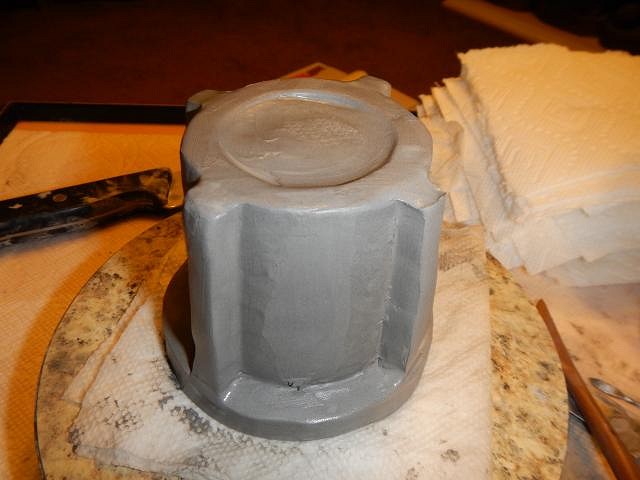
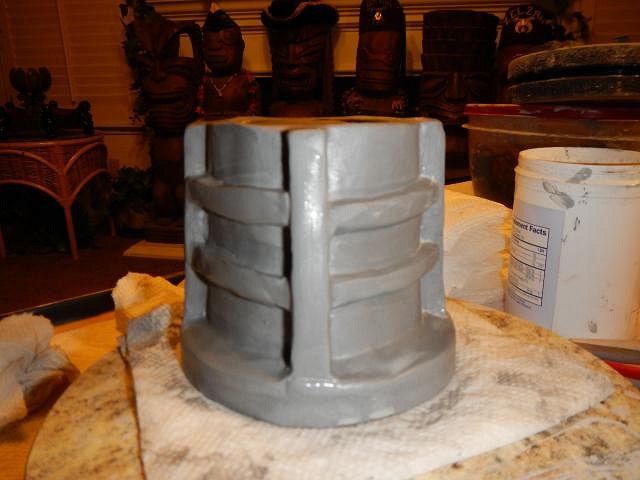
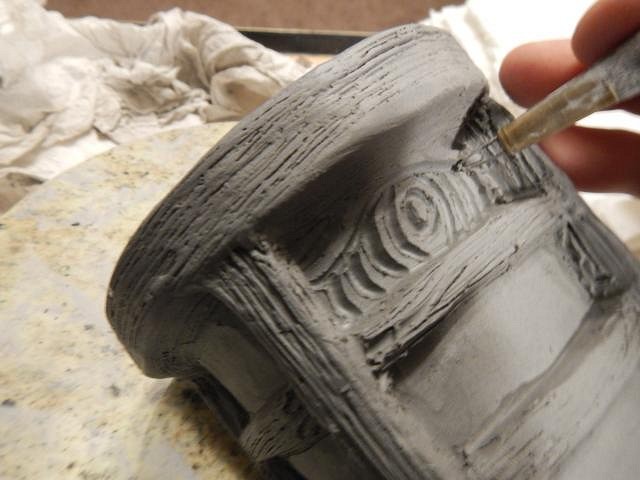
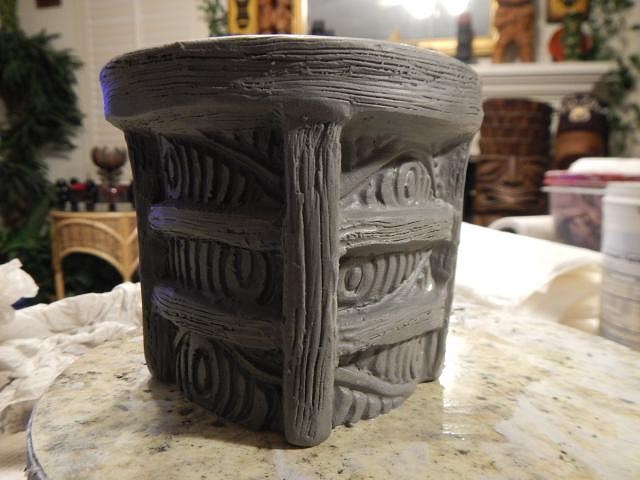
lunavideogames the best part will come with glazing. This will be a challenge but I'm still looking forward to doing it. I'm so happy you are OK with the way I had to sculpt it. It will be less likely to break during use. Thank you for the option of more in the future. RVictor just gave permission for me to do the same with the Tiki Modern mug I made for him on the last Wish List. Would you like your name added to the bottom of this one? lunavideogames were you at the Dots and Dashes bar? bkrownd I hope you'll post a photo of your mug after it arrives on Monday the 26th. hang10tiki thank you always. ================================== Wish List #6 continues on... There is a page on facebook dedicated to the travels of Theo Stool. To see all the places that the Stool travels too you can friend him. He even made it to Tiki Oasis this year. For this Wish List his owner requested that Tiki Bob be sitting on the Stool. He drew this photo for me. HOW MANY STEPS DOES IT TAKE TO MAKE A STOOL? I can here a joke coming. First I found a fogcutter mug that would work. I cut the bottom of the mug off. I cut out the bottom and put it at the top. He requested that the mug be open to the bottom of the stool. The I made the top wider so it would better resemble a stool. You can also see the new bottom. To make the stool I needed a lot of boards for legs and cross supports. Legs. Cross supports. Now I turned it over. A day later I started some detailing. Here I sharpened up the right angles. He requested a Maori design in the recesses. All done for now. Don't for get to check out Theo Stool's travels. Cheers, Wendy PS he just posted a link to instagram. Theo Stoll has met some famous people. |
|
H

hang10tiki
Posted
posted
on
Mon, Oct 19, 2015 8:13 PM
HOW MANY STEPS DOES IT TAKE TO MAKE A STOOL? At least you didn't ask: How many stools are on the steps. |
|
D
danlovestikis
Posted
posted
on
Tue, Oct 20, 2015 7:18 AM
hang10tiki I was hoping for a comment like yours. It proves that someone read all those words I typed. Thank you! ======================== Wish List #6 the Theo Stool Bob is finished. He requested hand holding a coconut cup. Lori these sure are popular. attached them. Close up. I started all the hibiscus flowers of the lei. Then I added sticky clay to the stool and stuck on Tiki Bob. All done and posing.
Now I'm on to the next Wish! Cheers, Wendy |
|
D
danlovestikis
Posted
posted
on
Wed, Oct 21, 2015 9:11 AM
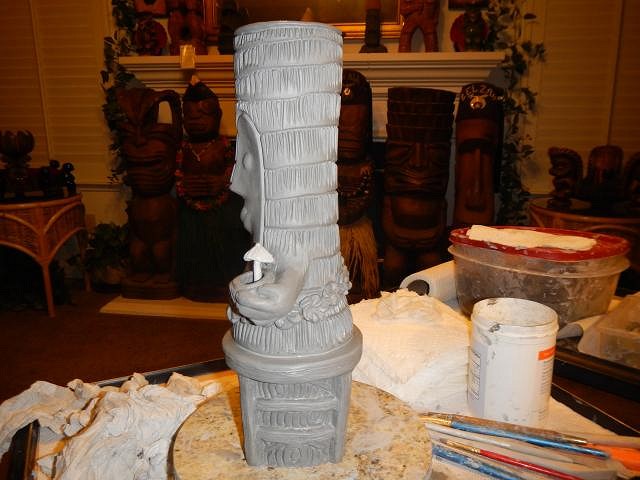
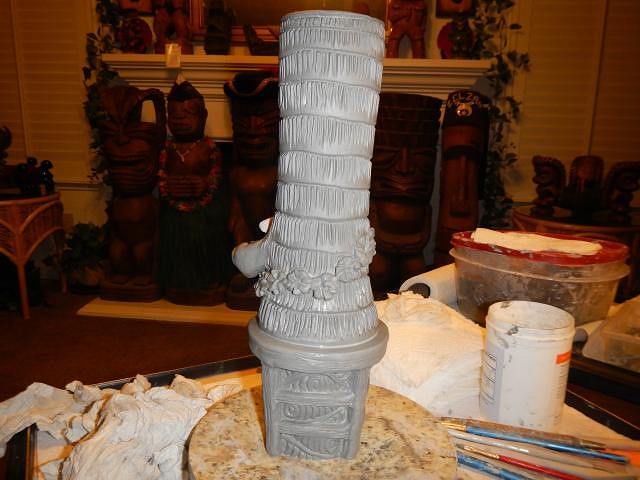
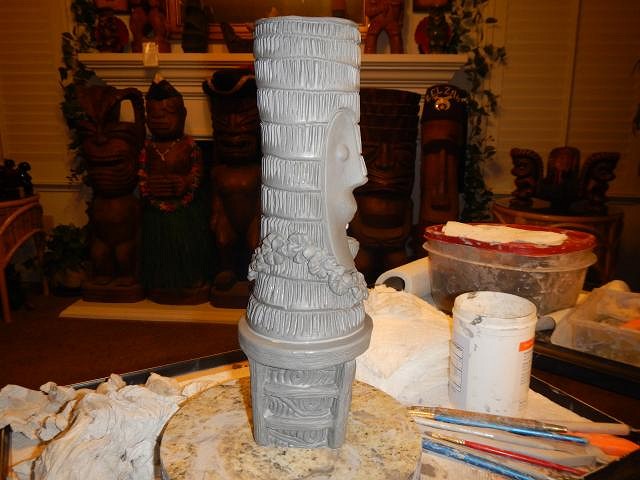
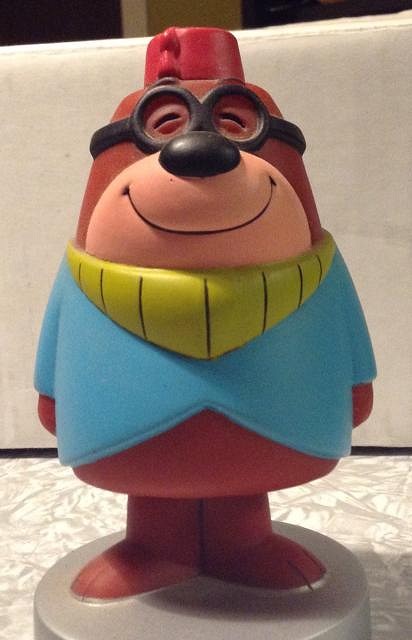
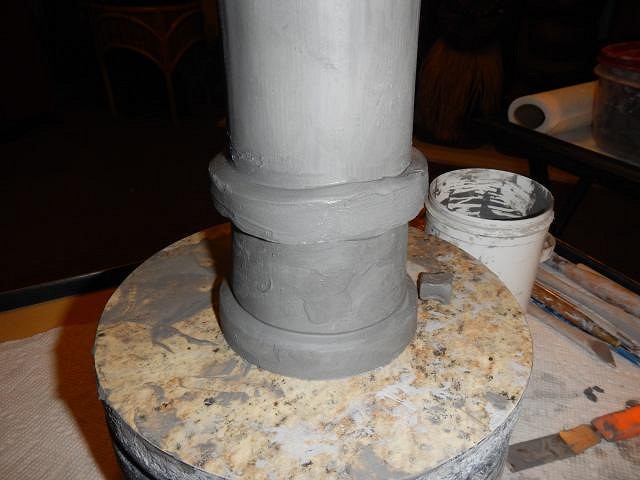
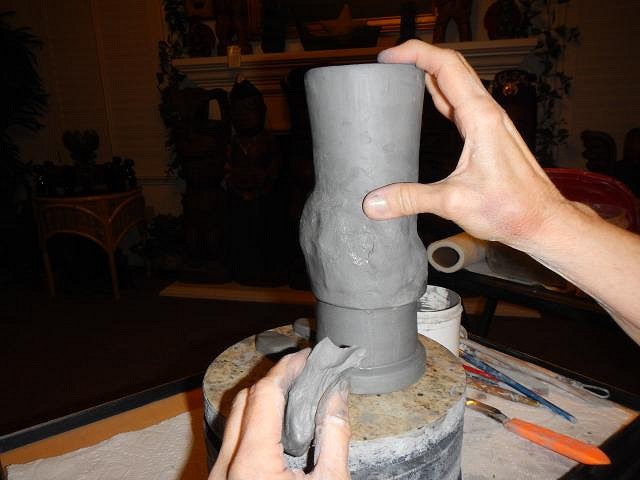
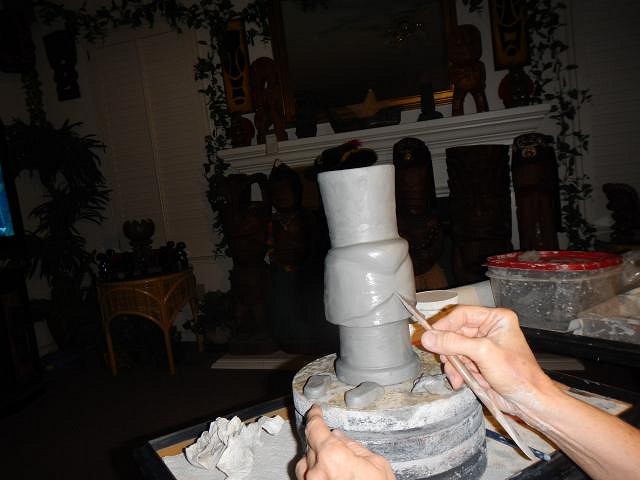
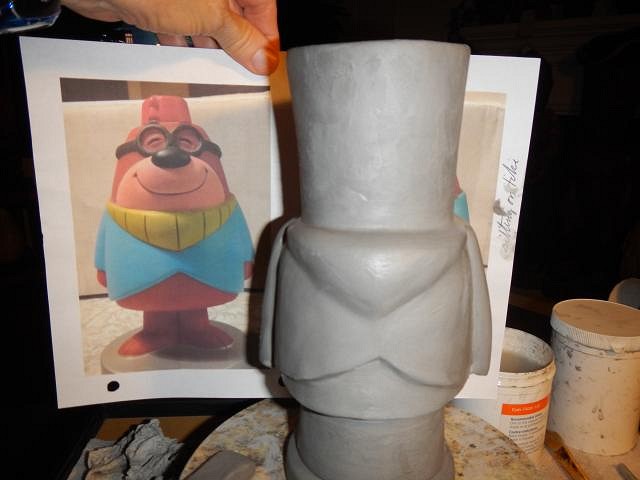
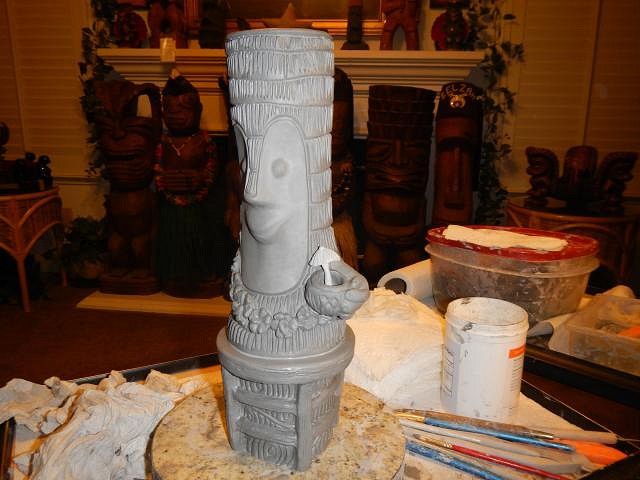
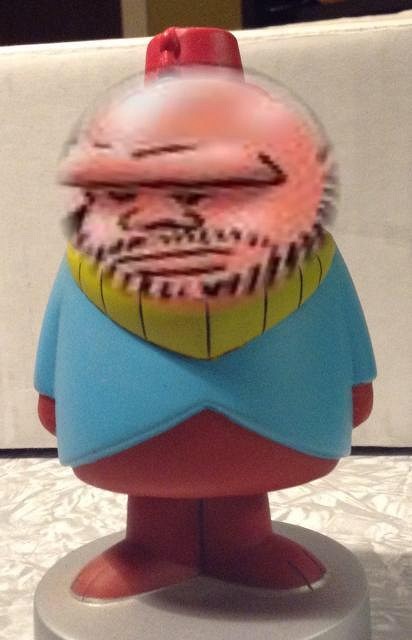
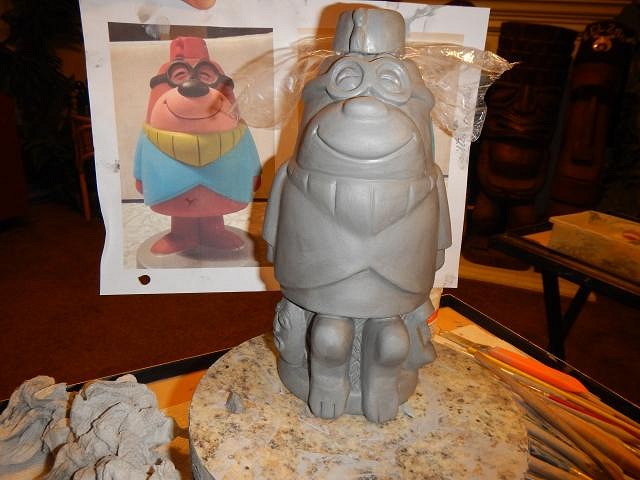
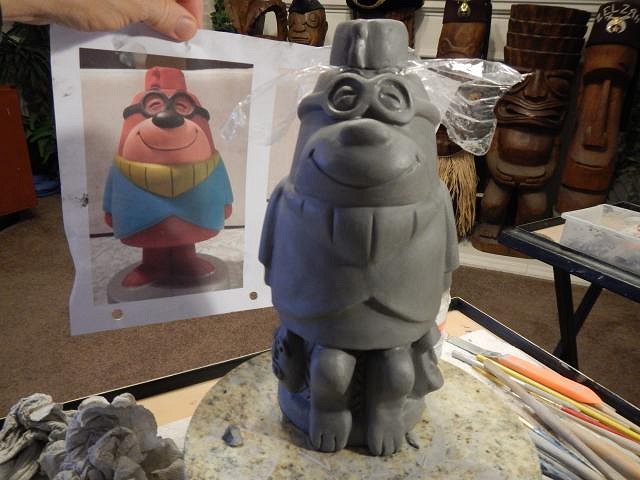
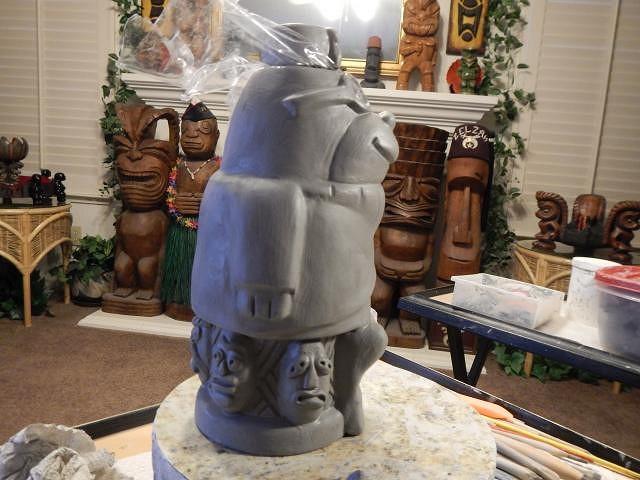
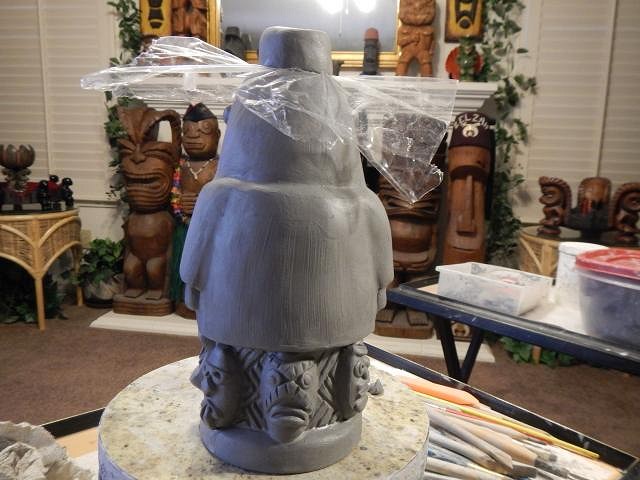
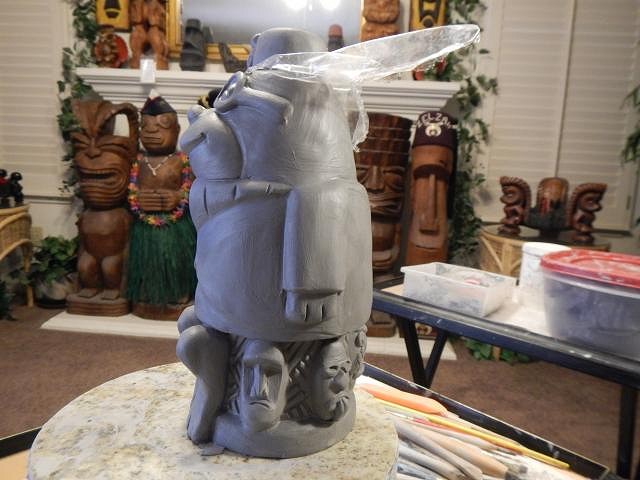
Wish List #6 continues on with a cartoon character combined with tiki for Muskrat aka Keith R.
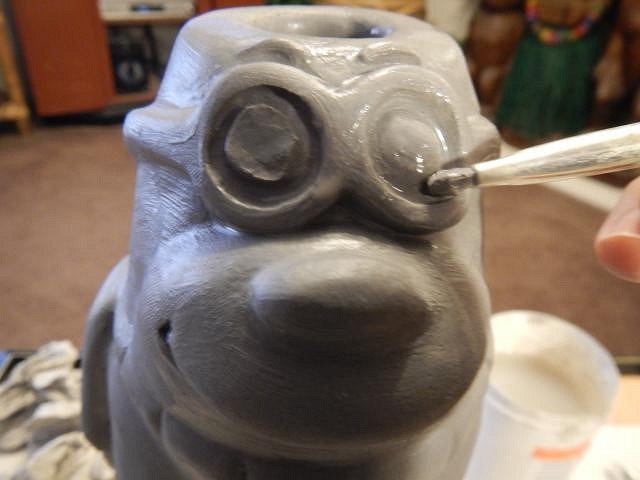
Here's the first 3 days of progress. I started with a fogcutter mug and added a ring of clay to be the bottom of the shirt. Then I began to build the body. Shirt and scarf detail are added then arms and then hands. We had decided the legs were to skinny to support the weight so we put him sitting on a tiki seat. I made tiki masks and placed them all the way around the seat. I made some glasses for him and put them on his face. While he is relaxing on his tiki seat I started his fez. I made a straw hole in the fez and added the tassel. I made sure it fits. Day four begins tomorrow. Cheers, Wendy |
|
H

hang10tiki
Posted
posted
on
Wed, Oct 21, 2015 7:08 PM
Wow
And this one is Grog-o-licious
|
|
B

bamalamalu
Posted
posted
on
Wed, Oct 21, 2015 7:29 PM
More Wows! I love everyone's new design ideas (fun surprise seeing Morocco Mole!) And the execution is incredible - that Bob/Octopus mug is a marvel. |
|
D
danlovestikis
Posted
posted
on
Thu, Oct 22, 2015 6:36 AM
hang10tiki Tiki Bob just does so many conversions it's hard to count them. I still go back and look at the composites you made of all the past Bobs. That was a wonderful gift. bamalamalu your post is why I do this. I'm a ham and I love to read the comments so much. Thank you. It's also fun for me to open a Wish List and to see what everyone's Wishes. ======================= Wish List #6 another one done. Muskrat's Morocco Mole (thank you bamalamau) us finished and ready to slowly dry for the next month. This is why I'm making more of the Wishes rather than glazing what has already fired. Nothing is fast in ceramics.
He's a happy guy. Thank you all for the visits, Wendy |
|
D
danlovestikis
Posted
posted
on
Fri, Oct 23, 2015 10:01 AM
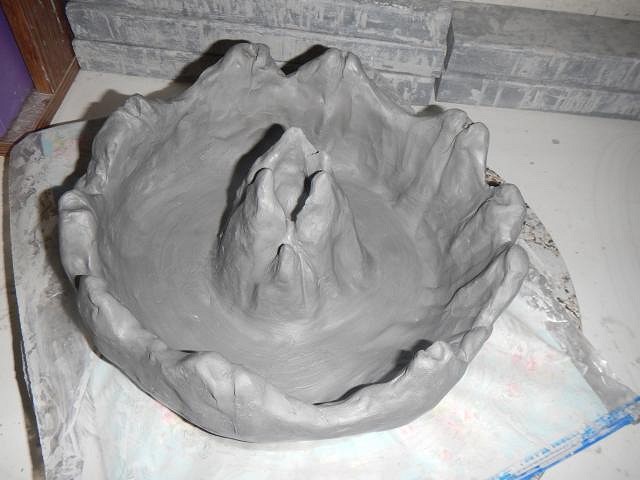
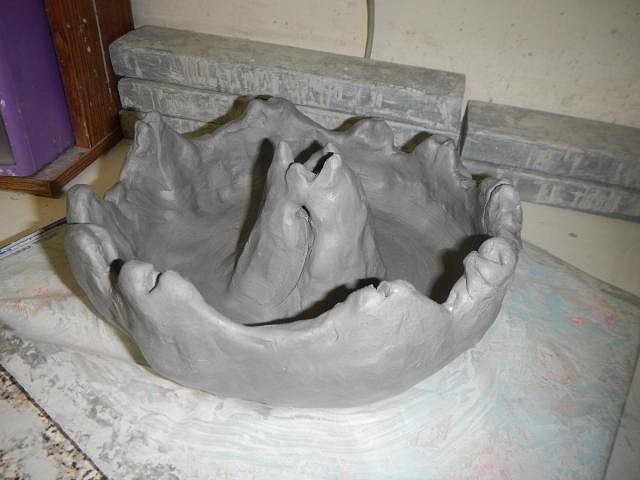
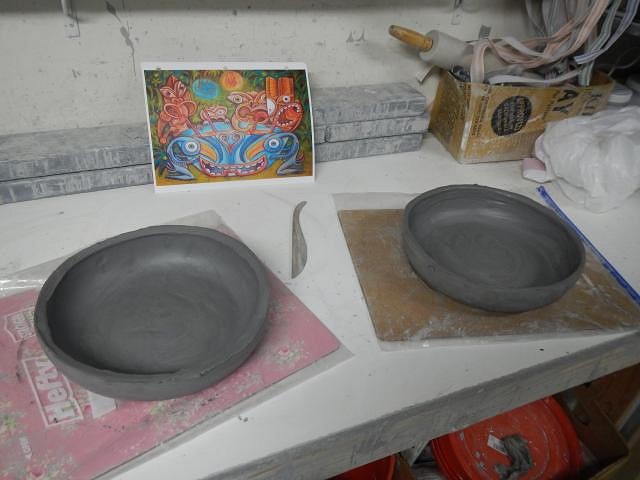
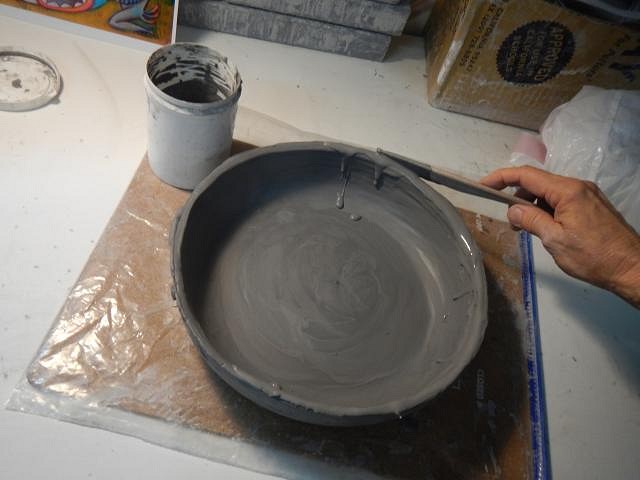
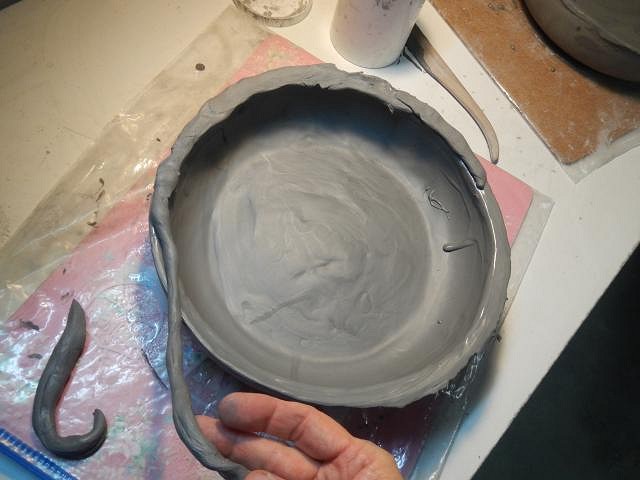
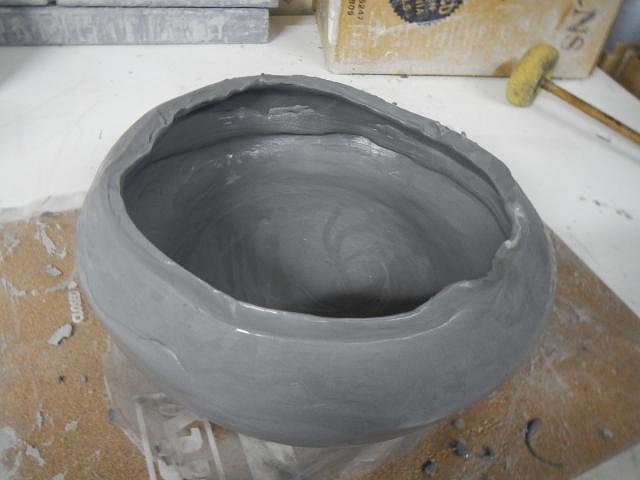
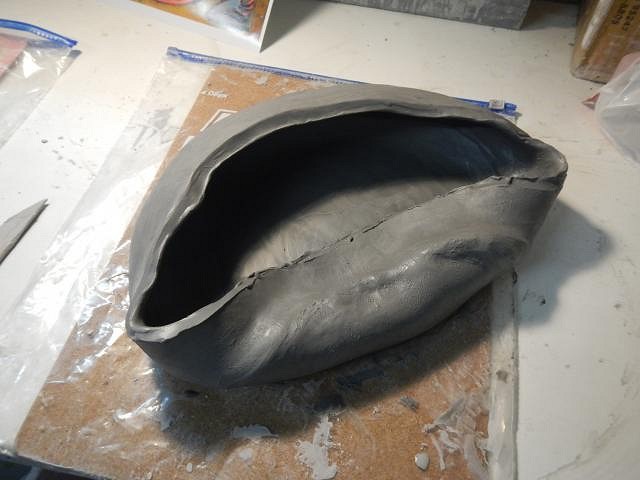
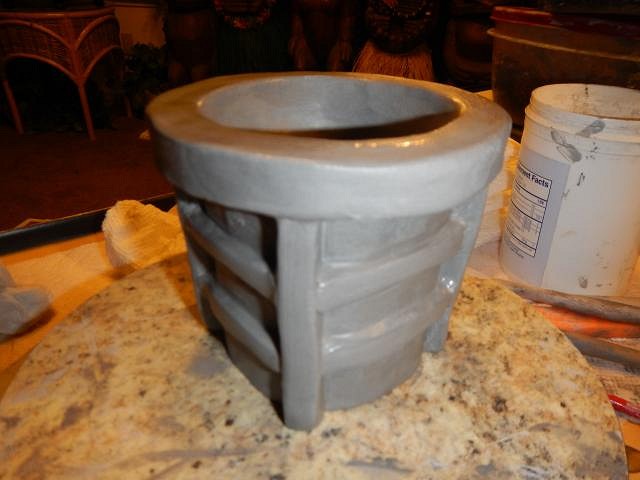
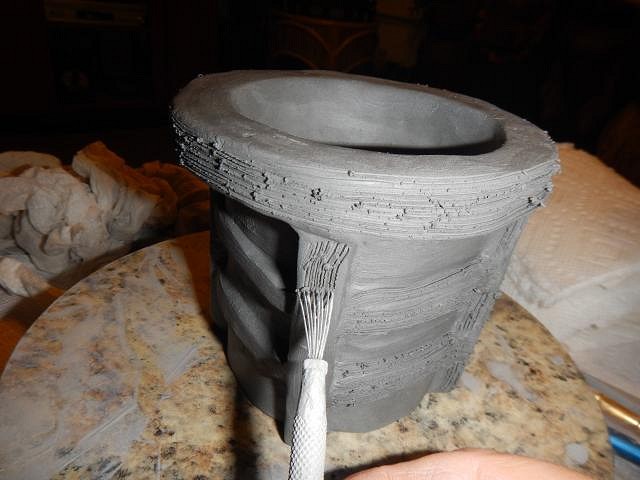
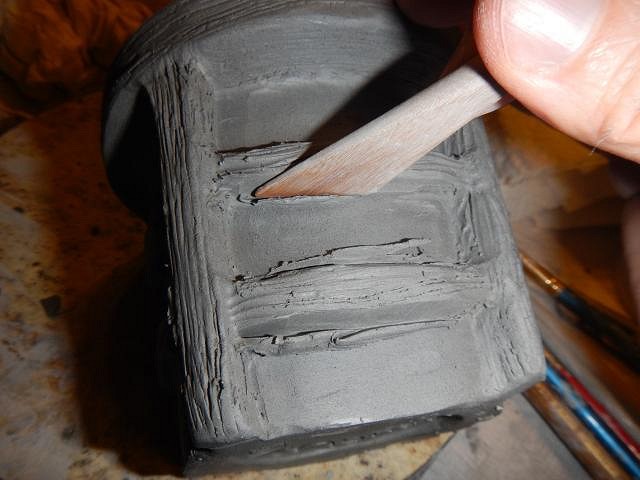
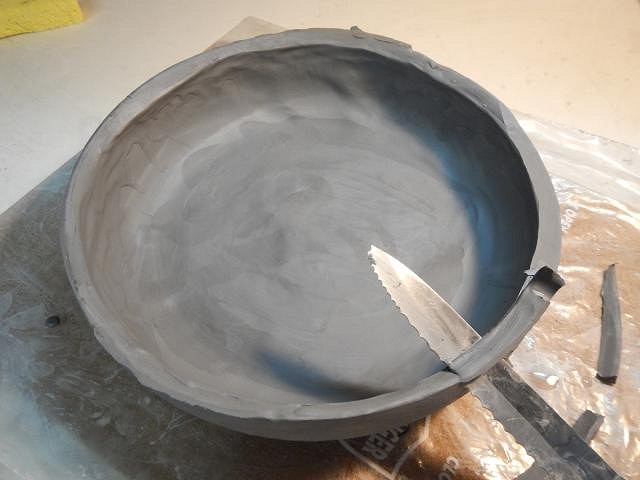
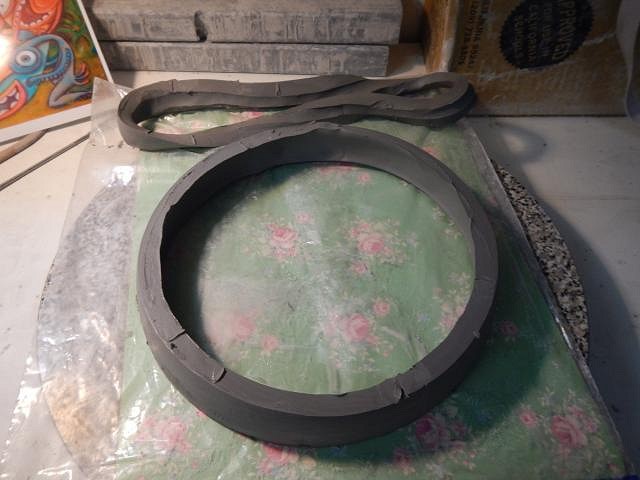
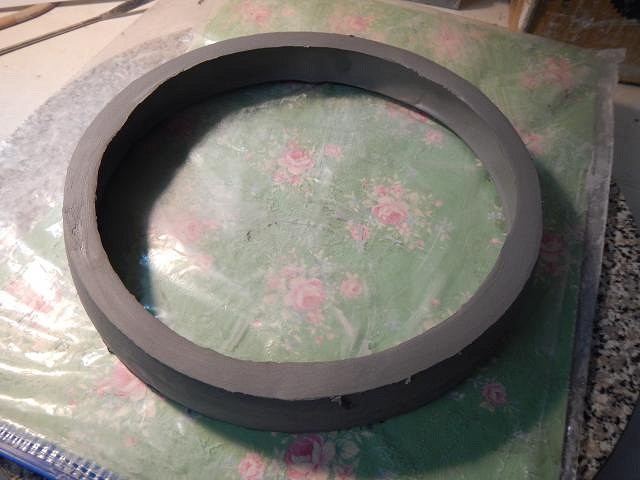
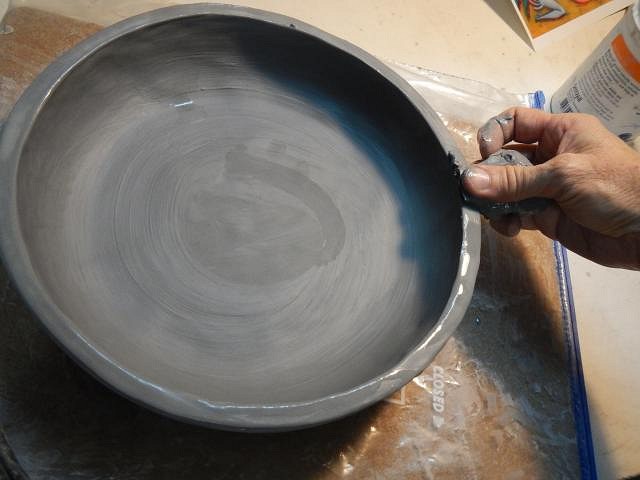
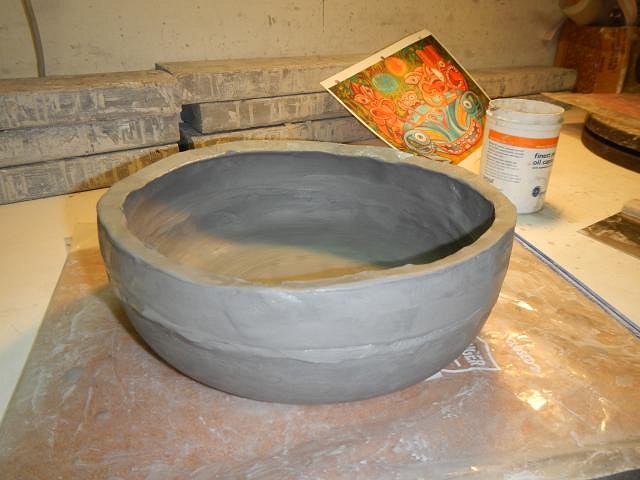
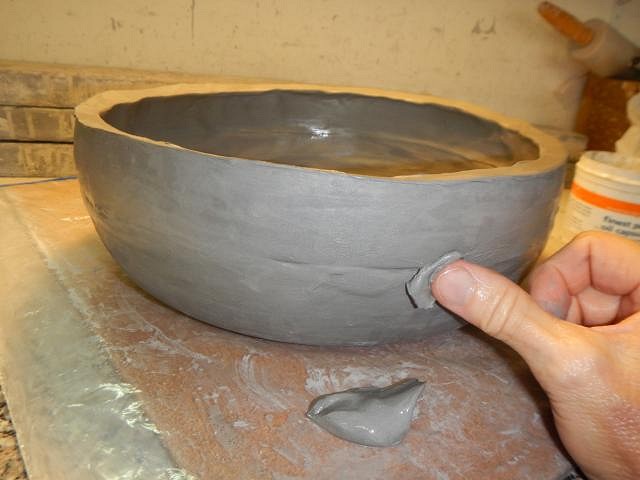
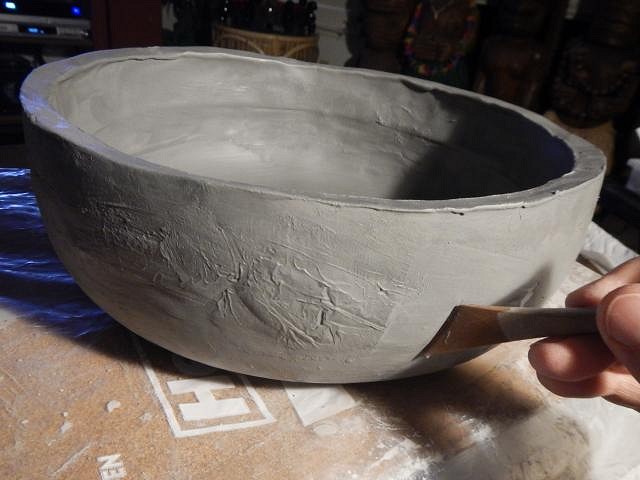
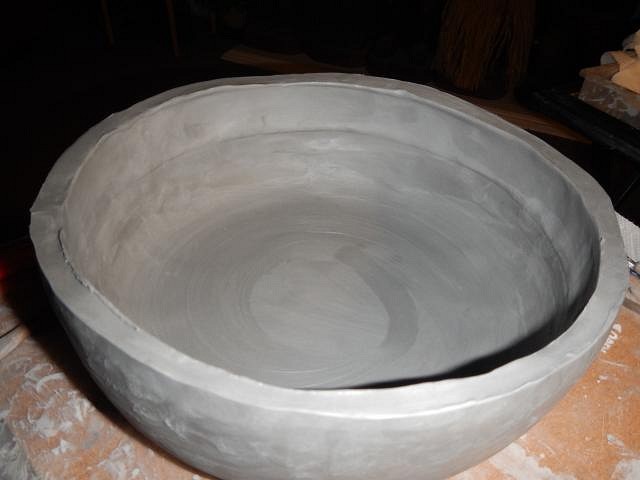
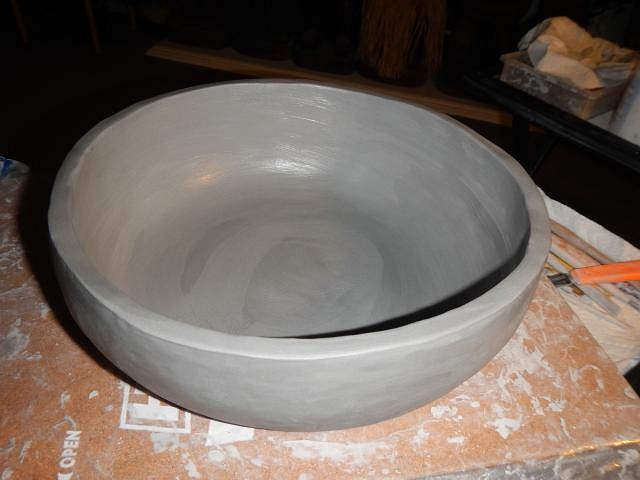
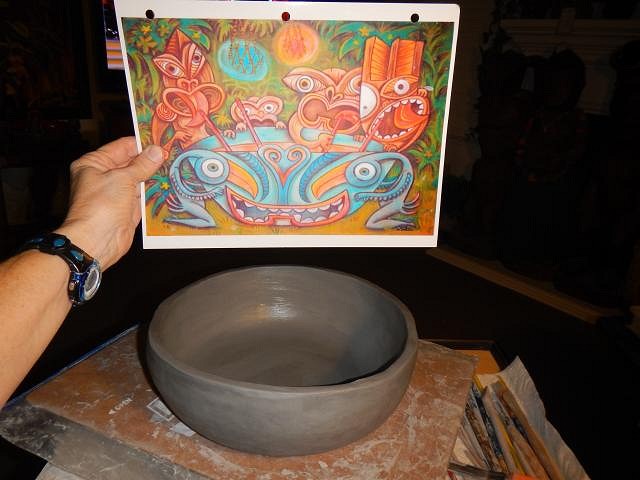
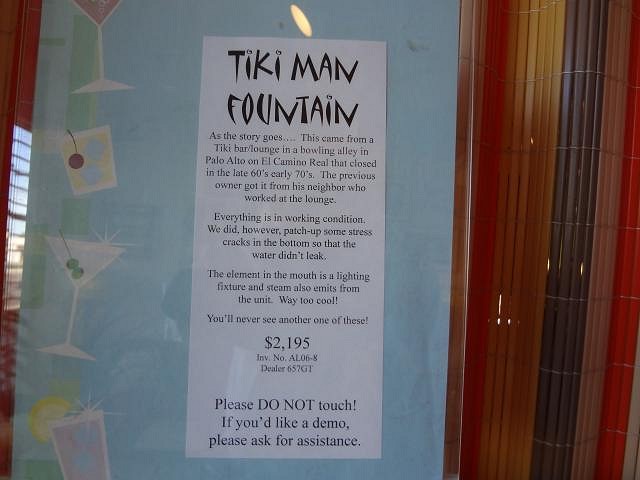
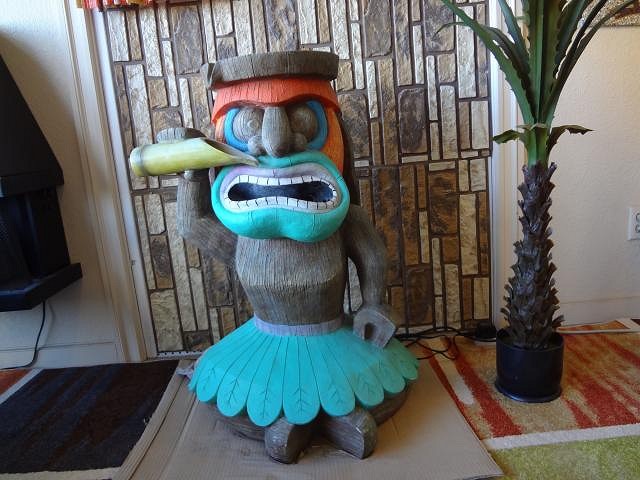
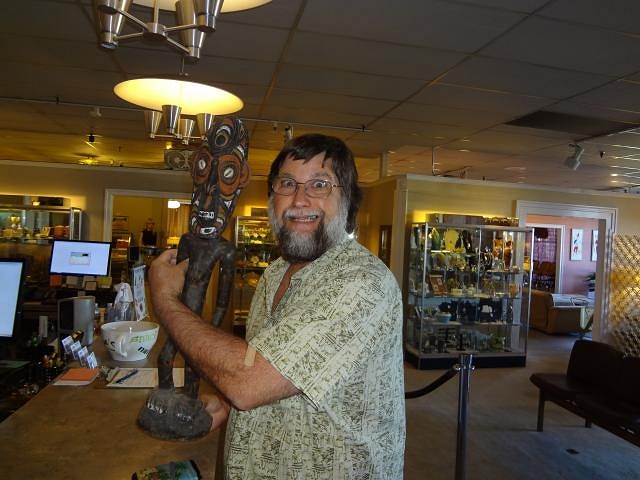
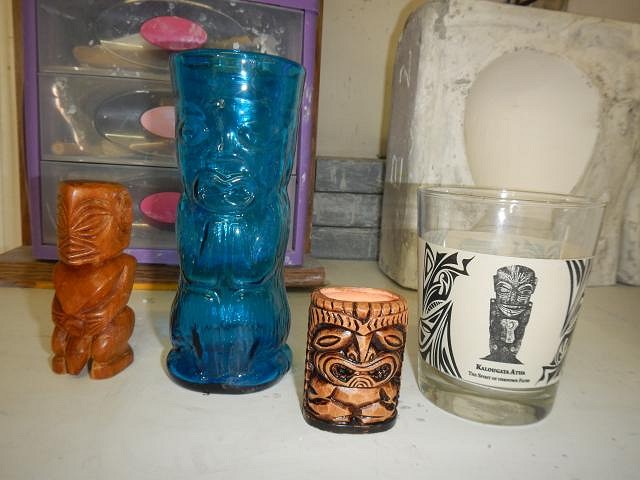
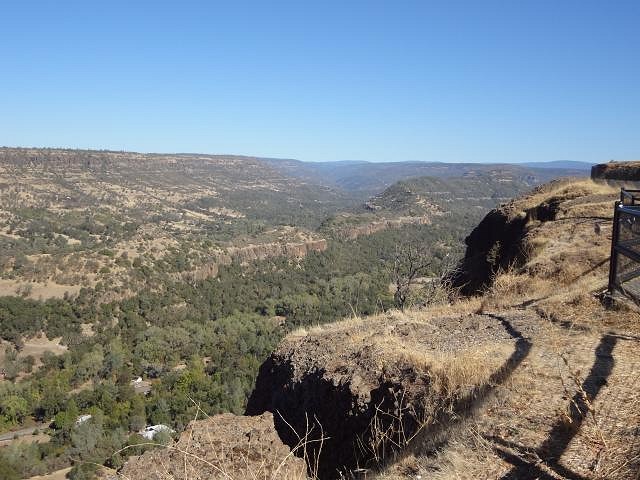
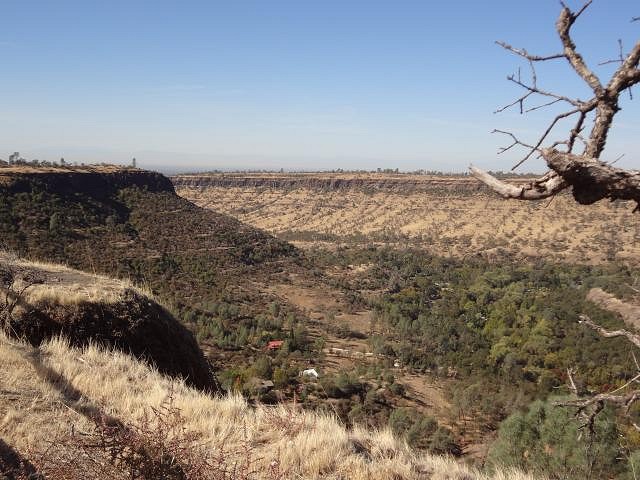
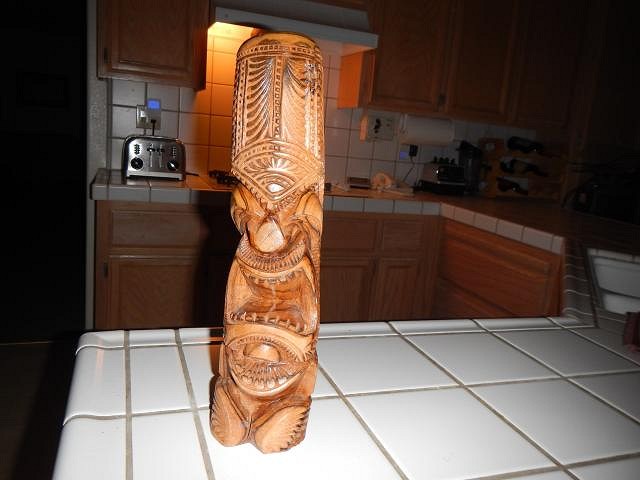
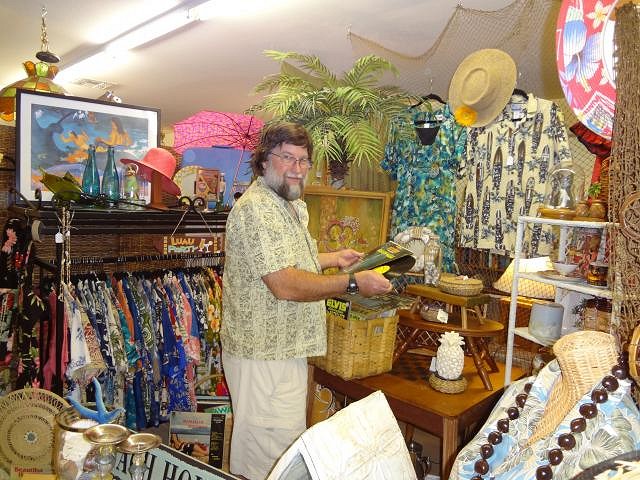
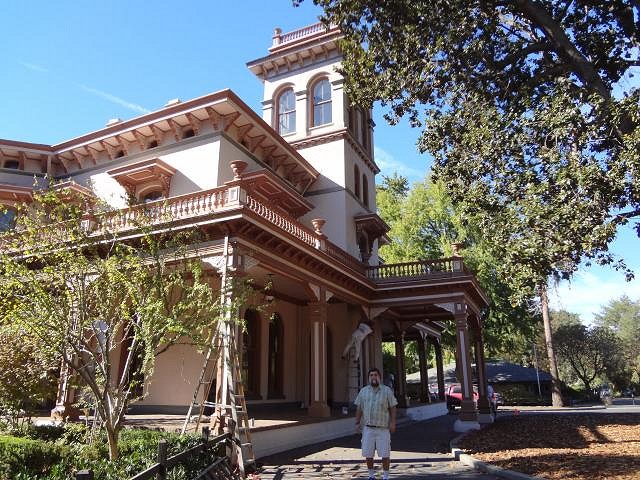
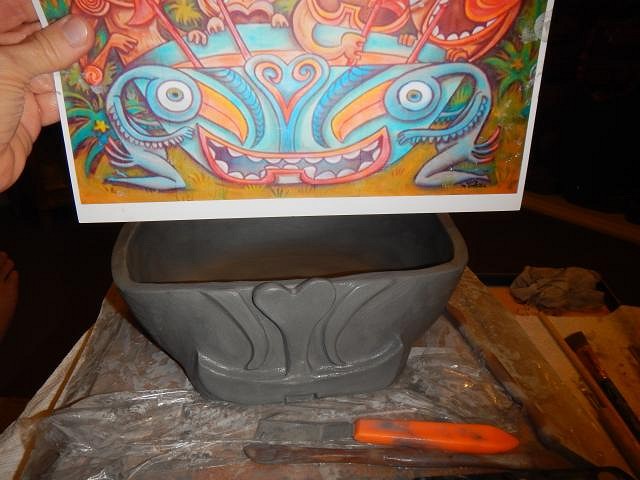
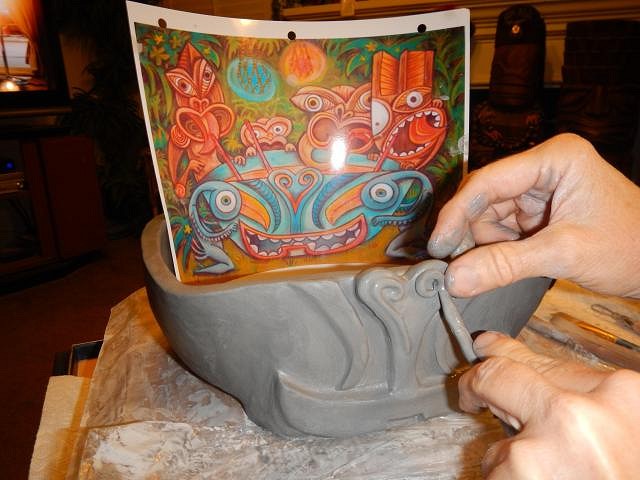
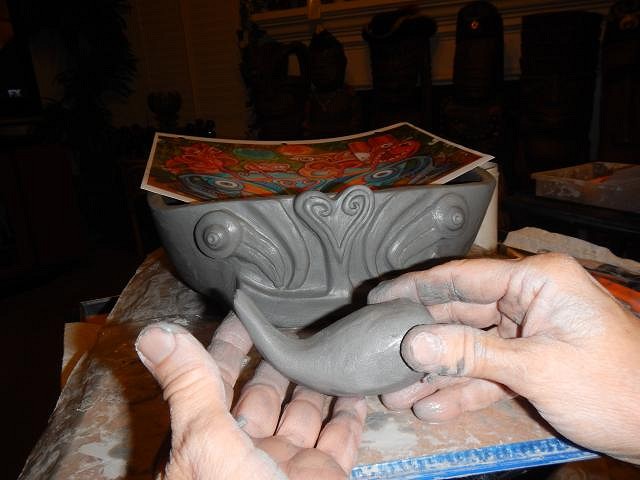
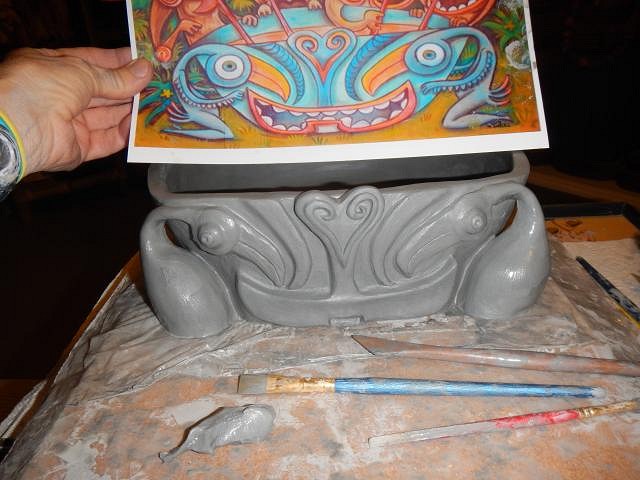
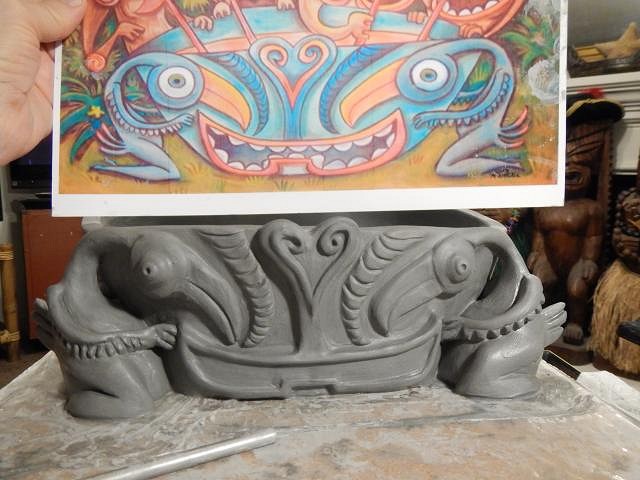
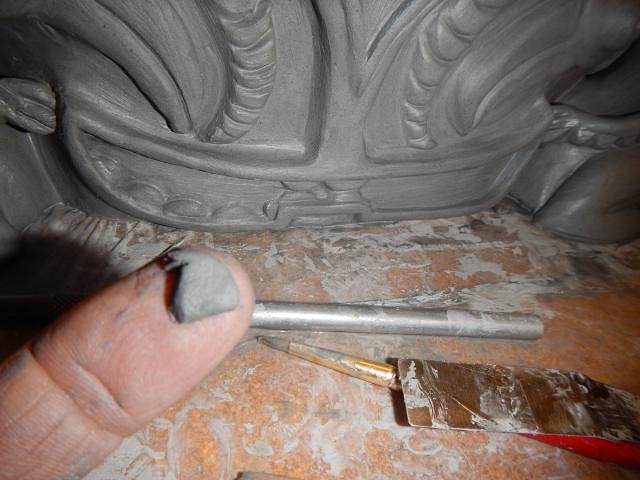
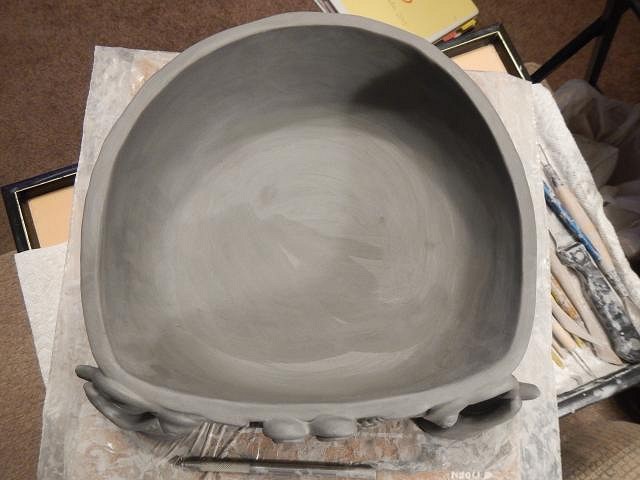
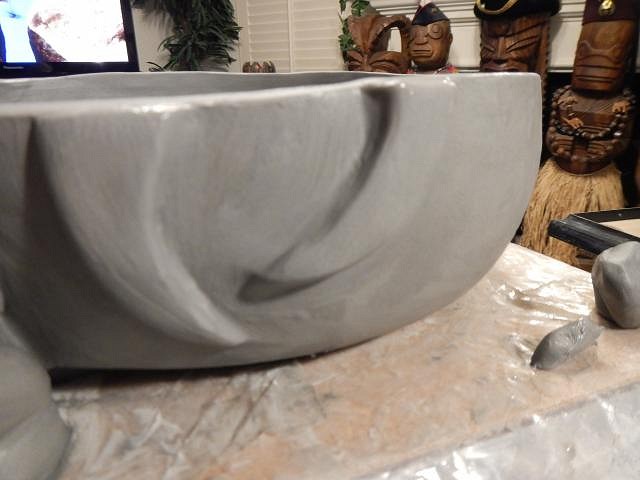
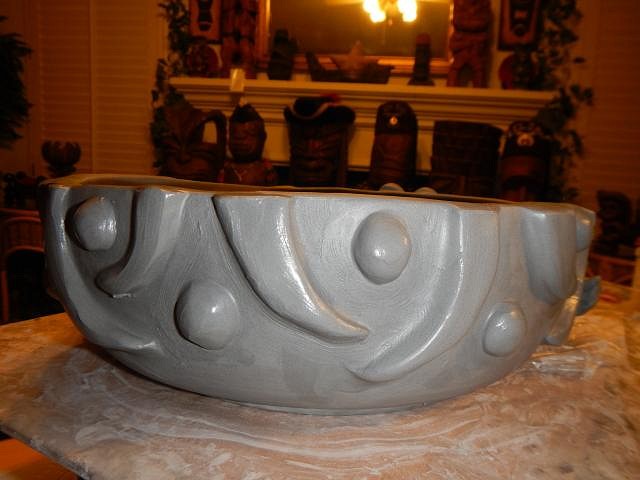
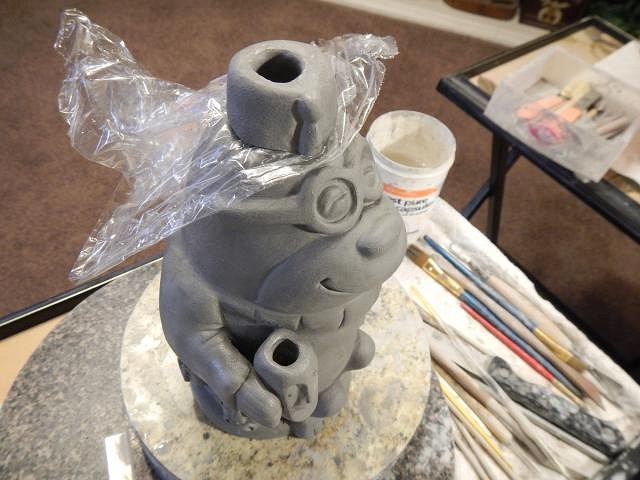
Wish List #6 continues on... I will be changing the Moroccan Mole later today so that he is holding a small Tiki Bob. This was an add on request that can still be done because the clay is not yet dried out. ===================== The next project that I'm work on is for Jen Tiki. Ken Ruzic (you sweet man) gave Jen permission to use one of his paintings for her Wish. She wanted me to make a bowl. So here begins the step by steps. If you watched the first two attempts at doing this bowl you know I needed to find a better way. Here are the steps that worked. Third time was the charm. I studied Kinney's painting of the bowl so that I could figure out how I could make it in clay. There are many challenges that I'll share over the next few days. First my only bowl mold was for a bowl too short to work. So I cast two. The first time I failed when I let the bowl dry out too much. They I cast again and tried to combine them when they were too soft. This time I uncovered them and for a day I check them each hour. When they were just dry enough I went to work. The first bowl had the top trimmed until it was flat. The second bowl lost it's bottom and then was trimmed until I had just enough height to make the bowl I needed. I smoothed and cleaned it with water. Now I covered them with plastic until the next day. Now the clay parts were firm enough to lift to combine. I first wiped the pieces down with water on a paper towel then I added sticky clay around the top of the first bowl. I little lopsided but that will be adjusted. Next I added clay around the outside of the bowl and smoothed it with this tool. Now I did the same thing with the inside of the bowl. The last step was to once again smooth it with a wet paper towel. Now the bowl was tall enough for Kinney's design. To match the painting I pressed in one side. Now the bowl is covered with a plastic bag and left for several days so the clay will "equalize" in wetness so that no cracks will appear. Now it's time to study the painting for the next steps. =========================== This past week Dan and I did get out of the house for some tiki hunting. First we went to Roseville to the Treasure Trove antique mall. We saw this and are just sharing the information. NOOOOO we didn't buy it. Dan did find the PNG statue and some small items. The blue glass PNG is by Paul Vituzzi (I may have spelled it wrong) a California glass artist. Yesterday I took the whole day off and we traveled to Paradise, Chico and Yuba City. We found a canyon that we didn't know existed and it's only 2.5 hours from our home! In Paradise Dan found this tourist tiki. It was carved in 2001 and has the artists name on it. We thought it was a really good one because the mouth was deeply carved. In the large antique mall in Chico Dan found records in a small tiki booth. It was so cute. The owner was there and I invited her to join Tiki Central. I hope she does. We drove to see the Bidwell mansion but it was closed and being painted. We were told they only open on the weekends anyway. It's always good to be back home. I'm rejuvenated and ready to tackle more Wish List projects. Cheers, Wendy |
|
L
Loki-Tiki
Posted
posted
on
Fri, Oct 23, 2015 10:05 AM
Can you show the artist Wendy? Just curious... |
|
H

hang10tiki
Posted
posted
on
Fri, Oct 23, 2015 4:27 PM
Fun fun fun |
|
D
danlovestikis
Posted
posted
on
Sat, Oct 24, 2015 8:54 AM
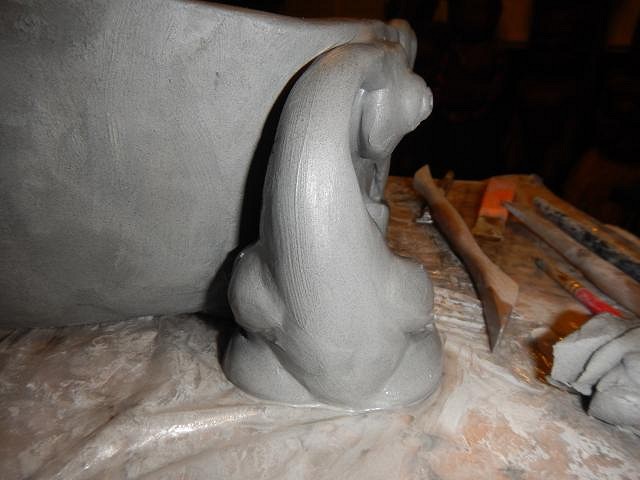
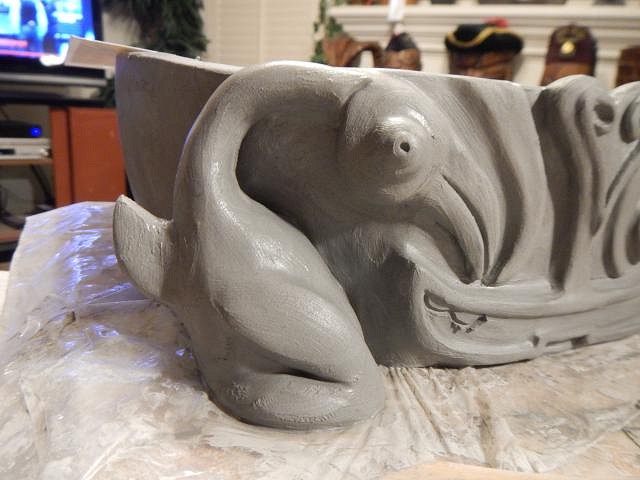
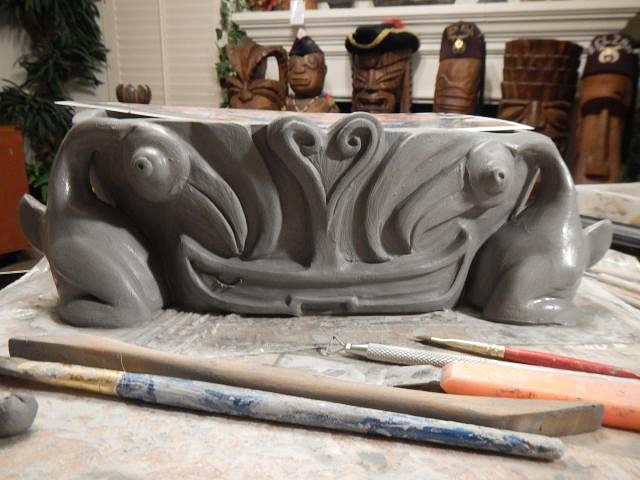
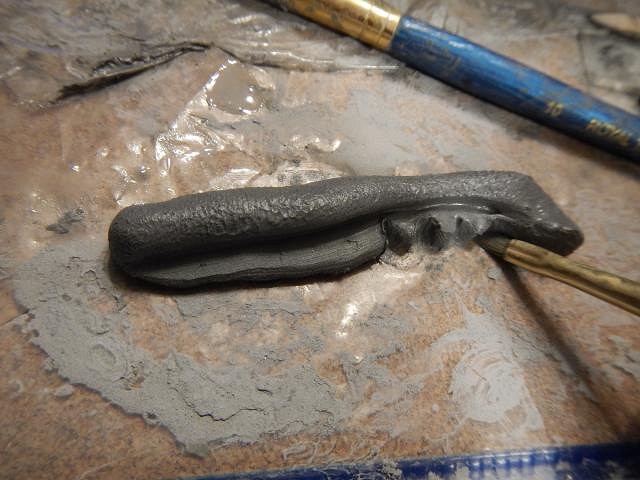
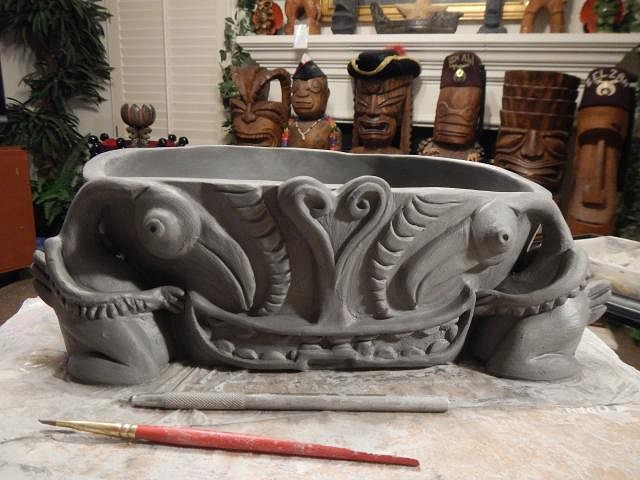
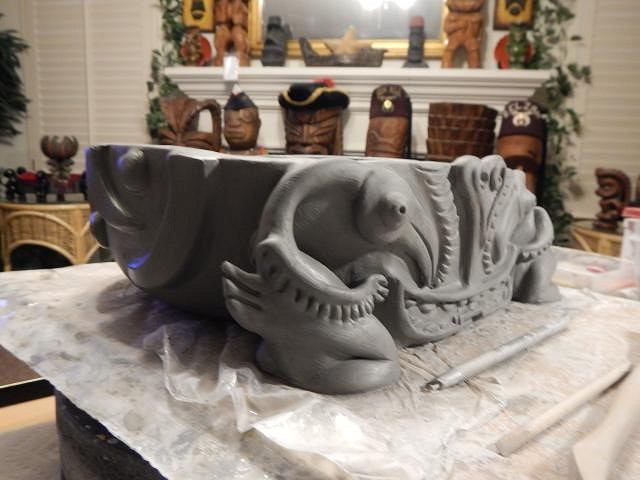
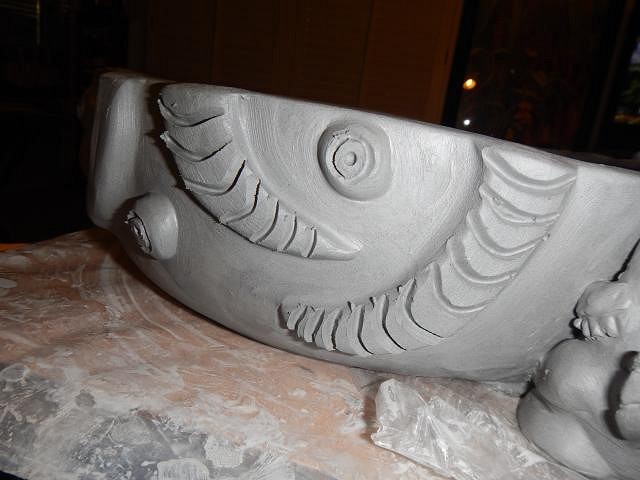
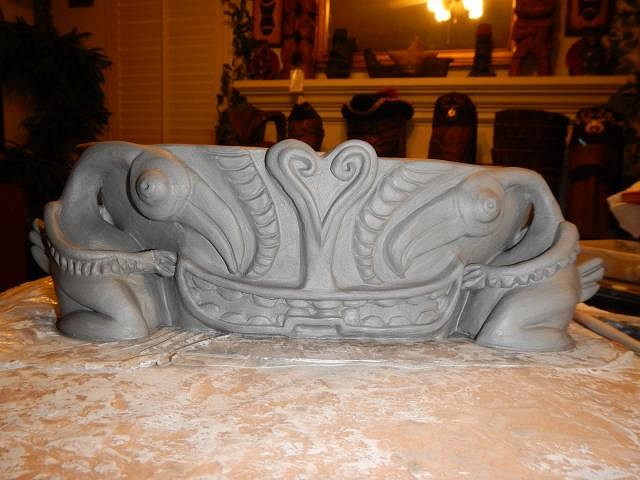
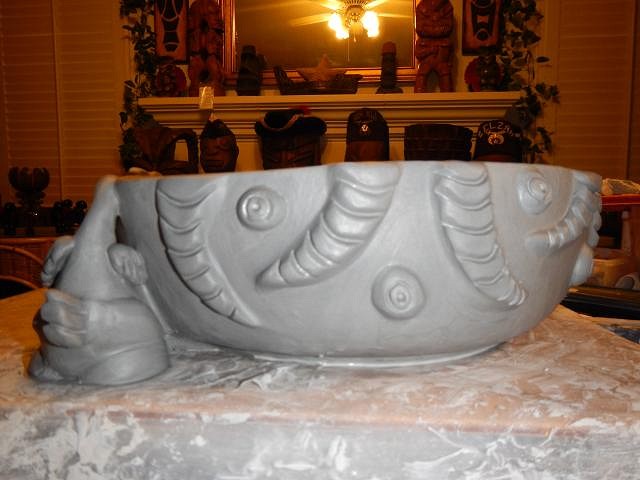
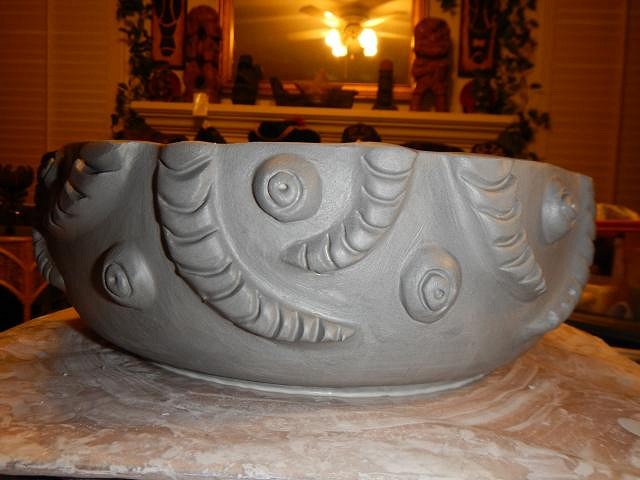
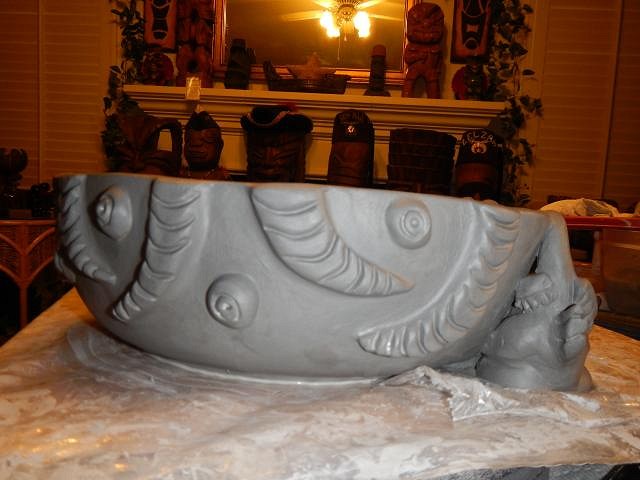
Loki-Tiki the name on the tourist tiki is LAVAKA. Have you heard of him? hang10tiki you are so right. Every day is special but they go so fast. ====================== Wish List #6 Jen Tiki's bowl made with Ken Ruzic's (aka little lost tiki) bowl inspiration is complete. I had to modify his delicate birds so that they wouldn't break. So there are differences. I started with the mouth after changing the bottom of the bowl on this side.
I made the bird body hollow so that it wouldn't crack when drying. Making the bodies larger I was able to connect them to the bowl for stability.
Finished and posing.
Jen Tiki, Kinney, everyone did I get it right? Now it will very slowly dry for a few weeks. Cheers, Wendy |
|
K
kingstiedye
Posted
posted
on
Sat, Oct 24, 2015 10:50 AM
brilliant concept by jen and amazing execution by you, wendy! after it's glazed, i definitely need to come by and see it before it heads east. |
|
S

swizzle
Posted
posted
on
Sat, Oct 24, 2015 5:03 PM
I wholeheartedly agree. I look forward to seeing it glazed. |
|
H

hang10tiki
Posted
posted
on
Sat, Oct 24, 2015 7:15 PM
Stunning |
|
D
danlovestikis
Posted
posted
on
Sun, Oct 25, 2015 7:54 AM
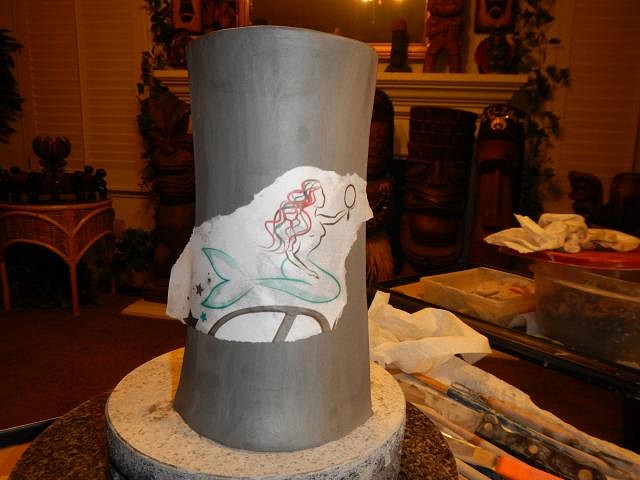
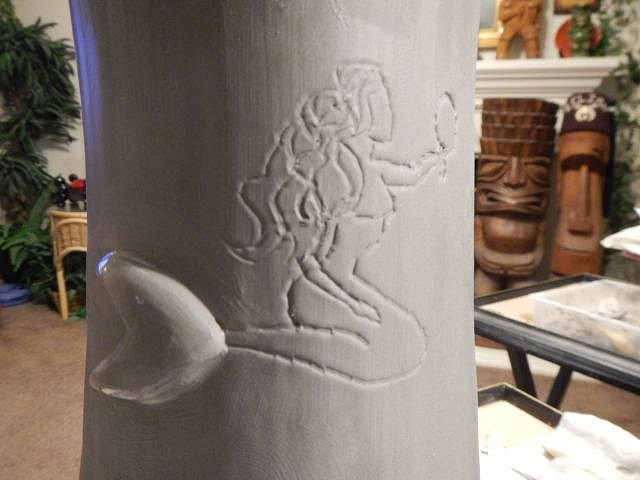
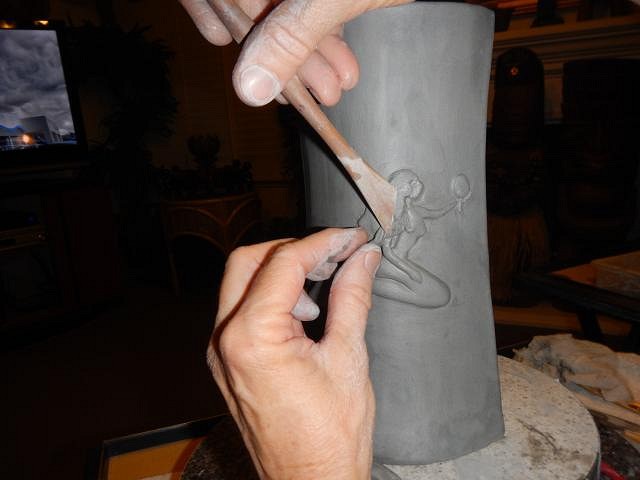
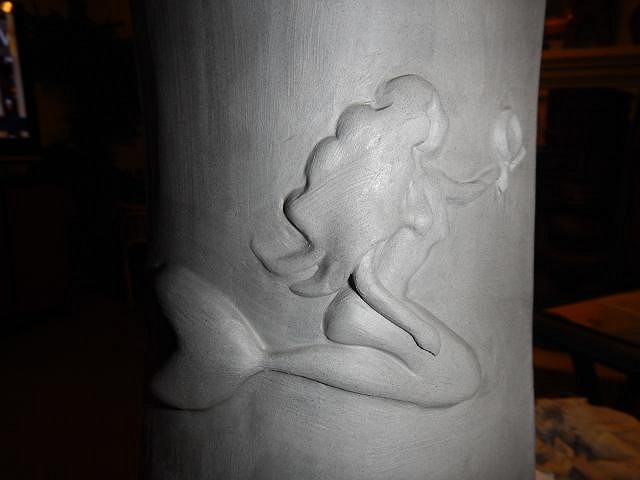
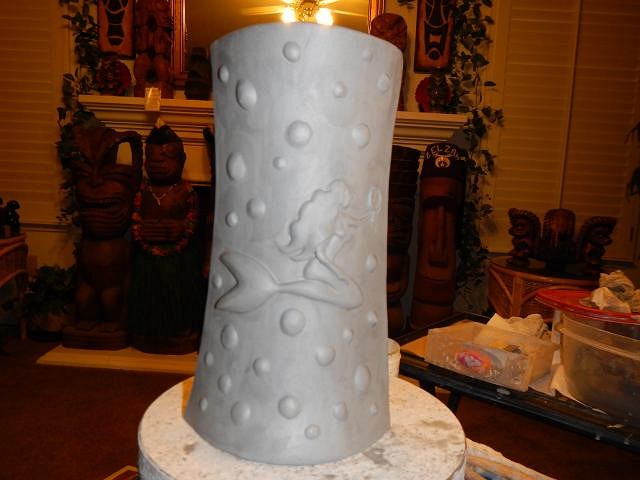
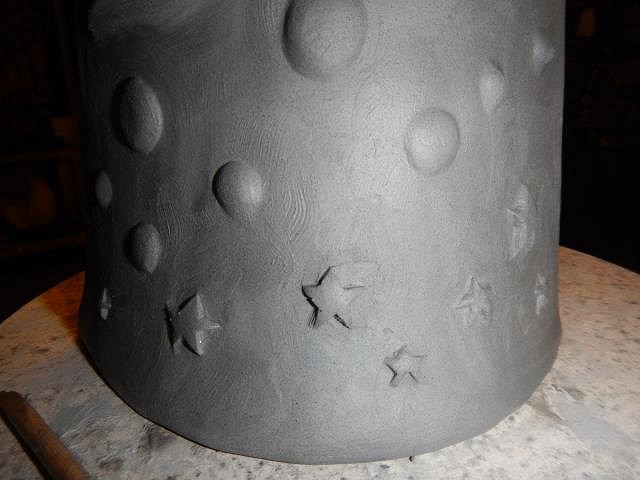
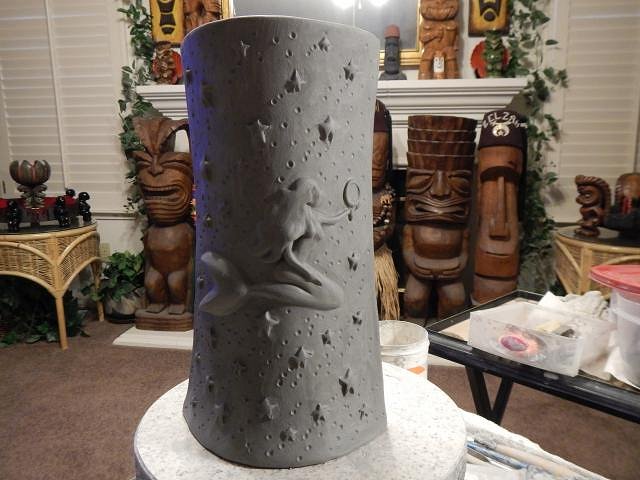
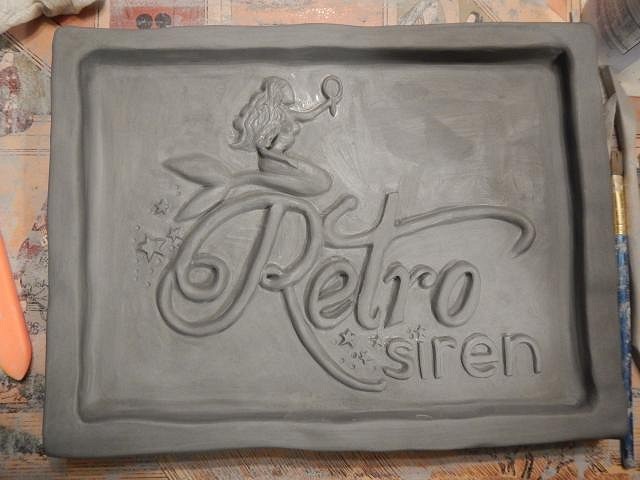
kingstiedye you are so close to us that you should come over often. I just work clay and Dan needs to have some man talk! swizzle there is this weird phenomenon that when you finish the sculpture it feels finished. Then later you remember it has to be fired, glazed and fired again. Then the OH NO's set in. You go through that? I hope my brushes will fit into all the birds nooks and crannies. hang10tiki thank you. It's so fun to play with clay and with good friends. I'm counting the days. ======================= Wish List #6 Progress Report. Muskrat aka Keith Richardson asked if I could do a last minute alteration on his Moroccan Mole. First the arm amputation. Next I made a tiny Tiki Bob. I added clay to the back of the arm to make it rounder. I stuck it on and put the mug in his paw. Side view. Top view. ======================== Next Project. A while back I did a wall plaque for Barbara Lawrence. Her next Wish was for a mug also with her mermaid logo on the front. I didn't want to wrap her logo around a mug because the tail or mirror would be missing when looking at it straight on. What I did was add clay and make the mug shaped like an eye. That widened the front. I cut out her logo and wet it and put it on the front of the mug so I could trace it. Pealed off it left an easy way to get it right. I added clay and built it into a 3D image. Her logo also has stars and dots. I first added all these dots of clay. Next I carved each one into a star. All done. This will be glazed with sparkles and will be a very pretty mug. That's it for today. Thank you always for the visits and comments. Wendy |
|
H

hang10tiki
Posted
posted
on
Sun, Oct 25, 2015 2:59 PM
And the fun continues |
|
V
VampiressRN
Posted
posted
on
Sun, Oct 25, 2015 5:02 PM
So many fun projects from Wendy and great progress pictures too. |
|
R
RVICTOR
Posted
posted
on
Sun, Oct 25, 2015 9:50 PM
Love the Ken bowl Wendy! |
|
J

JenTiki
Posted
posted
on
Mon, Oct 26, 2015 7:17 AM
I'm very happy with the bowl, Wendy! I wouldn't change a thing! Now comes the torture of waiting to see it glazed! Thanks! |
|
D
danlovestikis
Posted
posted
on
Mon, Oct 26, 2015 8:27 PM
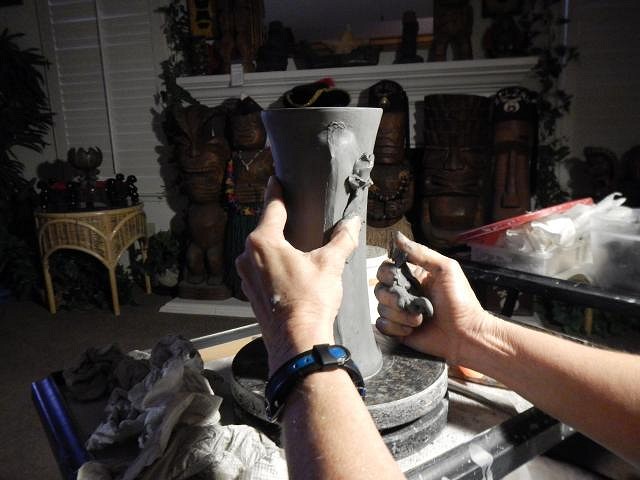
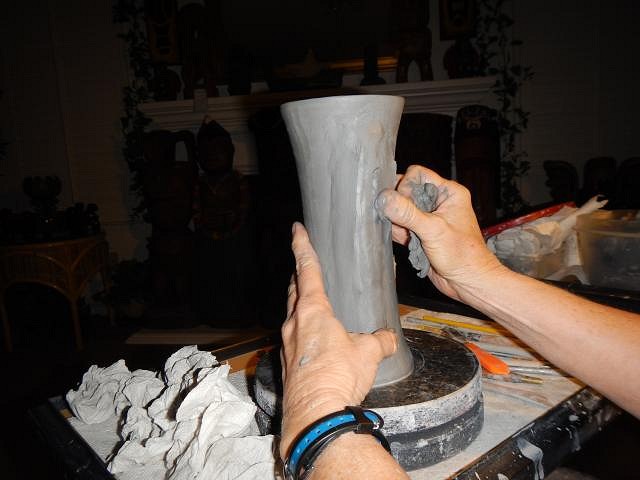
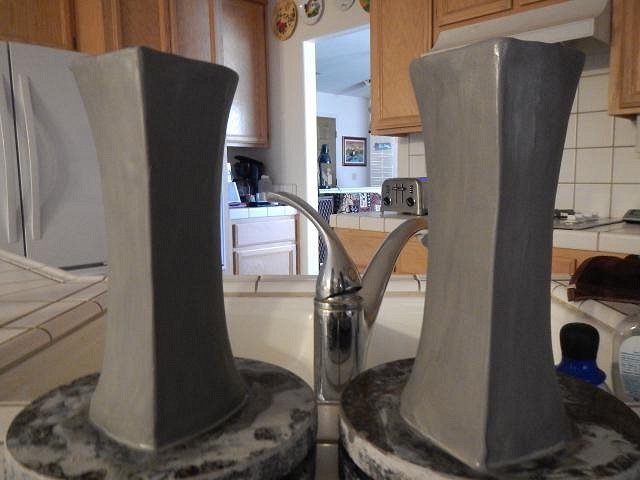
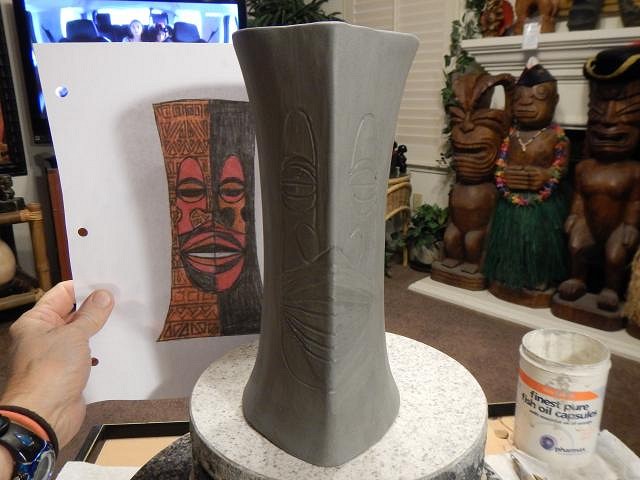
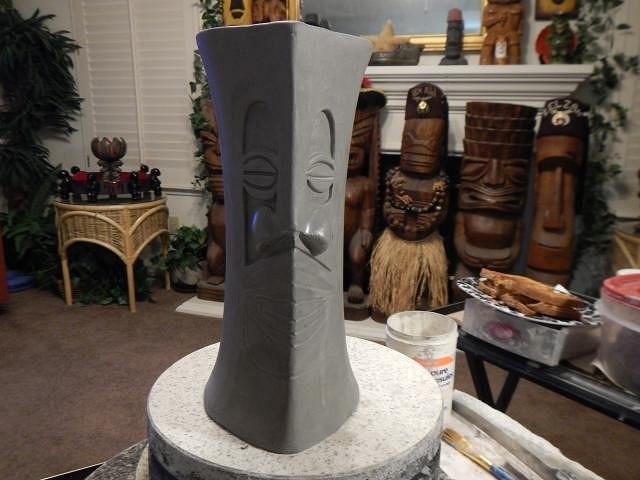
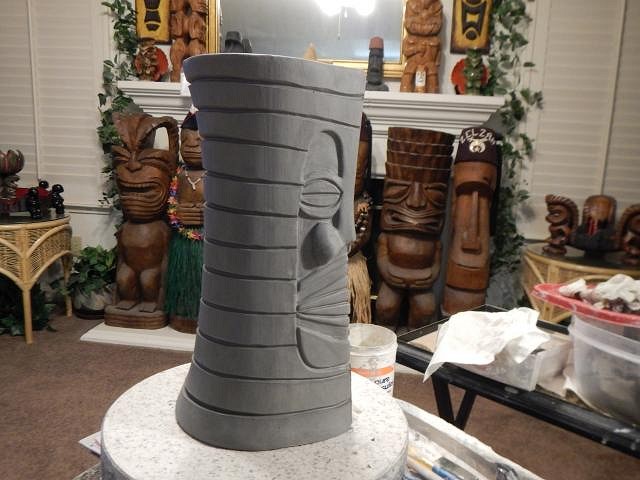
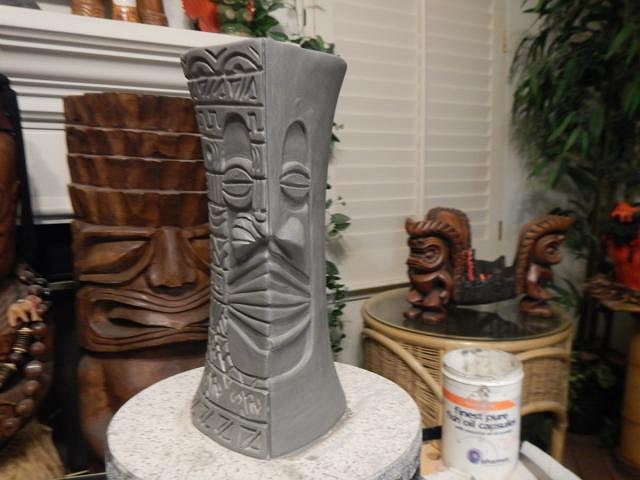
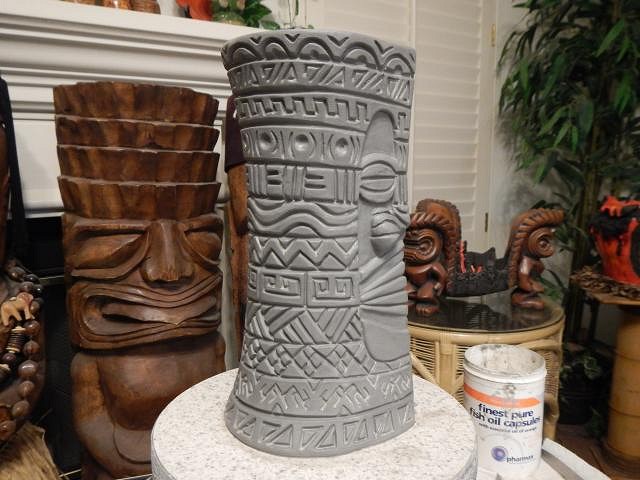
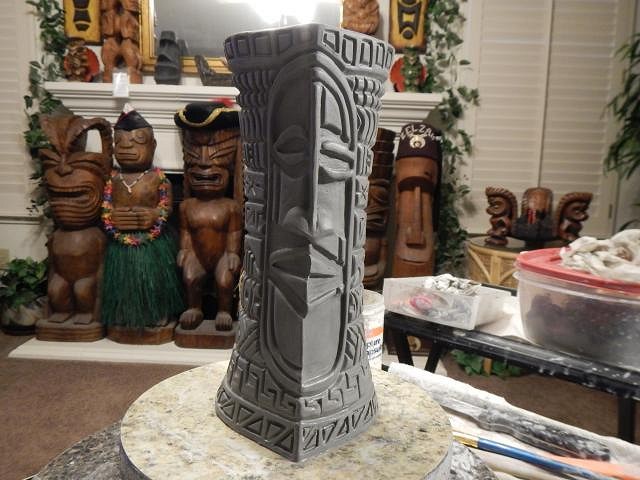
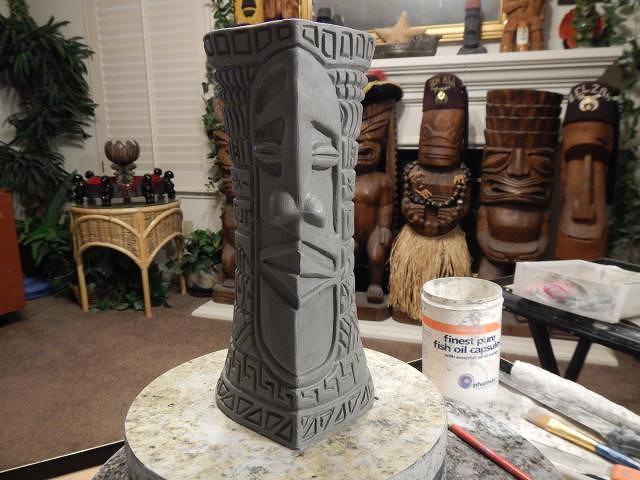
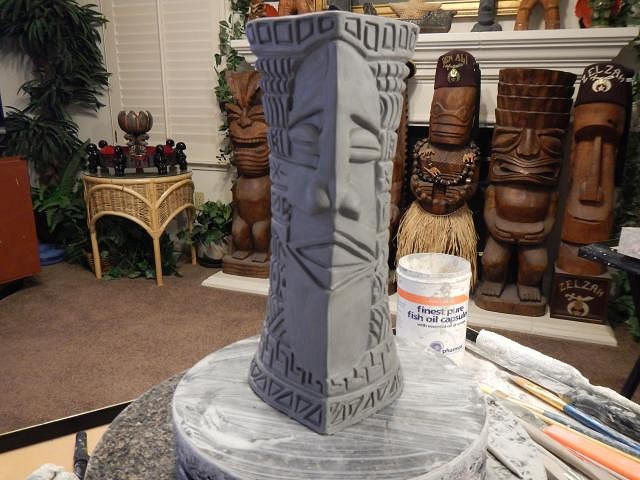
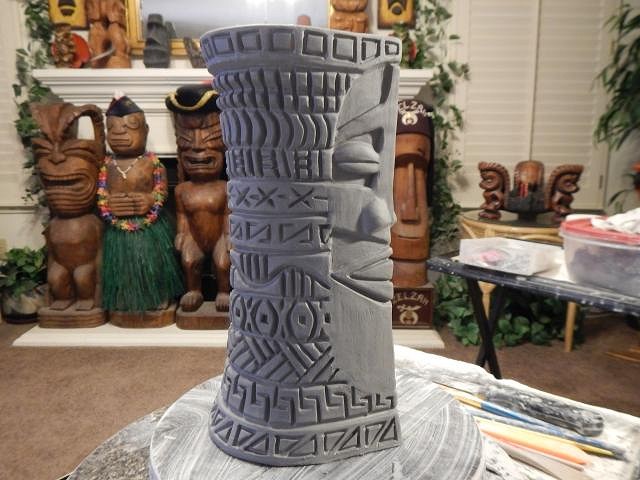
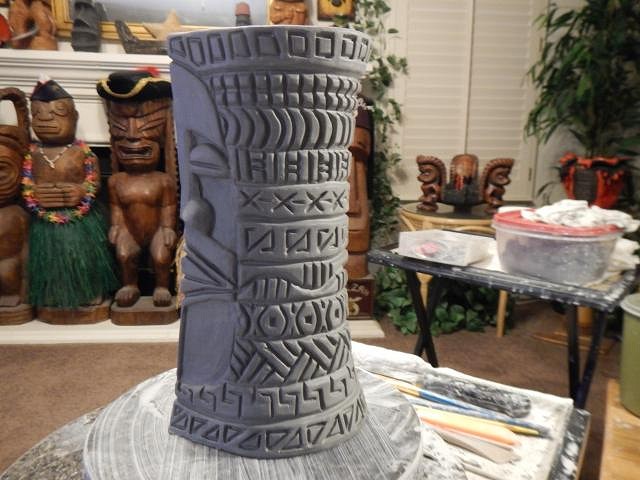
VampiressRN thank you always. RVICTOR I'm so glad that Jen asked that they both trusted me to do it to look like his art. JenTiki you are skipping a whole step of torture. First it has dry without cracking. Oh wait and don't forget it has to survive the bisque fire where it could expload!!! Then does the glaze stay in place or run. No screw ups allowed. ======================== Wish List #6 update. The next project is for slowhandtikiman. He requested and RVICTOR aka RVtiki approved the making of another couple of the Sven's Tiki Modern mug. I made a 1/1 for RVICTOR so I had to ask if I could do a #2 and #3 with his name also on the bottom. Here's the first one I've made. I started with a couple of my fogcutter mugs. I added sticky clay. That's the clay I've cut off the tops of cast mugs and bowls and then covered with a thin layer of slip. I kept adding and smoothing until I had made these two. I let them rest in plastic for a couple of days to firm up. Here is the drawing that RVICTOR did for the last Wish List. I used the end of a brush and drew the outline in the clay. I started carving out areas and I built up the nose. The two I'm doing now will not be an exact match to the first one because it needs to remain a 1/1. Even the colors may vary. I added the lines in which I'd carve the tapa designs on one side. All done and posing. One down and one to go. Wendy |
|
R
RVICTOR
Posted
posted
on
Tue, Oct 27, 2015 4:36 PM
Wendy - a photo of the original... |
|
H

hang10tiki
Posted
posted
on
Tue, Oct 27, 2015 4:53 PM
That rocks |
|
L

LoriLovesTiki
Posted
posted
on
Tue, Oct 27, 2015 7:19 PM
I see many of your projects now on Facebook but have to remember to visit TC as well. Thus, I had a little catching up to do. Going back a bit, I am just amazed at the carving on that lei! the hibiscus flowers look amazing. They're tiny yet so detailed! Also, adding that tiki mug was brilliant and really makes the mug. |
|
TT

Tyber Tiki
Posted
posted
on
Wed, Oct 28, 2015 6:18 AM
Incredible work Wendy! I'm just catching up on your thread, once again, and am totally blown away by the Jen Tiki Bowl. Great design! |
|
D
danlovestikis
Posted
posted
on
Wed, Oct 28, 2015 9:46 AM
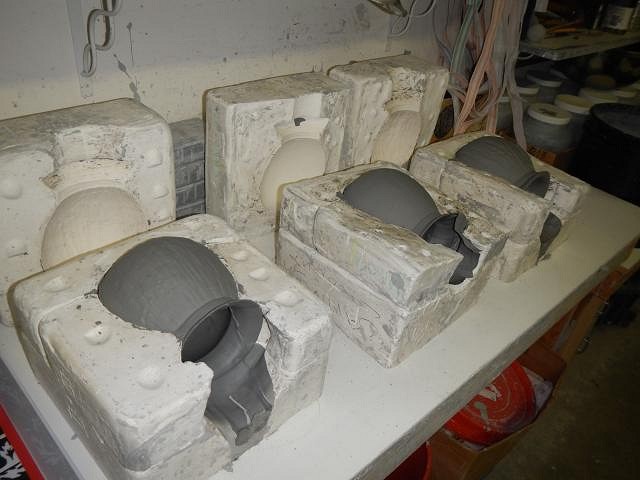
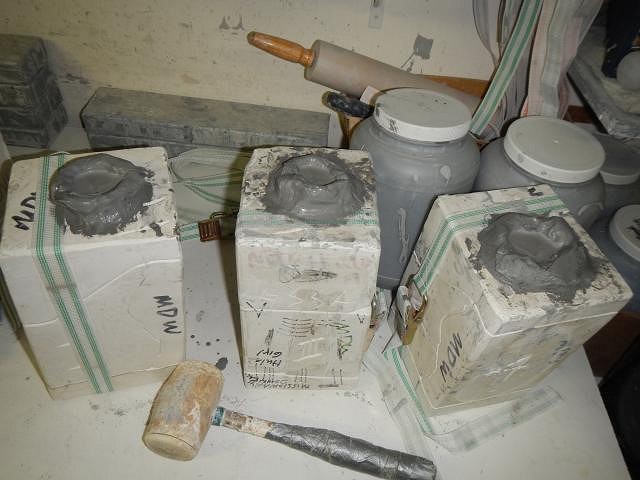
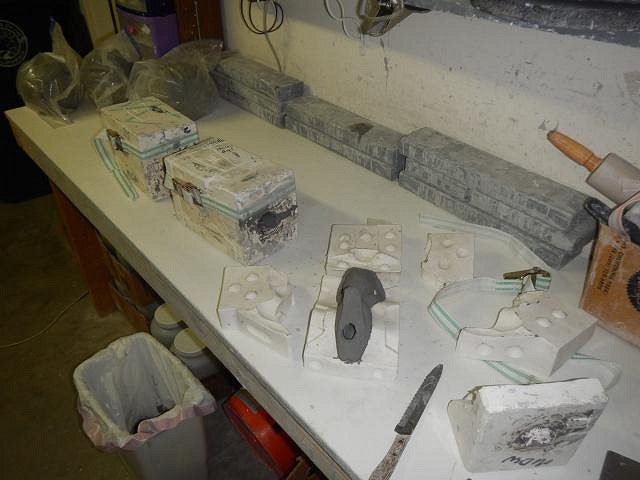
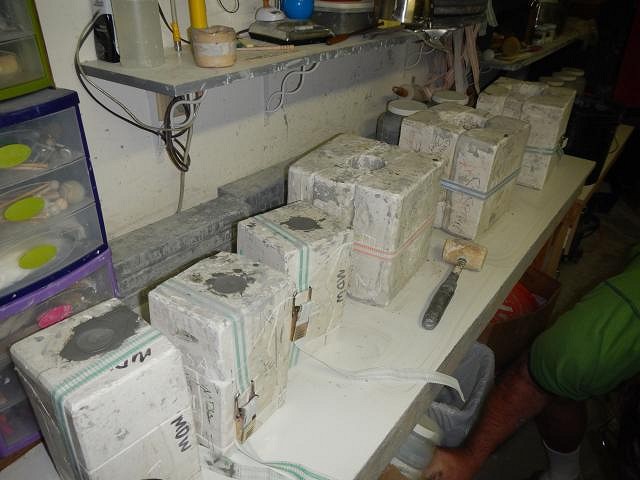
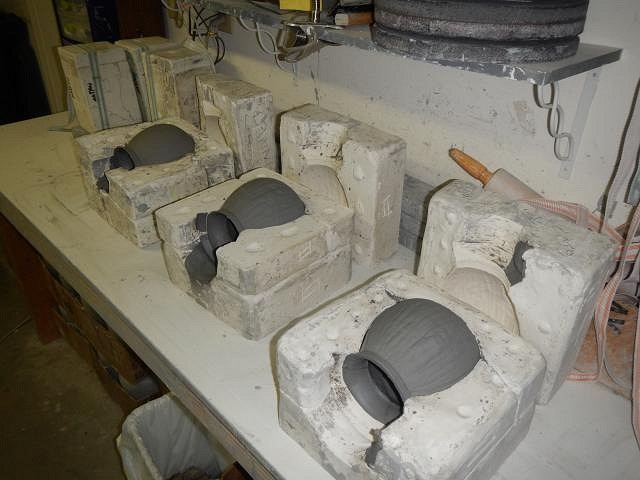
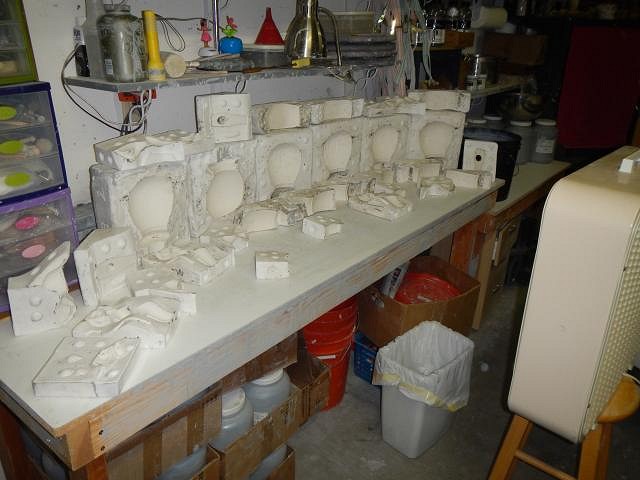
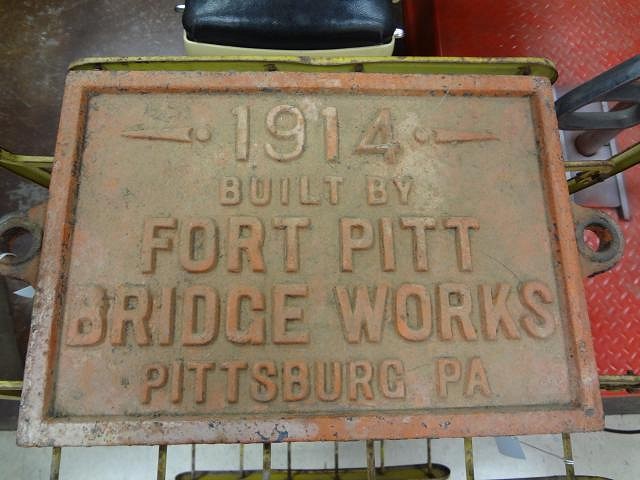
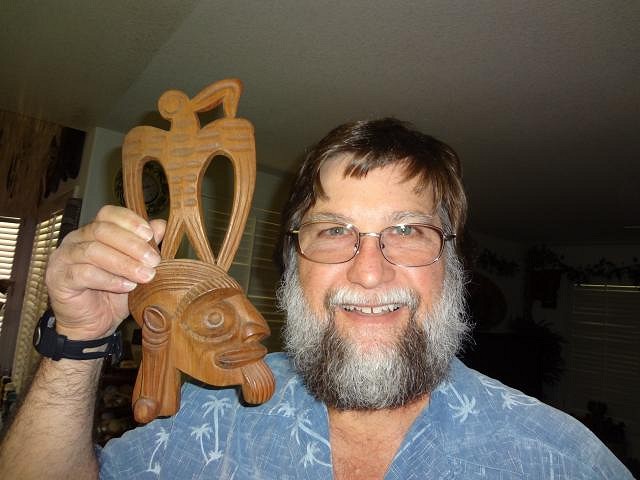
RVICTOR thank you for posting. It's fun to see the first one again. I have a 3rd order for one on the Wish List. Each will have changes so no two are identical. Thank you for coming up with this unique design. Sven's book was the inspiration but your design is very different and wonderful. Thank you for having me make yours and allowing me to make more. hang10tiki so do you! LoriLovesTiki I'm sure Muskrat saw one of your mugs and was inspired to also request it. It really did make his mug complete. Tyber Tiki Ken Ruzic is a friend of Jen Tiki and I. Wish his permission I was allowed to bring his painting into the 3D world. It was both an honor and a pleasure. I'm so happy that everyone is pleased with it. Thank you. ======================================= Wish List #6 Update When the Wish List is done I will be making another run of Hot Tub Hula Girls. I have 17 ordered right now and I'm going to make 20. If you want one let me know ASAP. Once I stop pouring these I don't know when I'll be making the next run. These are numbered 31 to 50. Swimsuit tops can be added at no extra charge. $100 plus shipping. I pour three a day. I have to add more slip to the hula girl molds every 10 minutes. I tried to cut that down by making a damn and raising the slip level. It made it possible to top off every 15 minutes. Not worth the clay and time so it's back to 10. Opening and cleaning the molds. I started by hulas one day and coconuts the next. I ended up just doing both each day. opening the molds requires space. Each piece is cleaned and then I have to fit them on the table with fans to blow them dry. As the cold weather approaches this step takes longer. I'm storing all the pieces until the Wish List is over and then I'll work on them. That's a long way off. ======================================== The summer is over and even though California is a warm state I dread even a small drop in temperature. So I've started to drag Dan away from his tikis and out into the world. Of course the way to do that is to say how about we go on a tiki hunt? Here's what I've been doing to beat the winter before we stay indoors. Last Sunday we went to the Roseville antique mall. It was there I saw this metal sign. It made me think that the style I choose for the Retro Siren sign was indeed a vintage style. Of course hers will look like a mosaic when it is completed. I dug deep into a mess of an antique booth and came up with this! On the back is written Easter Island March 1978. That's the year Dan and I got married. That was way before we discovered tiki. I have to get to fb and work so that's it for today. I hope you all have a great one, Wendy [ Edited by: danlovestikis 2015-10-28 10:24 ] |
|
D
danlovestikis
Posted
posted
on
Thu, Oct 29, 2015 8:37 AM
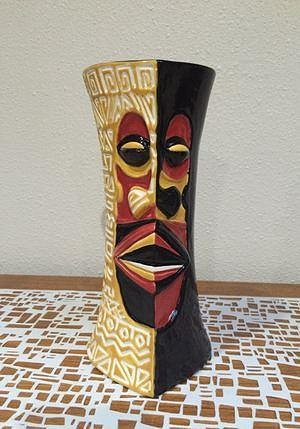
Wish List #6 continues on... This Tiki Modern mug is for my husband Dan. He continues to work for me and has to be paid. I tried different faces. This one failed. This one got closer. This one was just right and he approved it. He also chose to have both sides covered with tapa. This way each mug is different. Thank you for the visit, Wendy |
|
H

hang10tiki
Posted
posted
on
Thu, Oct 29, 2015 9:14 AM
Wow, Dan-0s find would look great on the back of a Moai mug
|
|
D
danlovestikis
Posted
posted
on
Fri, Oct 30, 2015 8:50 AM
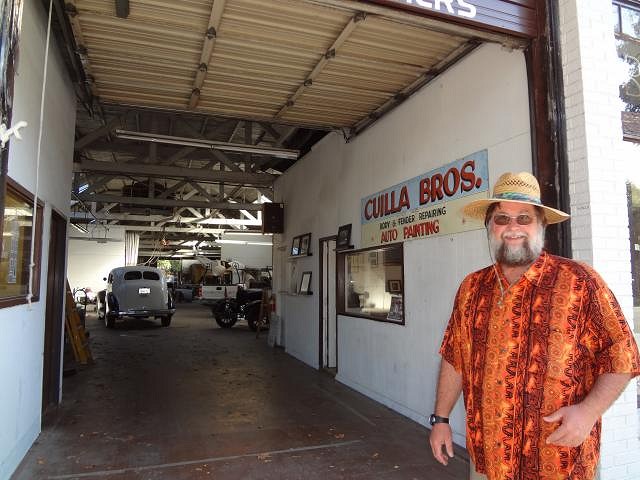
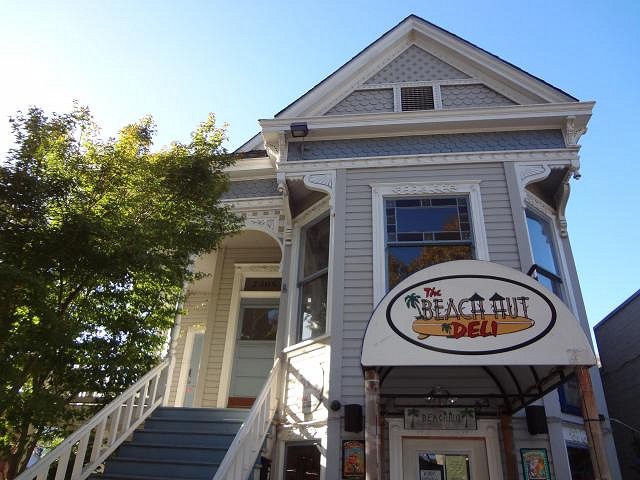
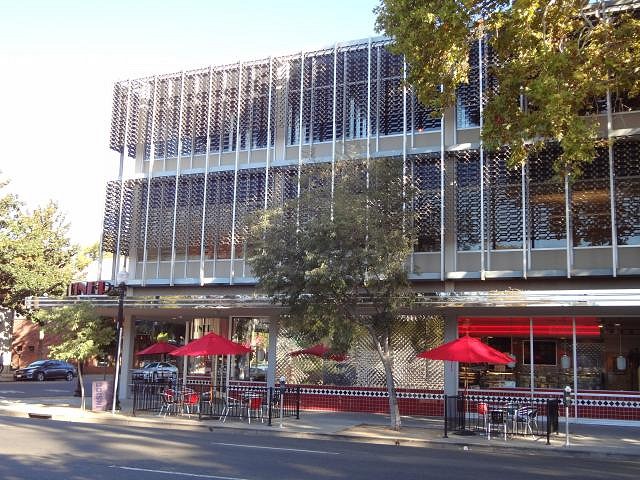
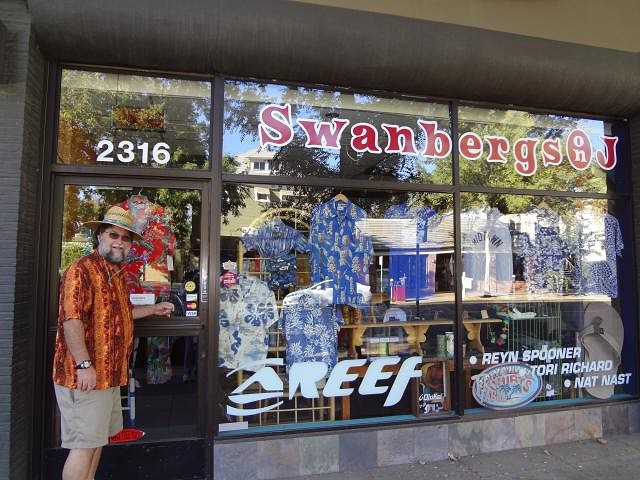
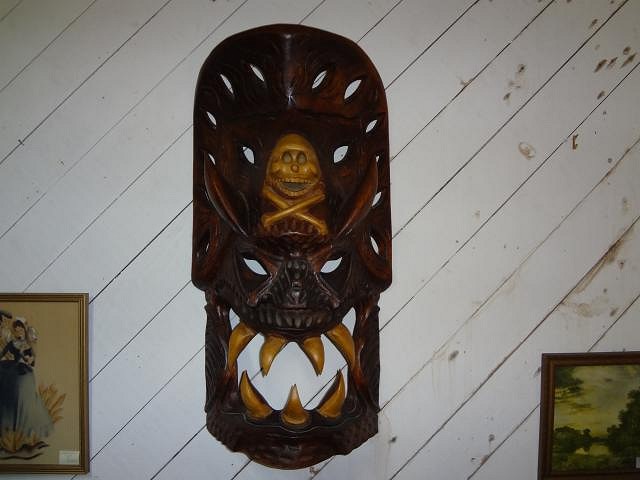
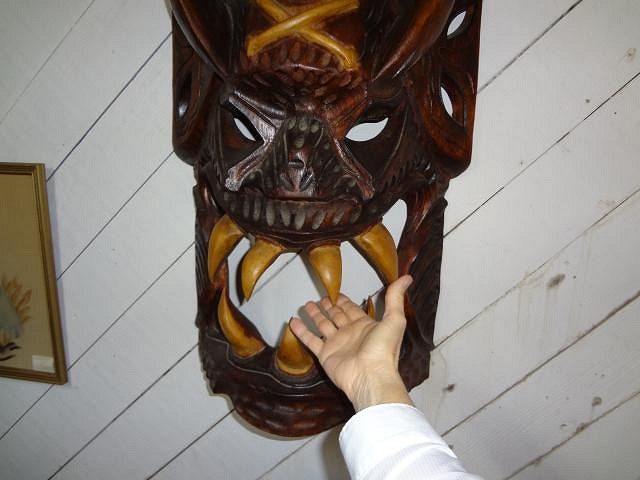
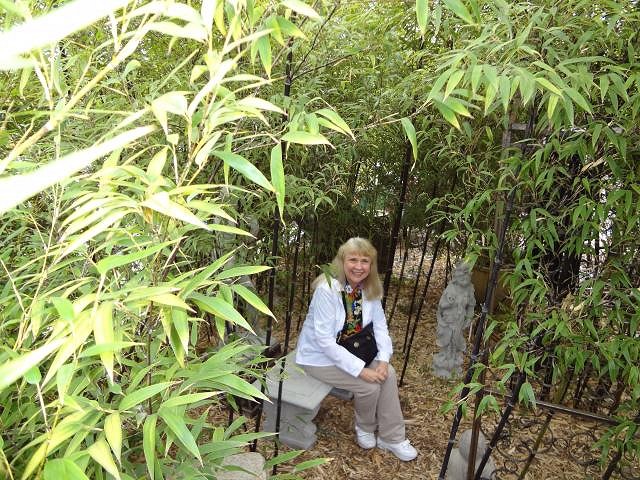
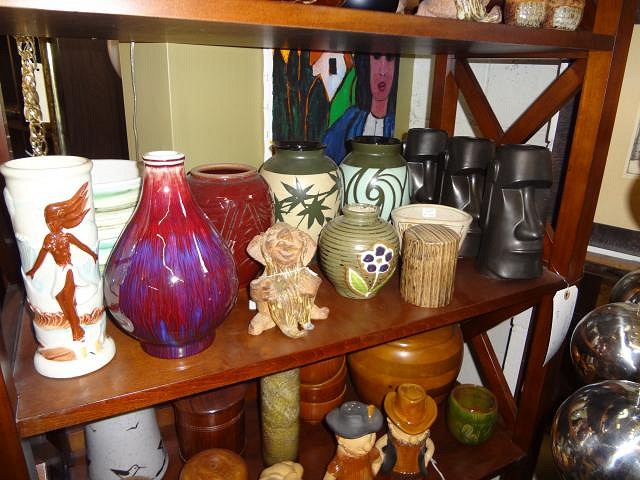
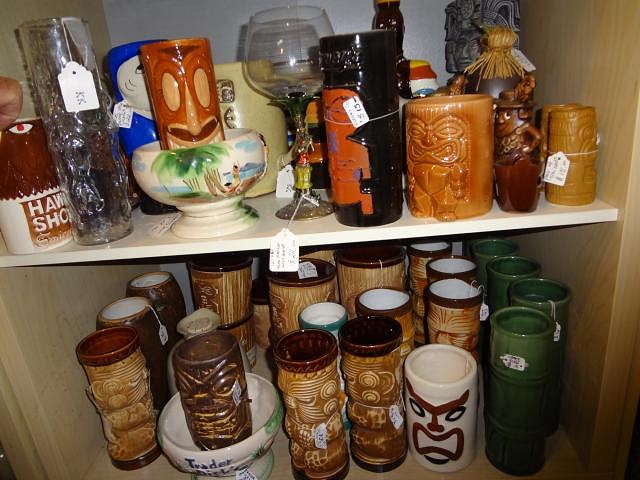
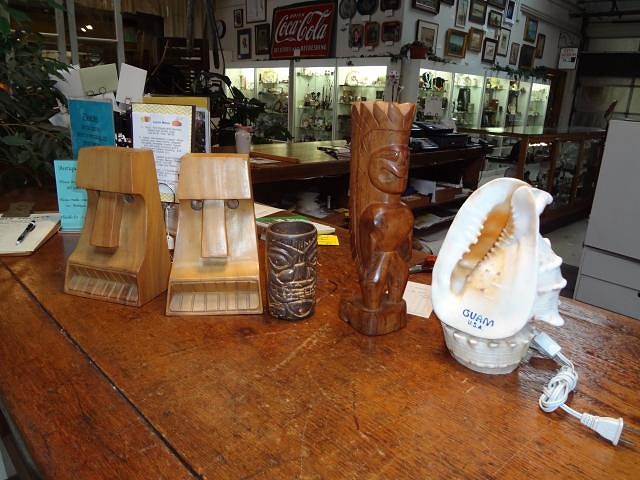
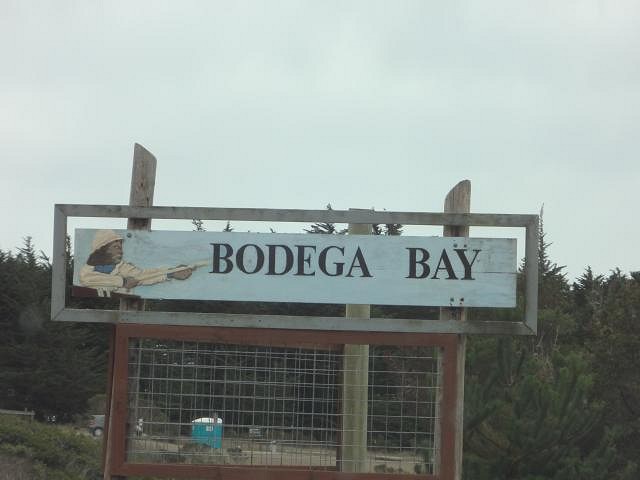
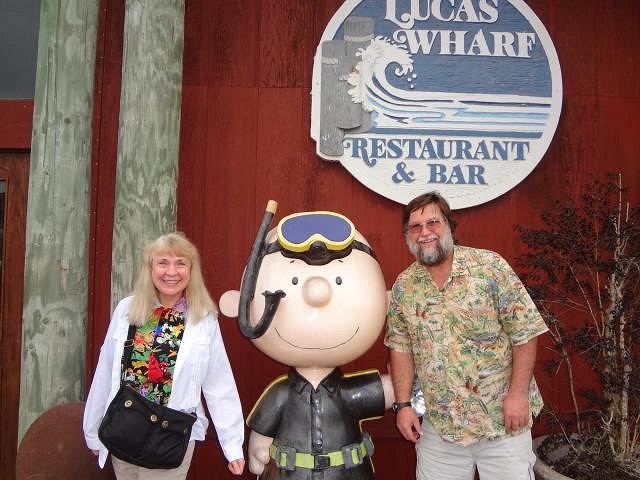
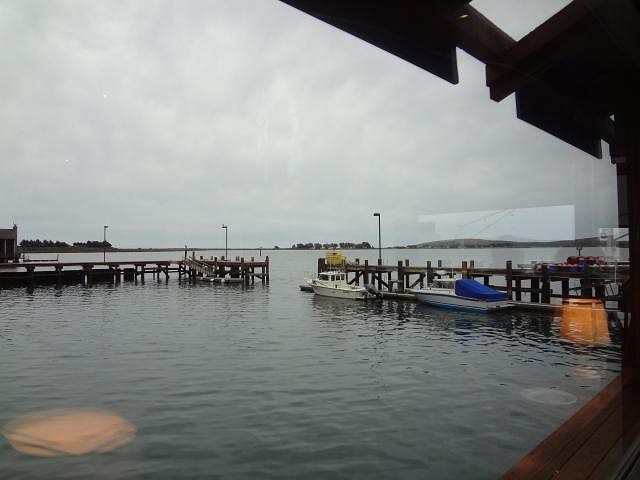
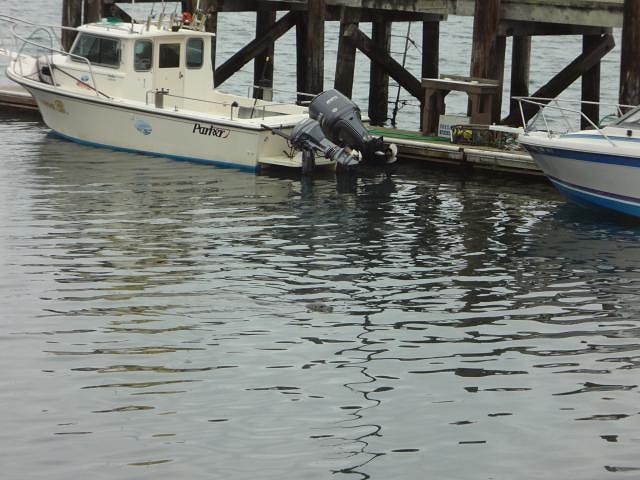
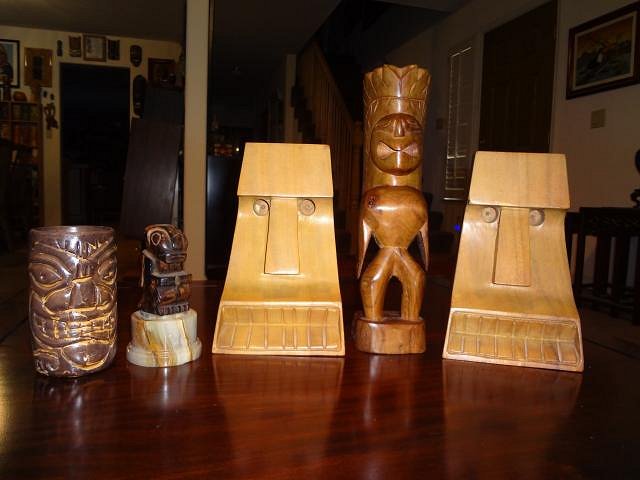
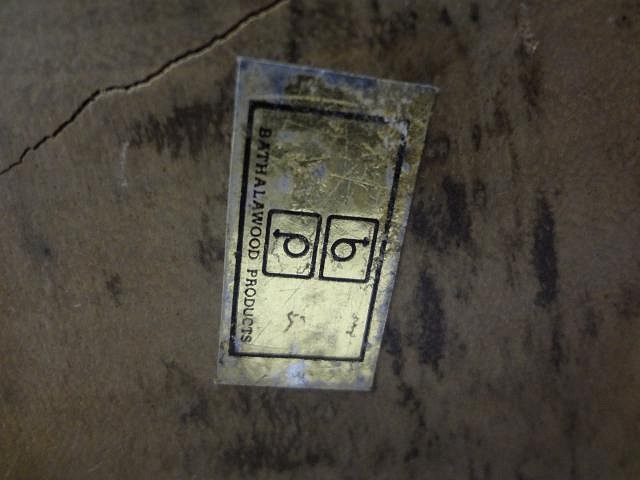
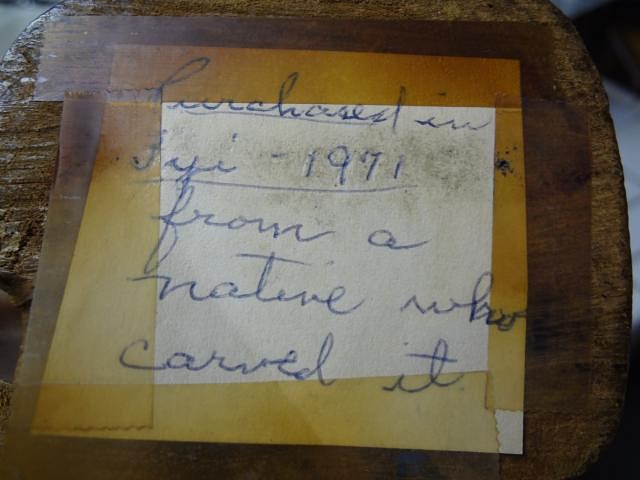
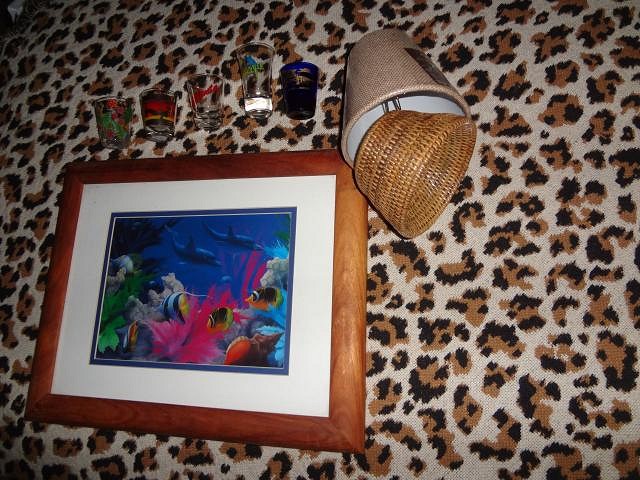
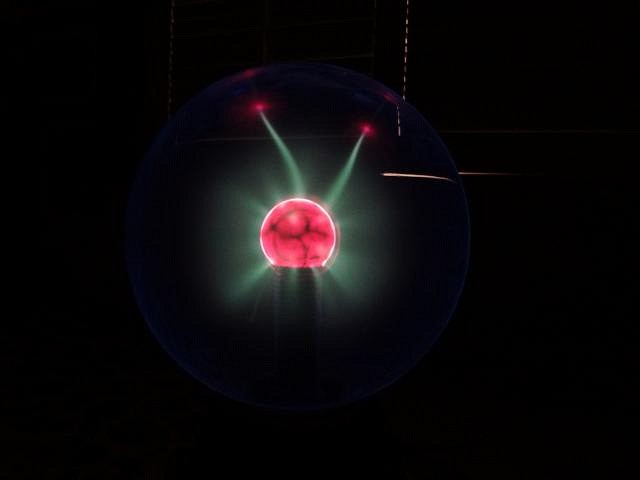
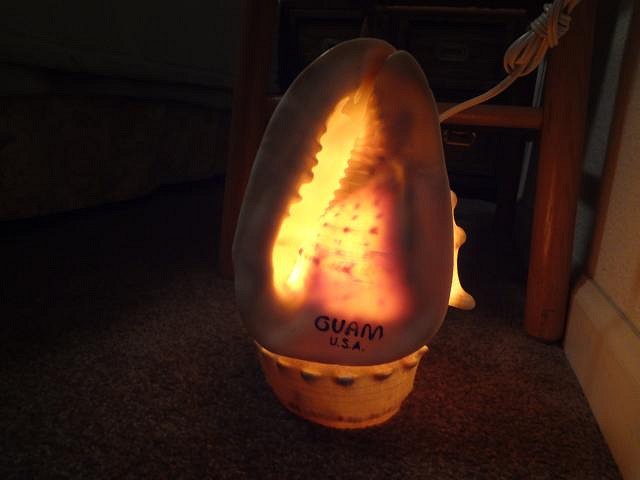
hang10tiki that's a great idea. ============================= No update on the Wish List instead here are some photos of a couple of days this week. I had a doctors appointment downtown Sacramento and we are always early so we went for a walk. a fun mural at a clothing store. We stumbeled across a deli in a Victorian home and Rick's desert diner on the corner. We stopped at Lauren's but he hadn't opened up yet. It was only 9 am in the morning. We had such a nice walk that we'll have to do it again sometimes. Sacramento is a very calm city. =============================== On Tuesday we headed off to a few fun towns in the Napa Valley. We went to a thrift store in Napa and then on to Sebastopol. The first antique store had this magnificent carving. It was $450. Still is too because we left it there. Big sharp teeth! The next antique store had a small black bamboo garden out back. We didn't know there was black bamboo. At this same antique store we found some tiki mugs. But we already had them so they were left behind. The next antique store held many treasures that we couldn't resist. From the bottom shelf Dan scored a Trader Vic's mug. Here's the whole haul. The big bookends, the Trader Vic's mug, a tiki from Figi and even a shell lamp. The Birds by Alfred Hitchcock was partially filmed in Bodega Bay. I wanted to see the town so we drove there. We found this fun candy store but didn't go inside. We found two restaurants and we stopped her for lunch. The food and the view were great. In the middle of this photo there is a seal head just peeking out. This was the whole town. There is nothing more except for a marina of boats. It didn't look like the movie at all. Back home I photographed all our new tiki treasures. We had also found this Tahitian tiki mounted on a rock stand. They probably were paired up by the owner and not the carver. On the bottom of the bookends there was this sticker. On the bottom of the tiki was this note. My purchases were some shot glasses from Hawaii and a print that had a sticker saying it was bought at Aloha Towers on Oahu. At the thrift store in Napa I got this electricity ball for $3. I always wanted one so it was a great find. I lit up my new shell lamp. Now Dan will have fun working these things into his collection. Back to work on the Wish List. Cheers, Wendy [ Edited by: danlovestikis 2015-10-30 08:52 ] |
Pages: 1 2 3 4 5 6 7 8 9 10 11 12 13 14 15 16 17 18 19 20 21 22 23 24 25 26 27 28 29 30 31 32 33 34 35 36 37 38 39 40 41 42 43 44 45 46 47 48 49 50 51 52 53 54 55 56 57 58 59 60 61 62 63 64 65 66 67 68 69 70 71 72 73 74 75 76 77 78 79 80 81 82 83 84 85 86 87 88 89 90 91 92 93 94 95 96 97 98 99 100 101 102 103 104 105 106 107 108 109 110 111 112 113 114 115 116 117 118 119 120 121 122 123 124 125 126 127 128 129 130 131 132 133 134 135 136 137 138 139 140 141 142 143 144 145 146 147 148 149 150 151 152 153 154 155 156 157 158 159 160 161 162 163 164 165 166 167 168 169 170 171 172 173 174 175 176 177 178 179 180 181 182 183 184 185 186 187 188 189 190 191 192 193 194 195 196 197 198 199 200 201 202 203 204 205 206 207 208 209 210 211 212 213 214 215 216 217 218 219 220 221 222 223 224 225 226 227 228 229 230 231 232 233 11141 replies

