Pages: 1 2 3 4 5 6 7 8 9 10 11 12 13 14 15 16 17 18 19 20 21 22 23 24 25 26 27 28 29 30 31 32 33 34 35 36 37 38 39 40 41 42 43 44 45 46 47 48 49 50 51 52 53 54 55 56 57 58 59 60 61 62 63 64 65 66 67 68 69 70 71 72 73 74 75 76 77 78 79 80 81 82 83 84 85 86 87 88 89 90 91 92 93 94 95 96 97 98 99 100 101 102 103 104 105 106 107 108 109 110 111 112 113 114 115 116 117 118 119 120 121 122 123 124 125 126 127 128 129 130 131 132 133 134 135 136 137 138 139 140 141 142 143 144 145 146 147 148 149 150 151 152 153 154 155 156 157 158 159 160 161 162 163 164 165 166 167 168 169 170 171 172 173 174 175 176 177 178 179 180 181 182 183 184 185 186 187 188 189 190 191 192 193 194 195 196 197 198 199 200 201 202 203 204 205 206 207 208 209 210 211 212 213 214 215 216 217 218 219 220 221 222 223 224 225 226 227 228 229 230 231 232 233 11,162 replies
|
D
danlovestikis
Posted
posted
on
Sun, Apr 15, 2018 1:33 PM
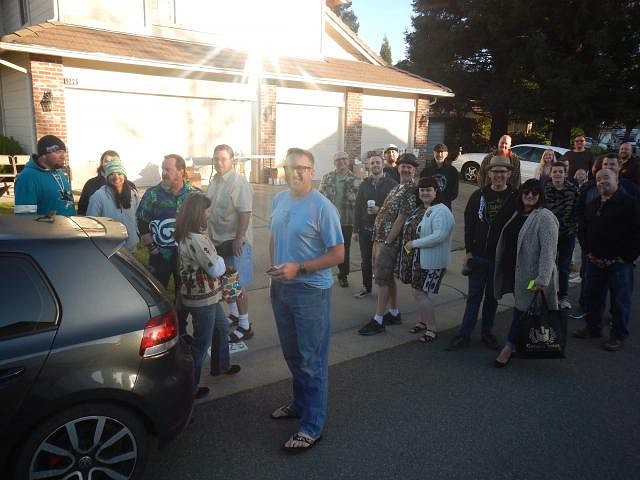
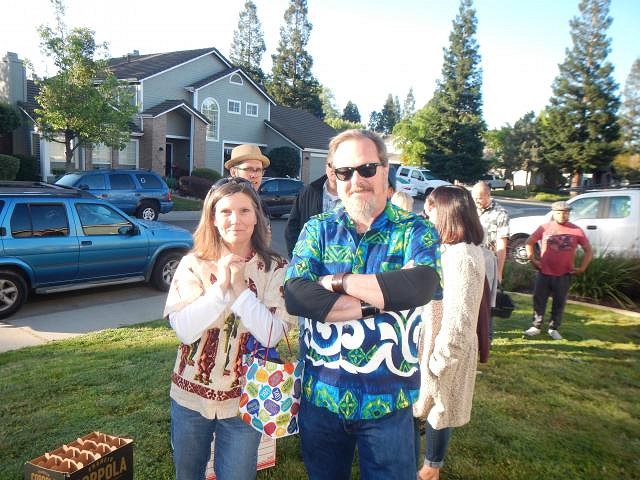
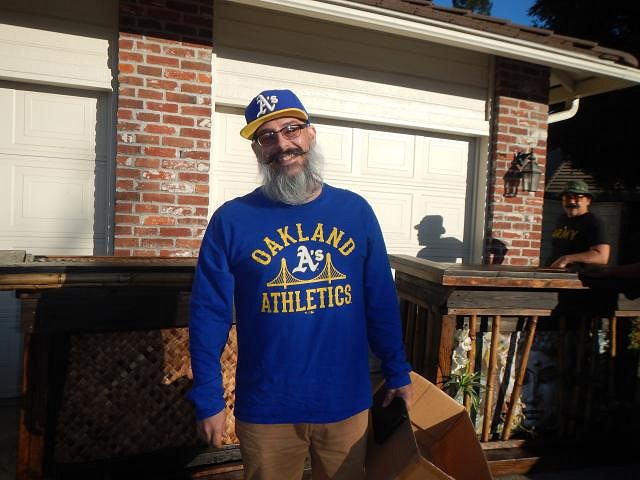
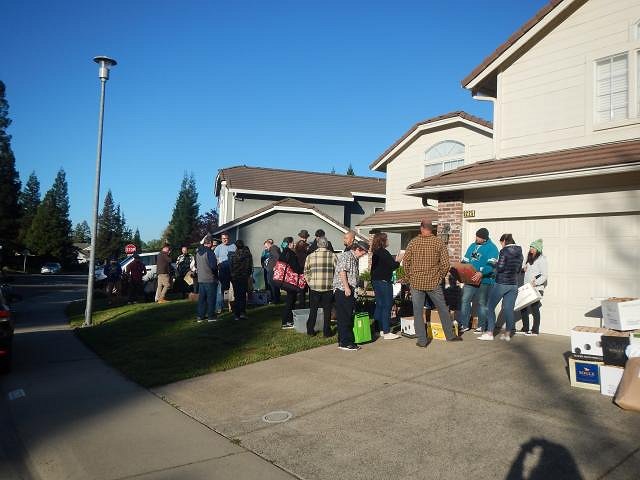
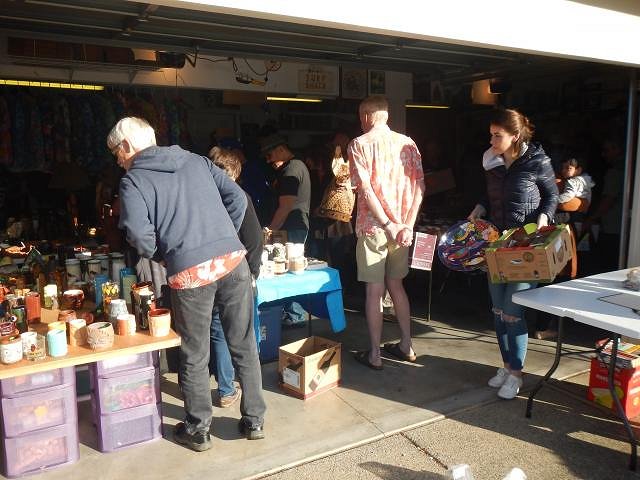
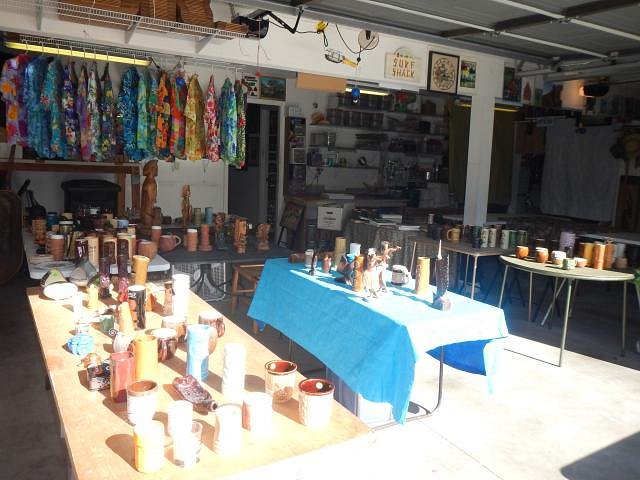
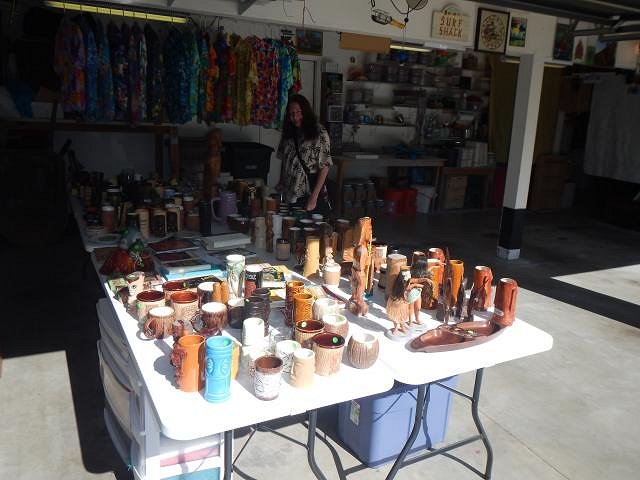
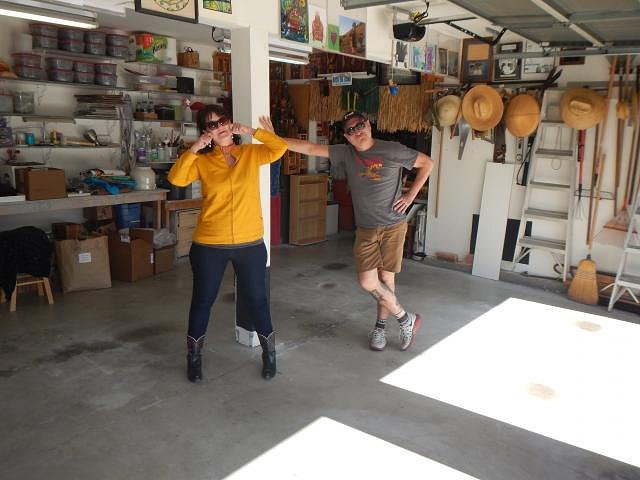
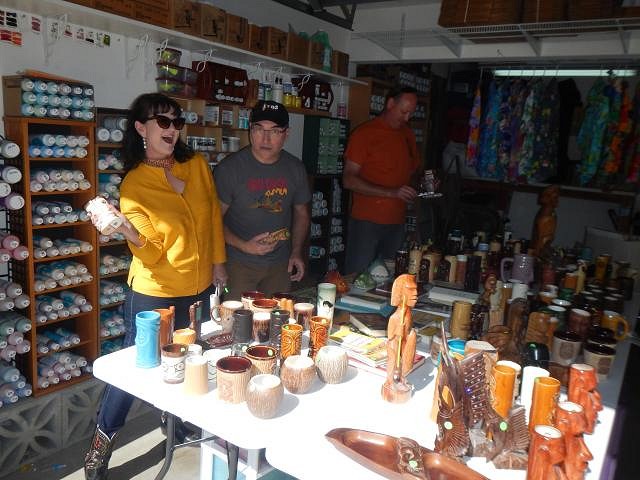
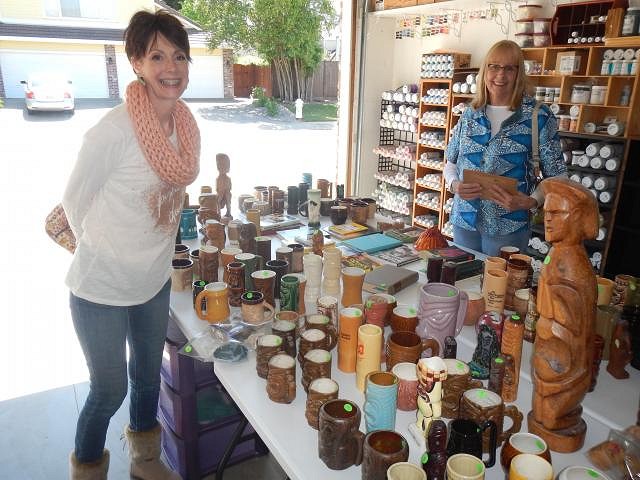
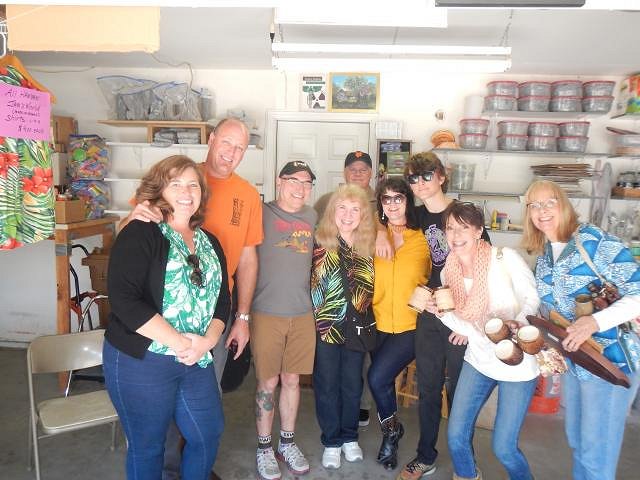
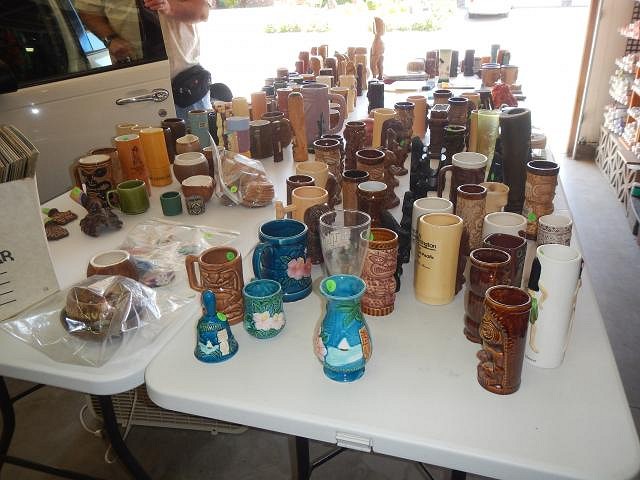
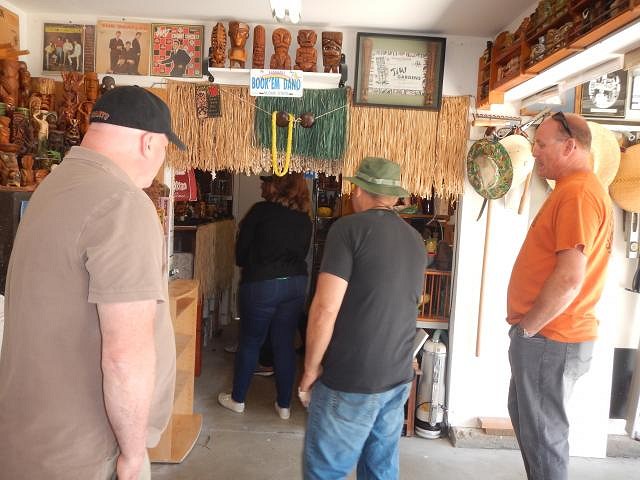
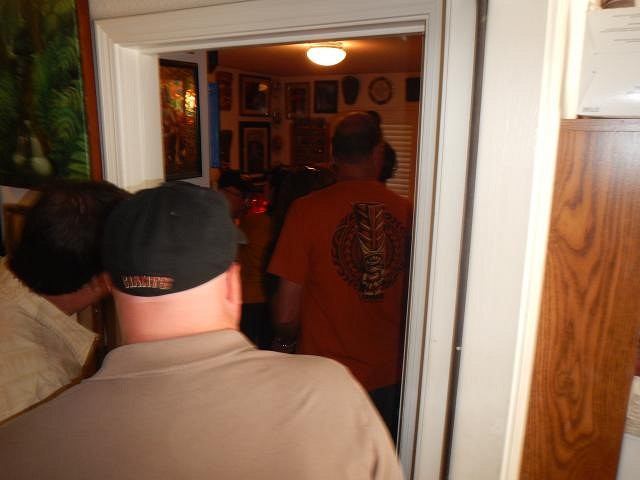
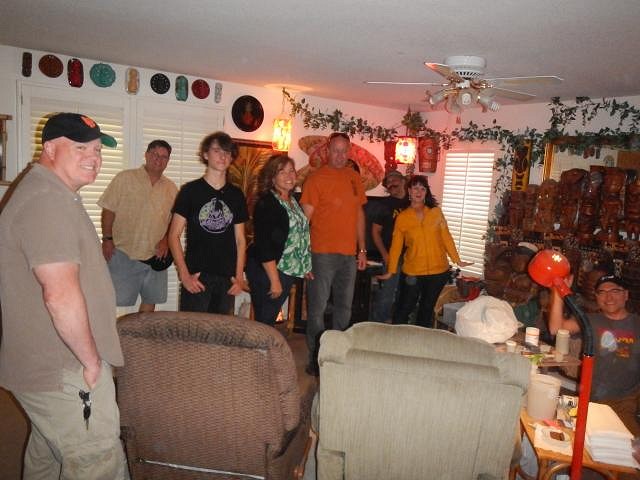
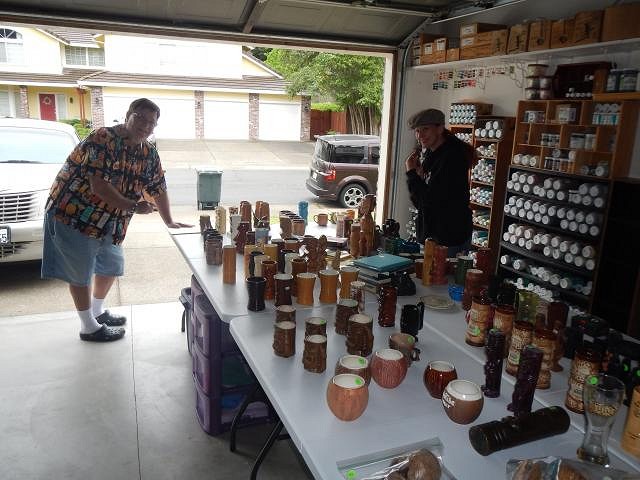
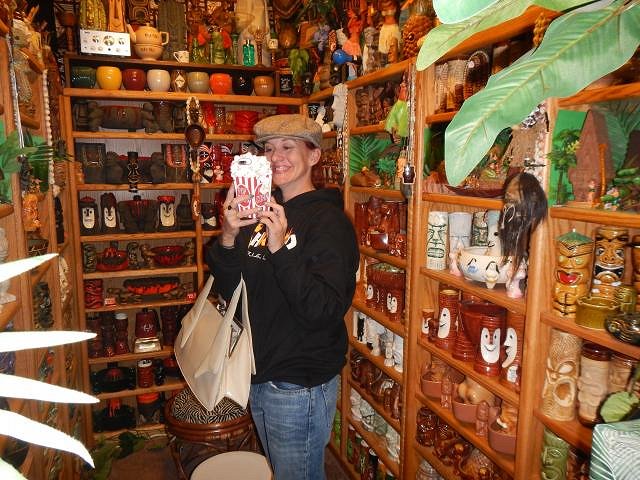
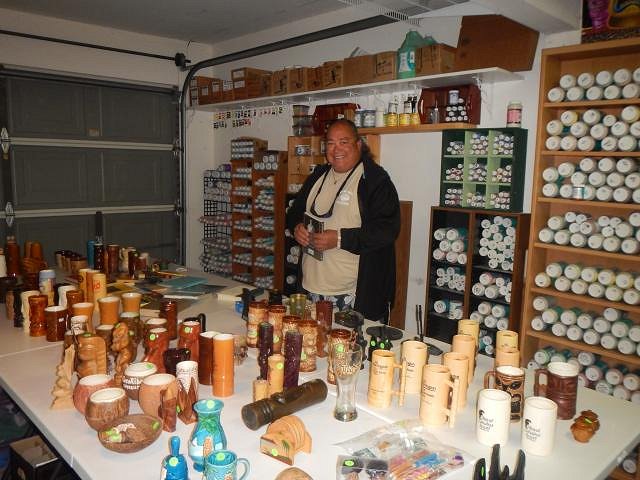
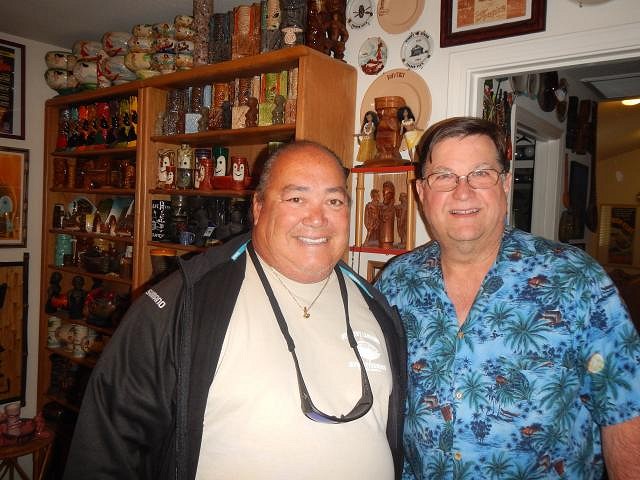
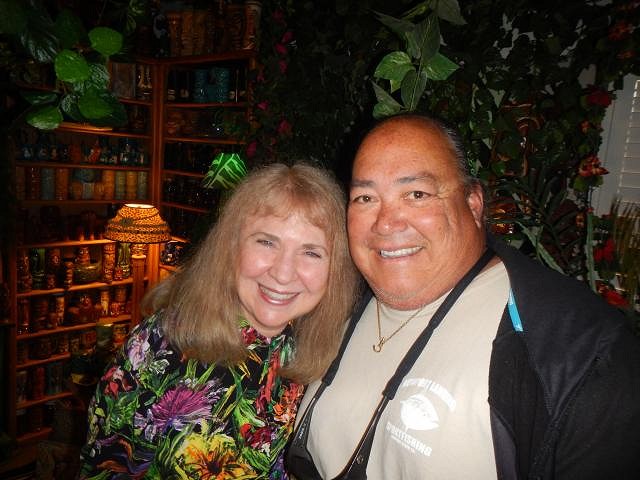
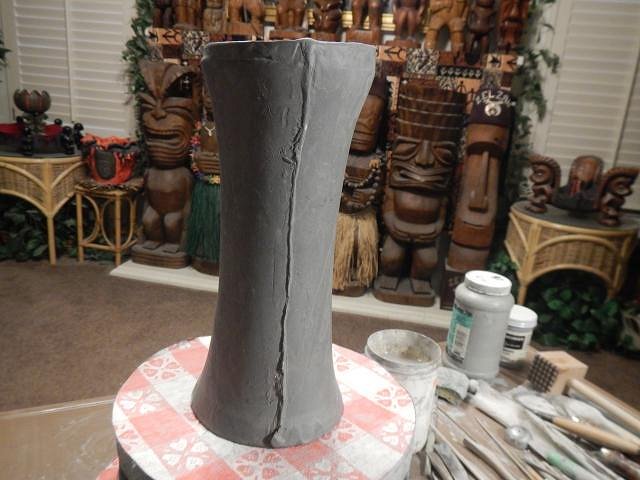
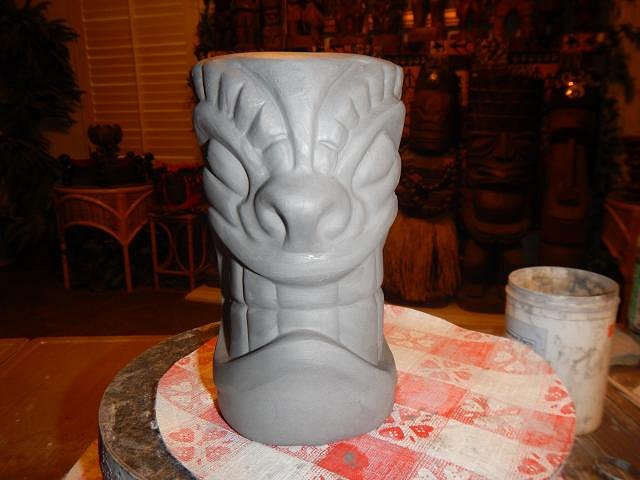
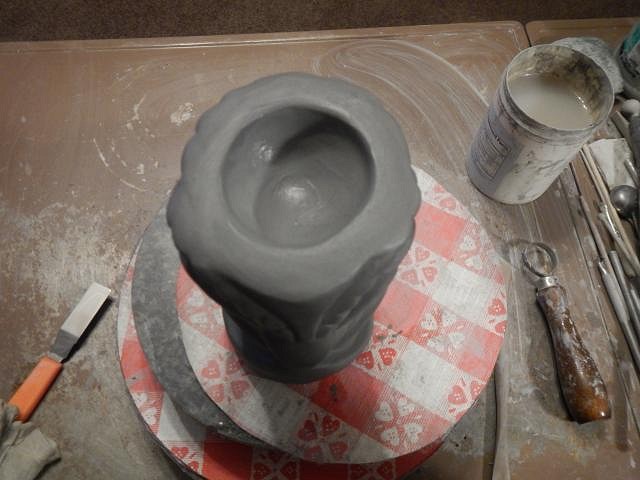
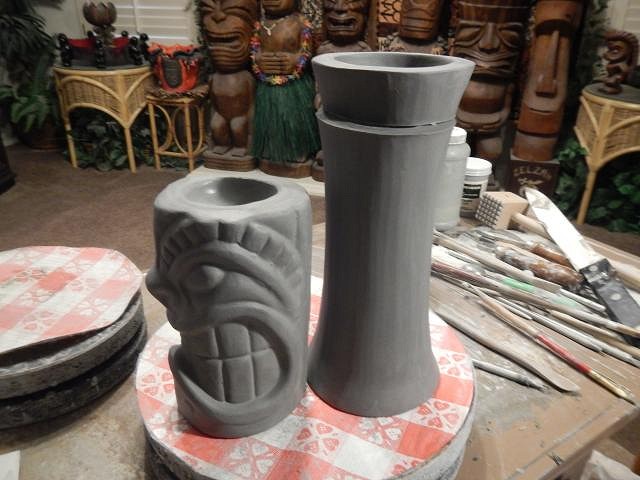
WARNING THESE PHOTOS ARE ONLY FOR THE EYES OF HAMMO AND HANG10TIKI unless you like seeing garage sales!!! Yesterday was as perfect as it gets. I posted a video on facebook that shows the crowd entering the garage and ends with a guy throwing a box with a mug in it that crashes and then the collective OOOOOOOOOOOOOOHH of those shopping. Sorry I can't post it here. Since I had each person take a post it note with their number everyone could just wander around visiting until it was time to line up to enter the garage. Meet Psycho Tiki D and his wife Amy. Meet Hope Chest aka Ray. So happy to meet you in person. I just said line up by number and everyone did. No hassles at all. Tiki people are the BEST. We had friends from Grass Valley and Santa Rosa come to the sale! The garage filled but it worked out to be just right. The tables emptied out and all the shoppers disappeared in one hour. We condensed all the tikis onto four large tables in one car stall in the garage just in time for Laura to shop. Baby Doe and Otto arrived and with 2/3rd's of the garage empty they were so sad. But they not only found enough tiki treasure left they filled boxes and even found a mug that shocked Otto. They were very happy. This coming Saturday I will post the end of the sale photo. This week anyone who wants to come shop just needs to let me know. I have three scheduled shoppers for next week and today we had one other who came. Soon I'll have my work space cleared. This has been so fun we will have to do it again in the future. Cheers, Wendy PS there are still photos of a home tour and people posting on fb too much for one day [ Edited by: danlovestikis 2018-04-15 13:36 ] |
|
H

hang10tiki
Posted
posted
on
Sun, Apr 15, 2018 1:51 PM
Looks like everyone had fun |
|
L

littlegiles
Posted
posted
on
Mon, Apr 16, 2018 6:26 AM
What fun! I'll just sit here in South Carolina and sob quietly at my misfortune for being on the opposite side of the country. HAHA! Looks like everyone had a great time and you were able to clear out some space. It's a win/win. |
|
D
danlovestikis
Posted
posted
on
Mon, Apr 16, 2018 8:06 AM
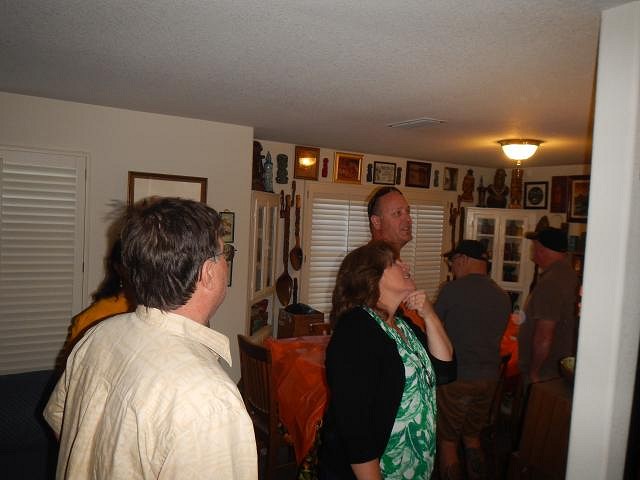
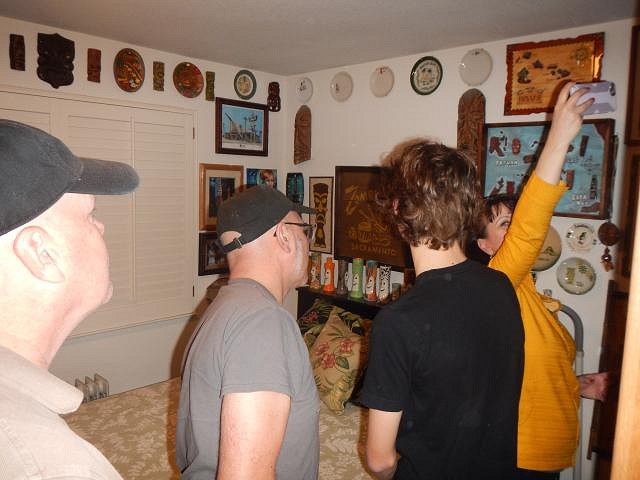
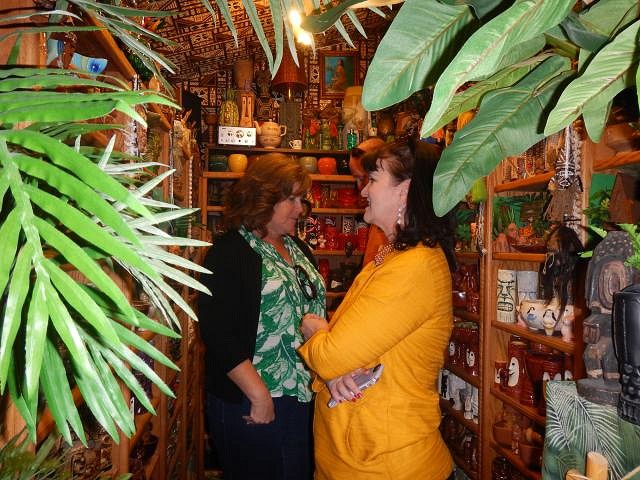
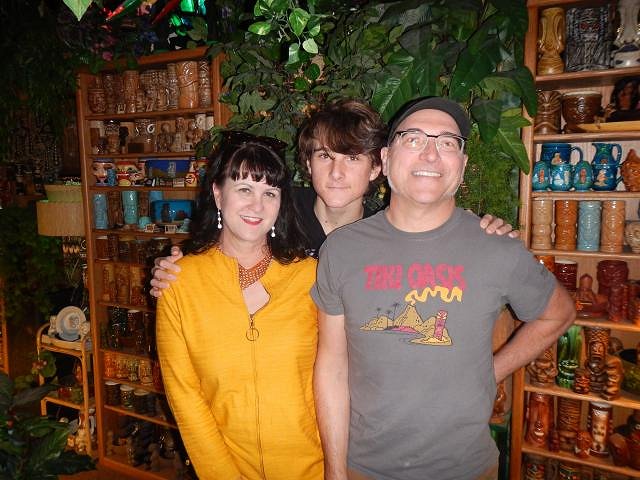
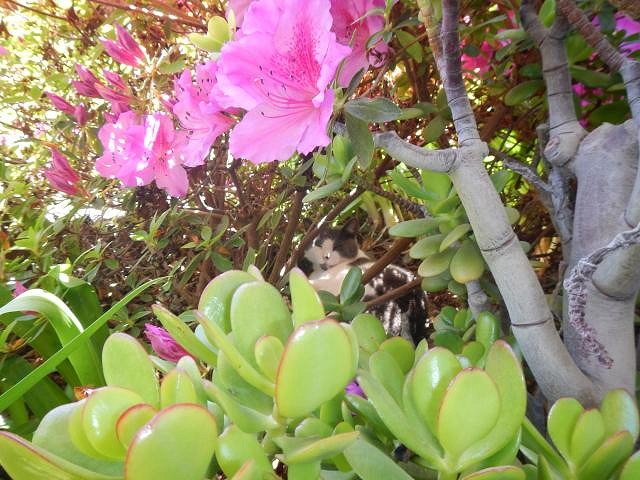
hang10tiki we sure did and we put the money in a car fund. We are trading tikis over time for a good used car. Ours are 15 and 20 years old and doing fine for now but we are preparing for the future visit to a car lot. I want to do road trips and it's getting pretty iffy. littlegiles it was over so fast. They ran in, scooped up tikis and in one hour they were gone. Then the slow time was nice too. ============================= When sales ended our friend Raina watched the tiki bars and our last tables while we gave the last group a tour of the collection. Barbara and her mom Audrey came just in time for shopping and a group shot. There isn't this much left but this shows how it was at the end of Saturday. Dan parked the two cars in the garage. Perfect. Then the collection tour began with the tiki man cave in the garage. Then the downstairs bedroom. The familyroom with Otto on the floor. Do you see him? Dining room tour. Upstairs bedroom and then into the tiki jungle room. If you are a facebook friend I have posted a video. Otto's son made the visit possible because he had a meet nearby. Our neighbors cat which we love was there all day checking out the sale or resting in the bushes. Now it's time to get ready for our next buyer due to show up soon. Cheers and thank you for watching the sale through our photos. Wendy |
|
H
HopeChest
Posted
posted
on
Mon, Apr 16, 2018 1:47 PM
That was SUCH a fun morning! Everyone was so pleasant to chat with, the layout was great, and the selection was simply unreal. Still rather gobsmacked at all of the amazing stuff. You and Dan did an amazing job, Wendy! It was lovely to finally meet you. Thanks so much for having us all. |
|
H

Hamo
Posted
posted
on
Mon, Apr 16, 2018 11:04 PM
Thanks for the photos, Wendy. Looks like it was a great time, and I’m sorry I missed it. I’ll make it to the next huge tiki garage sale for sure. |
|
D
danlovestikis
Posted
posted
on
Tue, Apr 17, 2018 9:33 AM
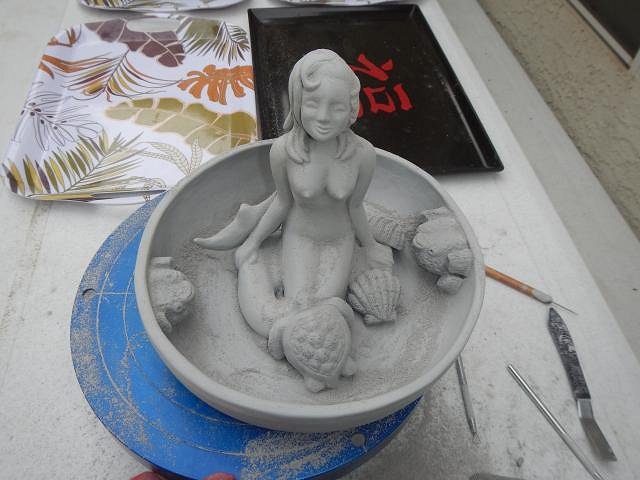
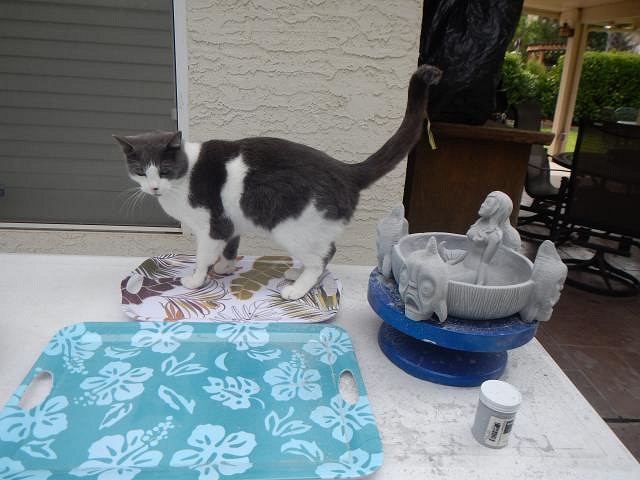
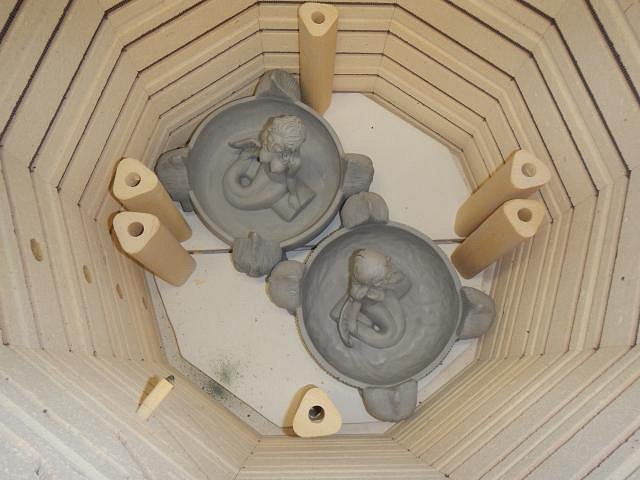
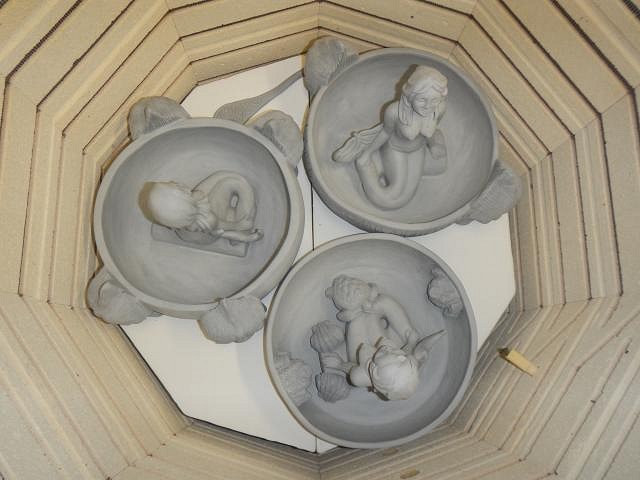
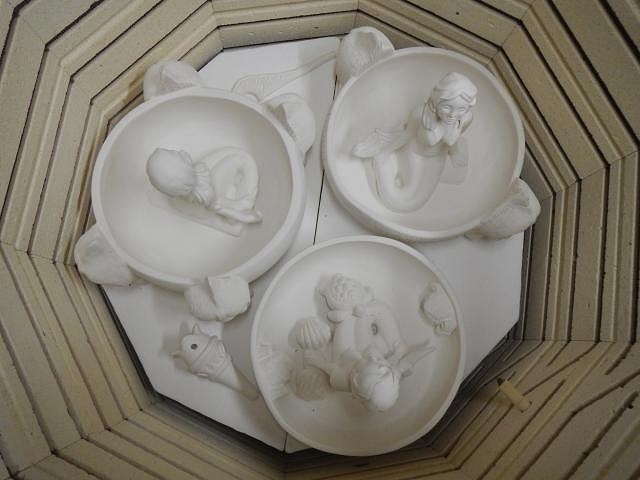
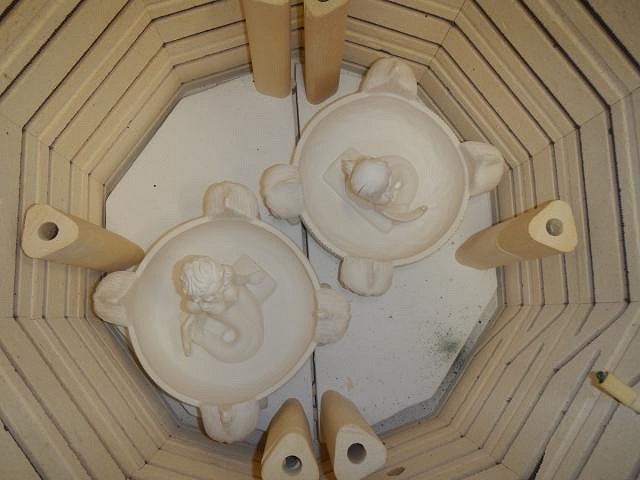
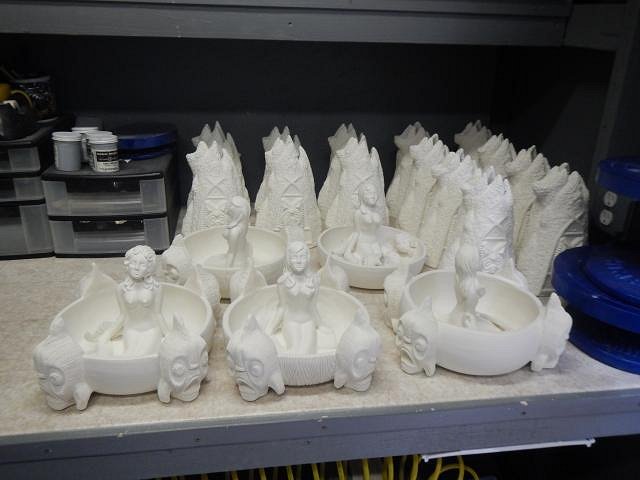
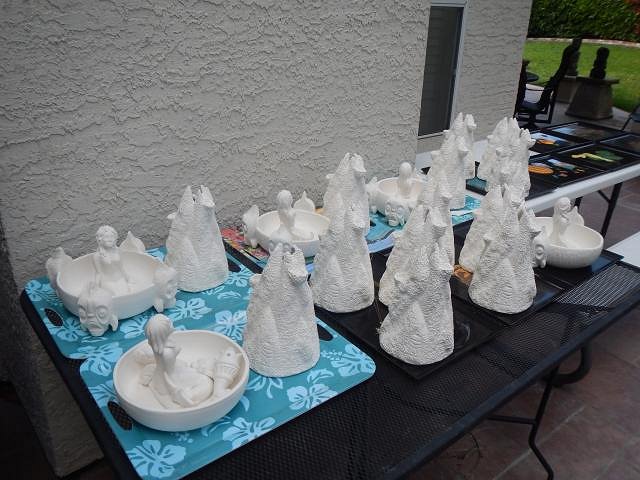
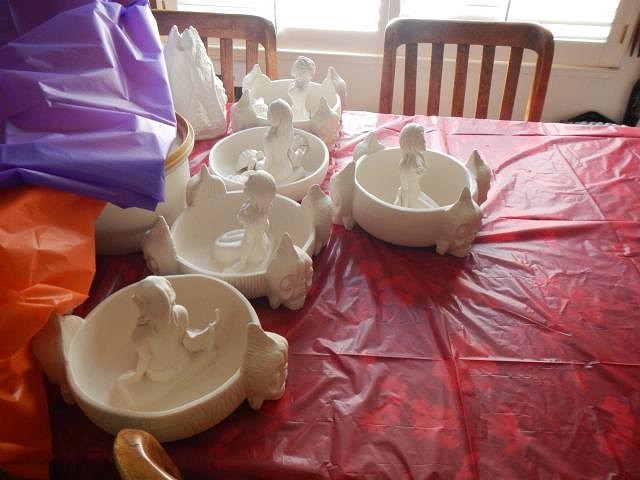
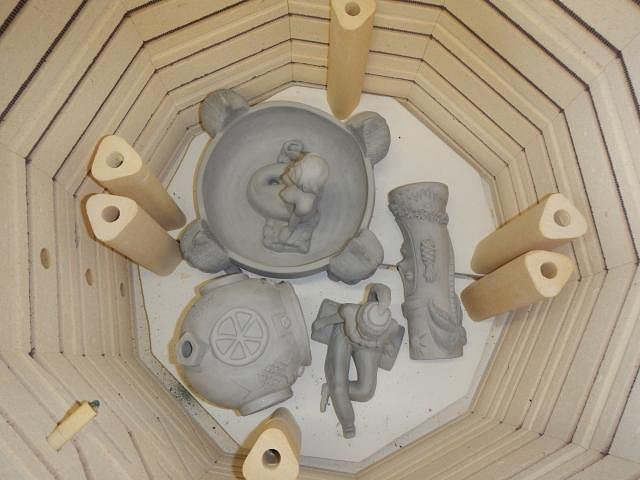
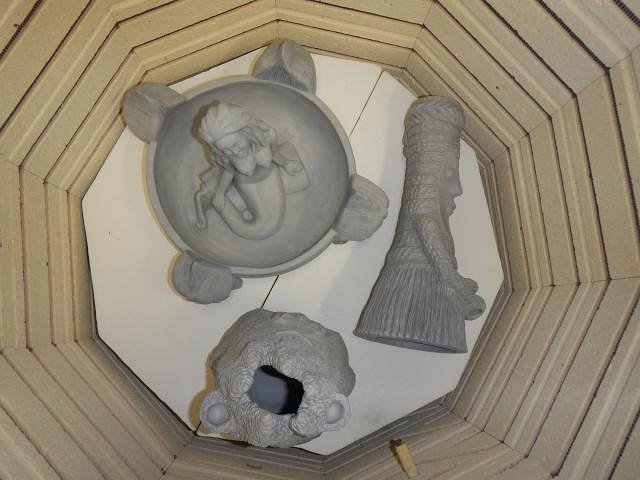
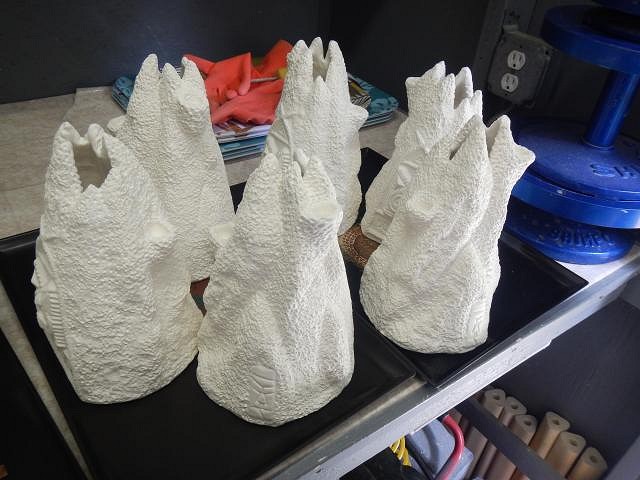
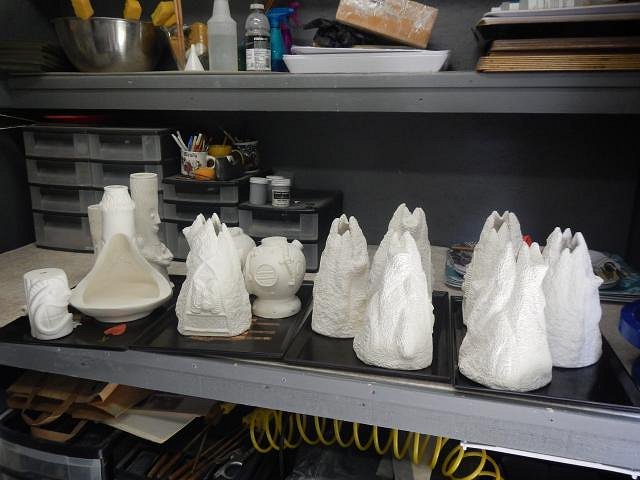
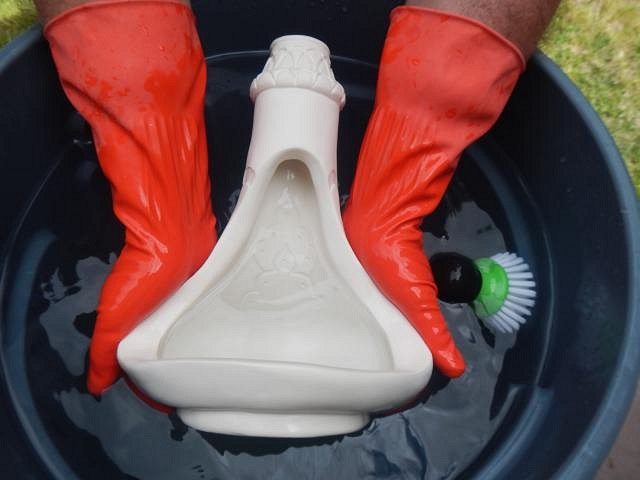
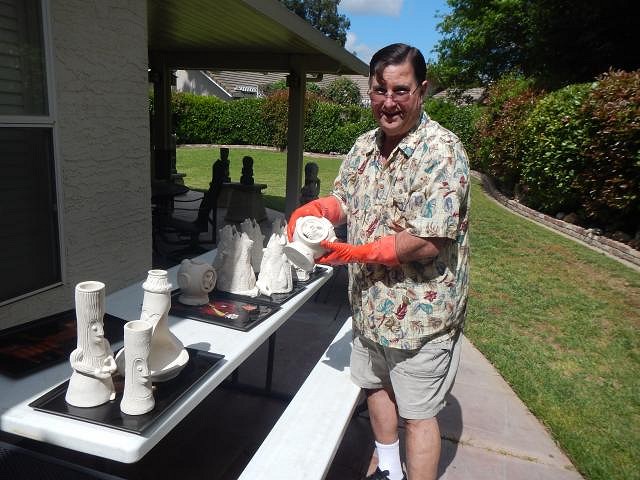
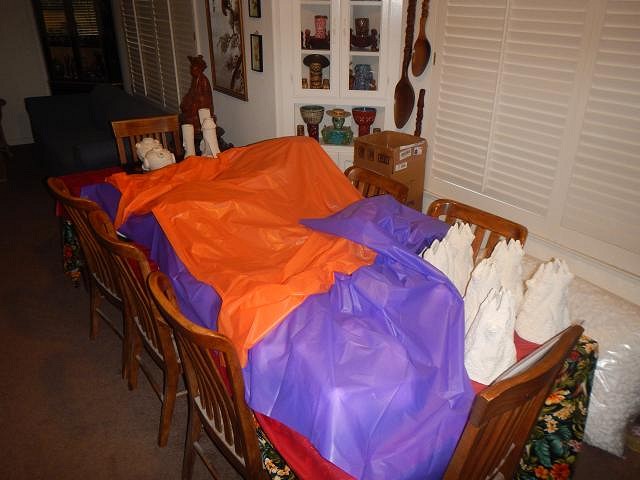
HopeChest ah, I wish we could have taken you through the collection. Any time you are coming to our area let me know so we can have another meet up. Hamo OK just for you we will do another huge garage sale in about 6 months. This was so much fun we have to do it again. =========================== During the set up for the tiki garage sale I continued to work on projects. Now I'll start doing the catch up photos of progress on the Wish List #8 and the Sacramento Crawl mugs. After two Bumatay Fish broke off the first bowl I sanded I started again with a non-Bumatay bowl. Success! Nothing broke off. While being supervised by Scottie I continued to sand until the rest of the bowls were done. No problems. The bowls are so large that for the bisque fire I could only put two on the bottom and three on the top because there were no fish on one and only two on the other. They all fired just fine without any problems or flying fish. Comparing to the in-fired photos you can see how much they have shrunk making a bit of space between them where before they touched. I won't be able to put even two on a shelf when I glaze them so I'll have to pair them with other small projects. They had to wait in the kiln shed for a day that worked for washing outdoors. It finally arrived and we did the washing. Then we brought them inside. A day later the plastic cloth was draped over them to protect them from dust. On step at a time and it starts to show, Wendy |
|
S
suburbanpagan
Posted
posted
on
Tue, Apr 17, 2018 12:12 PM
Love it!! |
|
D
danlovestikis
Posted
posted
on
Wed, Apr 18, 2018 9:10 AM
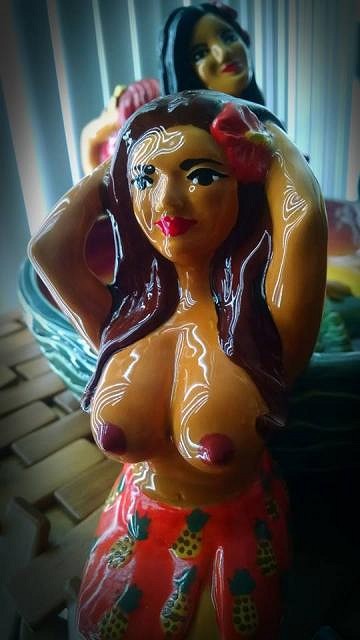
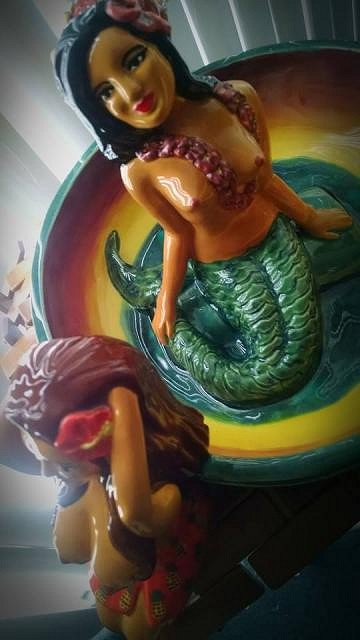
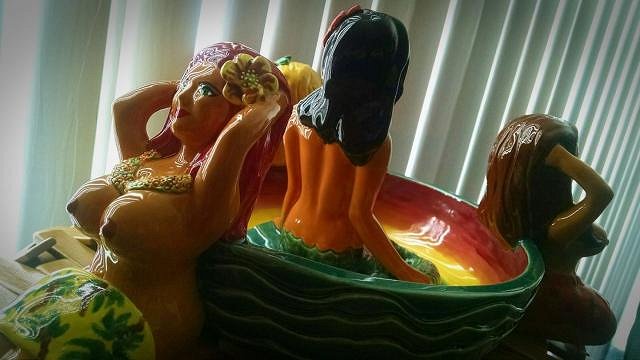
suburbanpagan thank you. Today on fb a past Wish List person put on photos of his three girl, one mermaid bowl made as he requested. Here are his photos.
The Geek Squad has my computer with all my photos. I'm using Dan's computer so I'm posting photos I swiped from fb today. Cheers, Wendy |
|
D
danlovestikis
Posted
posted
on
Wed, Apr 18, 2018 2:03 PM
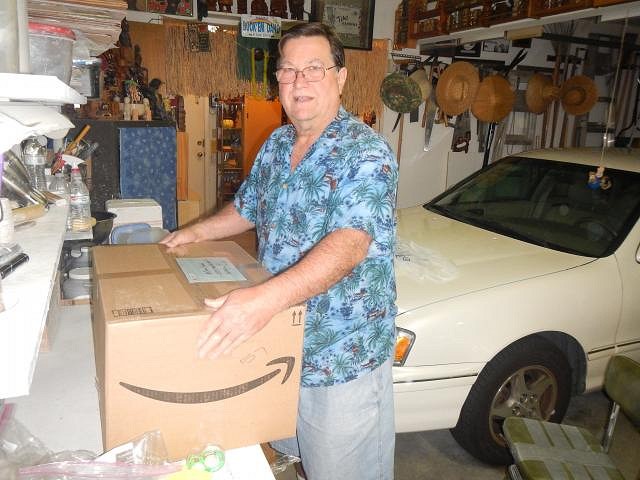
The HUGE tiki garage sale hasn't yet ended. On Monday Beatrice came to shop and afterwards she was given a tour of the collection. I've added a new friend to the wonderful tiki community. Then today Robert Mitchell came to shop after driving here from Simi Valley near Los Angeles!!! While here Dan boxed up purchases for Dean Shada. This box weighs around 40 pounds. Since Robert has to drive past Valencia on his way back home he said he would deliver the box to Dean and save him the shipping costs. It's never been about the things, its always been about the people you meet along the way. What a special guy. I just love all my tiki buddies. After we loaded his car with the large box and his purchases we took him on the tiki tour. After a hug he was back in his car and on his was to Valencia and then to home. All in one day, wow! Cheers to all of you! Wendy |
|
H

hang10tiki
Posted
posted
on
Thu, Apr 19, 2018 7:29 AM
Nice |
|
D
danlovestikis
Posted
posted
on
Thu, Apr 19, 2018 9:21 AM
Hang10tiki we sold out yesterday. Not one single item is left from the sale plus a few extra things as well!!! Wendy |
|
H

hang10tiki
Posted
posted
on
Fri, Apr 20, 2018 6:48 AM
Wow |
|
D
danlovestikis
Posted
posted
on
Sun, Apr 22, 2018 3:01 PM
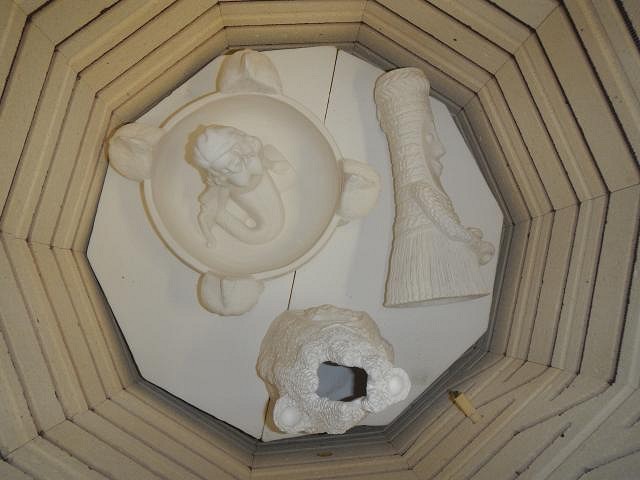
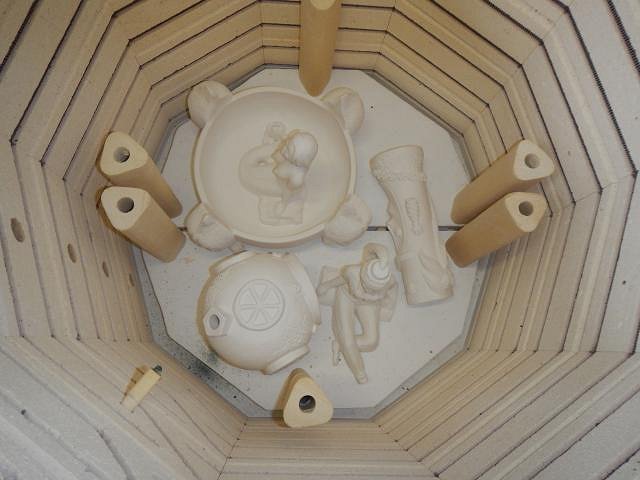
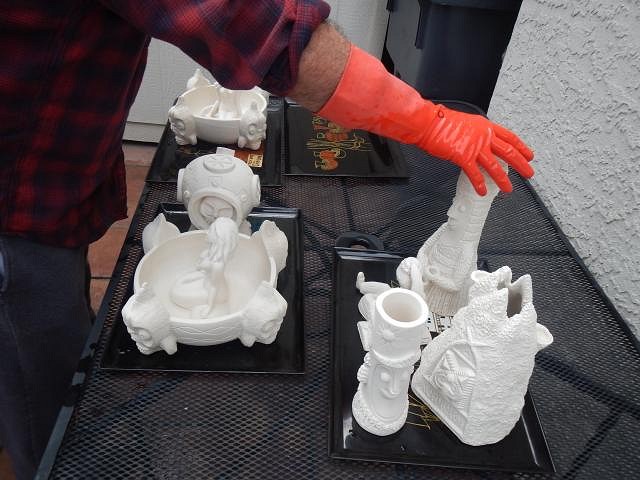
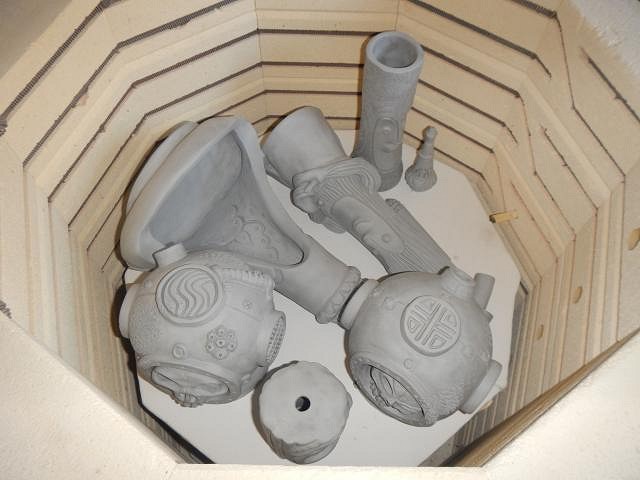
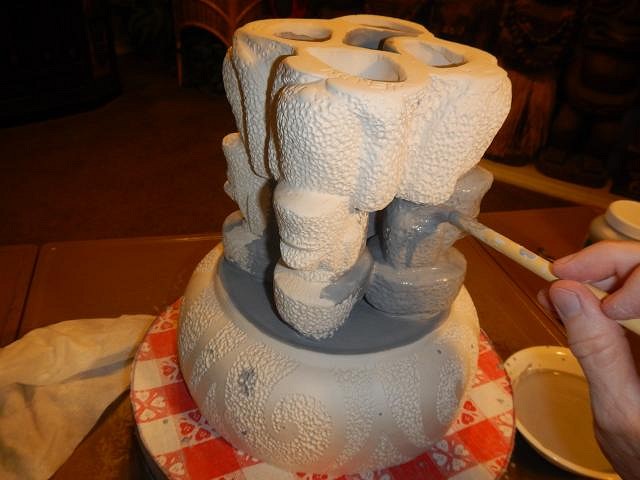
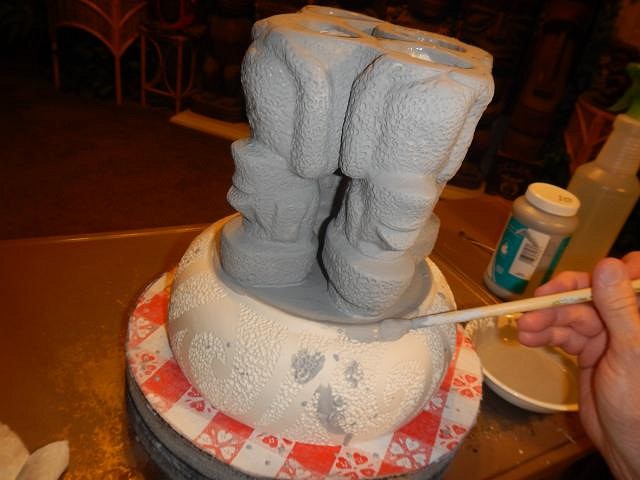
hang10tiki but of course Dan does all the heavy lifting. ================================= It sure does feel good to have my computer back from the Geek Squad. It wasn't fun having no ability to post photos. Time to start up again with the Wish List #8 photos and the progress on the Sacramento Crawl mugs. After sanding it's again time to do the bisque fire. This shrinks the clay so that it can be glazed.
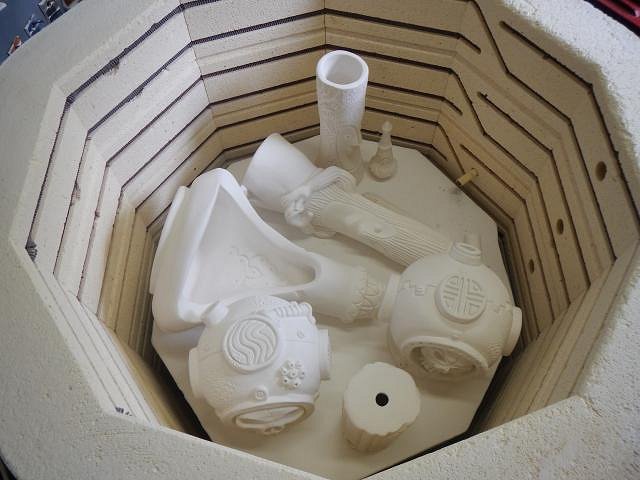
Two days later it is cool and can be unloaded from the kiln.
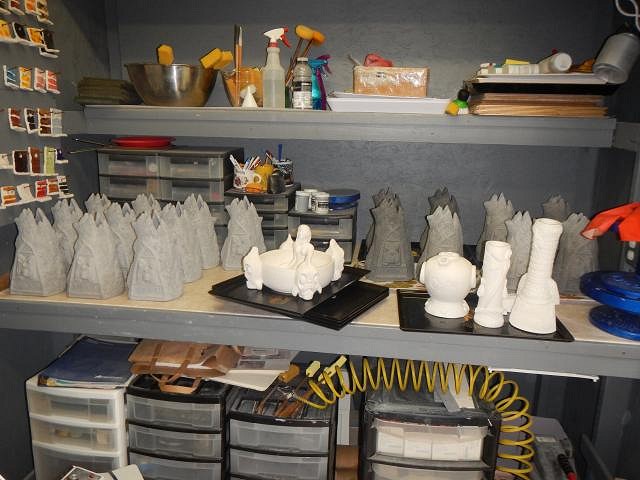
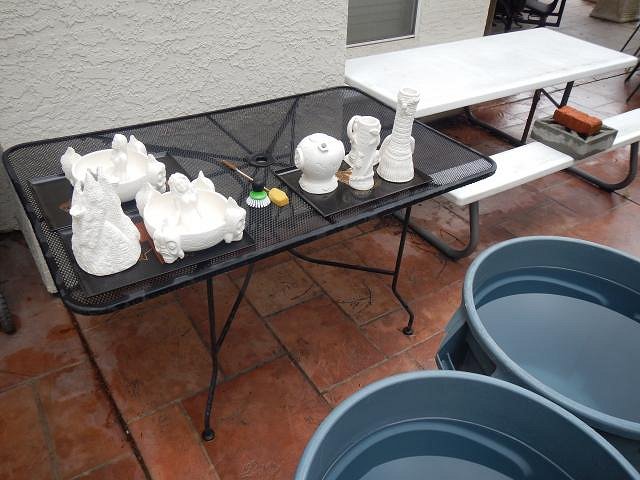
Too cold and rainy on this day so it has to wait for washing. You can see the difference in color between unfired and fired. A few days later it was out of the shed and time to wash. No problems at all. All the Bumatay Fish have stayed on after the first bowl lost two. It's fun to be able to share again. Cheers, Wendy PS oops I got put up the wrong set of photos, oh well, the building of the Diver's Helmet will have to come up next [ Edited by: danlovestikis 2018-04-22 15:12 ] |
|
H

hang10tiki
Posted
posted
on
Sun, Apr 22, 2018 7:29 PM
Like the inside of that kiln |
|
D
danlovestikis
Posted
posted
on
Mon, Apr 23, 2018 8:44 AM
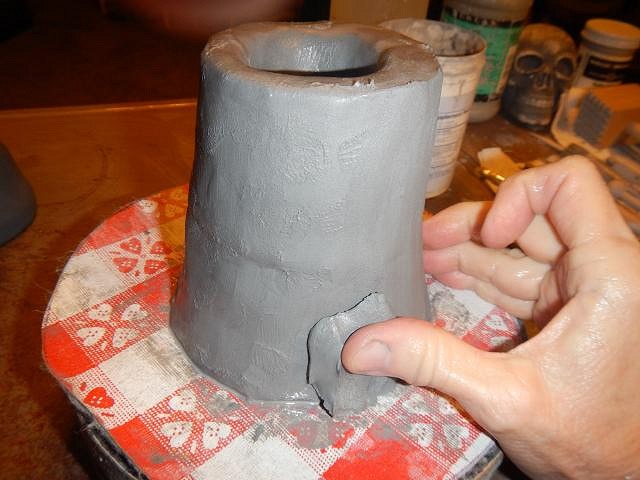
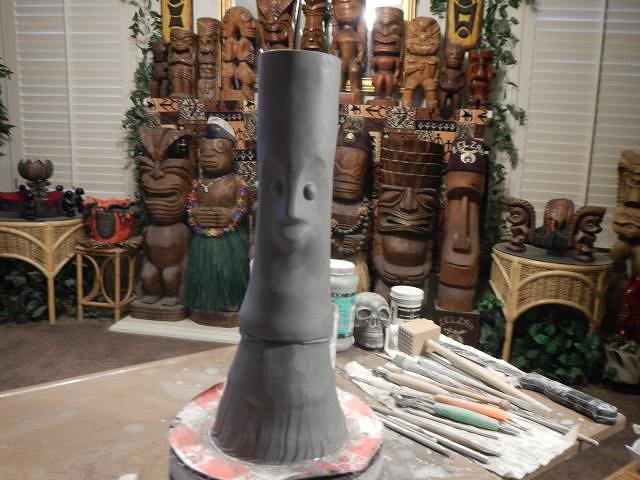
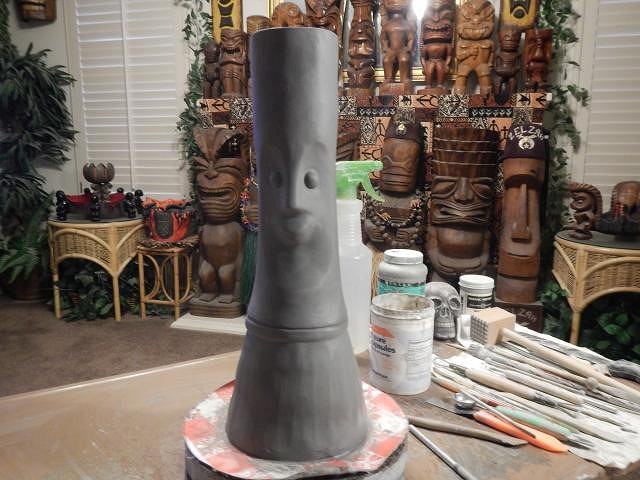
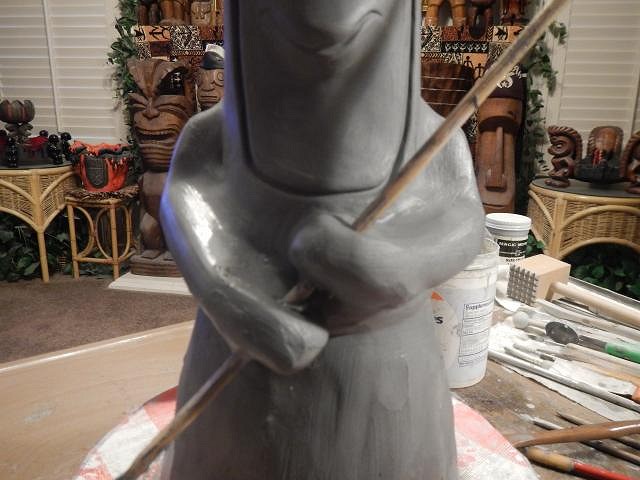
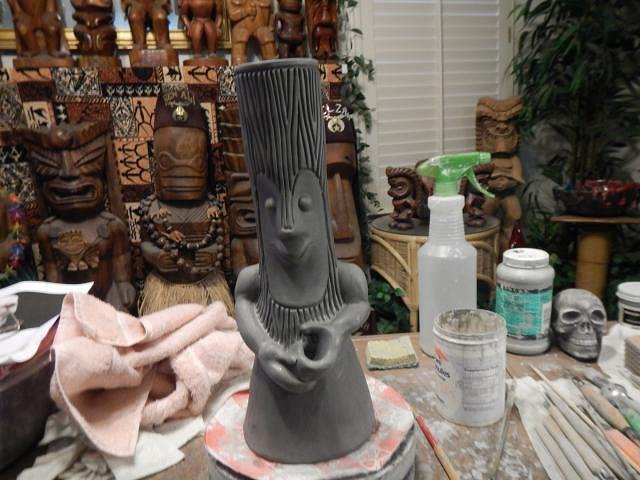
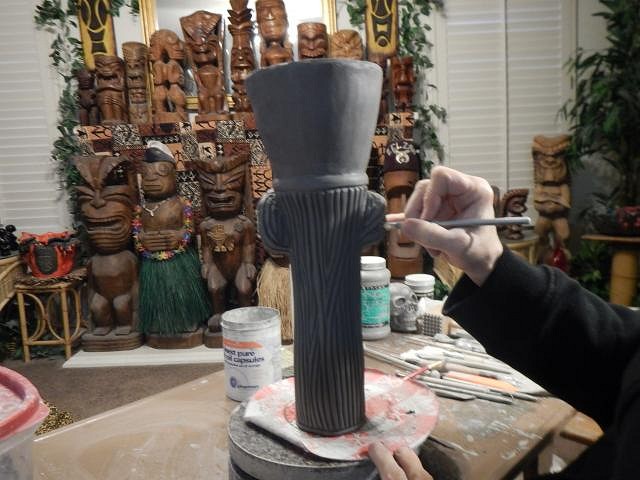
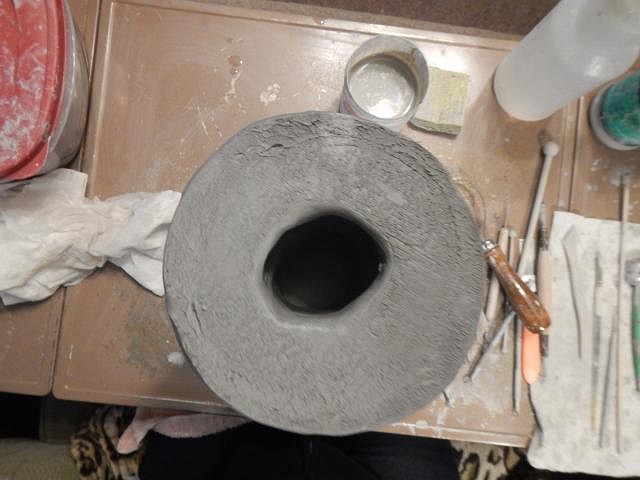
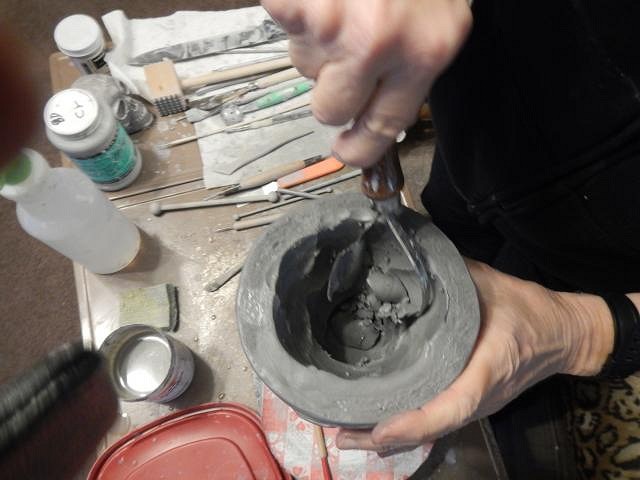
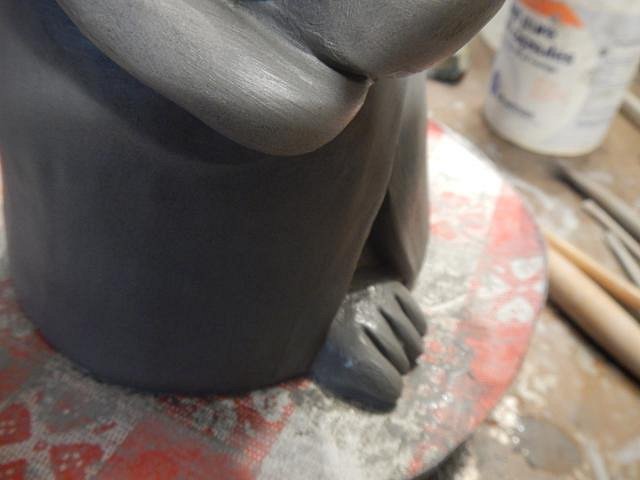
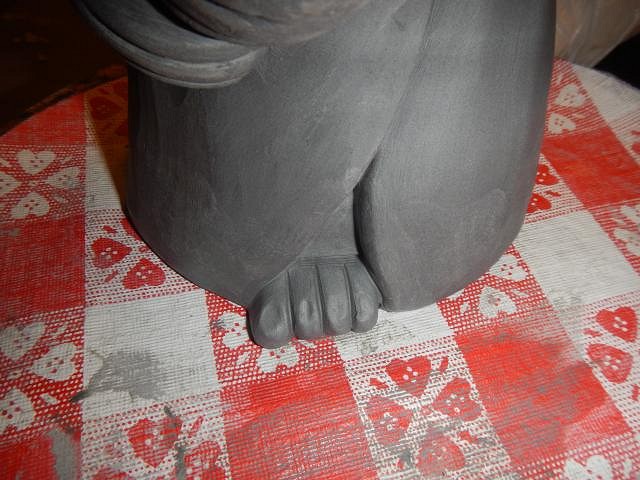
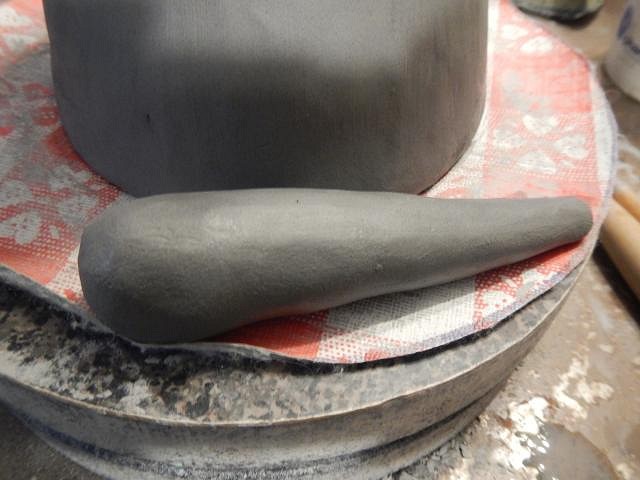
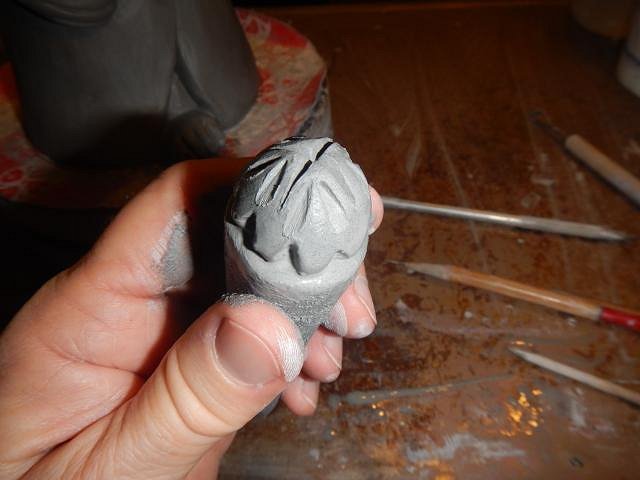
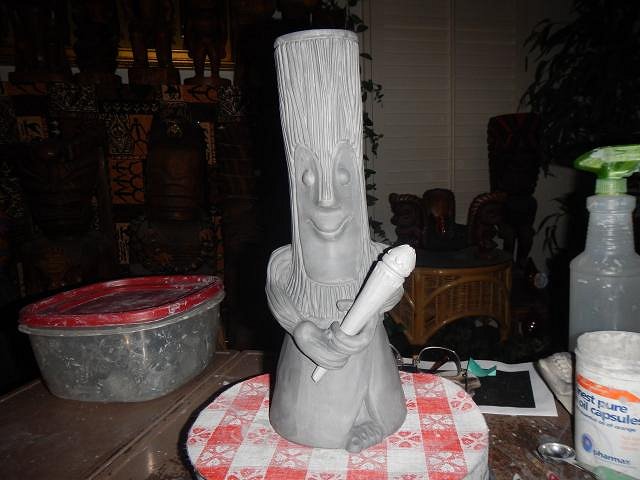
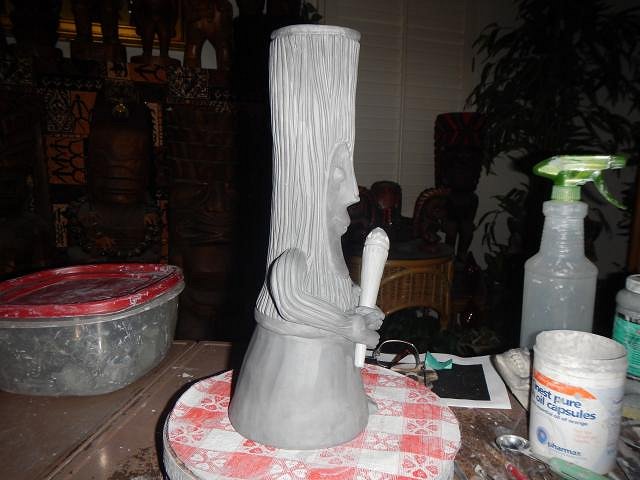
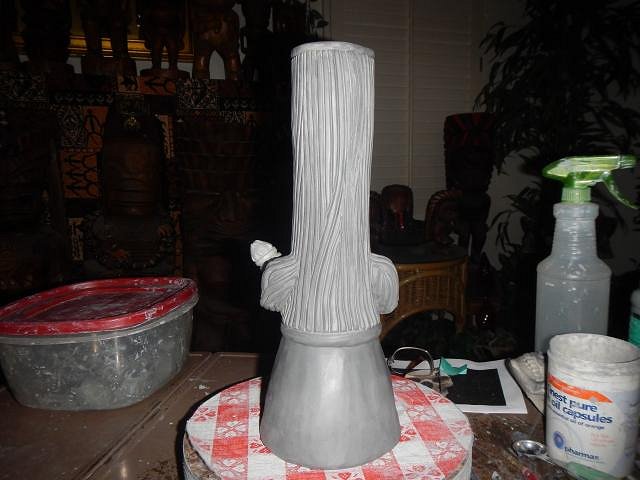
hang10tiki I like you, your tiki room, garage, backyard and all your carvings! ==================================== I'm catching up. I made this a long time ago. He is already dry and waiting for his turn in the kiln. To start Warrior Bob I made a base so he would be taller than his girlfriend/wife which is waiting so I can glaze them together. I put it on the bottom of a regular sized Bob using sticky clay. Then I built the sarong. I built up arms and hands so he could hold a weapon. I lined them up with a skewer. Next I added more detail to the hands. To make him different from his mate I always fine tune my carving by also checking it upside down. The support bottom is always to thick to dry without cracking. Once the mug is firm enough that I can turn it over I dig out the excess clay. I made his foot and then decided to play it safe and to make it not stick out so far. He was a size 13 and now he's an 8. I made the basic shape of his club and let it sit out overnight to firm up. The next day I was able to carve in some detail. More photos tomorrow. Wendy [ Edited by: danlovestikis 2018-04-23 08:46 ] |
|
D
danlovestikis
Posted
posted
on
Tue, Apr 24, 2018 6:07 AM
Here's Warrior Bob ready for battle. His club is dry, he is not. One day he'll head into the hot kiln to fire.
I wish everyone would pick up some clay and start to play. I started with Sculpey. It's joyful. Wendy |
|
M
MaukaHale
Posted
posted
on
Tue, Apr 24, 2018 8:42 AM
Such a friendly looking warrior. |
|
H

hang10tiki
Posted
posted
on
Wed, Apr 25, 2018 6:47 PM
That dude is kool |
|
D
danlovestikis
Posted
posted
on
Thu, Apr 26, 2018 8:26 AM
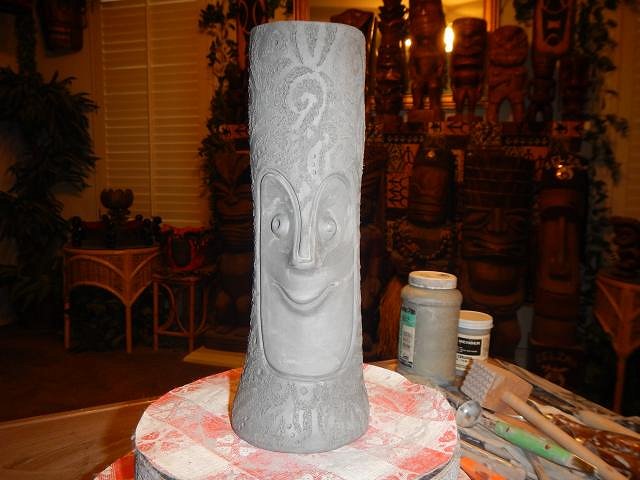
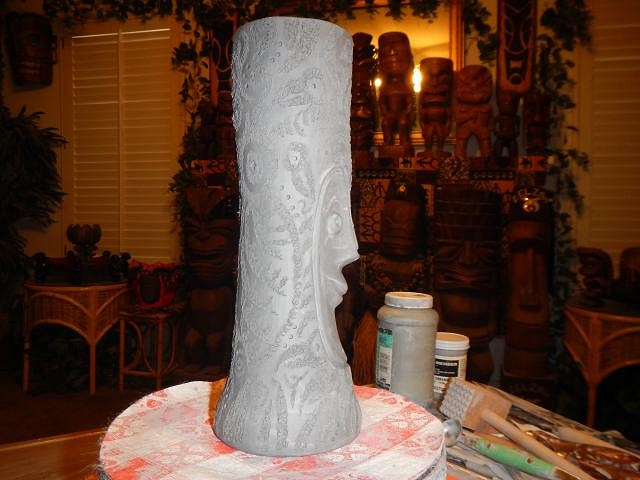
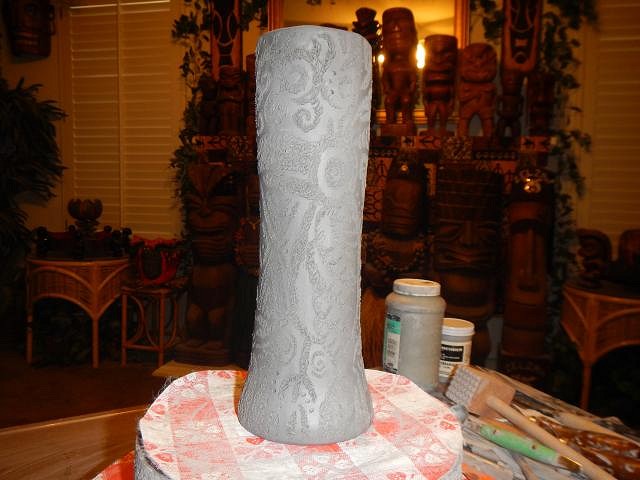
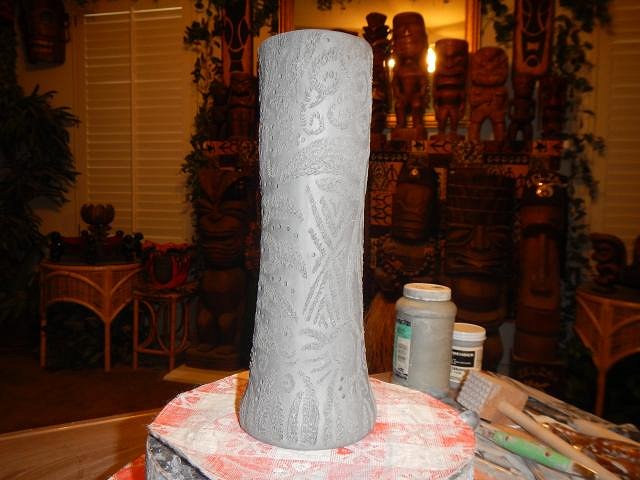
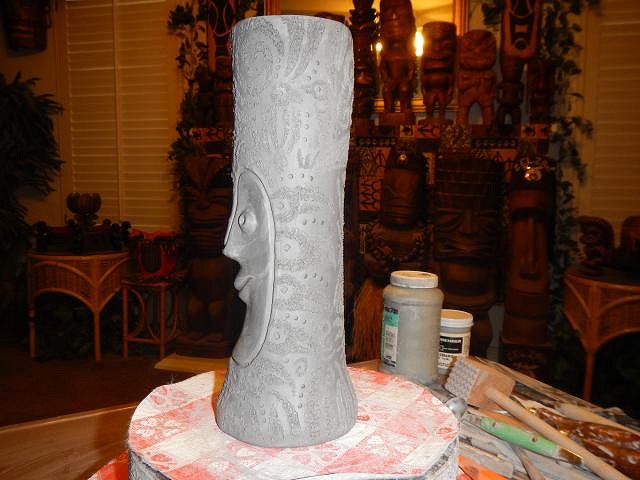
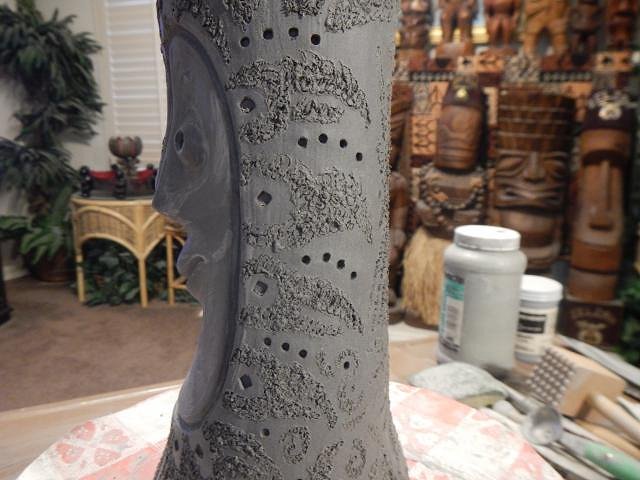
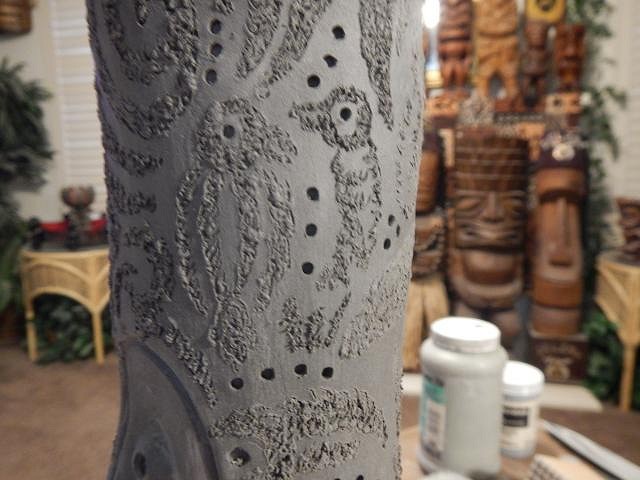
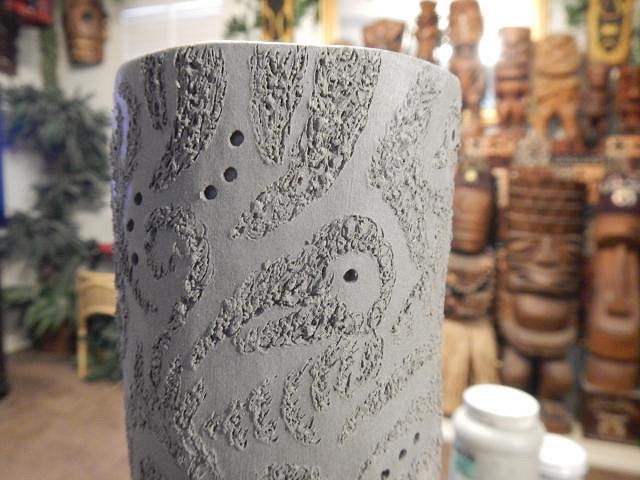
MaukaHale he is happy his club is scaring off the bad guys. hang10tiki thank you, he will be paired with his woman and glazed together so they are a set. ================================ During the making of the Sacramento Crawl mug and the Wish List I do Tiki Bob's to relax. The set above and this Tiki Bird and Beak Bob are for sale. I started by cleaning up a Bob cast. I decided to make his eyes capable of holding diamond or a pearl. I'll see what fits best when he is ready. This is the second mug I've made with my new spin the clay technique with a spike. You can find all the birds hanging out. Some are full bodies, some are heads and some are only showing their beaks.
There is a large bird on the back that wraps around the mug.
These close ups show some of the birds better.
I can hear him tweeting already, Wendy |
|
H

hang10tiki
Posted
posted
on
Fri, Apr 27, 2018 6:26 PM
Pearl eyes |
|
D
danlovestikis
Posted
posted
on
Mon, Apr 30, 2018 4:38 PM
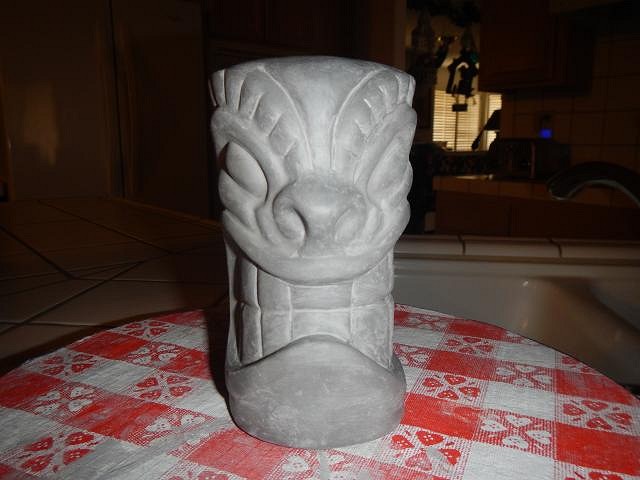
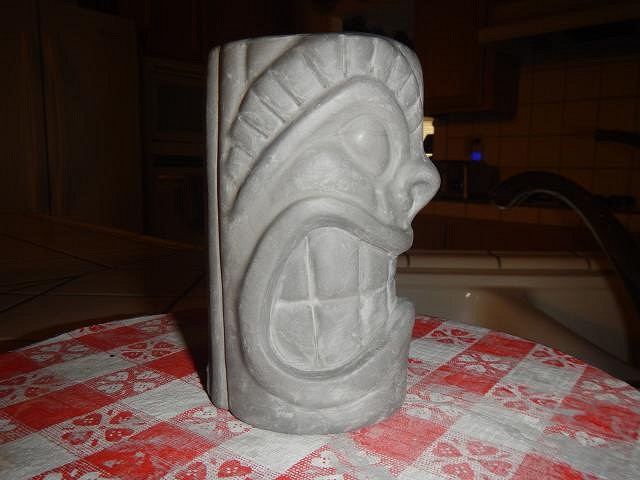
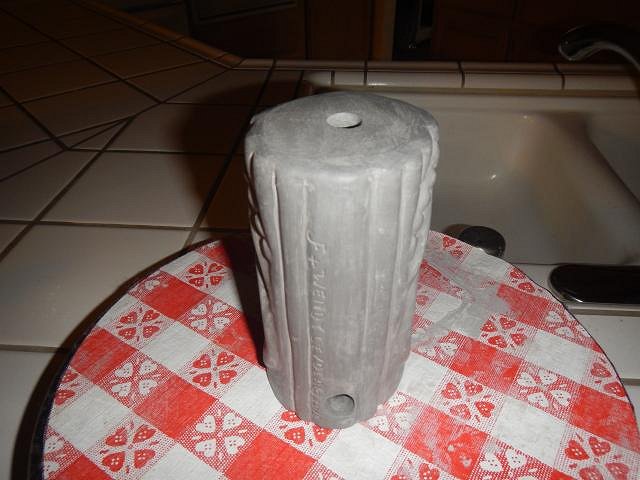
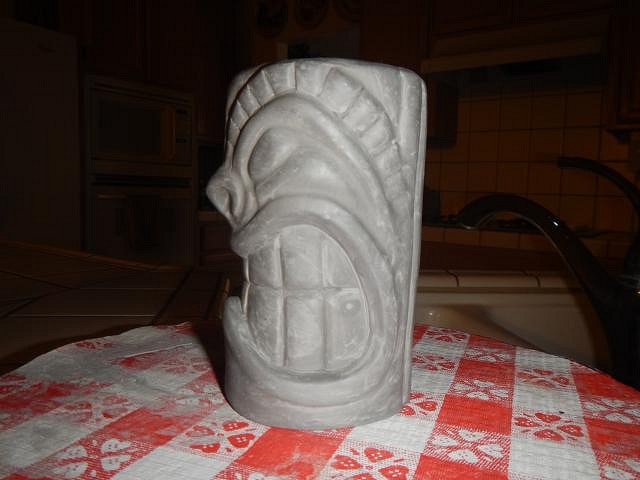
hang10tiki I will search for tiny pearls. =========================== Sometimes when I'm doing the Wish List I cast pieces ahead of time so they are there when I ready. This time it didn't work out because the cast was too dry to use for its intended purpose. But I just made it into something else. A Frankoma Lamp! I cleaned it up and removed all the mold lines and then I carved the hole at the top and bottom back. One day someone will buy this from me for $85 and wire it to perfection. I will do it in orange red glaze unless a buyer gets it soon and requests another color. Cheers, Wendy |
|
H

hang10tiki
Posted
posted
on
Mon, Apr 30, 2018 9:57 PM
Great start on the Frankoma |
|
D
danlovestikis
Posted
posted
on
Tue, May 1, 2018 11:22 AM
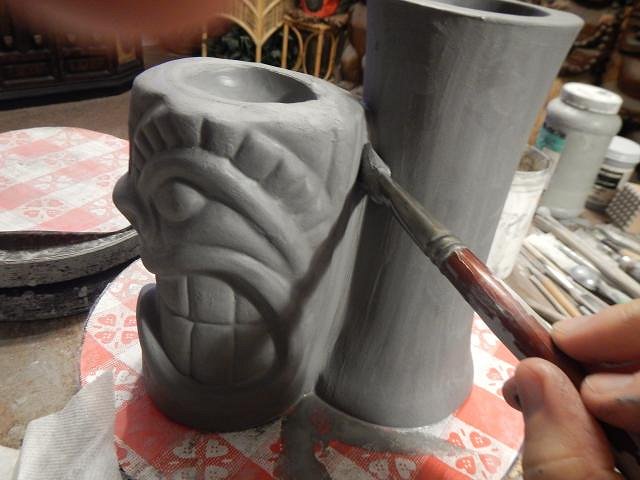
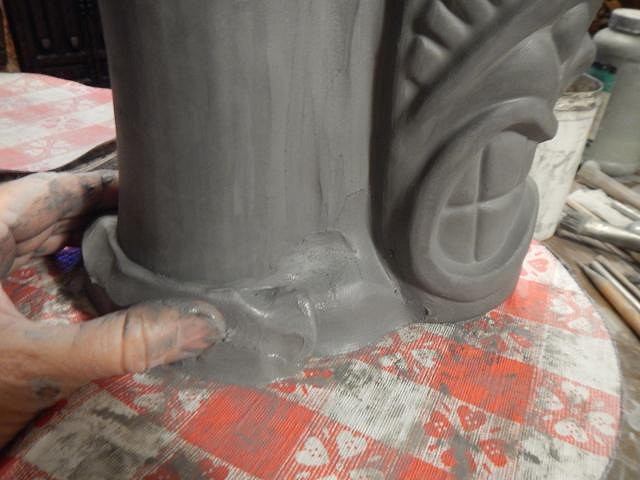
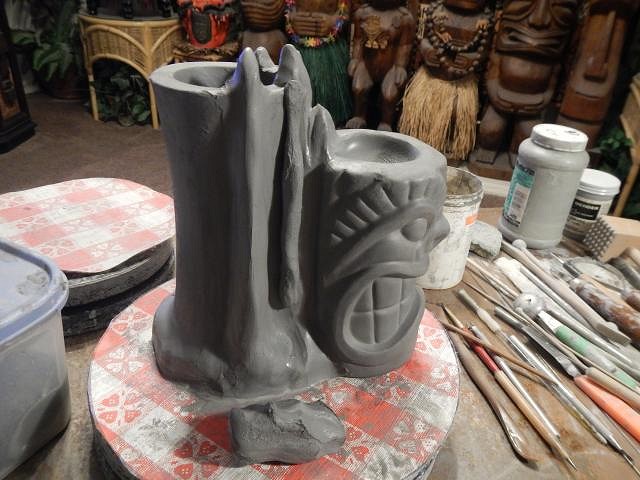
hang10tiki thank you sir. All that's left is to glaze it. =================================== Wish List #8. This project is for Vance. I poured another War God and went to work. RVictor designed this mug which I made for him on a previous Wish List. He said it was fine with him if I made others. This is #2 though each is different in sculpting and glazing which makes each one a 1/1. I cast a fogcutter mug and a Frankoma War God which I cleaned up. I added clay to the top of the War God so that I could indent the top. This will be for dry ice or flaming rum sugar cubes. I cut the top off of the fogcutter so that it would be the right height for combining the two mugs. I cut into the War God to make it fit and used sticky clay to attach it. Then I began to build the clay that will make the mug a volcano. I continued to add clay to build it into an island as well.
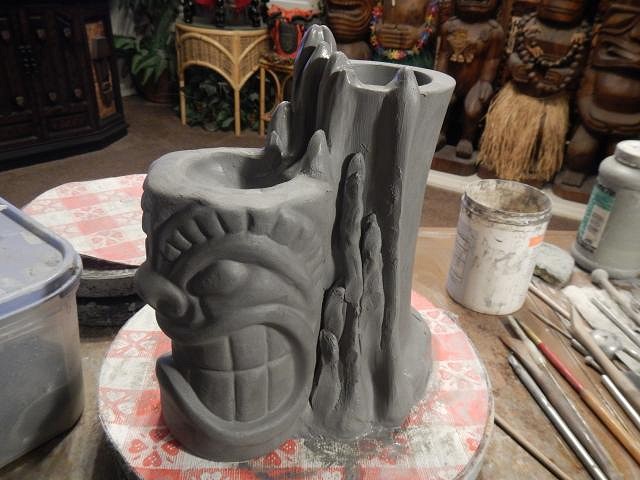
Then I started to add the lava flows over the top of the War God and Volcano.
Then I began to make the palm trees. The almost finished project tomorrow. Cheers, Wendy |
|
H

hang10tiki
Posted
posted
on
Tue, May 1, 2018 5:40 PM
FrankomaCano [ Edited by: hang10tiki 2018-05-01 17:42 ] |
|
L

littlegiles
Posted
posted
on
Wed, May 2, 2018 5:19 AM
Or is it Volcanoma? Loving this creation no matter what it is called. :) |
|
H
HopeChest
Posted
posted
on
Wed, May 2, 2018 9:40 AM
Pelekoma! |
|
D
danlovestikis
Posted
posted
on
Wed, May 2, 2018 11:13 AM
hang10tiki-FrankomaCano littlegiles Or is it Volcanoma? HopeChest-Pelekoma! Well men I just posted the completed mug on fb and named it War God Island and then I found all your suggestions as I came here to post. Thank you for the fun suggestions. ========================= Wish List #8 for Vance Klinke. Design by RVictor and he has allowed me to make it whenever requested.
This mug has been drying for three weeks and it doesn't even look half dry yet. Slow going for these hand built, thick mugs. Ceramics take so long to make I never run out of projects. Cheers, Wendy |
|
P
Philot
Posted
posted
on
Thu, May 3, 2018 8:39 AM
On third look, I'm starting to really like what you did with the profile of the palm trees against the volcano. Most volcano mugs I've seen are so focused on the volcano, they don't show what's around the mountain. |
|
D
danlovestikis
Posted
posted
on
Thu, May 3, 2018 11:52 AM
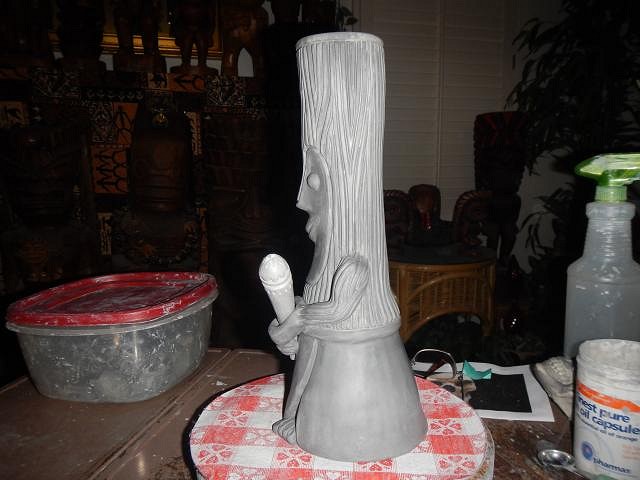
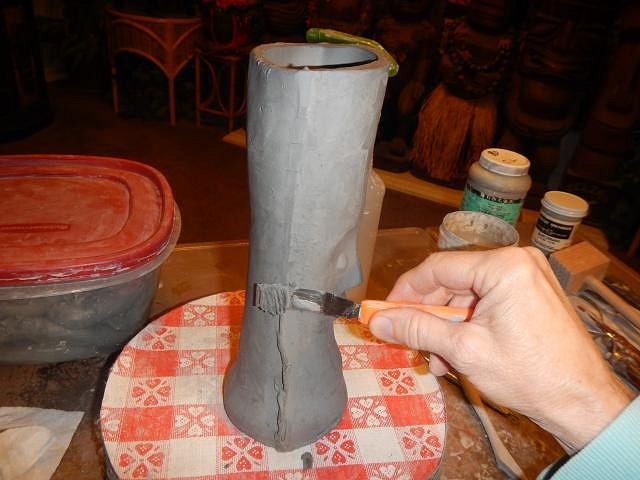
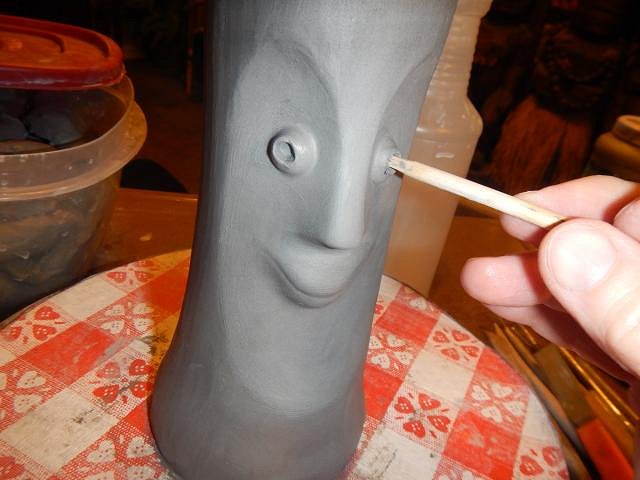
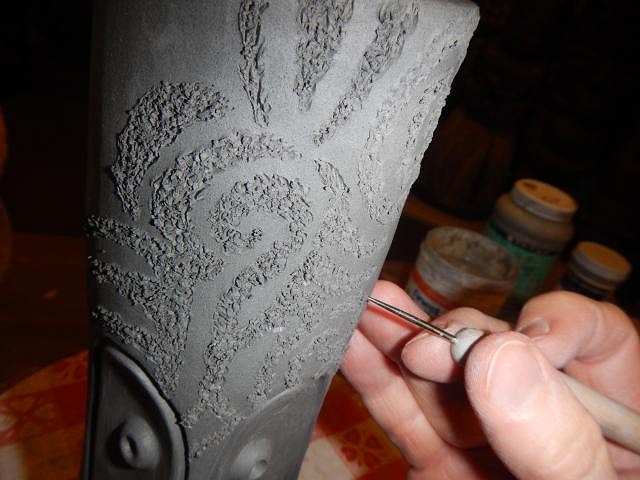
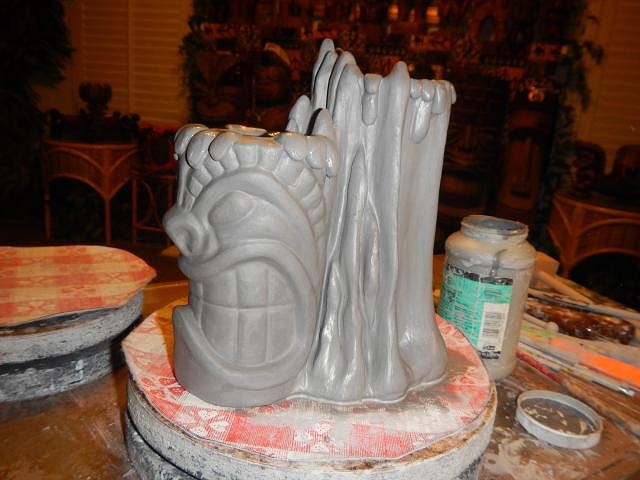
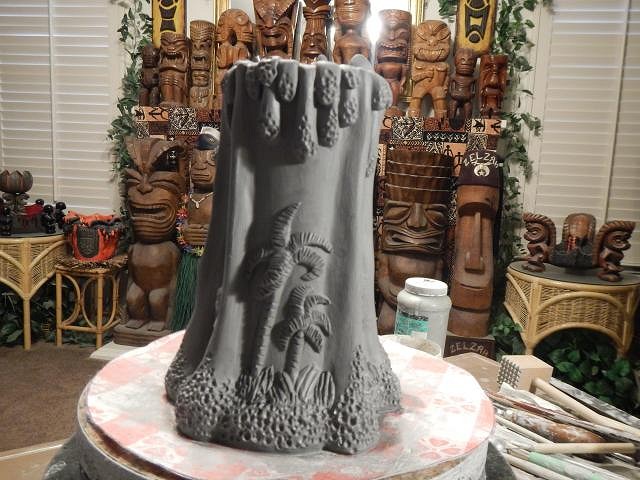
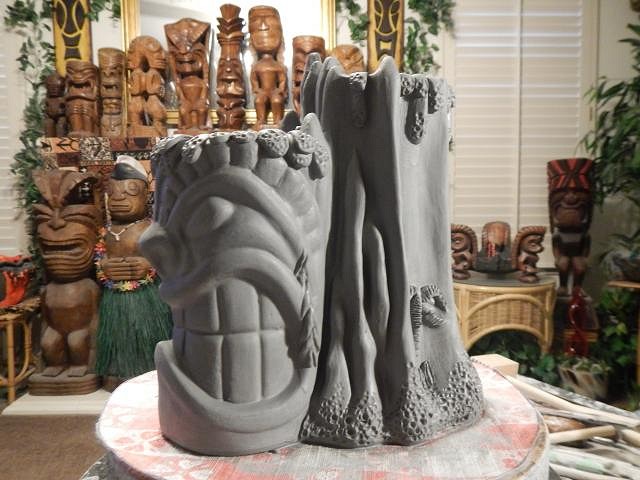
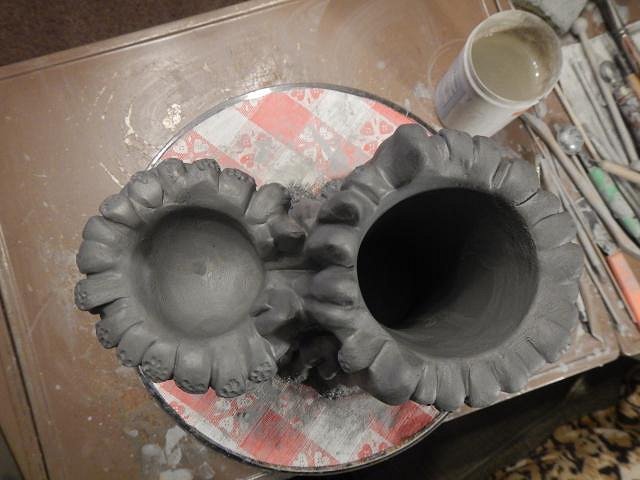
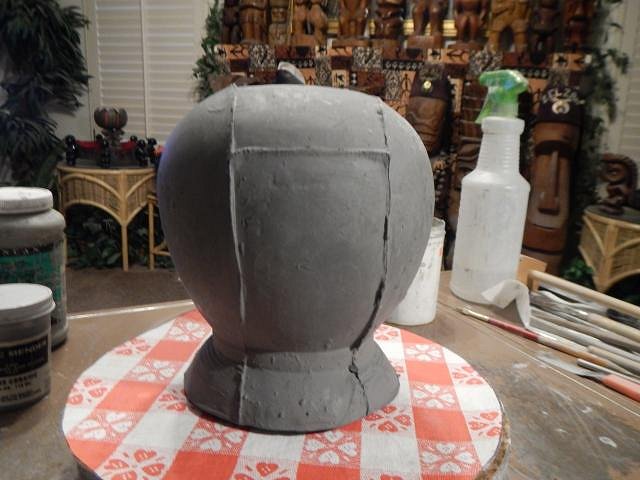
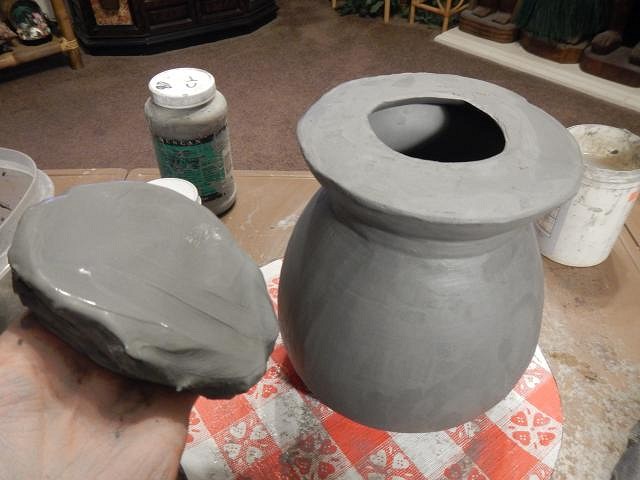
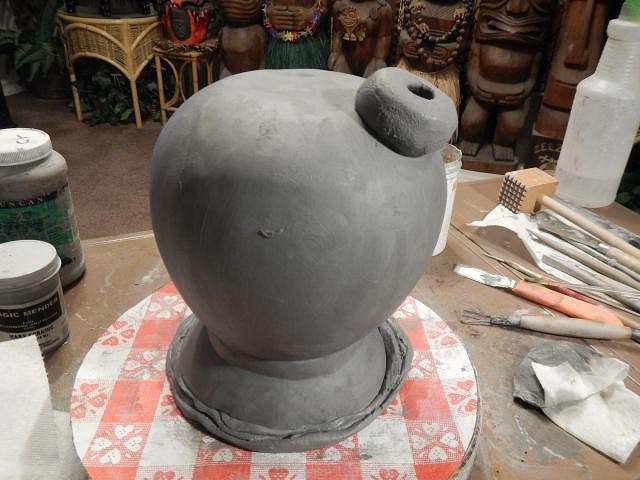
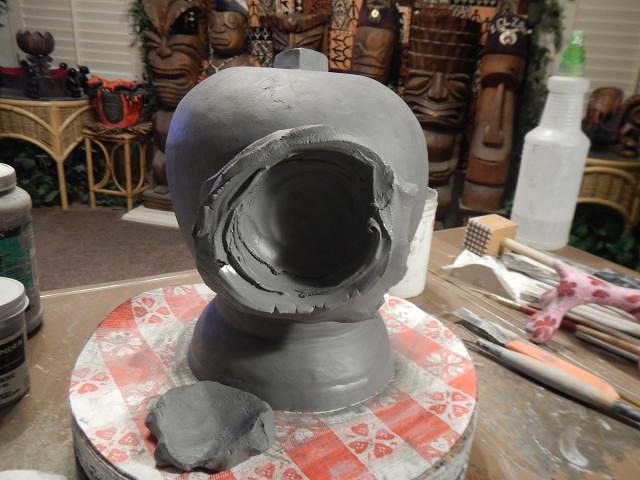
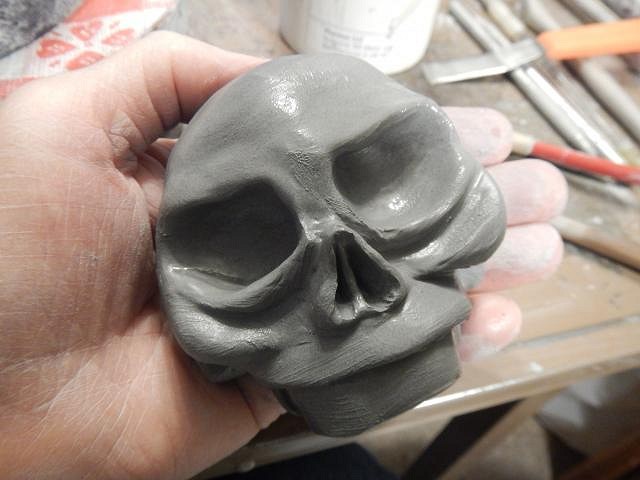
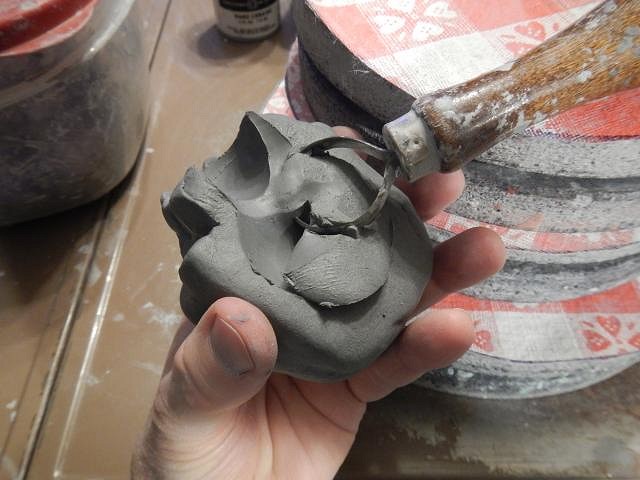
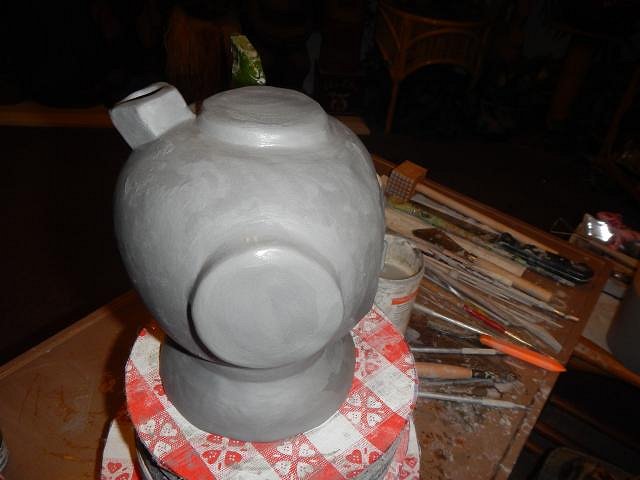
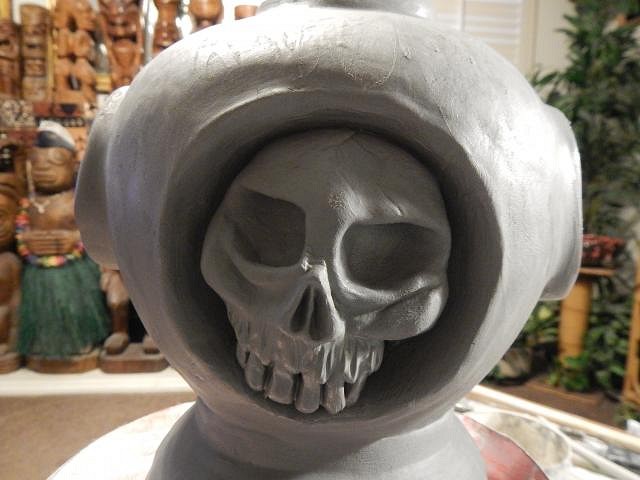
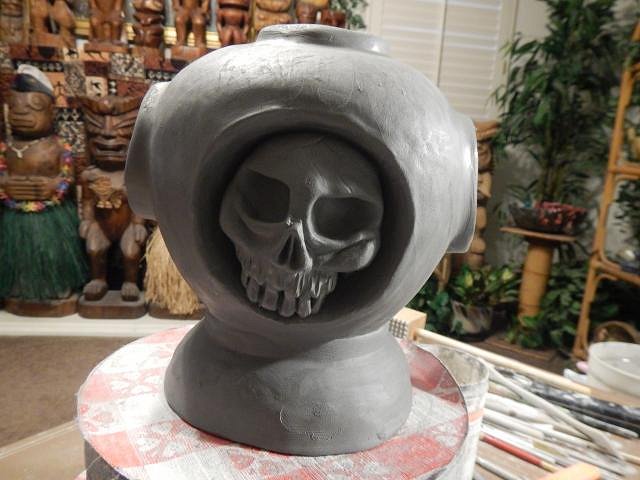
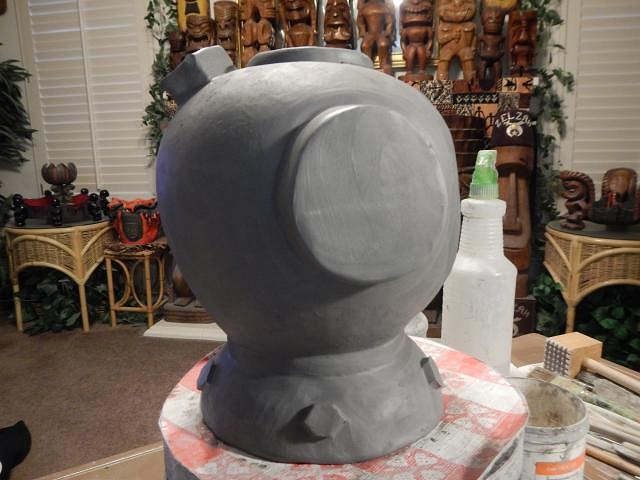
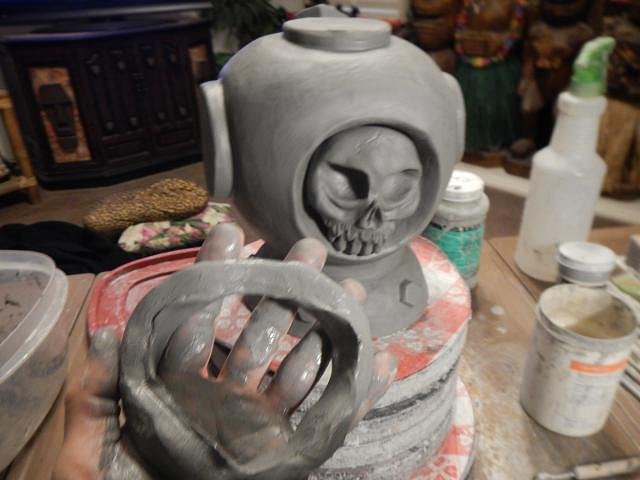
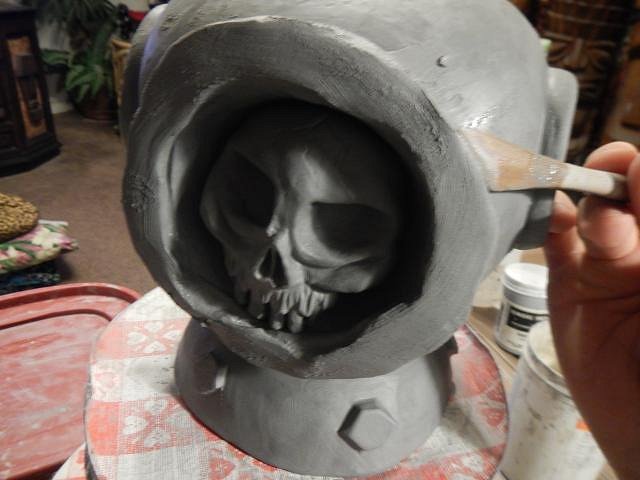
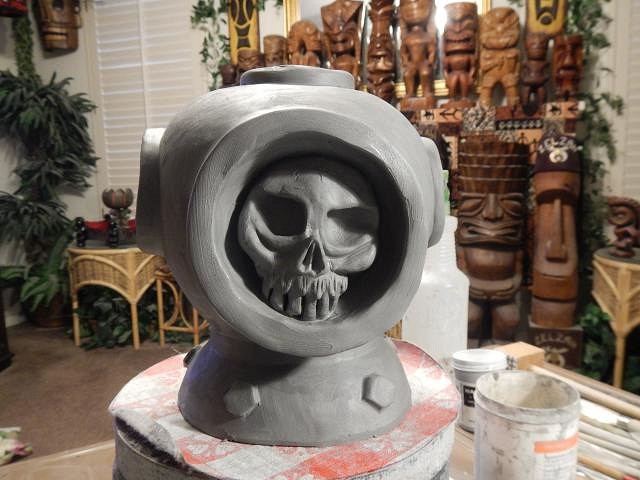
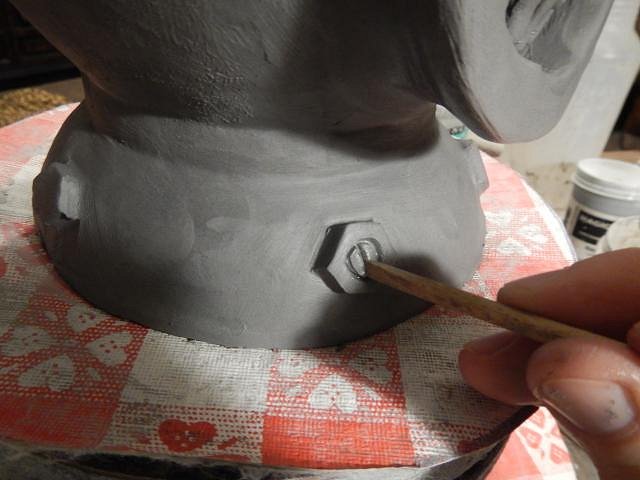
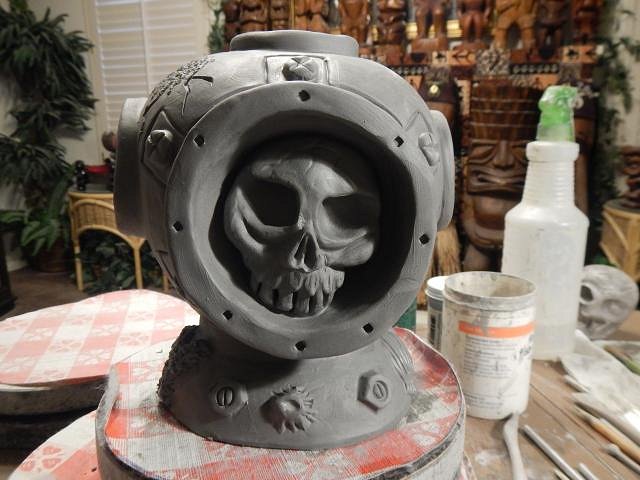
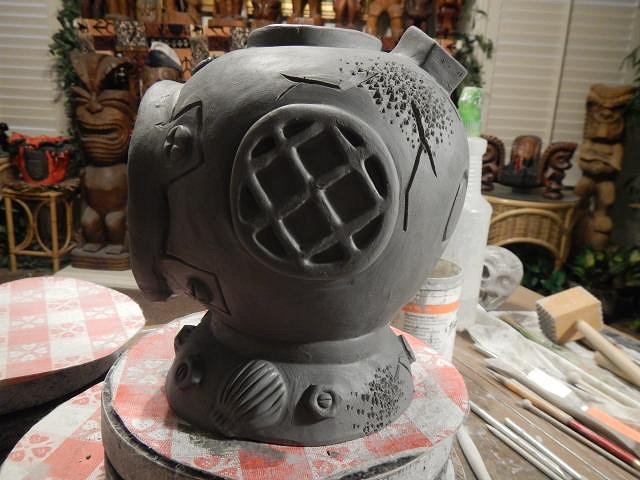
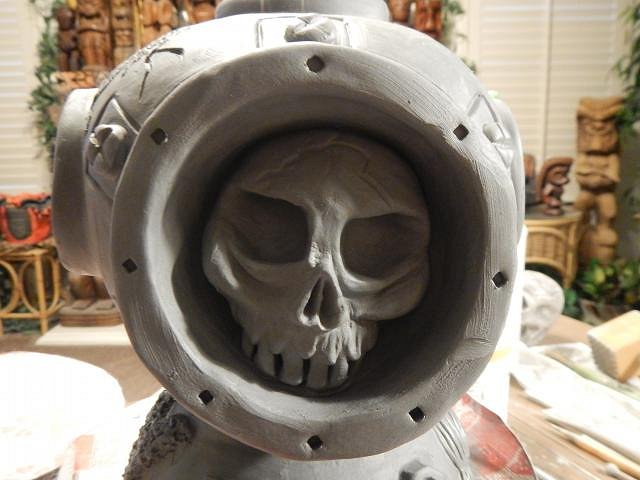
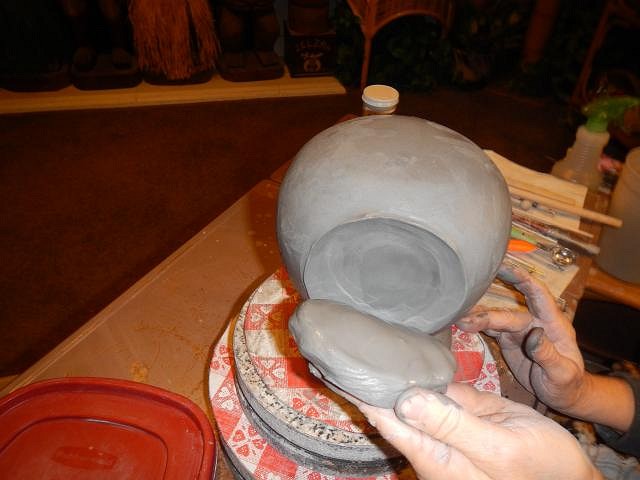
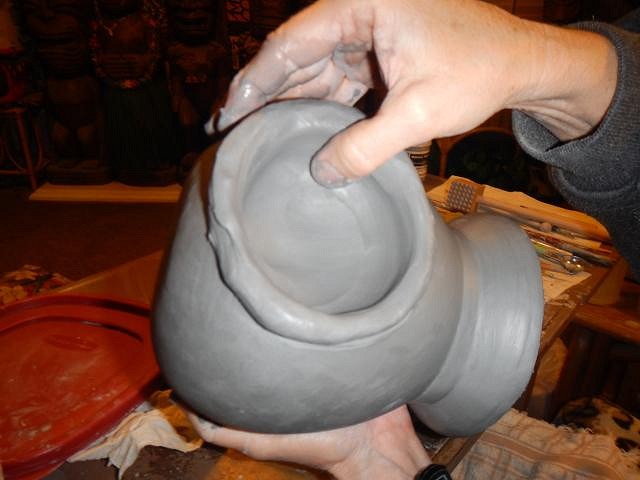
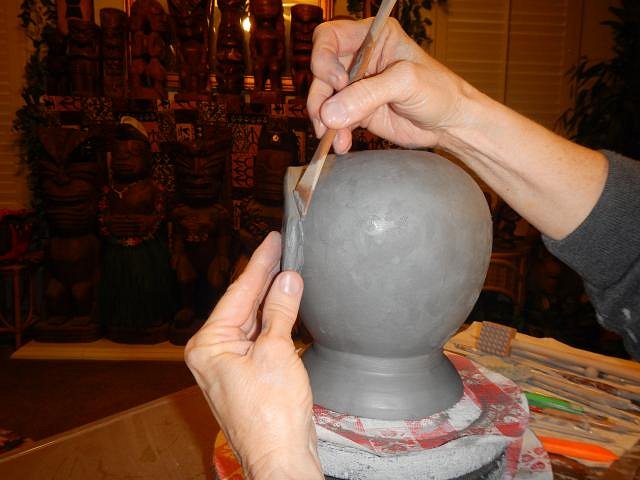
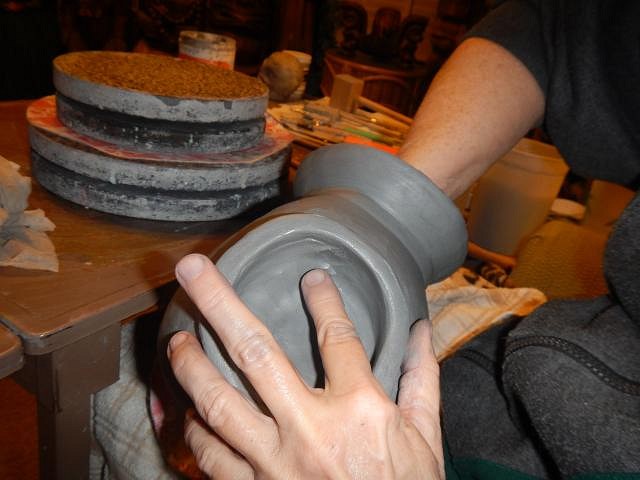
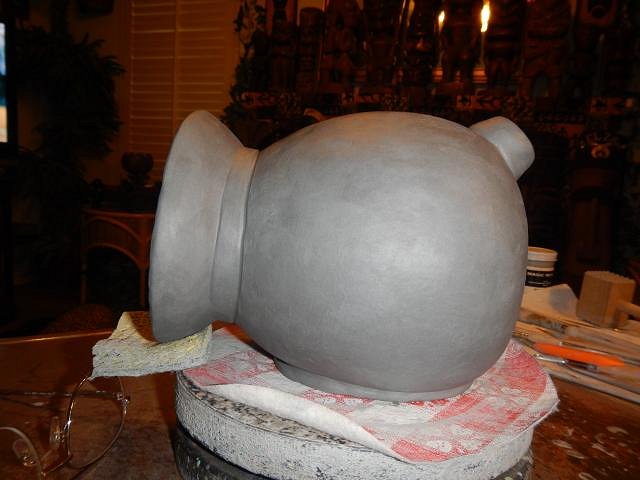
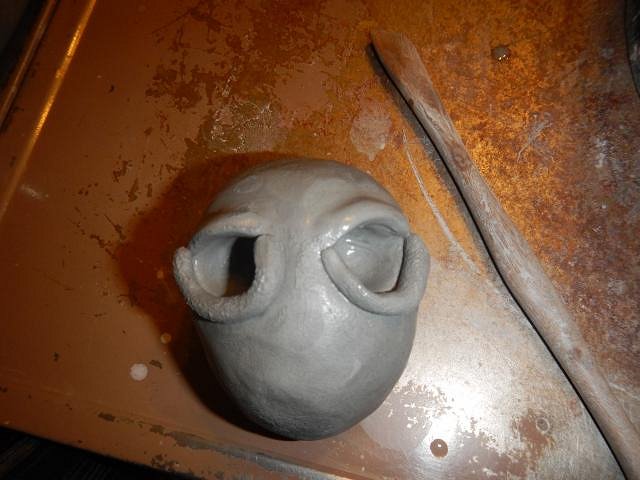
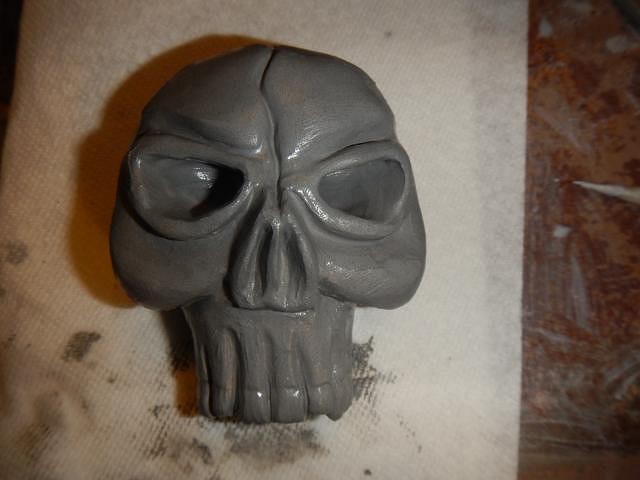
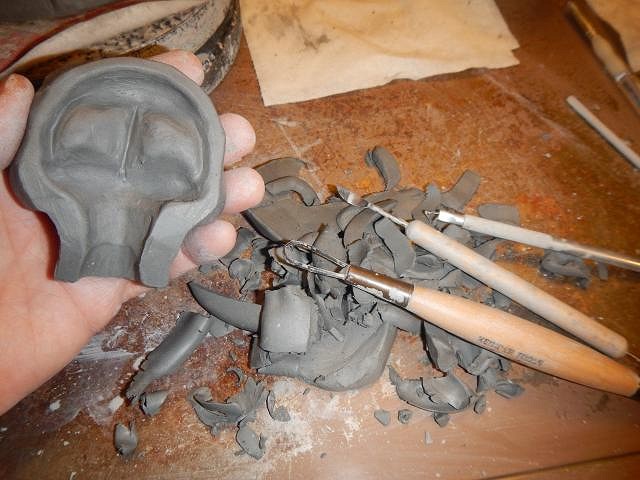
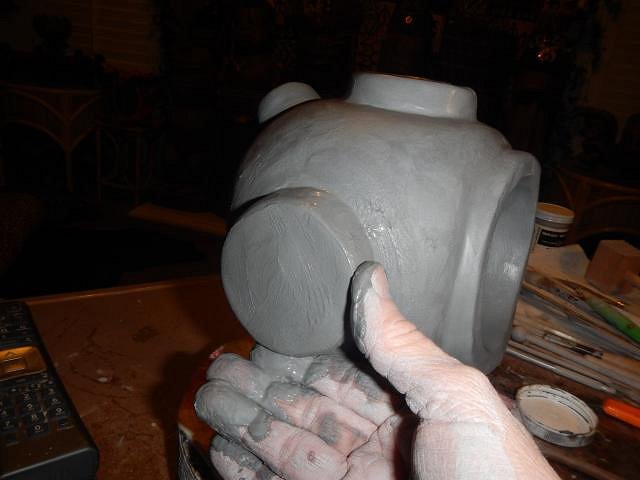
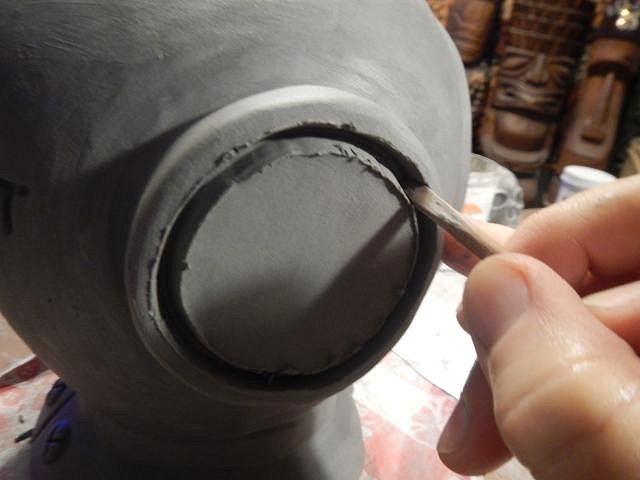
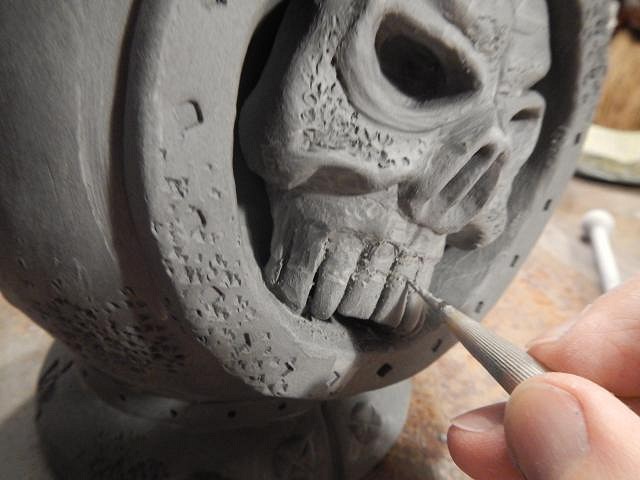
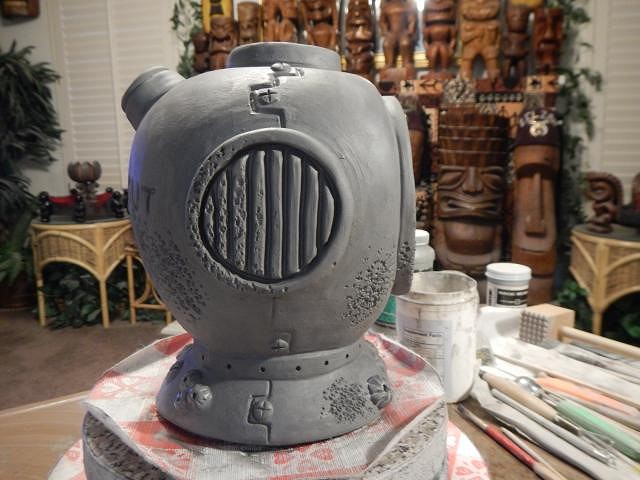
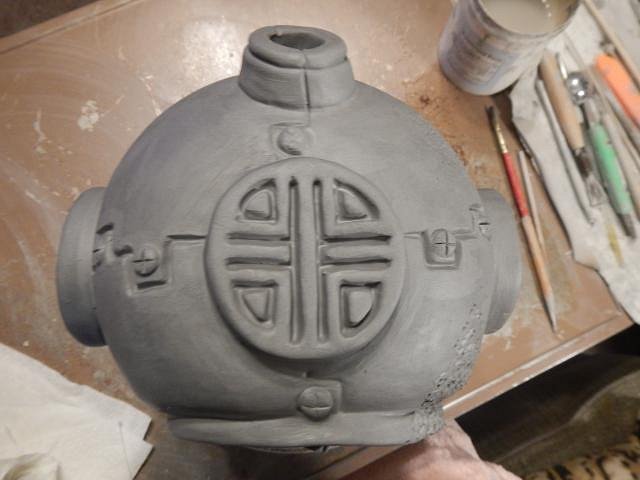
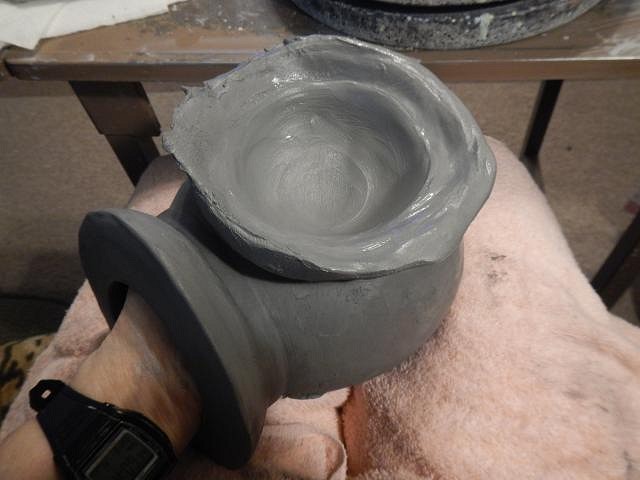
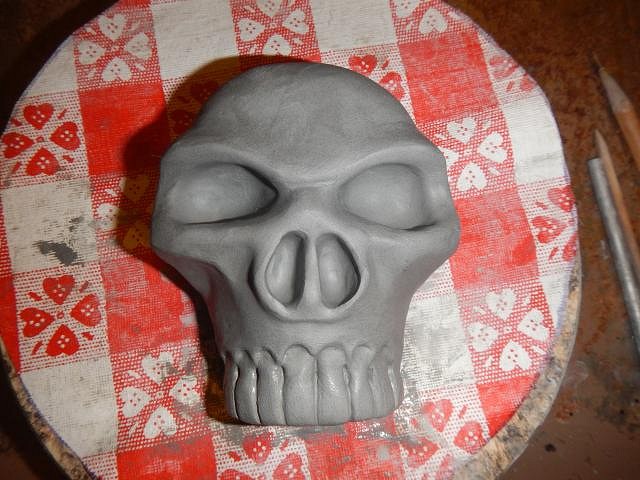
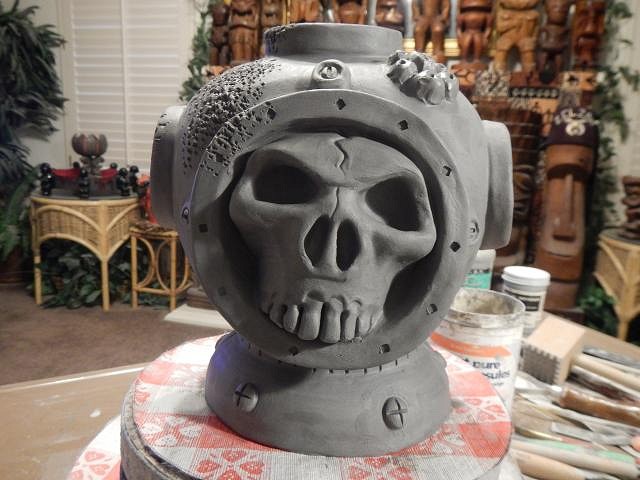
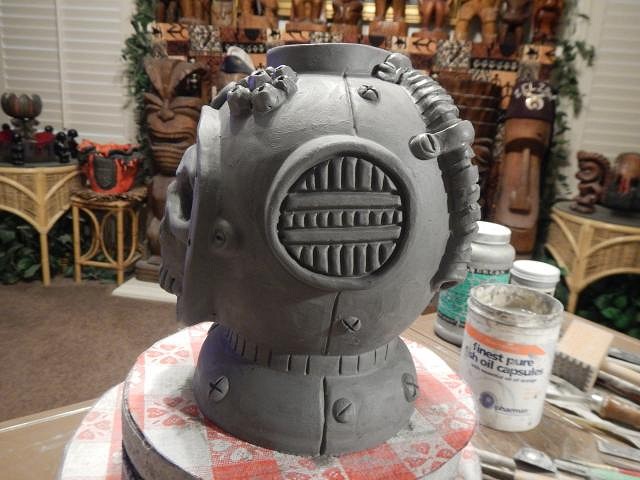
Philot thank you. I didn't get good photos of all of the trees but there are more. ==================================== Wish List #8 update. The last Wish List had a request for a diver's helmet with a skull inside. I told Theo Stool that this was on my own personal list to make and that if I figured out how to do it I would make more in the future. He was fine with that so I went to work. I figured out how to make his and now it's time for the next batch with some changes. Since I've only made one before I don't have a set idea of how to proceed. I'm still learning. I had 6 ordered for this Wish List. I am making all 6 and then in the order of requests the wisher will pick which one they want. The last person gets the last mug left. Hopefully they are all good and different and everyone will be happy. These steps take place over several days. I start with casting a bowl. I clean it up. This time I added a slab of clay to the bottom with a layer of sticky clay to glue it. Then I cut a hole and I added some clay that I will eventually shape. I added a layer of very soft clay and then I slowly push this clay and the side of the bowl until I have a dent large enough for the skull. I make the basic shape of the skull on one day and then on another day when the clay is firm I carve out the back side. I added "windows" to the top and sides. Once it was large enough I placed the skull inside with sticky clay holding it in place. Next I cleaned up the bottom. I started to add nuts and bolts around the bottom. I'm sure this will be the last time I try it this way. I made a ring of sticky clay and pressed it into place and began to clean up the front "window". This is not an easy mug to make. There are still more steps to come. Cheers, Wendy |
|
H

hang10tiki
Posted
posted
on
Thu, May 3, 2018 8:21 PM
Daaaaang I see a run of skull mugs in the Wendy house soon Hint hint |
|
D
danlovestikis
Posted
posted
on
Fri, May 4, 2018 8:39 AM
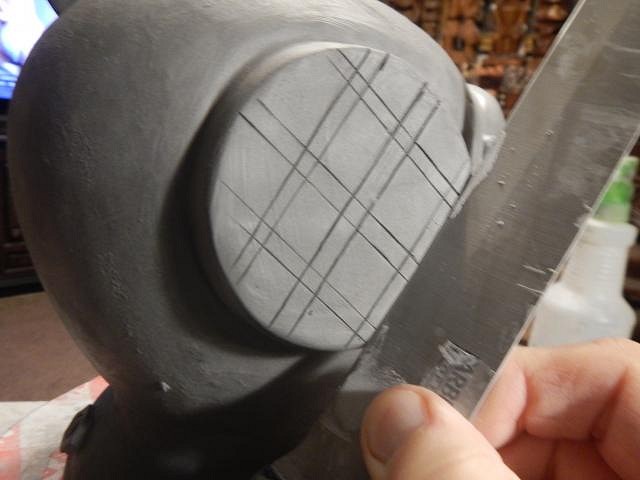
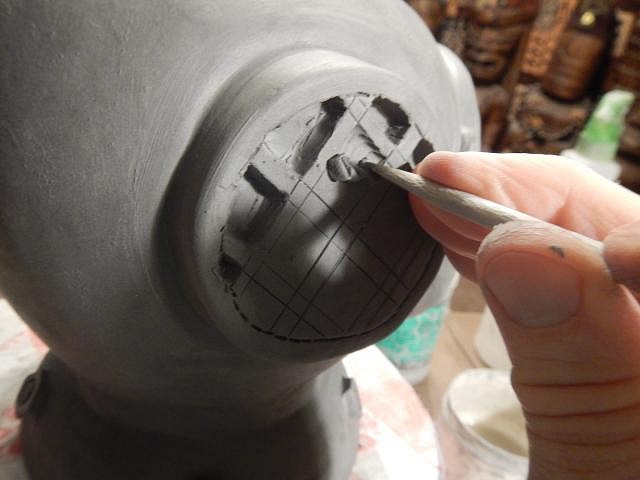
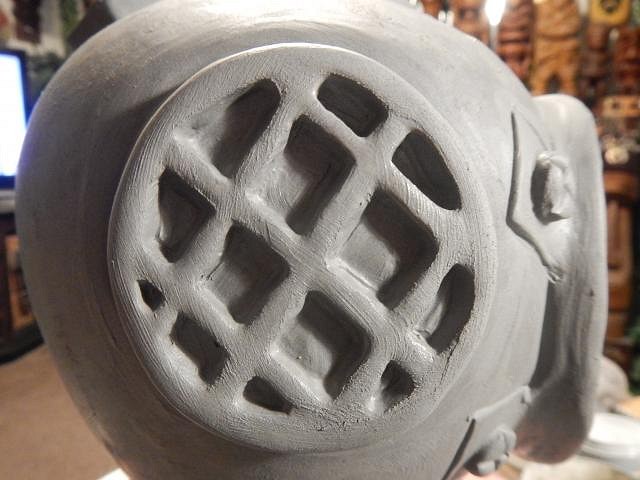
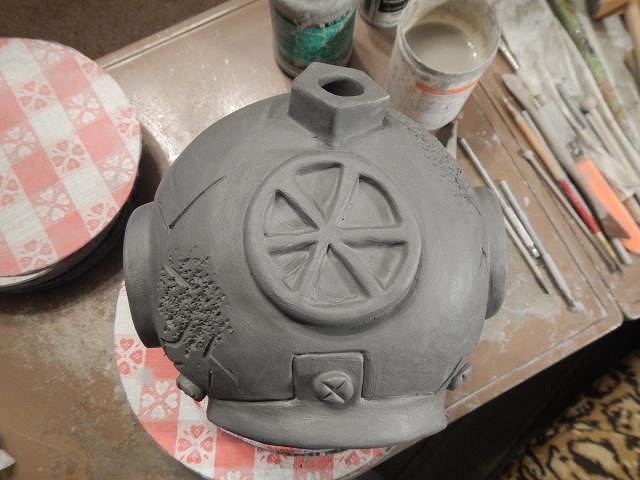
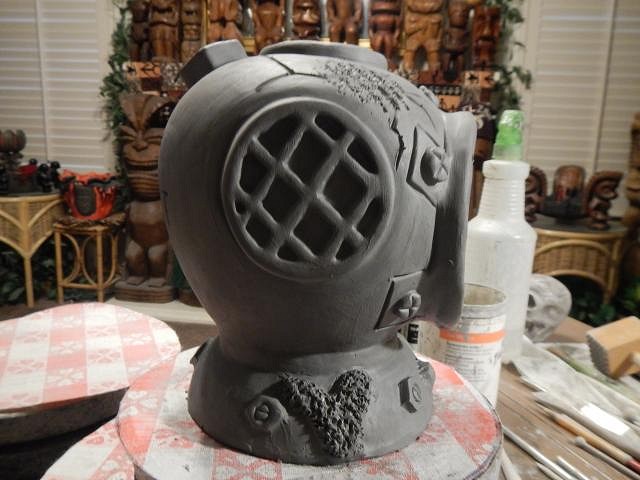
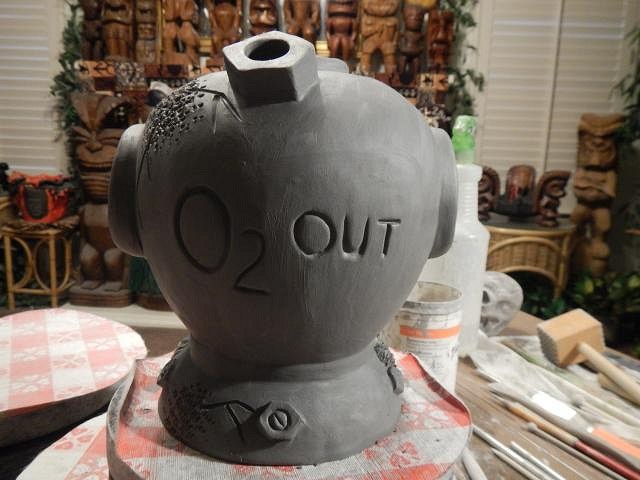
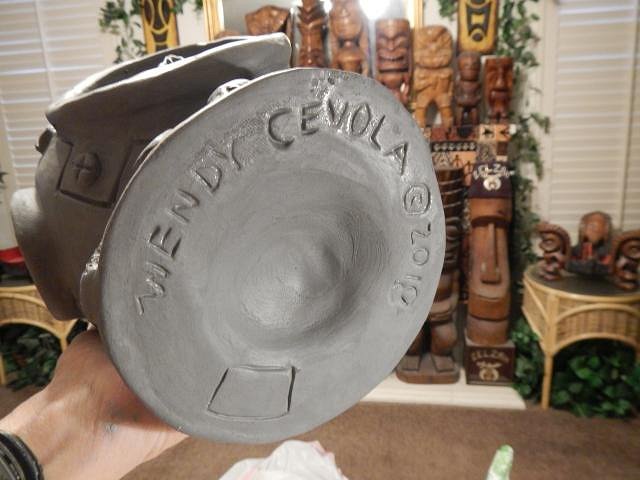
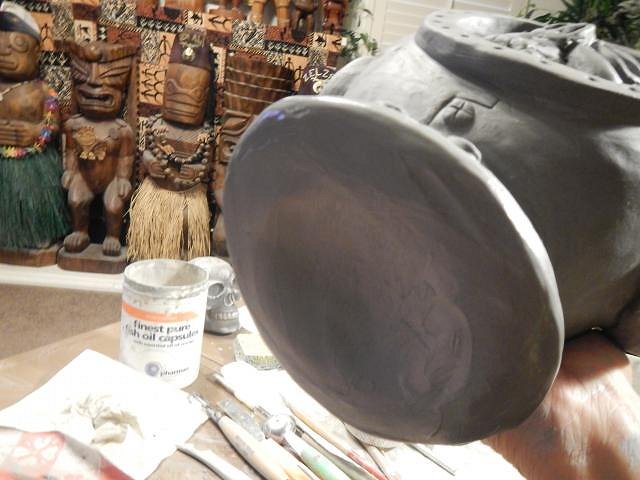
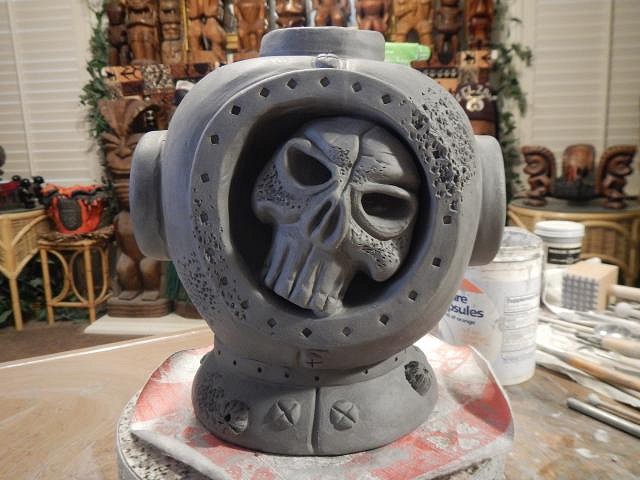
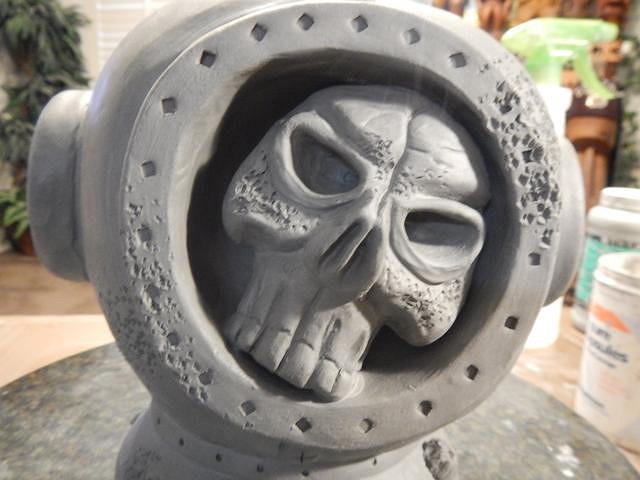
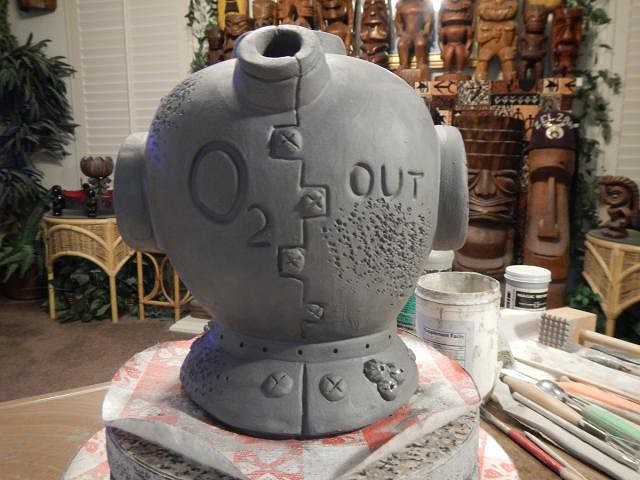
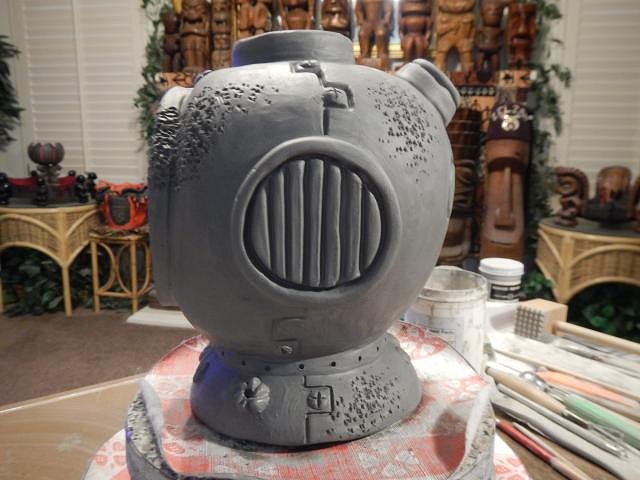
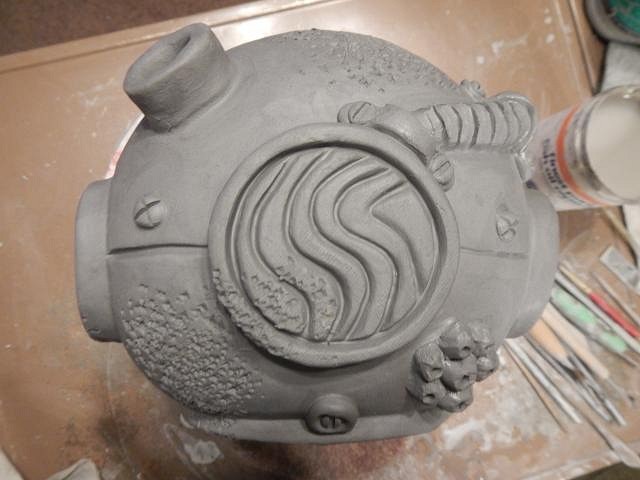
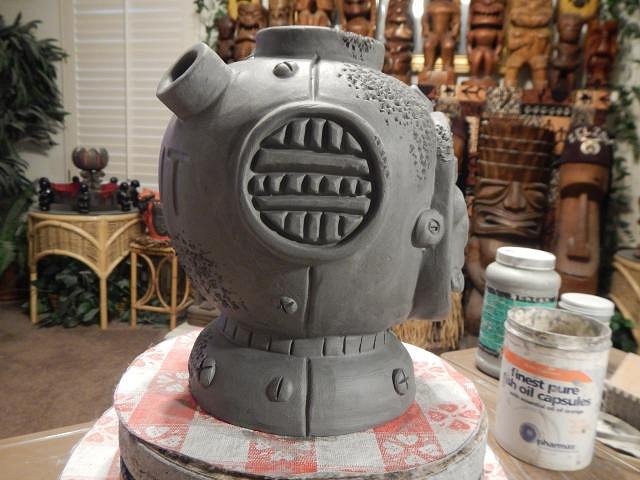
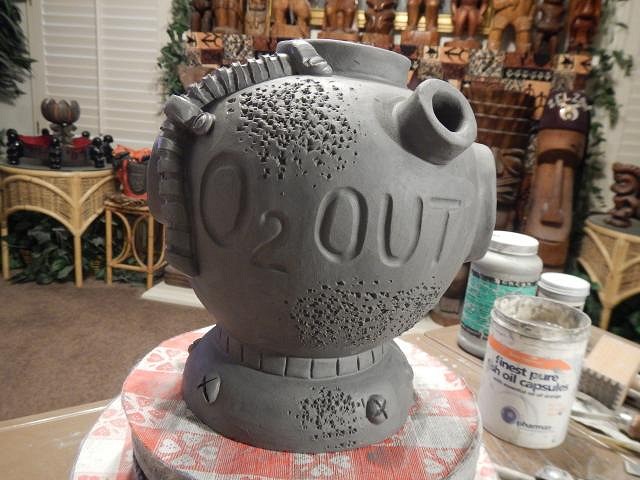
hang10tiki Dan doesn't even own one of the Diver Helmet O2 out mugs. I don't have time to make him one! ==================================== Wish List #8 continues with the last sculpting steps for the mug for Vance Klinke. O2 out Diver's Helmet. The ring around the opening to the skull is still soft but it will firm up over night. The bolts are now firm so I can put in the screw. To make the carving easier I mark the clay with a straight edge. I carve out each area. These will look deeper when glazed inside with black. I've gone over the mug and added detail. I've roughed it up with corrosion too. Glazing will make it even better.
The first one I made had a flat bottom that cracked. So this time I'm making it concave to see it that works. Think of a 5 pound bag of sugar. This mug empty weighs around 4 pounds. With a drink inside...It's gonna be a heavy mug for weight lifters! Cheers, Wendy |
|
L

littlegiles
Posted
posted
on
Fri, May 4, 2018 11:24 AM
Wendy, that new mug is super. Love the details you put on it and can't wait to see that one finished with glaze. |
|
D
danlovestikis
Posted
posted
on
Sat, May 5, 2018 8:45 AM
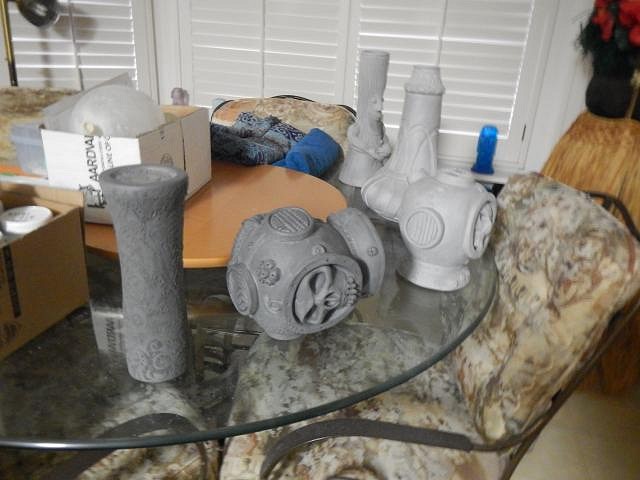
littlegiles thank you. I'm making six or more of these. Wishers have been changing their requests to these so I'll be making a couple more. I'm trying to make each one different. I hope they are still liked with the changes. =============================== Wish List #8 the next O2 out Diver's Helmet. These take a week to make so these are all catch up photos. Each time I post I will show less of the steps but here we go again! After I clean up the mold lines I press in the bowl then add a slab of clay so that the pressed in area is not too thin. You can see how it looks on the inside in this photo. This time I added the rim clay around the hole before placing the skull. I was able to judge the thickness with one hand on the inside and on the outside to add clay if it wasn't thick enough. To keep the clay from slouching downward I put it on the rim to firm up for a day. Now I moved on to doing the skull. He is not done but needs to firm up. Once firm I carved out the back side so it won't crack when fired. I added the ports or whatever they are called. A day later they are firm enough to carve. The skull has been sticky glued into place. It is firm enough on the sides to hold so I was able to indent the bottom. I added the detail needed to age it. Glaze will do that too.
I finished doing the carving on the teeth.
Two down more to go. Wendy |
|
H

hang10tiki
Posted
posted
on
Sat, May 5, 2018 7:30 PM
Lookin good |
|
D
danlovestikis
Posted
posted
on
Sun, May 6, 2018 10:36 AM
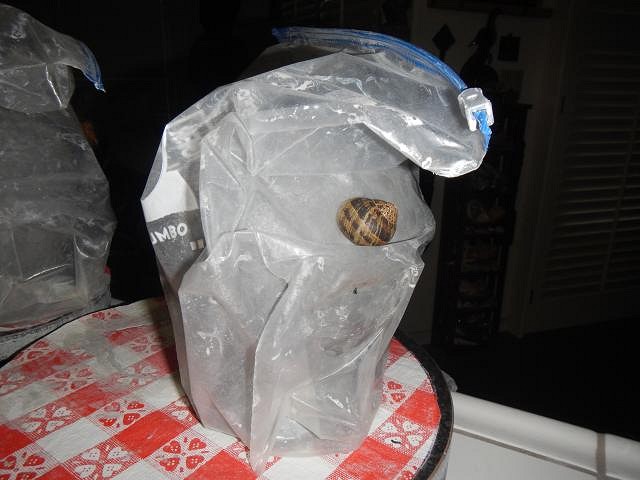
hang10tiki to add a gold tooth the entire mug has to fire one more time at a low cone number of 018. I've never done it because my kiln is so huge. Great idea but I just can't do it. ============================ Wish List #8 proceeds with the third O2 out Diver's Helmet with skull. Here's the fast track of a weeks work. I cast pieces ahead of projects and store them in large plastic bags in the garage. When ready to sculpt I bring them inside. On this day there was a hitch hiker! I did the slab and indentation. I made the skull. Done with the detailing and addition of all the pieces. This time I added a tube for the air intake or outtake or just for fun.
Drying projects in the nook putting them in and out of plastic bags for weeks. The turn lighter as they dry. Three down three to go on this phase. Some wishers are trading out their custom projects for one of thee. Cheers, Wendy |
|
H

hang10tiki
Posted
posted
on
Sun, May 6, 2018 7:36 PM
Awesome |
|
L

littlegiles
Posted
posted
on
Mon, May 7, 2018 6:30 AM
I really should not be so excited by dead divers....but I am. HAHA Was wondering if maybe the gold tooth could be done with a bit of gold leaf after the glazing was complete? Not sure how that would hold up. |
|
D
danlovestikis
Posted
posted
on
Mon, May 7, 2018 9:01 AM
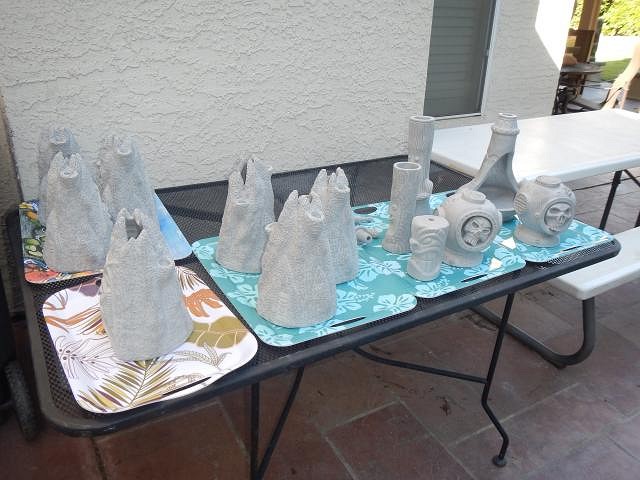
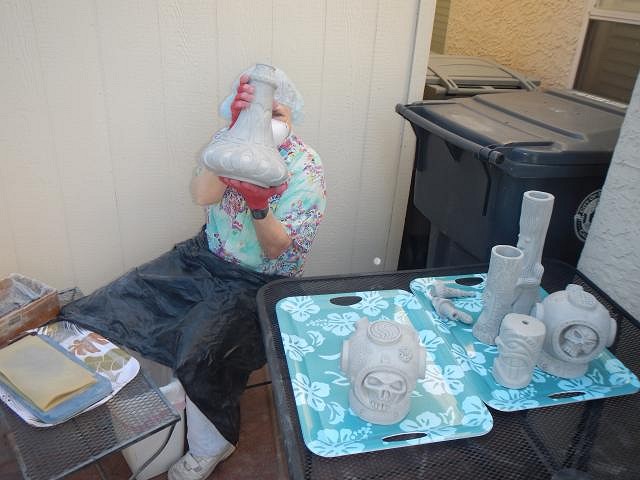
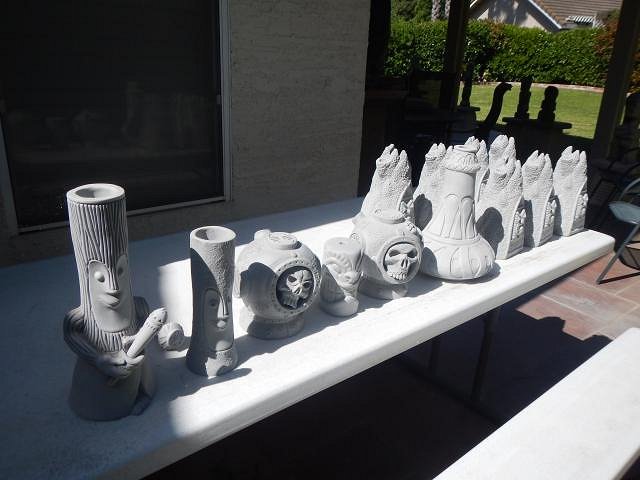
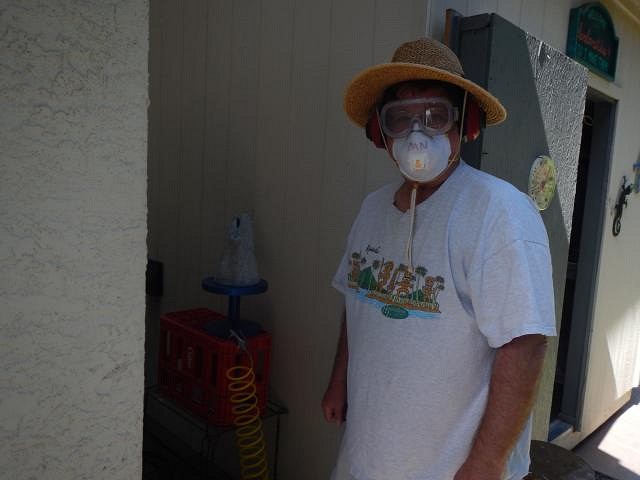
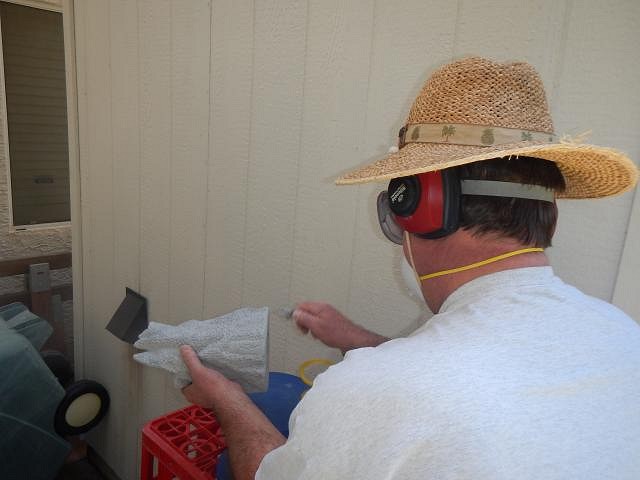
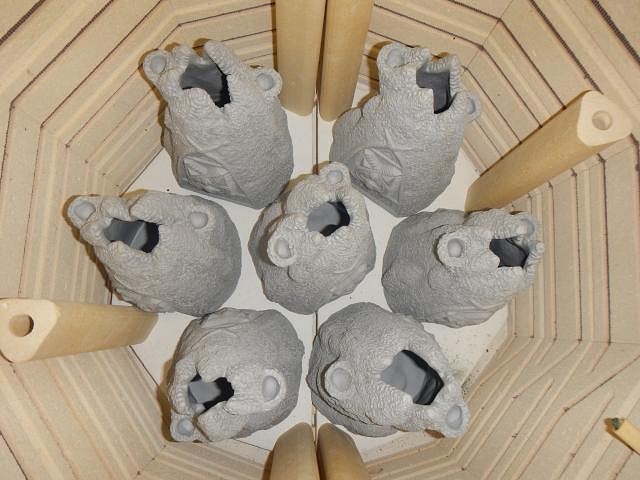
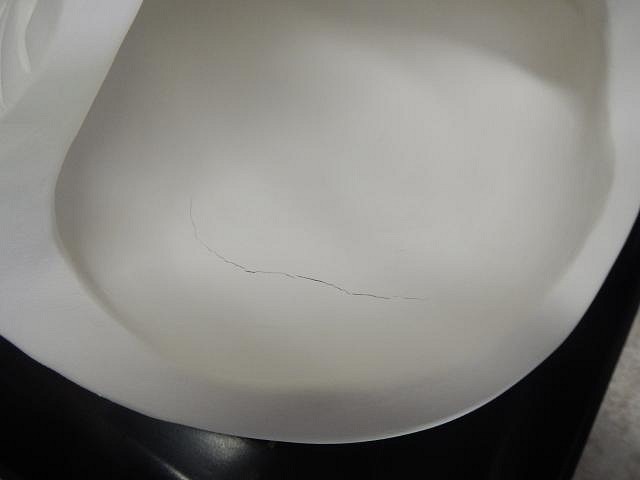
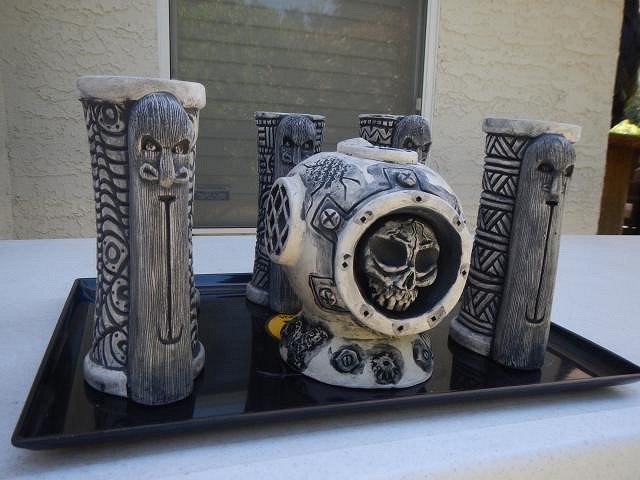
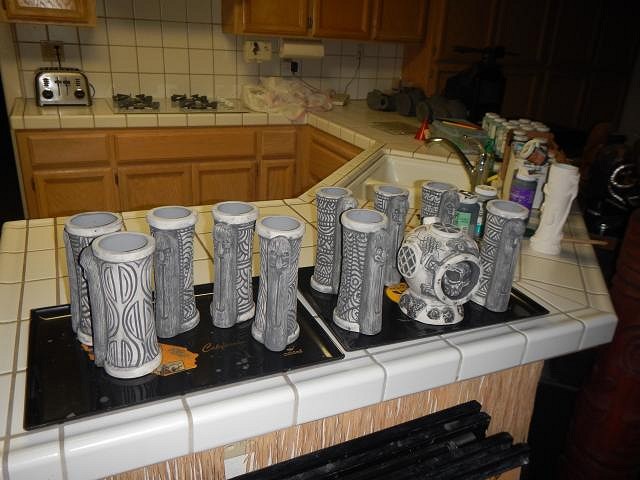
hang10tiki do it that would be fun to watch. What size? littlegiles that is great to hear. I could do a gold tooth but it would wear off over time. I would have to let the owner know that information. ================================== Wish List #8 and the Sacramento Crawl mug for October 2018 are progressing one step at a time. I have all these to sand. I do it outside whenever the weather permits. I usually take photos of Dan but today he caught me in the act. Hours later I had finished all of them and Dan put on his protective gear and dusted each one. I won't be able to do so many of the crawl mugs when they are glazed. If they touch they glue together. Time to fire some wishes too. The I Dream of Jeanne bottle was too tall. I can't lie it on it's side when it glazes so it will take up a lot of space. The firing is done and I unloaded the kiln. The Jeanne bottle had the crack return. It doesn't go all the way through. I have notified the wisher of this defect. Ceramics are full of disappointments and hard work. No problems with any of the crawl mugs. Now the next day we work will be a day of scrubbing. The day arrived. After washing they go on clean trays and are brought into the house. They sit out to dry a day and then are covered with plastic to prevent dust from reaching them. Dust will make the glaze pull back leaving an unglazed area called a skip. Soon I will stop sculpting and just glaze everything that is fired. Then I'll start the cycle all over again! Cheers, Wendy |
|
H

hang10tiki
Posted
posted
on
Mon, May 7, 2018 7:15 PM
Skull size- hmmm, small to start, Incase it looks bad :) The mugs are lookin good |
|
L

littlegiles
Posted
posted
on
Tue, May 8, 2018 6:08 AM
I love the fact you two always have a smile on your faces when you are working. Mugs are looking great and can't wait to see you start glazing those. |
|
D
danlovestikis
Posted
posted
on
Tue, May 8, 2018 11:01 AM
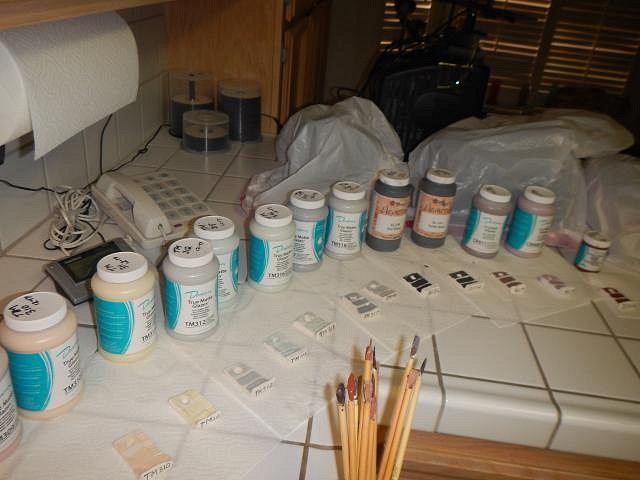
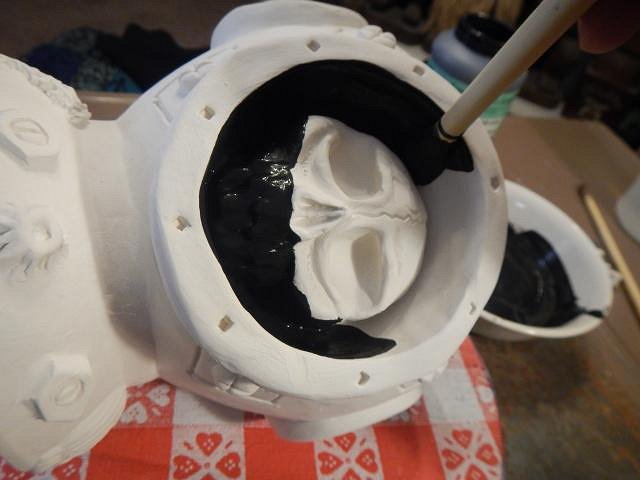
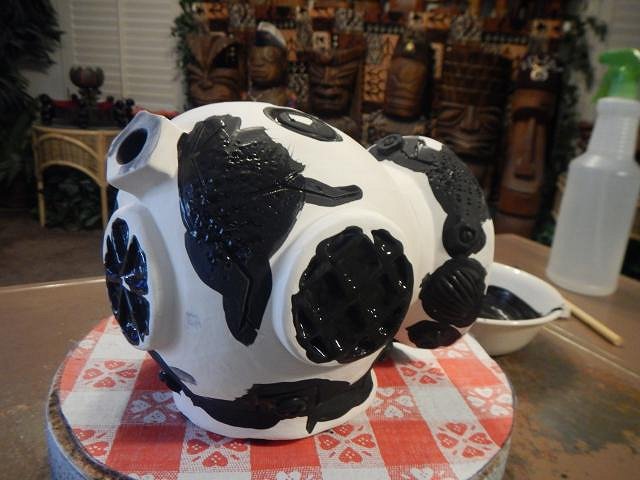
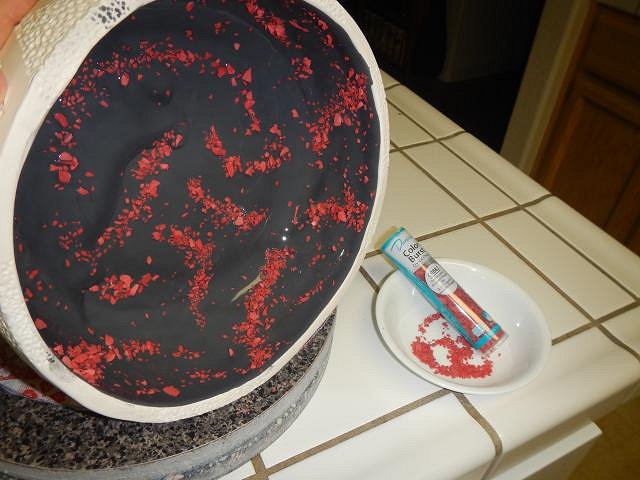
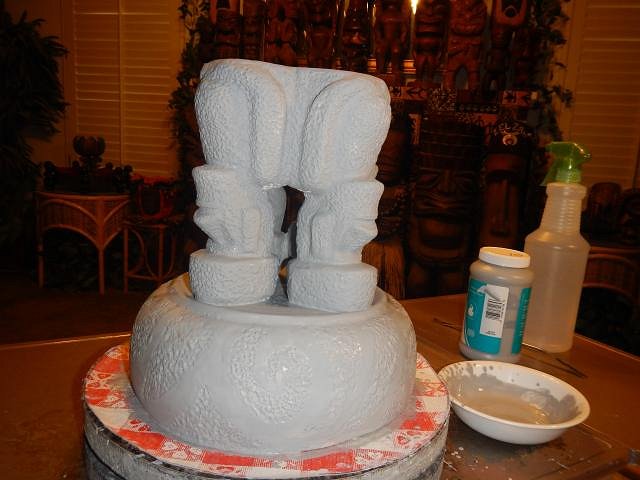
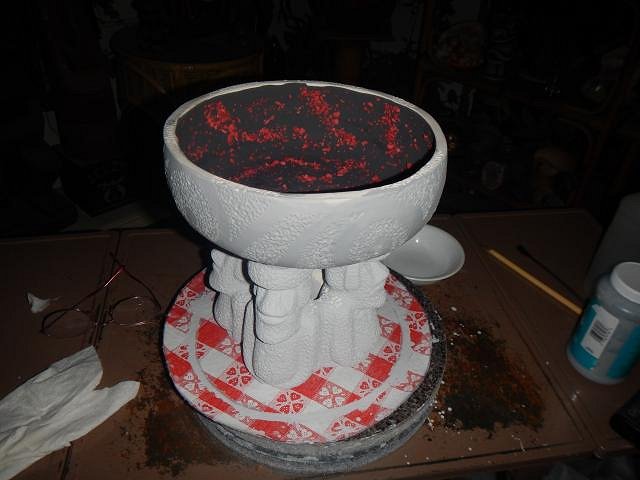
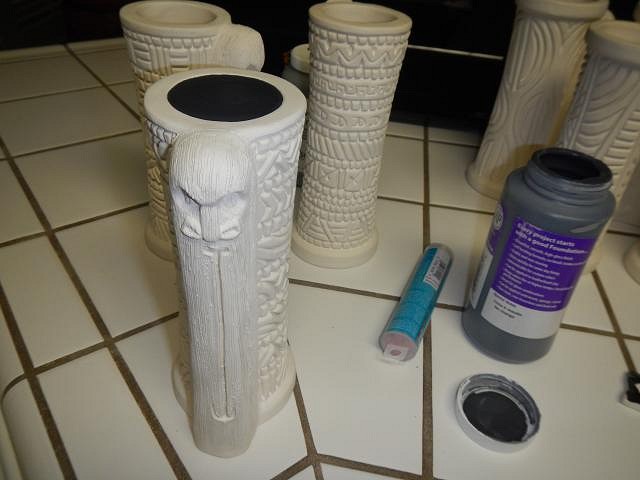
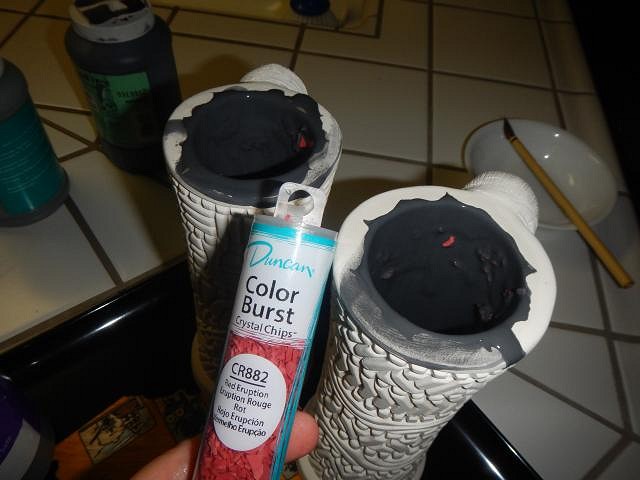
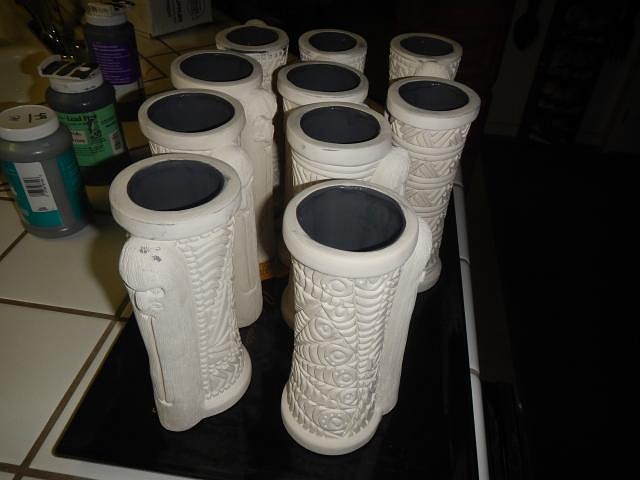
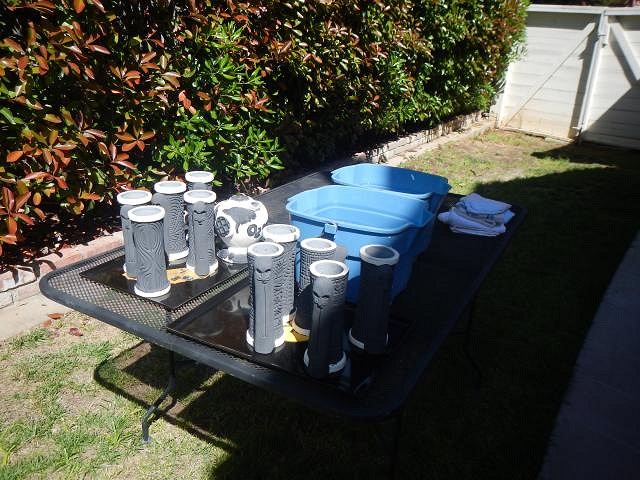
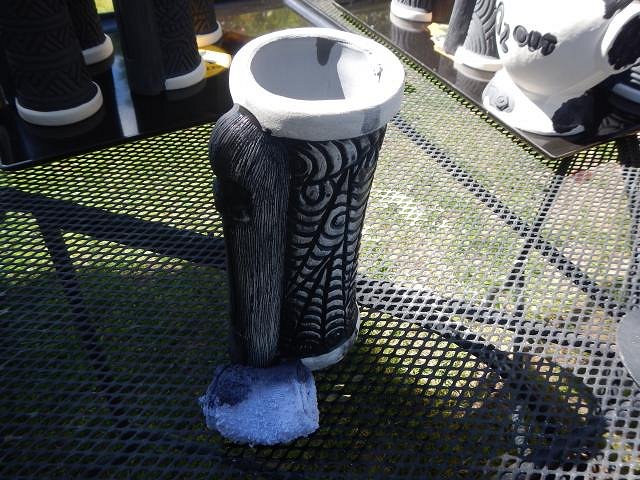
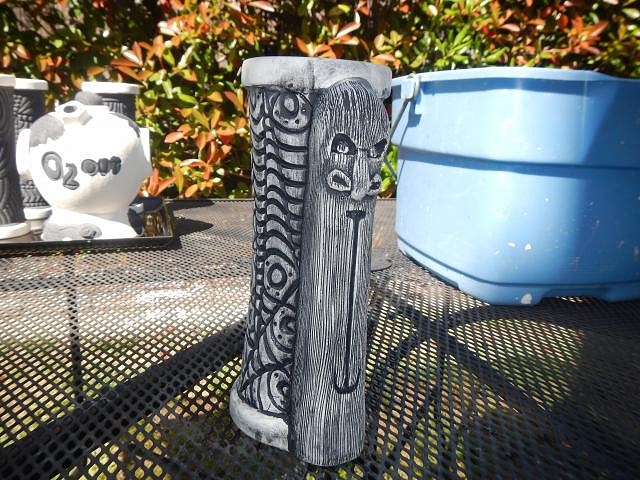
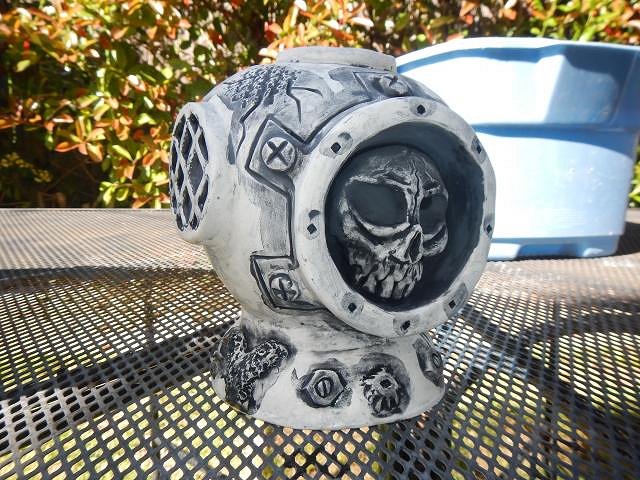
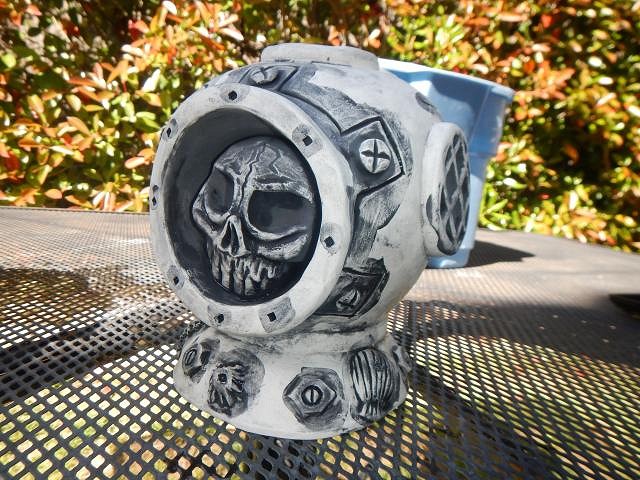
hang10tiki small is good. I'll enjoy watching that along with your big tiki on your carving page. It's looking very male. littlegiles I'm so happy that you like our smiles. Dan said he wanted to marry me because I always smiled when we were together. You don't have to wait. The glazing has begun! ================================= It's Catch Up Day. While working on the O2 out Diver's Helmets I have also begun to glaze. Once the helmets are all sculpted I'll glaze all projects done so far including the Sacramento Crawl mugs before I begin the next phase of the Wish List #8. Some new glazes have become available. I bought them and did my usual glaze tests for each one. The name of the jar on the bottom and then 3, 2 and 1 layers of glaze to see what works best for each project. I use the tests as my guides because orange glaze is green when fired. To glaze the O2 out mug I do a flat black into all the areas needing depth. Behind the skull really makes the helmet look hollow. This is the first one to be done of the 6. One side and then the other. Next up is the bowl that had the big piece pop out of the side because I was careless. I'm doing it first so that Eric Gabry's can figure out if these colors work for his version of this bowl. I glazed it in shiny black and then added crystals to make lava. I only show one layer of glazing. These steps are done 3 times. This bowl has so many nooks and crannies. I let it dry between layers. I do not glaze the top edge until I've done the 3 layers all over. Then once I don't have to flip it I will do the 3 layers on the top edge. Mark Seller's requested 3 spitting tikis to go with his black velvet painting. He had me also customize them. No top rim and red crystals in the inside. After I did his I did the black interiors for the 7 other mugs. I placed them upside down on wire grids so that the excess glaze could drip out onto a clean tray. After they were done dripping I was able to put the excess back into the jar. All ten mugs will now dry and be ready for the next step. |
|
H
HopeChest
Posted
posted
on
Tue, May 8, 2018 11:33 AM
Wendy, when you do the inside of mugs like that, are you actually using a brush or are you pouring it in and manually turning it to coat? |
|
PP

Prikli Pear
Posted
posted
on
Tue, May 8, 2018 12:01 PM
There are no words, Wendy. At least, there are no words that haven't been used a thousand times over to describe your work. Those diver helmets are out of this world! I mean, you added barnacles and everything! Who does that? Wendy does! |
|
L

littlegiles
Posted
posted
on
Wed, May 9, 2018 7:05 AM
YEA! That is all I can think to say. :wink: |
|
D
danlovestikis
Posted
posted
on
Wed, May 9, 2018 12:02 PM
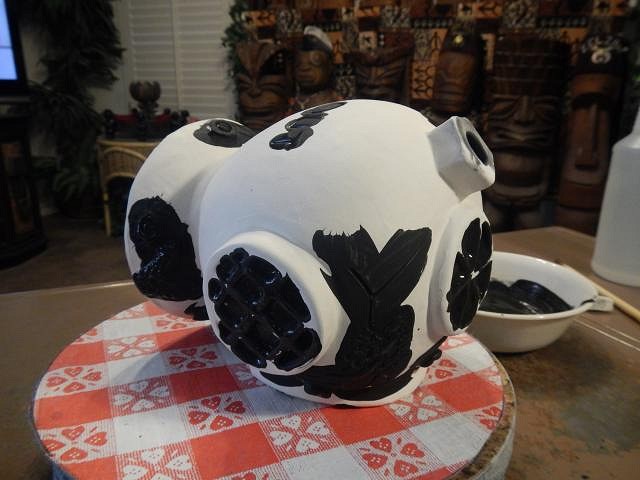
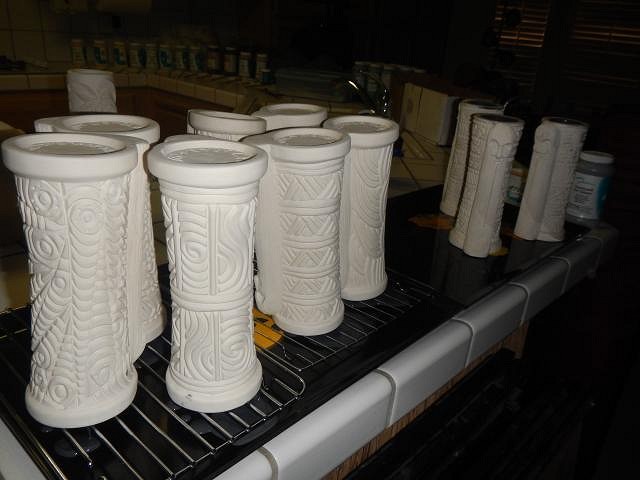
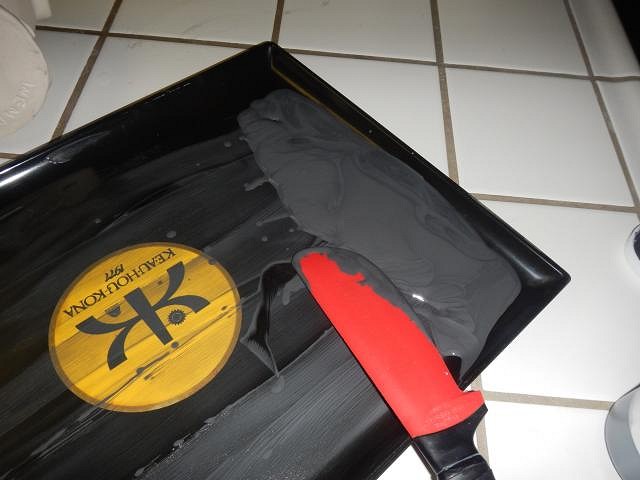
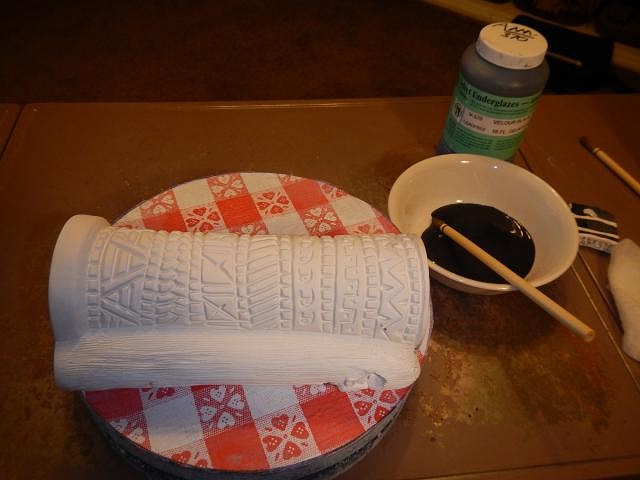
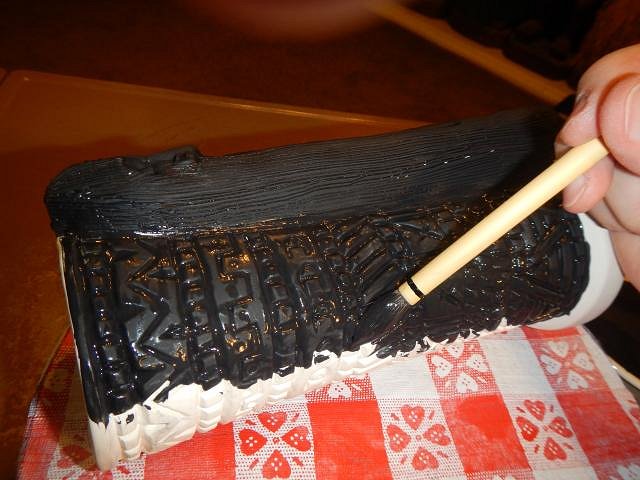
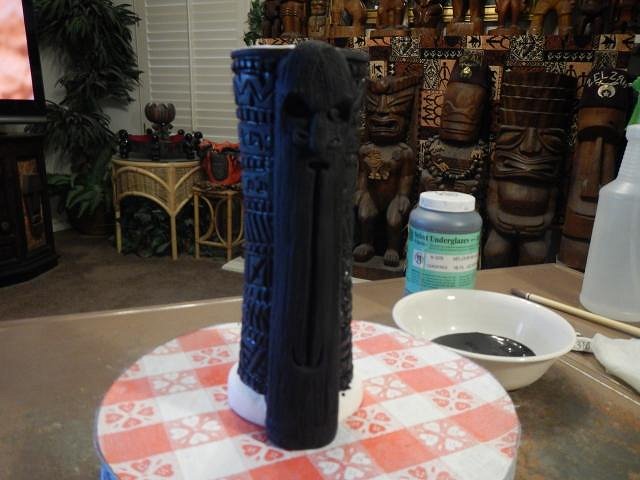
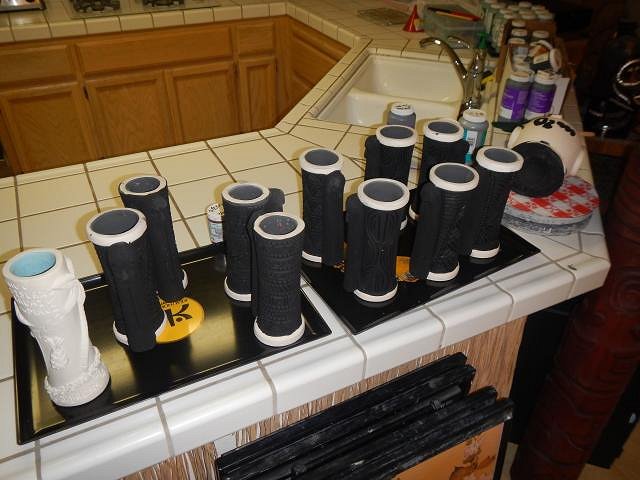
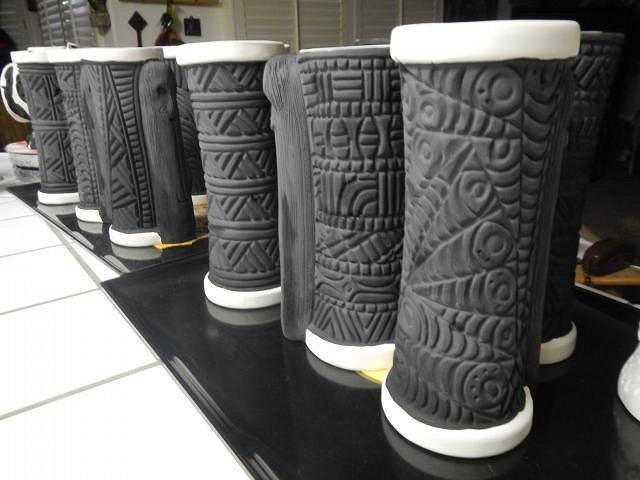
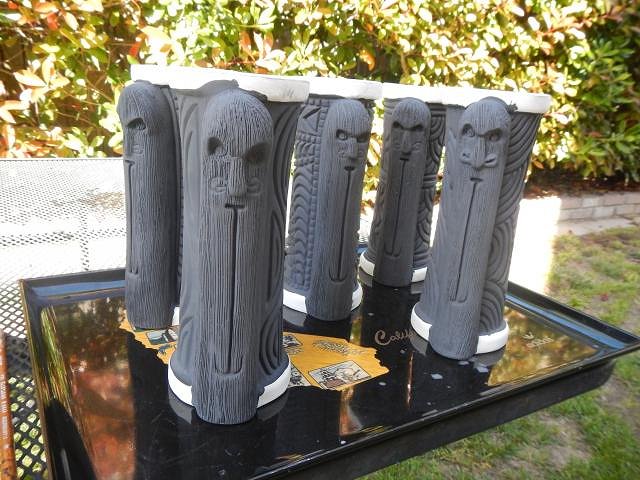
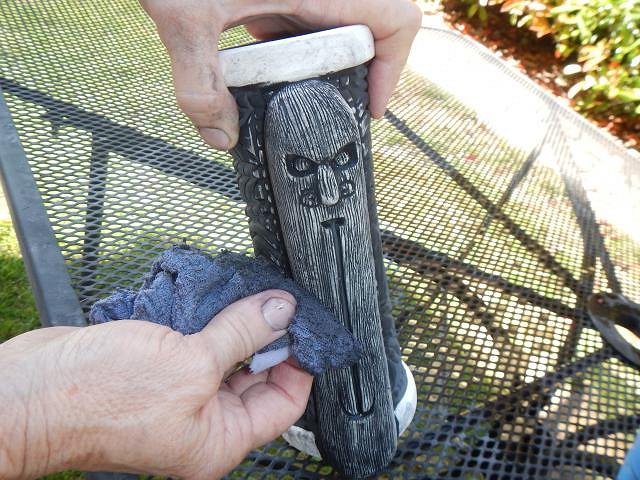
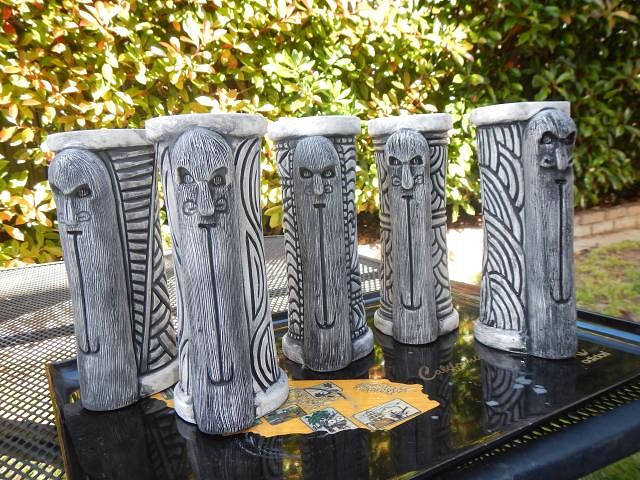
HopeChest I pour it in and coat all the sides for 30 seconds and then pour it out and let it drain. Prikli Pear ah thank you. I do know that Gecko adds crust and seashells to a Tiki Bob he makes that are out of this world great. He's the best glazer there is on earth. I aspire to be like him. I'll keep trying with your encouragement. littlegiles ha ha. You all keep me having fun making tiki art. I guess I'll just have to keep working. ==================================== Wish List #8 continues with more steps on the spitting tiki mugs and the first O2 out Diver's helmet. The next step is to thickly coat the mugs with flat black underglaze. It's best to do it with the mug on it's side. This will just be one thick layer. One done. All 10 done. The next day I search for missed areas and fill them in. Once these are all dry it's time for the next step. Dan set up the wire table for me in the backyard. He filled a couple of clean buckets with water. I don't want any dust particles to get on the mugs so the buckets must hold clean water. I am using a washcloth to scrub off the glaze from all the flat surfaces. I even scrub the tiki. I couldn't resist a photo of these guys who are waiting for their baths. More done. 5 done and 5 left to do. This is messy work. It was time to do the diver's helmet. First one side and then the other side. A different glaze will cover the messy looking areas. The last tray is filled and I called Dan to carry them back into the kitchen. I wish I could work harder but I'm still trying to avoid the carpal tunnel surgery. Cheers, Wendy |
|
L

littlegiles
Posted
posted
on
Wed, May 9, 2018 12:54 PM
That flat black underglaze makes all the difference in the world. All those details you spend so much time adding to your work really show up once you start applying it. Dare I say it? They really POP! |
|
H

hang10tiki
Posted
posted
on
Wed, May 9, 2018 8:59 PM
Busy busy |
Pages: 1 2 3 4 5 6 7 8 9 10 11 12 13 14 15 16 17 18 19 20 21 22 23 24 25 26 27 28 29 30 31 32 33 34 35 36 37 38 39 40 41 42 43 44 45 46 47 48 49 50 51 52 53 54 55 56 57 58 59 60 61 62 63 64 65 66 67 68 69 70 71 72 73 74 75 76 77 78 79 80 81 82 83 84 85 86 87 88 89 90 91 92 93 94 95 96 97 98 99 100 101 102 103 104 105 106 107 108 109 110 111 112 113 114 115 116 117 118 119 120 121 122 123 124 125 126 127 128 129 130 131 132 133 134 135 136 137 138 139 140 141 142 143 144 145 146 147 148 149 150 151 152 153 154 155 156 157 158 159 160 161 162 163 164 165 166 167 168 169 170 171 172 173 174 175 176 177 178 179 180 181 182 183 184 185 186 187 188 189 190 191 192 193 194 195 196 197 198 199 200 201 202 203 204 205 206 207 208 209 210 211 212 213 214 215 216 217 218 219 220 221 222 223 224 225 226 227 228 229 230 231 232 233 11162 replies


