Pages: 1 2 3 4 5 6 7 8 9 10 11 12 13 14 15 16 17 18 19 20 21 22 23 24 25 26 27 28 29 30 31 32 33 34 35 36 37 38 39 40 41 42 43 44 45 46 47 48 49 50 51 52 53 54 55 56 57 58 59 60 61 62 63 64 65 66 67 68 69 70 71 72 73 74 75 76 77 78 79 80 81 82 83 84 85 86 87 88 89 90 91 92 93 94 95 96 97 98 99 100 101 102 103 104 105 106 107 108 109 110 111 112 113 114 115 116 117 118 119 120 121 122 123 124 125 126 127 128 129 130 131 132 133 134 135 136 137 138 139 140 141 142 143 144 145 146 147 148 149 150 151 152 153 154 155 156 157 158 159 160 161 162 163 164 165 166 167 168 169 170 171 172 173 174 175 176 177 178 179 180 181 182 183 184 185 186 187 188 189 190 191 192 193 194 195 196 197 198 199 200 201 202 203 204 205 206 207 208 209 210 211 212 213 214 215 216 217 218 219 220 221 222 223 224 225 226 227 228 229 230 231 232 233 11,140 replies
|
D
danlovestikis
Posted
posted
on
Tue, Feb 19, 2019 7:06 PM
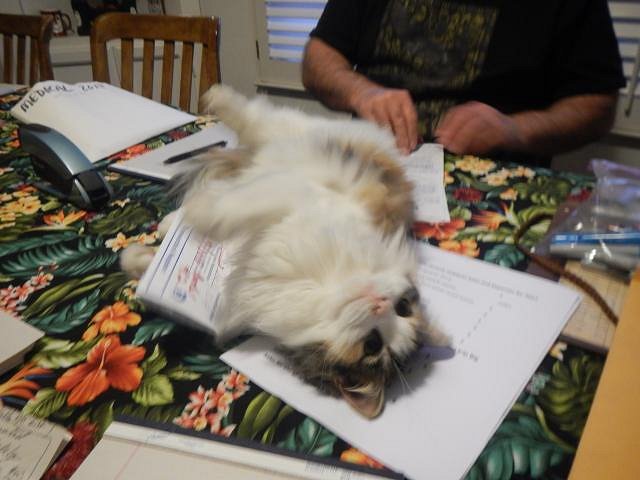
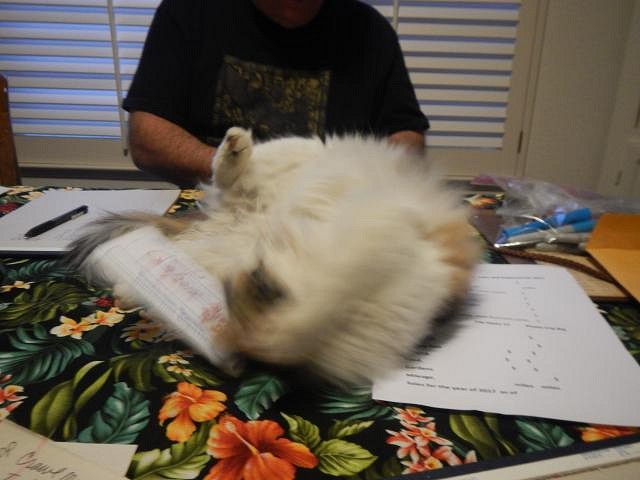
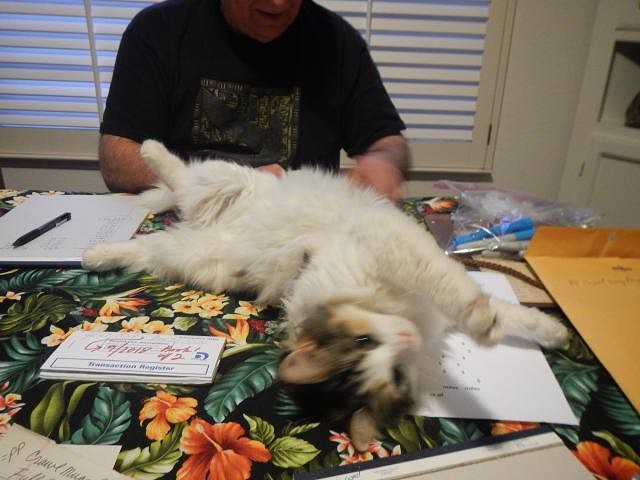
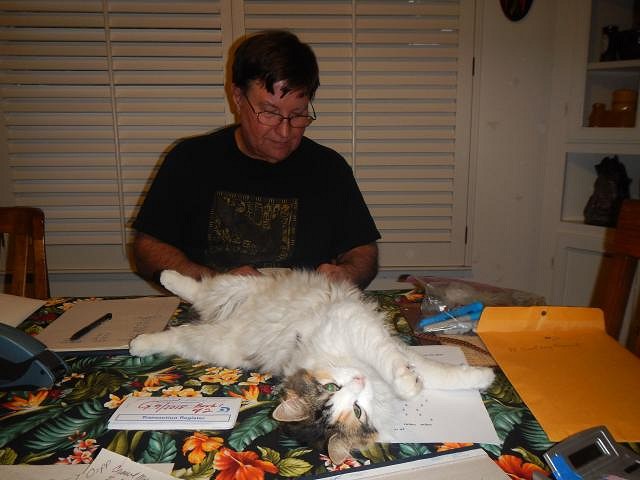
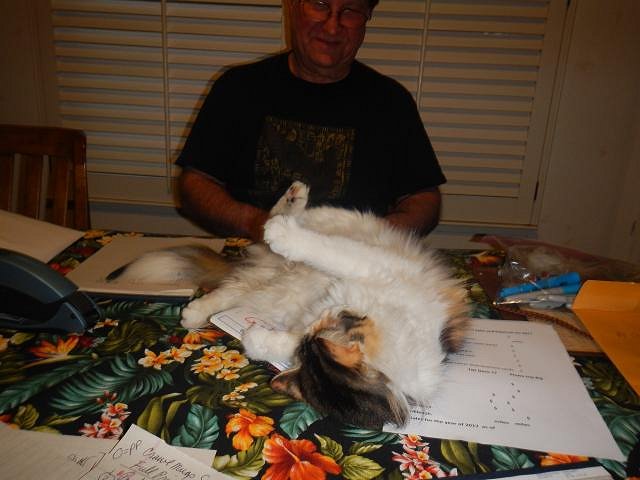
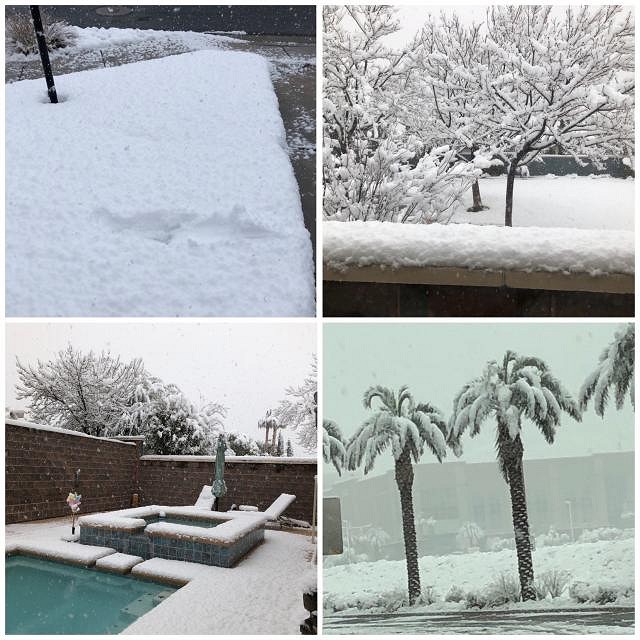
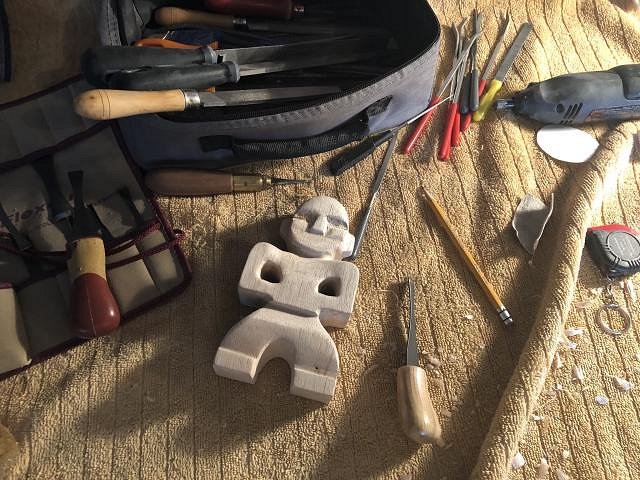
MaukaHale I have photos of my parents in my art room so I see them every day. I see that you have that love for your brother and this will bring him into your life often. I hope I can glaze it to look like the original. I will try really hard to do that for you. Your brother had a short but a quality life. hang10tiki 7 hours, you were in a carving hypnotic state. You deserved to go to Frankie's. Fun photos. I miss LV and you two. The snow photos were sure fun. We don't have it here either but we recently had hail. I'm behind unloading photos from my cameras. Soon I'll share a whole lot more. ====================================== It's tax time and Dan and I got all our papers out so we could go to work. Our neighbors cat scrabble wanted to visit so we let her in. Just like a child she wanted attention. She even picked up and played with our papers. We didn't get much work done until we put her out. When we did she hissed at us. She weighs around 1 1/2 pounds, so tiny you can lift her with one hand. It's fun when she visits.
I have made a lot of things along with the Sacramento Crawl mug in progress. Photos soon. Wendy [ Edited by: danlovestikis 2019-02-19 19:08 ] |
|
H

hang10tiki
Posted
posted
on
Wed, Feb 20, 2019 7:20 AM
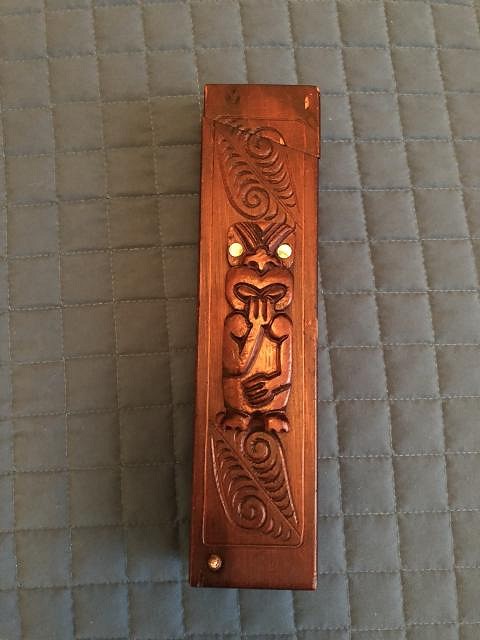
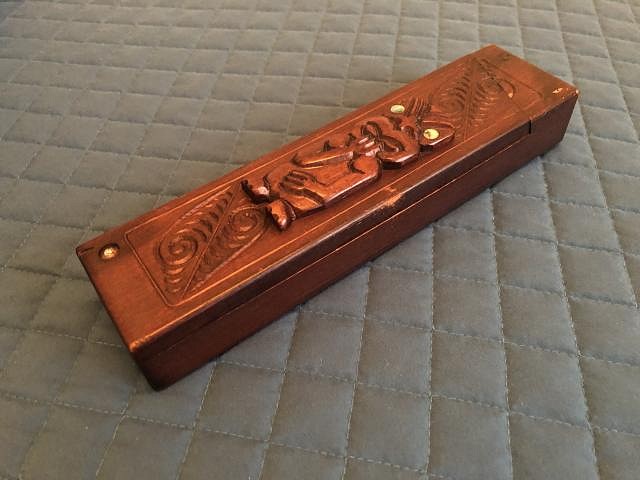
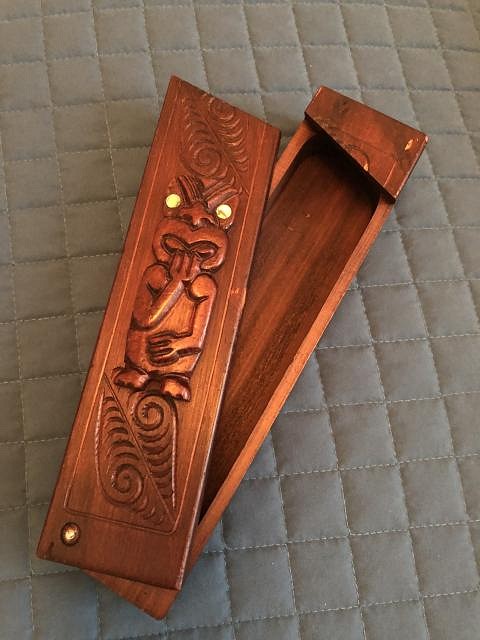
Looks like that cat has moved in Found this after our Frankie’s visit Cheers Off to the frozen garage to carve
|
|
D
danlovestikis
Posted
posted
on
Wed, Feb 20, 2019 12:57 PM
hang10tiki that's storage for all of your chopsticks. It's beautiful. Wendy |
|
H

hang10tiki
Posted
posted
on
Thu, Feb 21, 2019 9:41 AM
Wow
|
|
L
lunavideogames
Posted
posted
on
Thu, Feb 21, 2019 12:22 PM
Wow that is crazy! Lets just all move to Hawaii! :) |
|
H

hang10tiki
Posted
posted
on
Thu, Feb 21, 2019 12:49 PM
|
|
D
danlovestikis
Posted
posted
on
Fri, Feb 22, 2019 8:52 PM
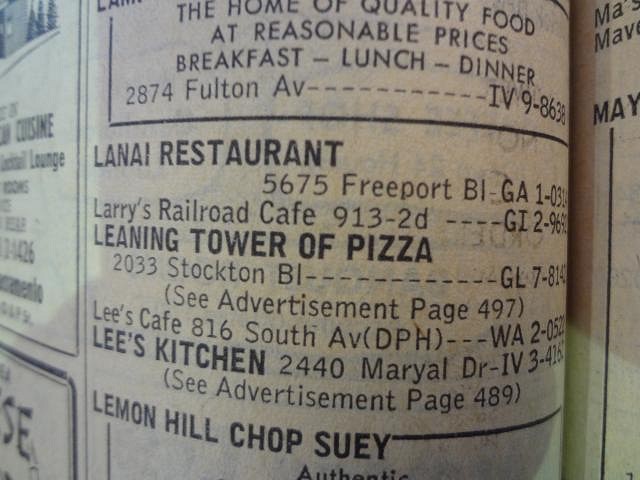
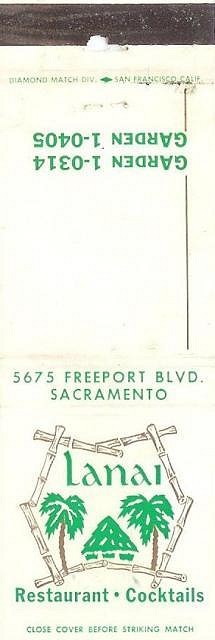
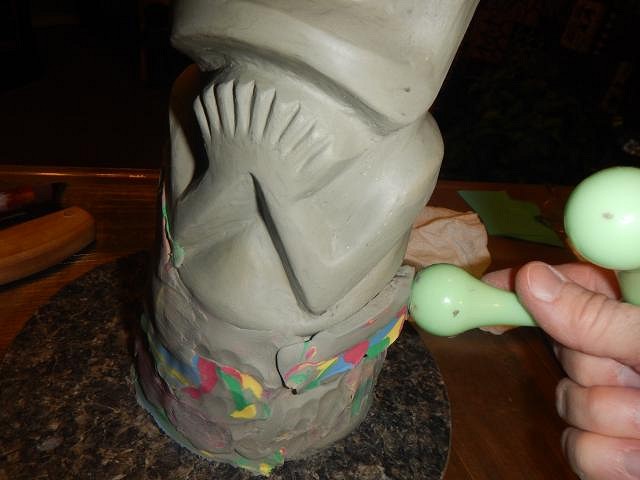
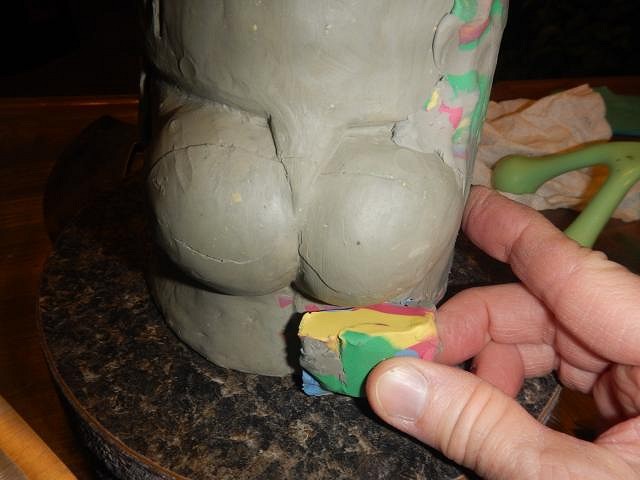
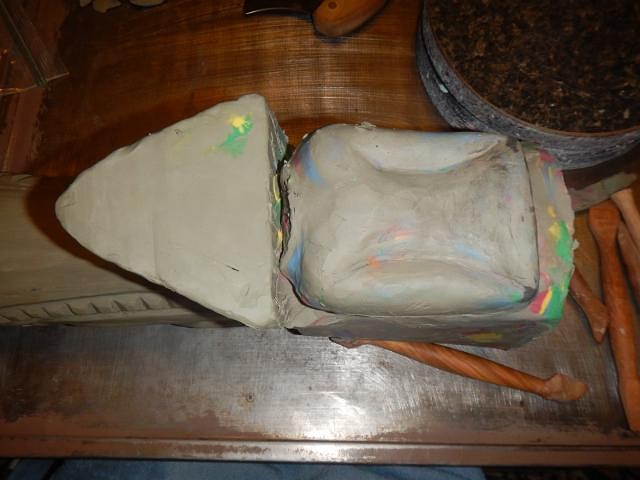
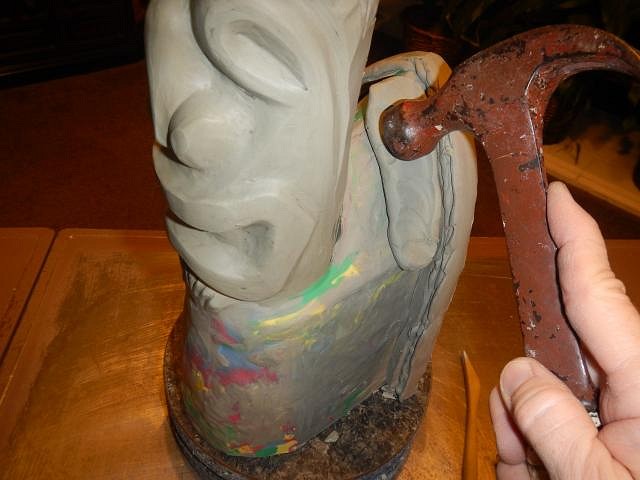
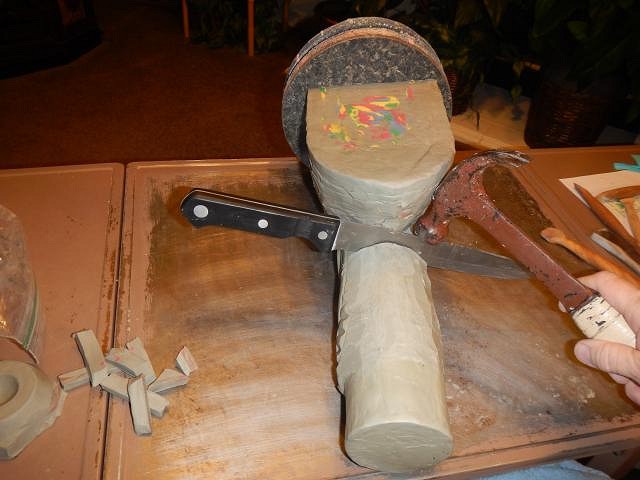
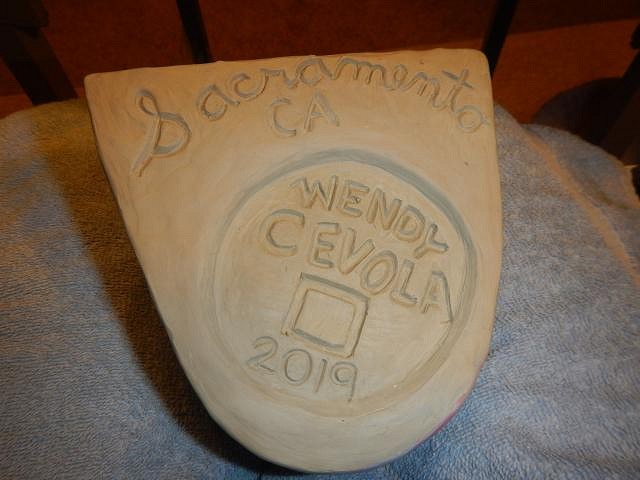
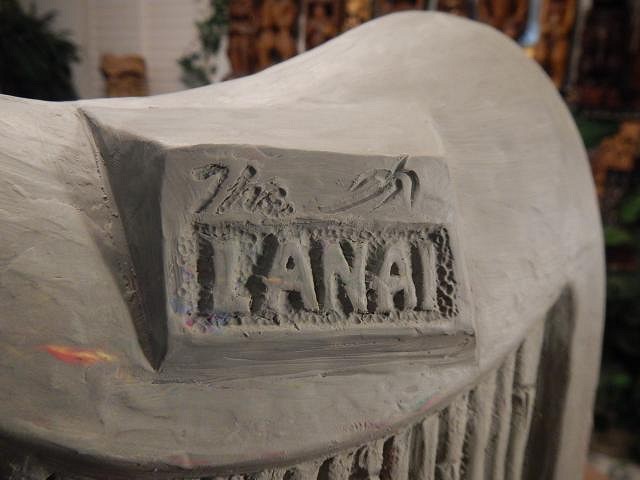
hang10tiki those are terrific photos. You should make one into a Christmas card. lunavideogames it's great to see you pop up here. ================================ I'M A WOMAN AND I'VE CHANGED MY MIND! IMAGINE THAT. This is the 10th year I am making the Sacramento Crawl mug and it is my last year. It's easier on me if I start to show the photos now rather than wait for summer. This way I can show photos with the mug mixed in with Wish List projects. So here goes. These photos begin November 11th 2018 and end with November 19, 2018. The mug is for the Lanai on Freeport Blvd in Sacramento, California. It later became the Zombie Hut but a sign still remains that says The Lanai Shops. The sculpting of my idea for a Lanai mug begins... We went to the Sacramento Room at the state library downtown and found this listing in an old phone book. Psycho Tiki D had this matchbook that I am using as the inspiration for the crawl mug. I re-use my Romo number two clay so that time had come to sacrifice my Coral Reef sculpt. I use whatever will save my hands when sculpting. I am sad to cover over Dan's cute butt. He was my model for this sculpt. I just keep adding clay to build it up. I do not have to worry about trapping air in a sculpt. I kept in mind that the actual mug will be 10 percent smaller so I added more clay. The best sculpting tool is a hammer. I added clay snakes to build it up further. The time had come to sacrifice my tiki. I turned him into a severed head. Hammer on the knife made it much faster. Less pain for both of us. It took 8 days but now I have the basic shape down. I have to figure out where to put the opening so that I can pour the slip into the mold and that it will reach each area. I cleaned up the bottom and carved these words and numbers. Another fun crawl is in the planning stages. Cheers, Wendy |
|
H

hang10tiki
Posted
posted
on
Sat, Feb 23, 2019 9:02 AM
Ohhhh my |
|
H

hang10tiki
Posted
posted
on
Sat, Feb 23, 2019 4:25 PM
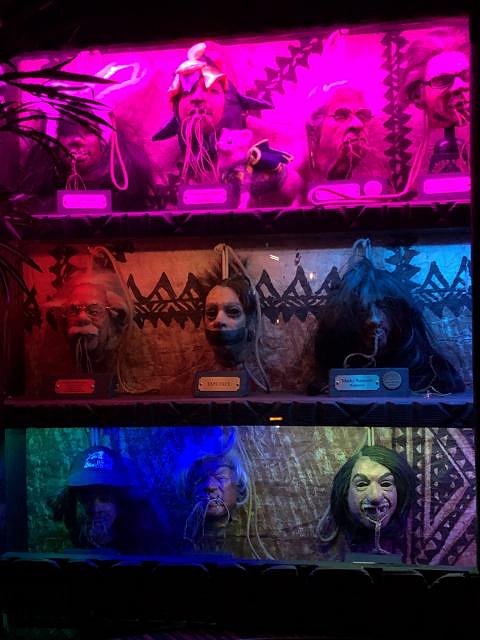
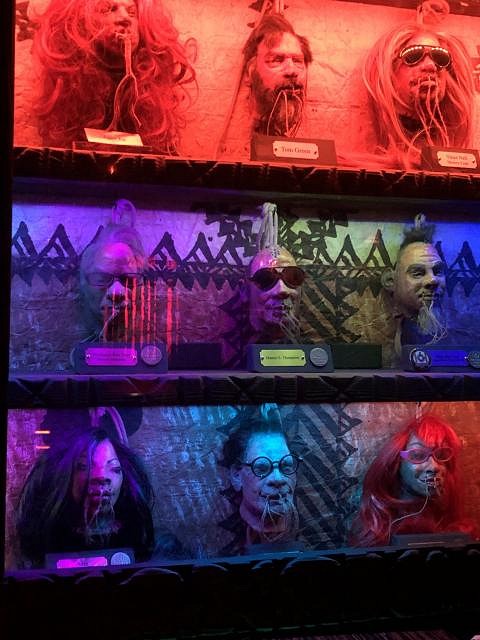
8 HRs of carving then off to The Golden Tiki
|
|
D
danlovestikis
Posted
posted
on
Sat, Feb 23, 2019 7:42 PM
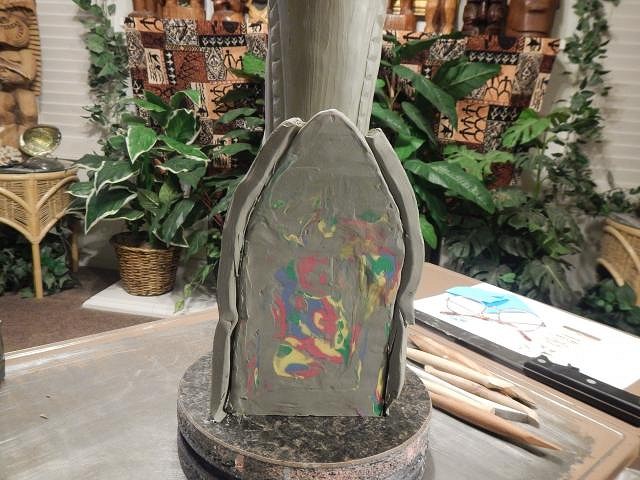
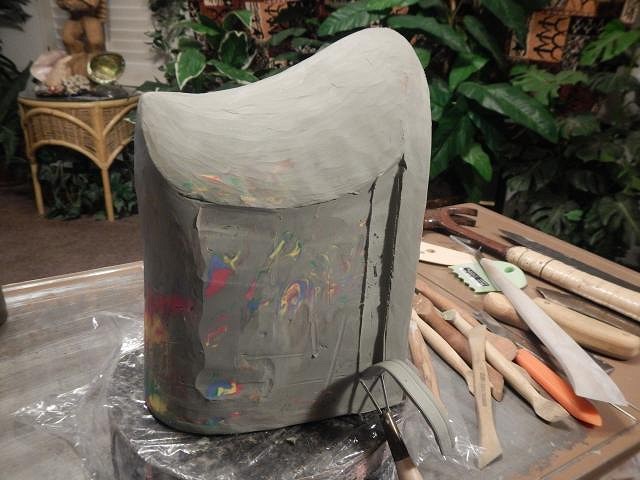
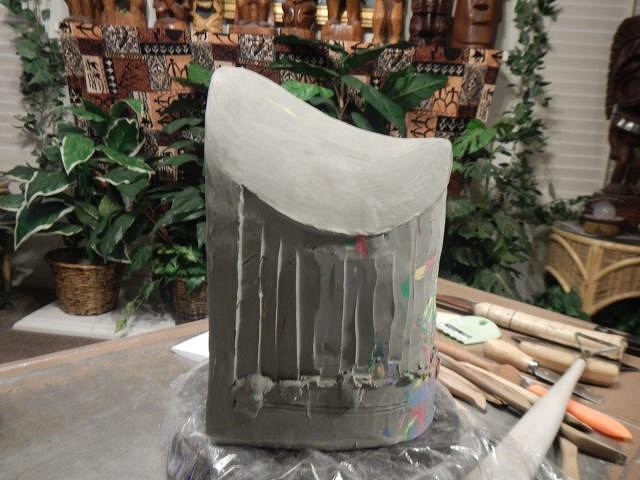
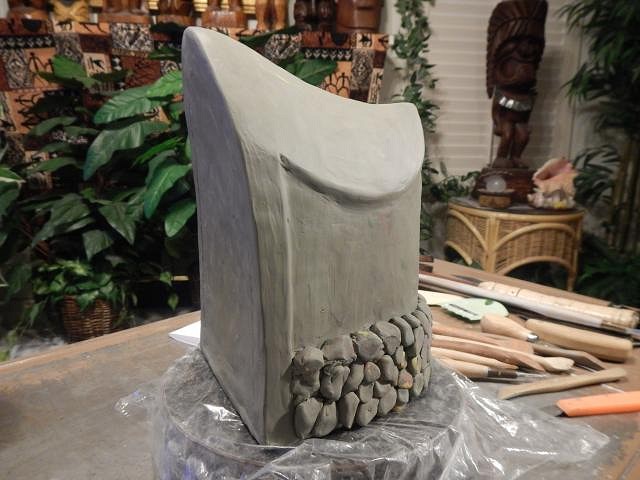
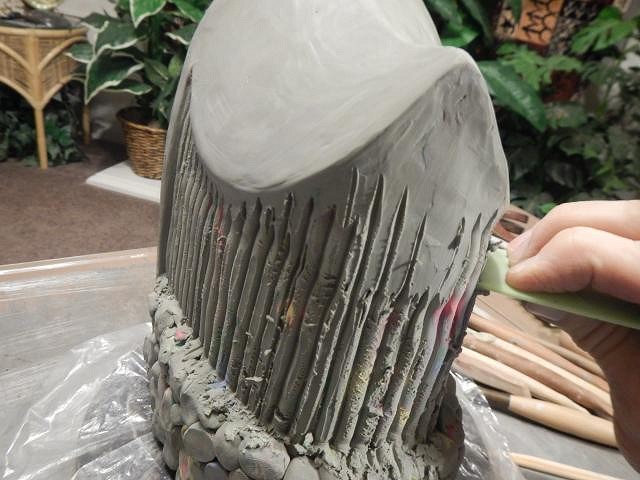
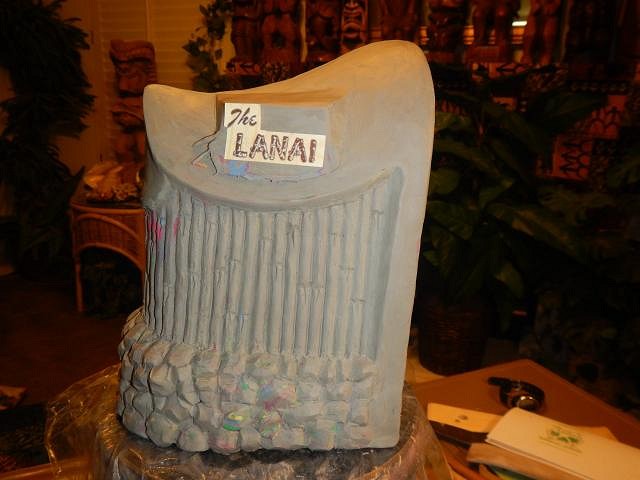
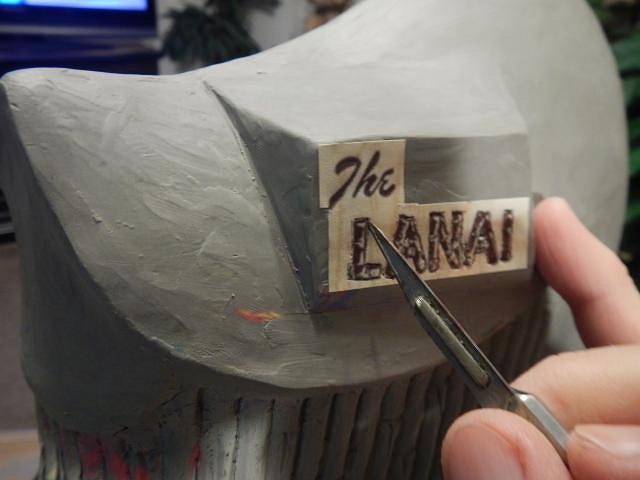
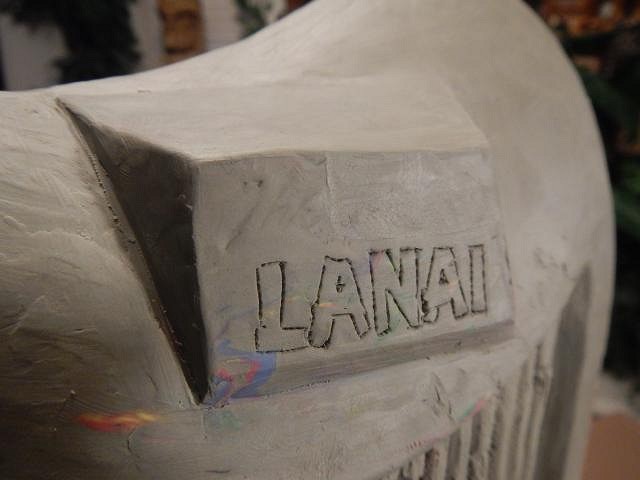
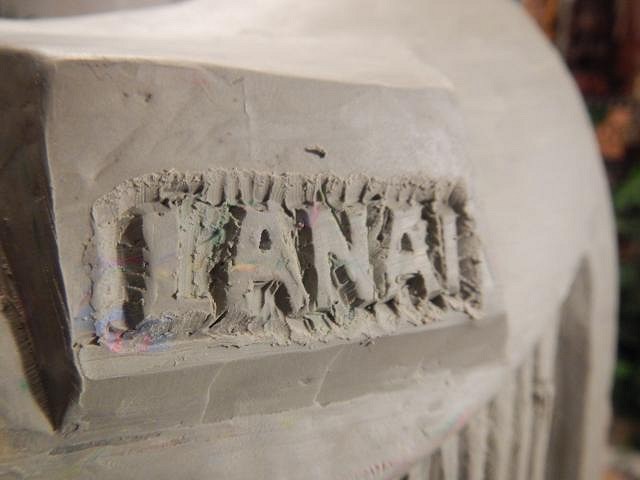
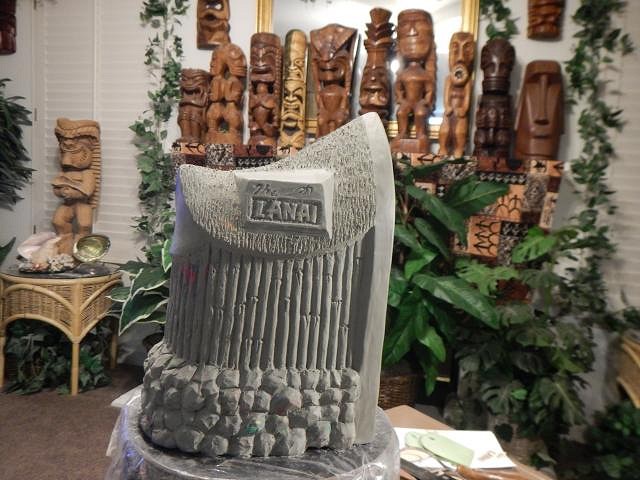
hang10tiki how cool is that. I'd never seen photos of those before. Reminds me of my wall of heads that have now gone on to other places to rest. Thank you. ================================ SACRAMENTO CRAWL MUG 2019 for the Lanai. You can search for the Lanai here on TC for more information. These steps were done from November 20th until November 24th, 2018. Having the right carving tools helps speed it up. First I built it with clay and now I'm removing some of that clay. I cut out what I needed to remove and then again I smoothed the sides. Next I began a lava rock foundation. The iron look is leaving fast. Next I began some bamboo siding. On the roof I made a block to support the sign for the Lanai. I made it so the mold piece could pull straight off. At the back end where the bamboo ends, that will be the opening into the mug. I printed out the Lanai logo and put it in place. I used a sharp knife to cut around each letter. Now it will be easy to have the letters just right. I used a flat stick to gouge out the clay. I used a ballpoint to make a look of lava around the letters. Then I added The and the palm tree. It's taking shape. I'm figuring it out as I go. I did not start with a drawing. Cheers, Wendy |
|
H

hang10tiki
Posted
posted
on
Sat, Feb 23, 2019 8:36 PM
Looking good W |
|
T
TabooDan
Posted
posted
on
Sat, Feb 23, 2019 10:58 PM
As usual, great to watch and see it all come together. Many Mahalos to you guys! |
|
H

hang10tiki
Posted
posted
on
Sun, Feb 24, 2019 12:50 PM
Mornin Wendy My day would go faster if he would
:) Worst sound ever, slurp of an empty tiki mug through my straw!!! [ Edited by: hang10tiki 2019-02-24 12:51 ] |
|
H

Hamo
Posted
posted
on
Sun, Feb 24, 2019 4:42 PM
I dunno; that looks like another huge mug to me, and I thought you weren't doing another huge Crawl mug.... |
|
D
danlovestikis
Posted
posted
on
Sun, Feb 24, 2019 7:37 PM
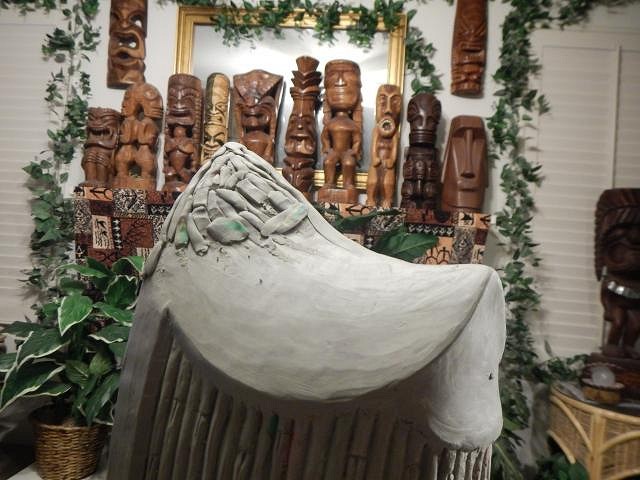
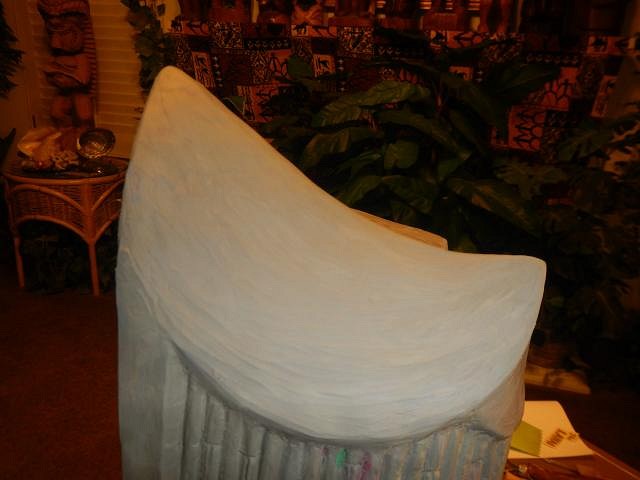
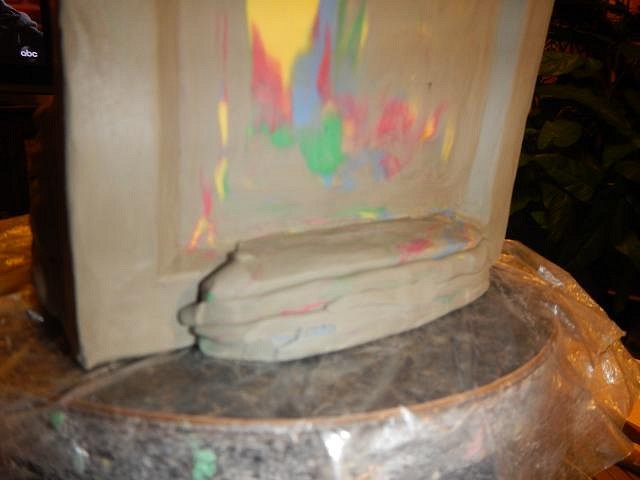
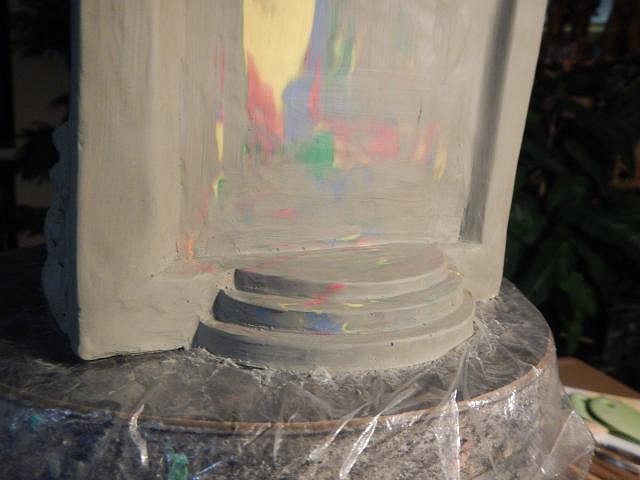
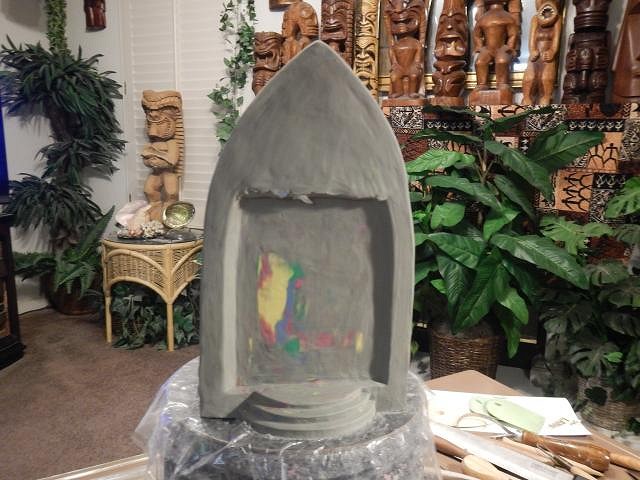
hang10tiki thank you very much. TabooDan I've never been called that before. Thank you. Good to see you pop up here. hang10tiki good evening to you. Hamo smaller than the volcano and many of the crawl mugs. Still a good size. I want to go out with a extra good mug. I hope this will be just that and everyone will be happy. ==================================== More steps for the SACRAMENTO CRAWL MUG for October 2019 I started to do texture for the roof and then I decided I didn't like the roofs shape. I added clay and built it up. Better. This is almost how it will look. I do a lot of detail work once it's out of the mold. Next I began the work on the front of the mug. Cut and smooth, that's the process. I figure that you can't have a mug for the Lanai unless it has a porch. So I built one.
The next steps will further tie it into the Lanai matchbook. Thank you all for the comments and visits, Wendy |
|
D
danlovestikis
Posted
posted
on
Mon, Feb 25, 2019 7:20 PM
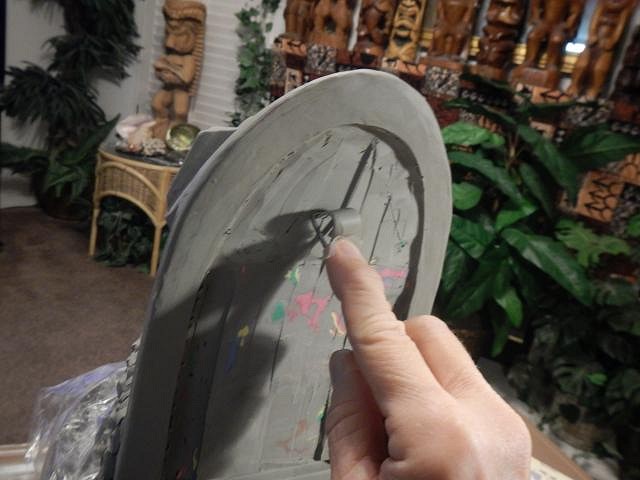
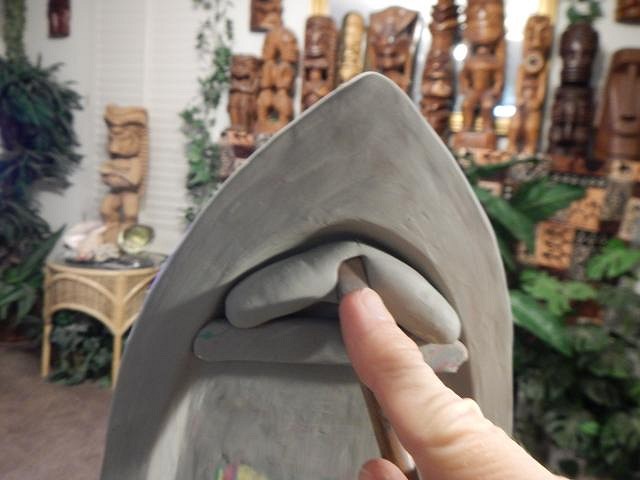
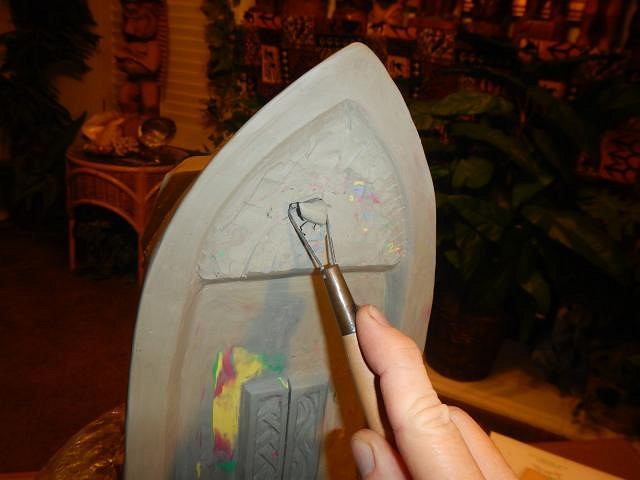
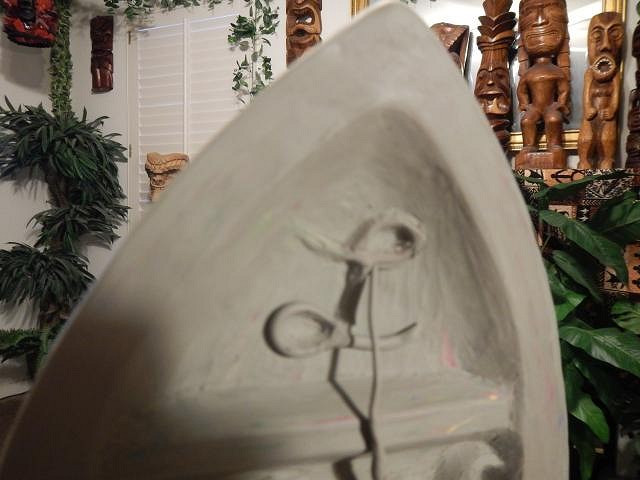
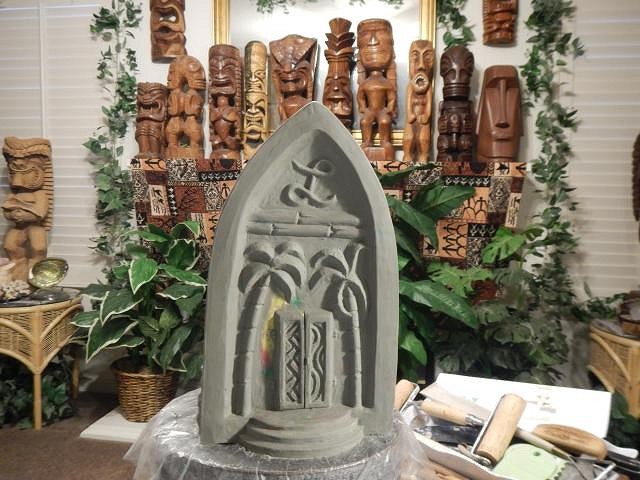
SACRAMENTO CRAWL MUG for October 2019 the last of the sculpting steps. These steps were completed November 27th to December 1st, 2019. Inside of the Lanai. First I wanted to work on the front top by filling it in until it was full of clay. You may notice that I go one way and then reverse it. I keep changing my plans. then carving it back out. I again looked at the match book and then it hit me. My next step would be palm trees. Here goes, I don't have to worry about watering them. I just need to have them look good. A written capital L has always been my favorite letter. I finally got to put it on something. L for Lanai, perfect. Here is the mug. It is going to be molded this way but the finished mug will have a design around the front where it's blank.
This mug will need a lot of fine tuning but I'm up for the task. So don't judge it yet it will improve. Good night, Wendy [ Edited by: danlovestikis 2019-02-25 19:26 ] |
|
S

swizzle
Posted
posted
on
Mon, Feb 25, 2019 10:49 PM
You said you want to go out with a bang for your final mug and i think you've done that. Without a doubt my most favourite of all the Sac. crawl mugs you've made. Although i'm not so sure about the L on the front. I don't think that style really matches, but that's just me. |
|
D
danlovestikis
Posted
posted
on
Tue, Feb 26, 2019 8:52 AM
Hi swizzle, I agree with you but it will be my "love letter" as I end my run with the 10th mug. Lanai or Love I hope everyone will enjoy this adding it to their collection. Thank you for saying it meets the bang requirement. Wendy PS I heard that this summer is the last Tiki Oasis at the Crown Plaza and that the new owner is going to remove the tikis, I'm glad you made it there and here too. |
|
H

hang10tiki
Posted
posted
on
Tue, Feb 26, 2019 4:42 PM
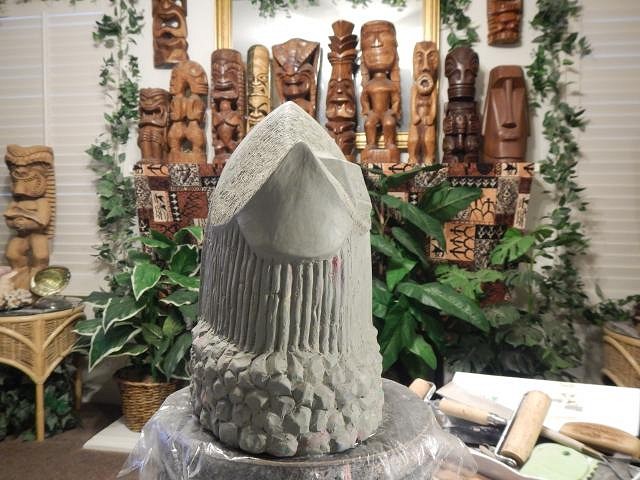
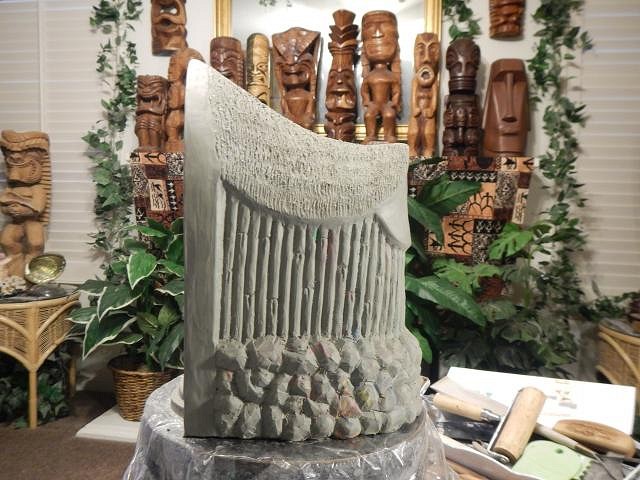
Looks great Wendy Top, side, back, front or btm Cheers [ Edited by: hang10tiki 2019-02-26 16:43 ] |
|
D
danlovestikis
Posted
posted
on
Tue, Feb 26, 2019 6:48 PM
hang10tiki see the narrow backend of the mug and at the top there is a blank area. That is where the hole will go. I didn't want it to show when the mug is on a shelf. |
|
H

hang10tiki
Posted
posted
on
Wed, Feb 27, 2019 6:29 AM
Worst sound ever, slurp of an empty tiki mug through my straw!!! [ Edited by: hang10tiki 2019-02-27 06:30 ] |
|
H
HopeChest
Posted
posted
on
Wed, Feb 27, 2019 10:13 AM
That is unreal. So good. Love the palms flanking the door. |
|
D
danlovestikis
Posted
posted
on
Thu, Feb 28, 2019 7:56 AM
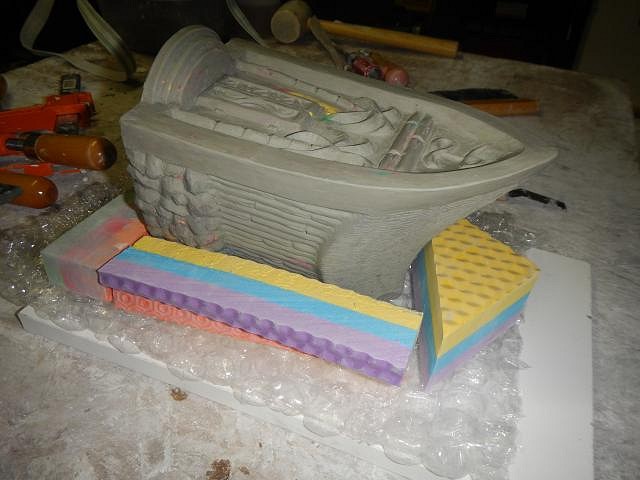
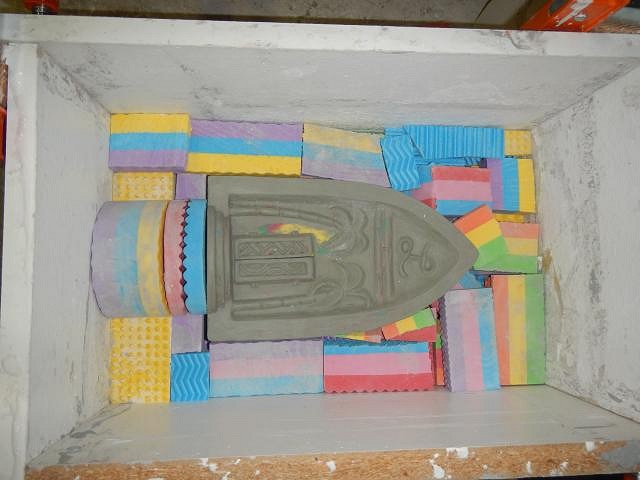
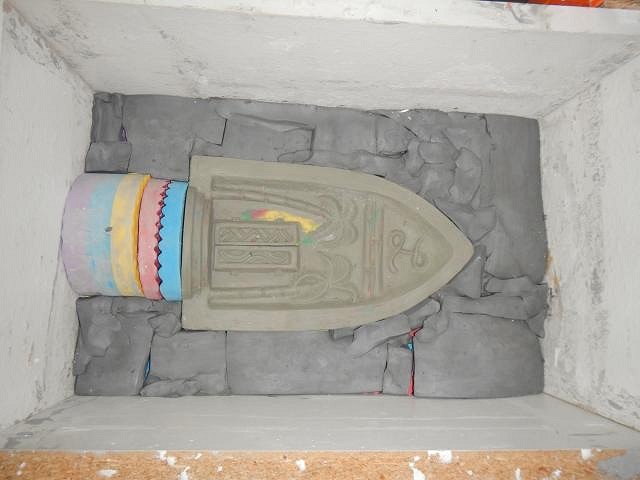
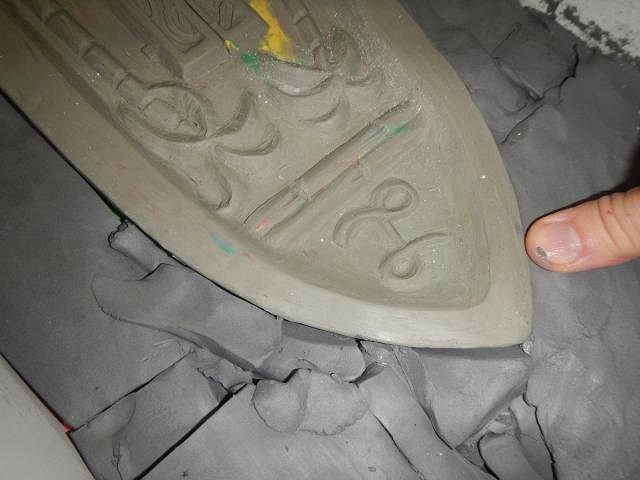
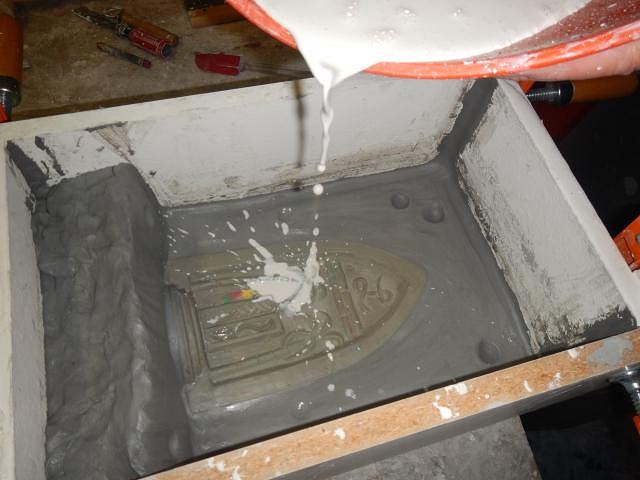
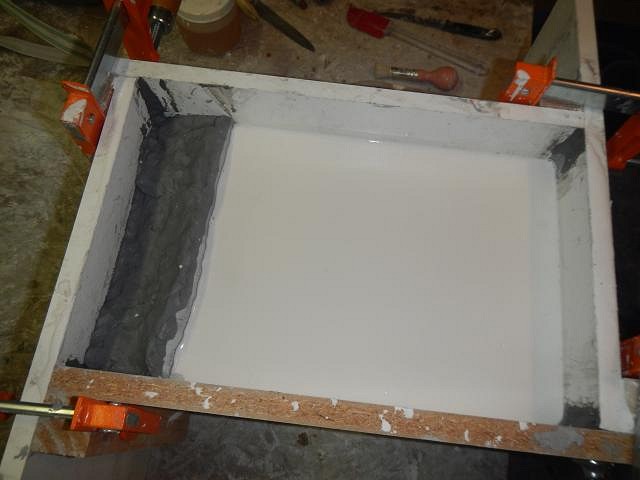
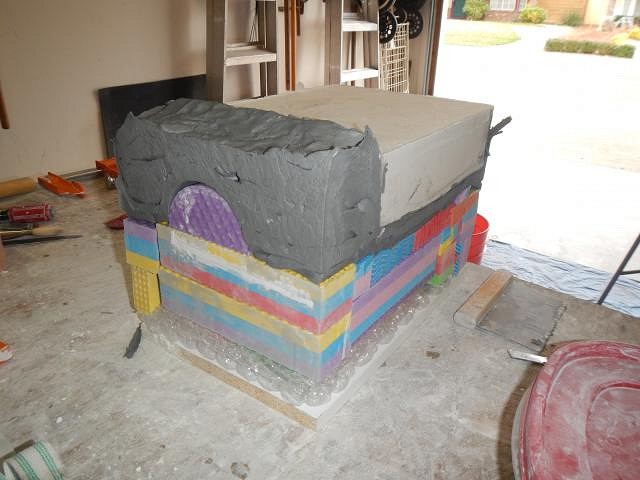
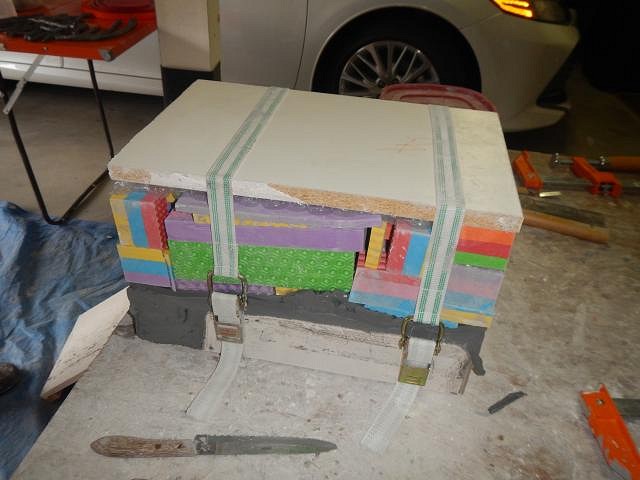
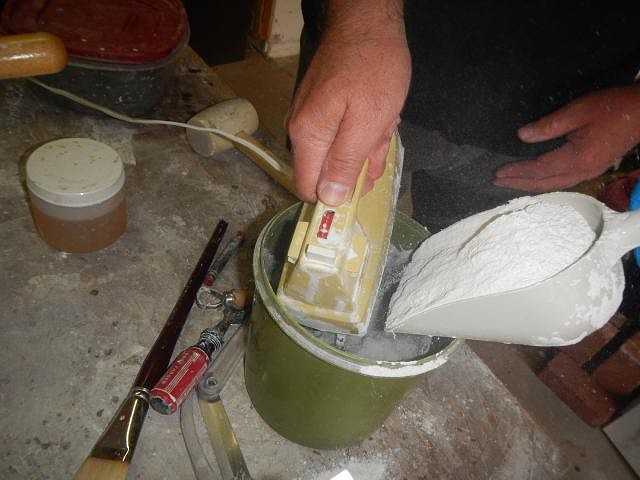
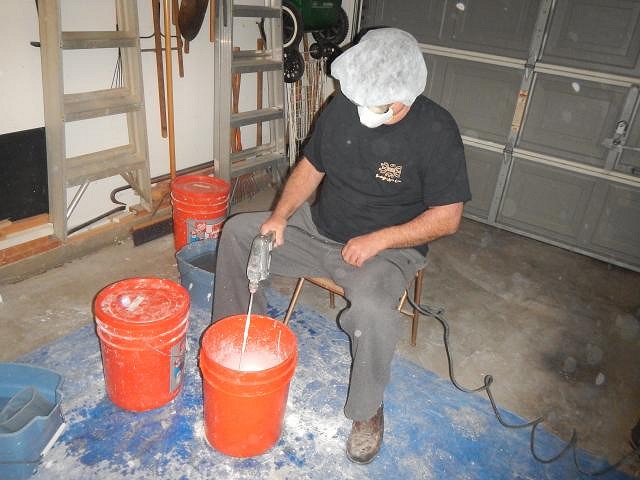
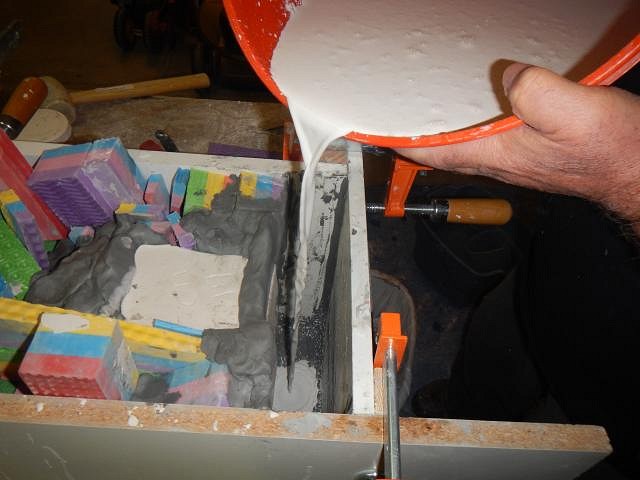
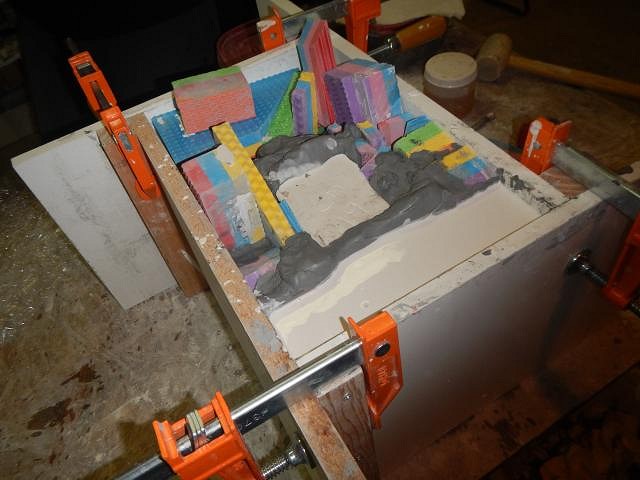
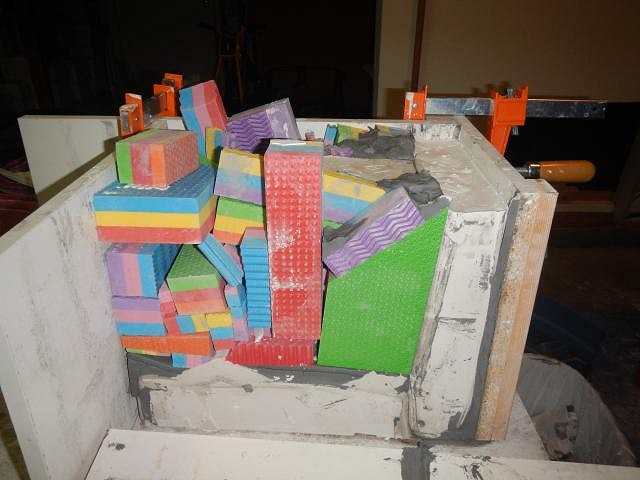
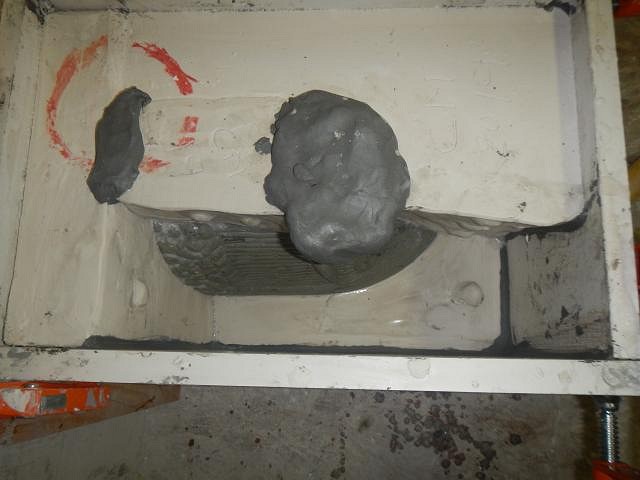
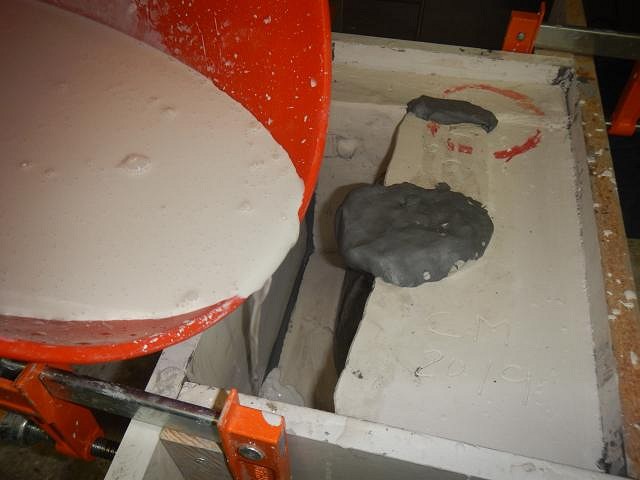
hang10tiki and HopeChest you are so kind. Thank you so much. =============================== The horror of finishing a sculpt is that you have to then mold it. I had to look it over, figure out how to get the slip into the high point on the roof. That is when I chose to put the opening at the back end under the roof. Now it was time to execute my plan. Here are the steps for the first mold piece. This first piece will be the bottom of the mold. This is how I ensured that the slip could reach the highest point of the roof. To protect the carving I started with a piece of bubble wrap underneath. I kept adding blocks until they reached the face of the sculpt. I thought about the best way to so the steps and decided to only do the tops and front. That way nothing gets pulled out of a slot in a mold piece. This is clay I have cut off the tops of mugs. I save it in a plastic container to use when doing custom pieces or making molds. I will cover all of the blocks. I will smooth it with a wet paper towel to make a tight seal. I put a few lock dents in place. You really do not need many. I ran snakes of clay up all the seams to prevent leaks. Time to mix the plaster to the consistency of buttermilk and then to pour it in. It sits for around 45 minutes. Now I can take off the box. We put on straps so that we can flip it. It's important that the sculpt doesn't move or come loose from the mold piece just made. One down four more to go. Wendy |
|
H

hang10tiki
Posted
posted
on
Thu, Feb 28, 2019 9:53 PM
Awesome |
|
D
danlovestikis
Posted
posted
on
Fri, Mar 1, 2019 7:23 PM
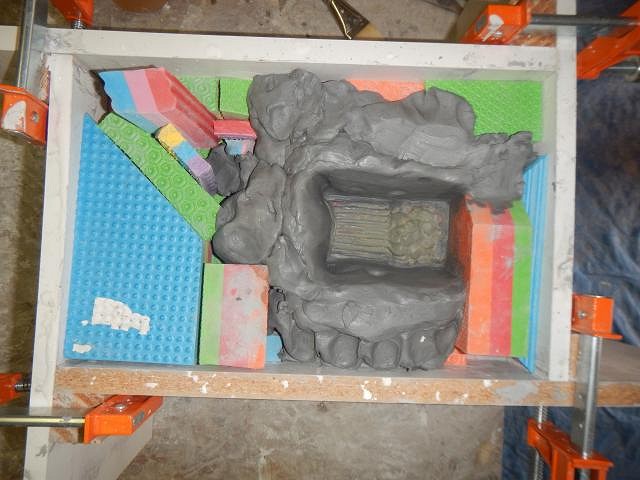
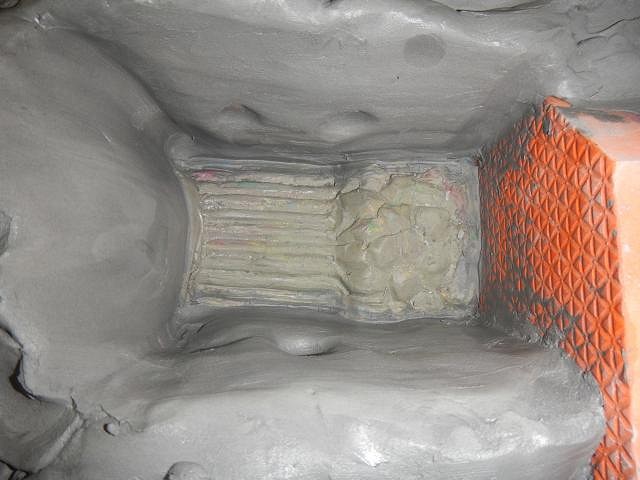
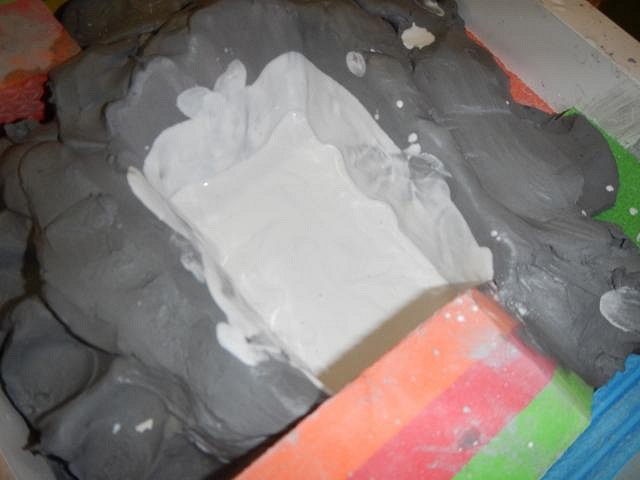
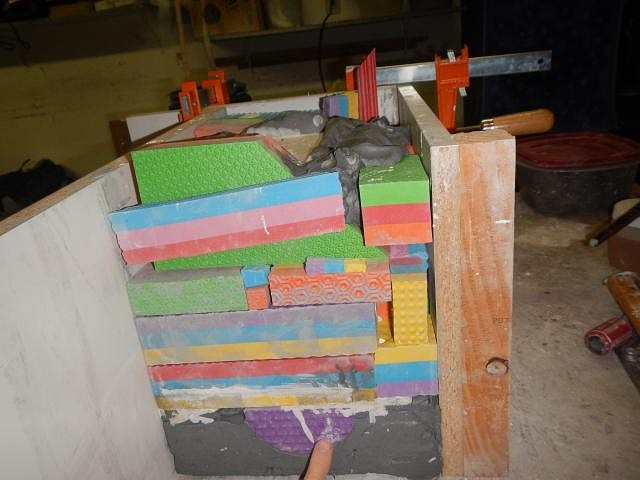
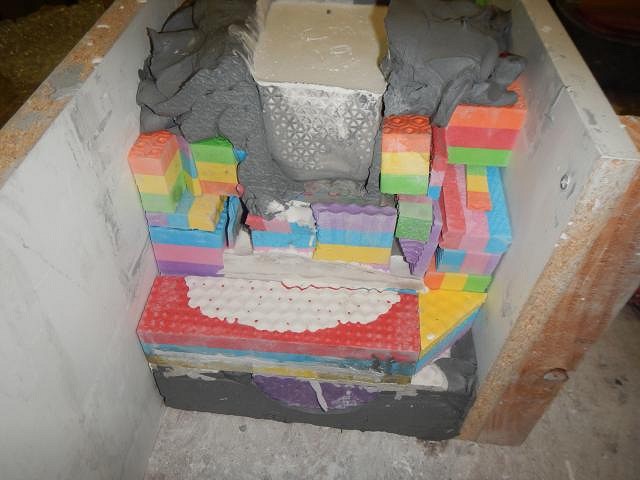
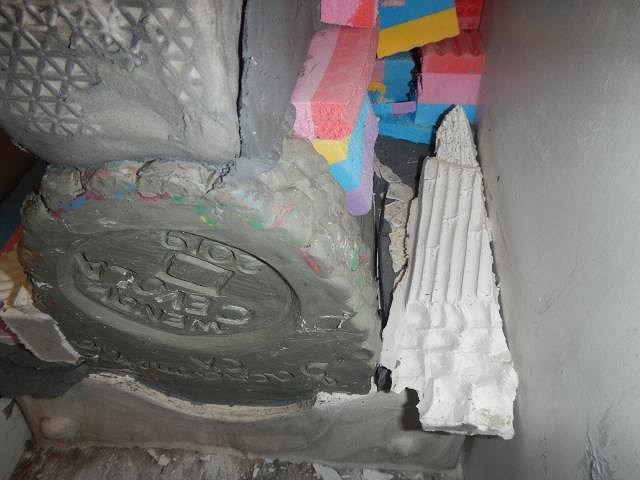
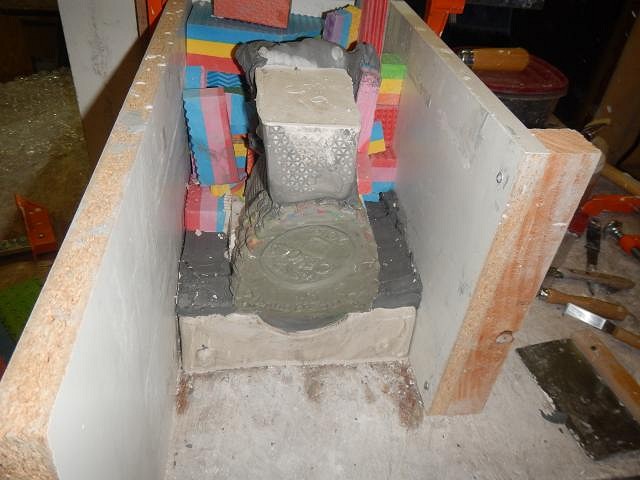
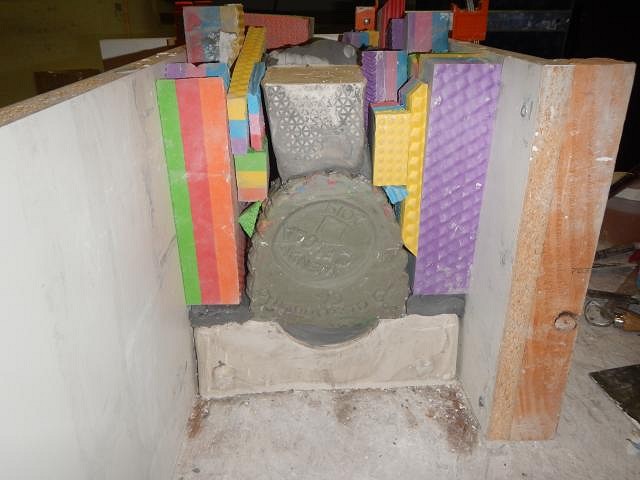
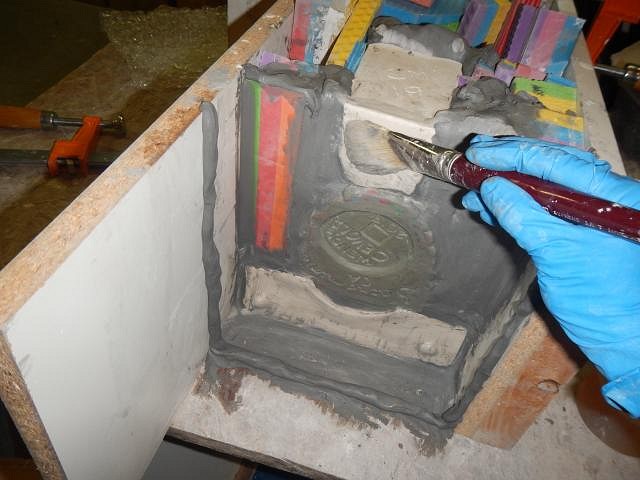
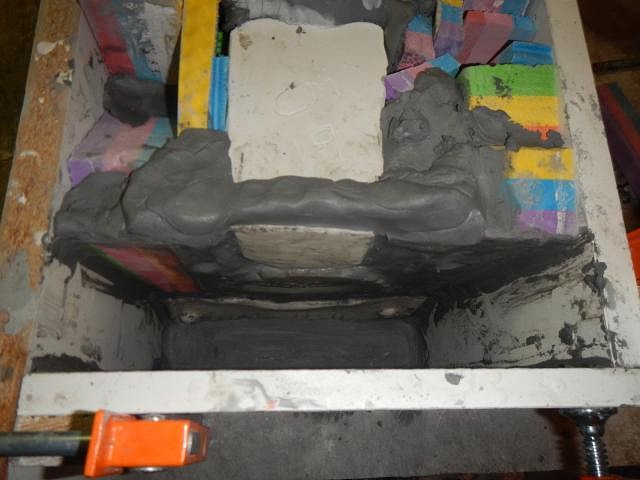
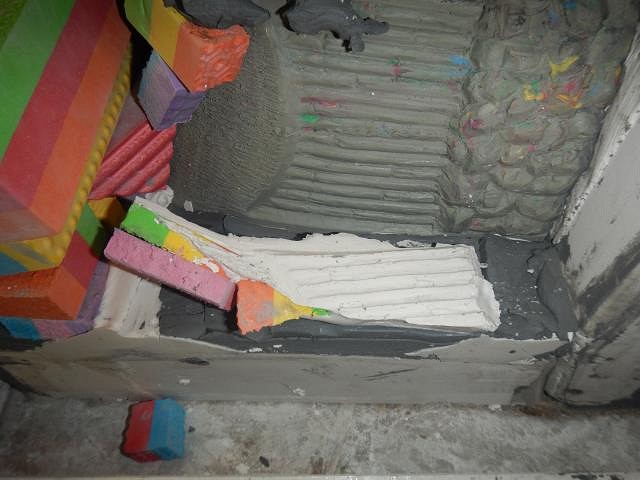
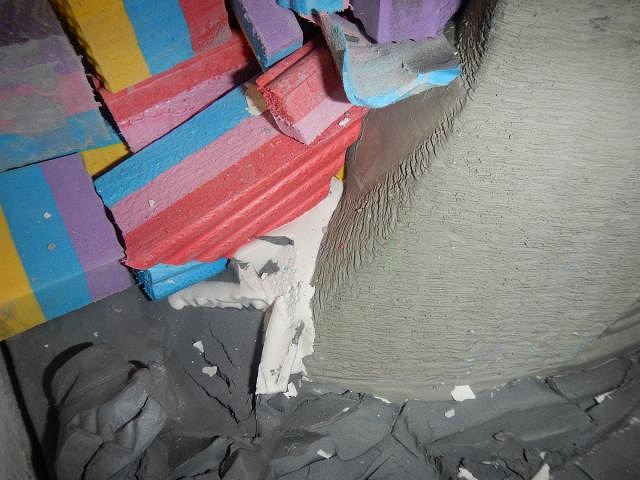
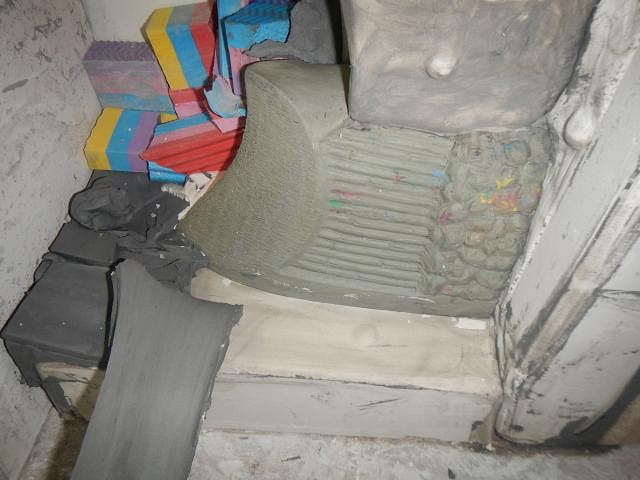
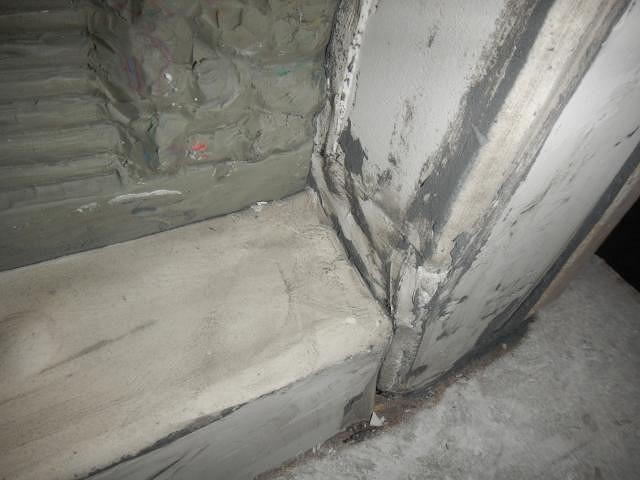
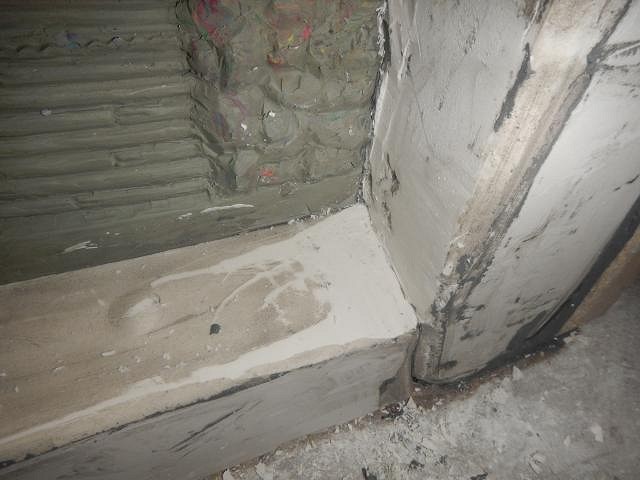
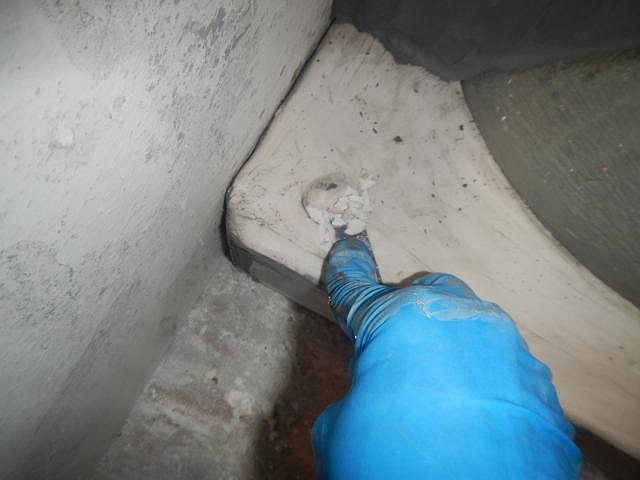
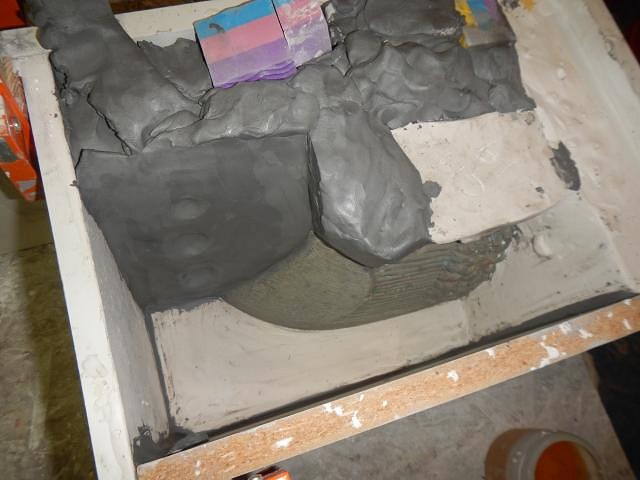
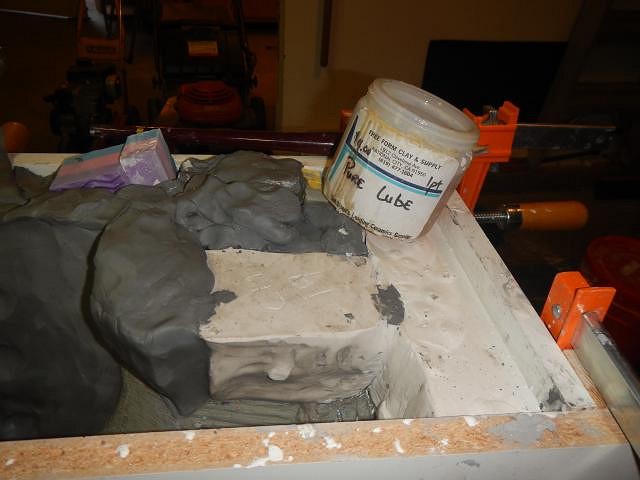
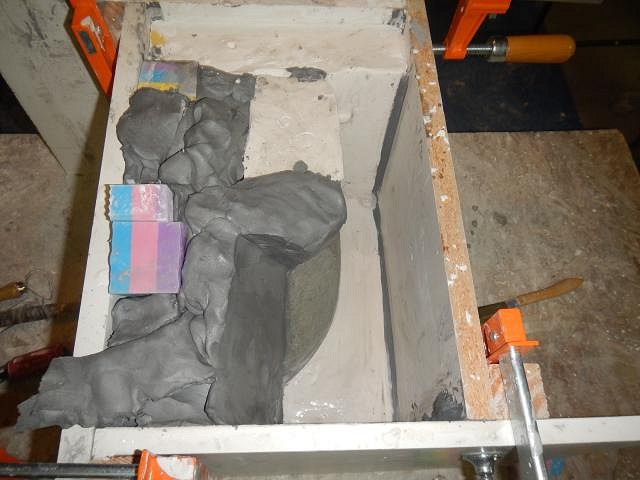
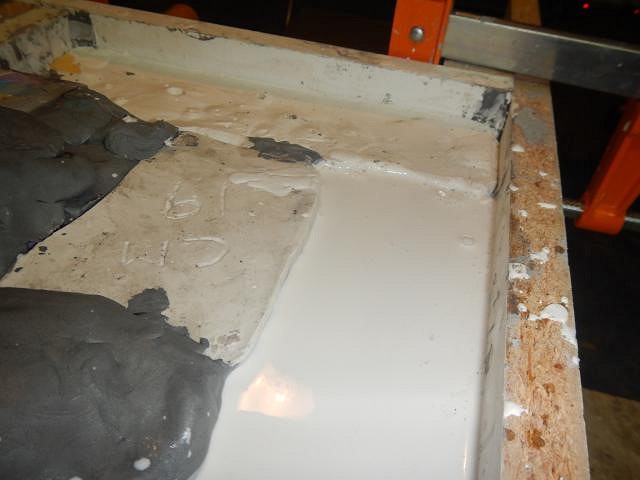
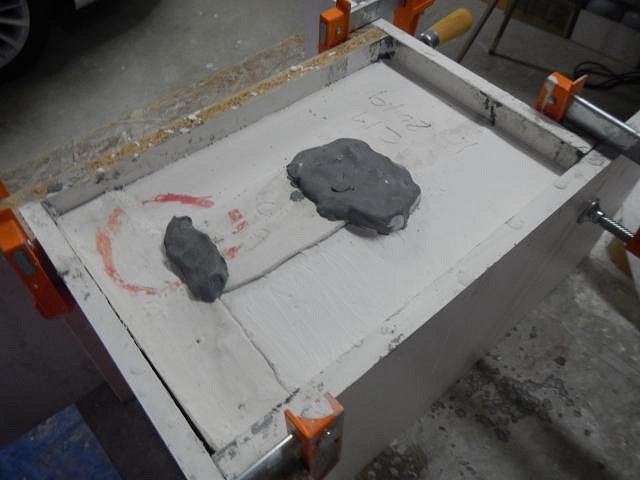
hang10tiki your pour pour pour came true. We had a bit of a nighmare. =========================== Sacramento Crawl mug for 2019. Time to make the second piece of the mold. Once the whole thing had flipped over I uncovered the top and then we put the box back on. I am making a small back piece this time so I built up the blocks around the rest of the mold. Next I made a clay box that will hold the plaster in place making this second piece. This is a weird mold but it's how I figured it out. I worked to make the seals around the clay box where it joined the sculpture. I missed doing it where there is a plastic block. I only noticed it when looking at my photos after the fact. We just mixed a small amount using a thrift store mixer. We poured in the plaster. A moment later we saw the level going down. Oh No! there is a leak. Quickly I just helped Dan make more and said we will fill it up again until the leak stops as the plaster turns hard. I'll deal with the leaked plaster later on. It worked eventually the leak stopped and this piece was made. Photo of the mess next time. Wendy |
|
D
danlovestikis
Posted
posted
on
Sat, Mar 2, 2019 7:59 PM
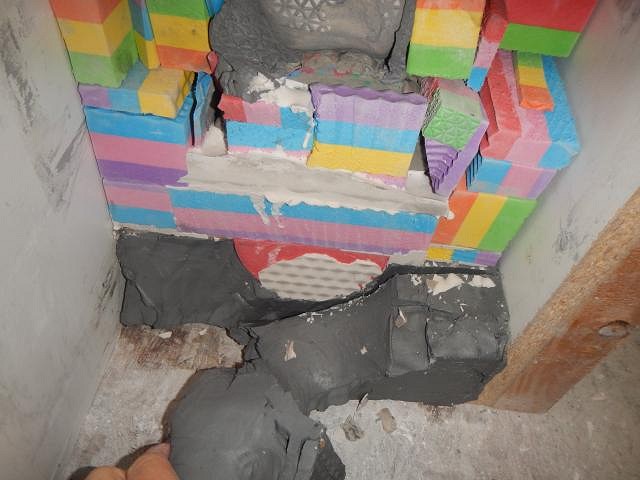
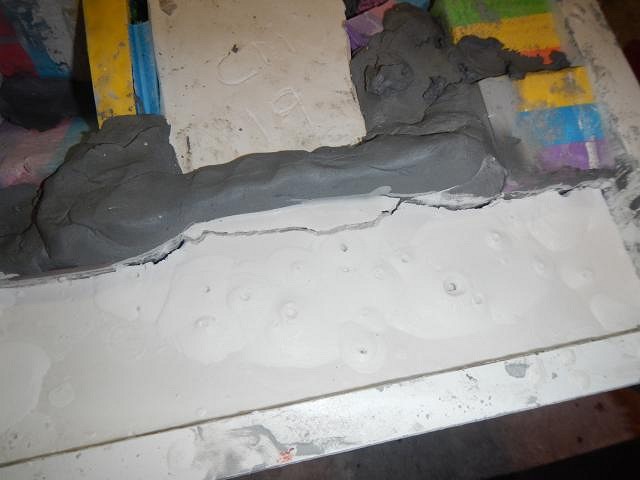
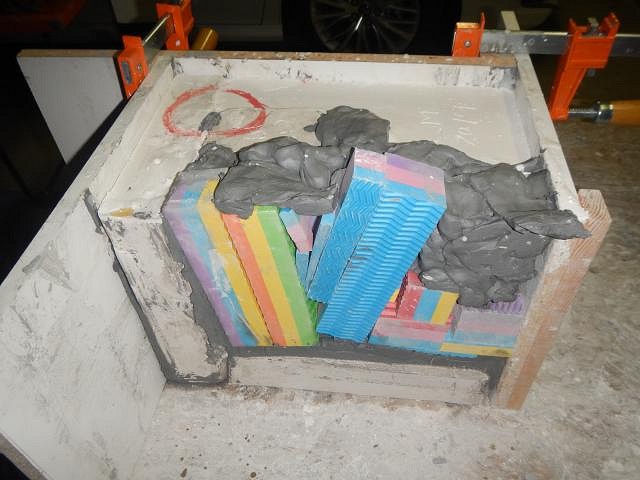
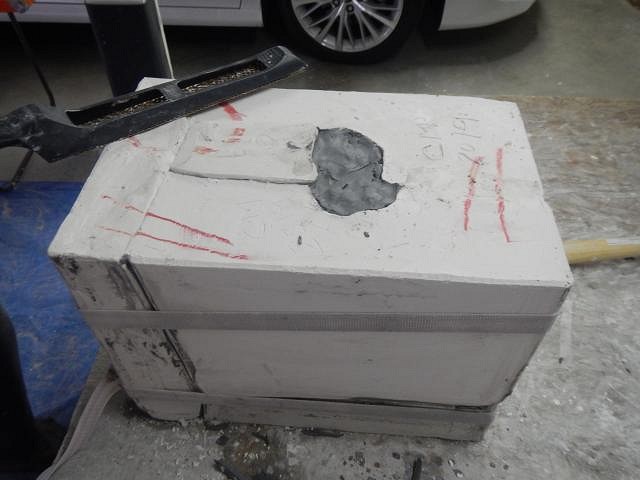
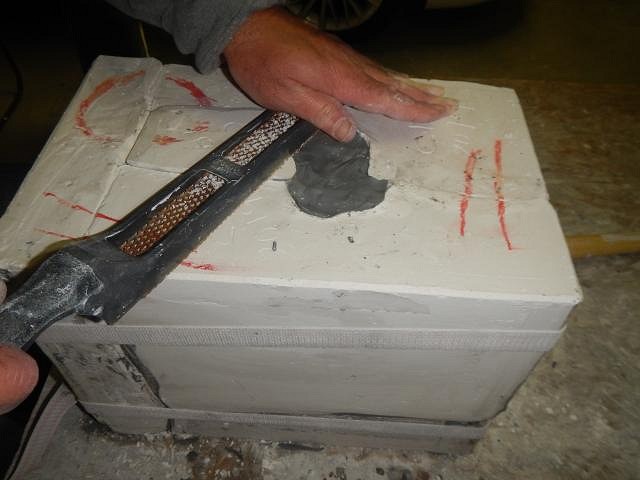
SACRAMENTO CRAWL MUG FOR 2019. More steps for making the mold. You know those structures where you drop a ball and it travels all over the place until it gets to the end. Well that's what this leak was like. The liquid plaster just kept traveling down a crack across a block and on and on. I knew that wherever it went I could clean it up. I just wanted a good mold piece. Once the mold piece was set it was time to see how much of a mess I had to clean up. We still wanted to make the mold in one day so I got to it. I took down one side of the box and not much of the traveling plaster showed up. I began to remove the blocks that I would need removed for making the next mold piece. Yep here's some of the escaped plaster. I removed the plaster from the blocks as I removed them. It came off easily. I need to remove enough to make the mold piece that covers the bottom of the mug. There's a lot of plaster here. It too came off easily. I pulled a big piece off that was stuck to the side of the sculpt. It didn't hurt it at all. Now I'm ready to start adding blocks so I can make a large mold piece. I put the blocks in place and then I placed clay wherever it was needed. I even put it on the bottom so that I could prevent leaks from happening there. I did three layers of mold soap on the two mold pieces that this new third piece would touch. I built a damn to stop the plaster from going over the top of the new mold piece. Dan mixed while I added plaster powder to the water in then bucket. When it was like buttermilk and all the lumps were gone he poured it into the mold box. 45 minutes later it was set. I will find more places that the plaster leaked to when I set up for the next two mold pieces. More photos soon. Cheers, Wendy |
|
H

hang10tiki
Posted
posted
on
Sat, Mar 2, 2019 8:15 PM
Wow Cheers Worst sound ever, slurp of an empty tiki mug through my straw!!! [ Edited by: hang10tiki 2019-03-02 20:15 ] |
|
H

Hamo
Posted
posted
on
Sun, Mar 3, 2019 12:07 AM
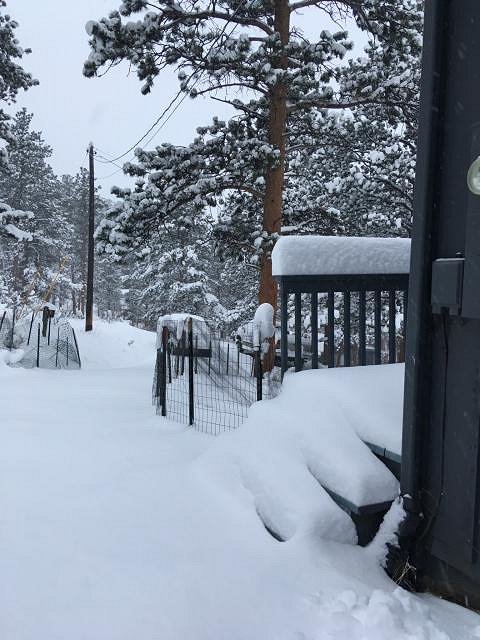
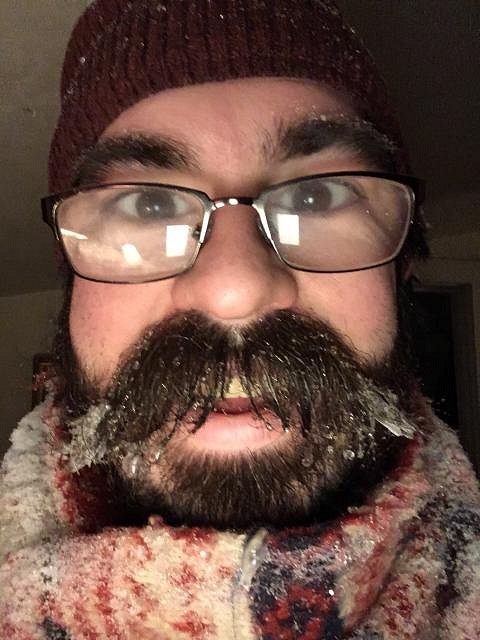
I'm tired just watching. Last week, Hang10 showed us snow in Las Vegas; how about some Colorado snow?
And I was tired and cold after an hour and a half of shoveling.
|
|
D
danlovestikis
Posted
posted
on
Sun, Mar 3, 2019 7:55 PM
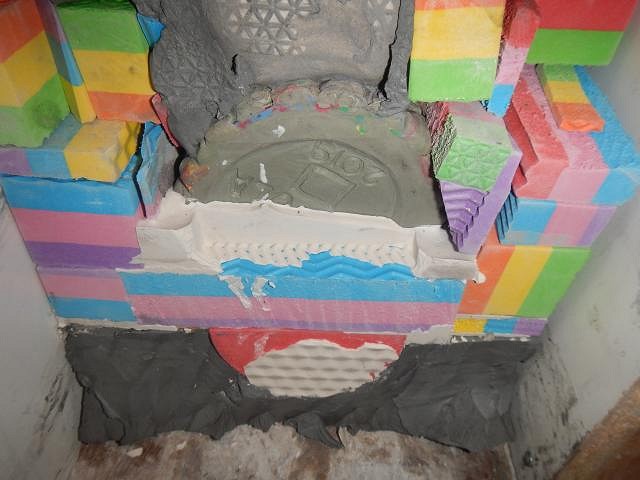
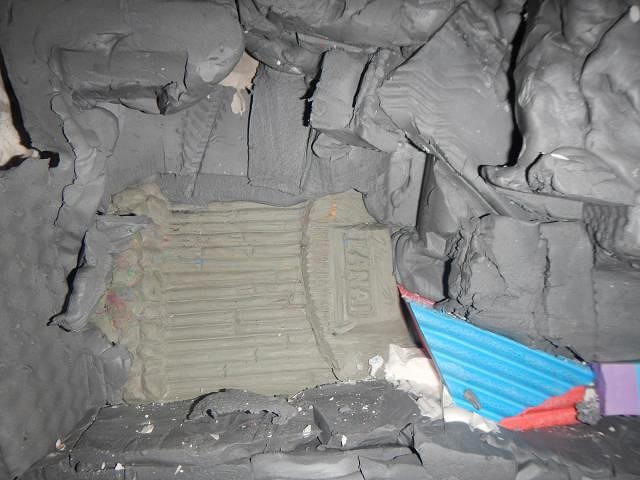
hang10tiki he wakes up when I tell him to get mixing! Hamo now that's a lot of snow. You look frozen. What a fun growth you have there. =============================== SACRAMENTO CRAWL MUG for 2019 step by steps for the mold. When the plaster set for mold piece number three it had some cracking at the top. I just trimmed this off. Nothing to worry about. To prepare for the mold piece number four I took off one side of the mold box. I removed the blocks and cleaned up the plaster from the leak. It went into so many pieces it had fun just running free. In this photo I'm cleaning off the clay so that the next plaster mold piece will touch the others. You can see a very grey mold piece at the top. I looked at the contact area between two of the mold pieces and decided that this would be an area where the mold would leak unless I can tighten it up. To do this I get out a chisel and I make the right angle perfect. This is how good it should look when finished. Then the next mold piece will fill this in and it will be tight. I decided that the locks I put on this mold piece would prevent me from pulling it away from the cast. So I chiseled them off. I built the clay wall where I needed this mold piece to end. I also made a glob of clay where the opening into the mold will go. I did the three layers of mold soap and then I checked it over carefully to make sure all the box seams had clay snakes to prevent leaks. Good to go so we mixed and poured in the plaster. One piece left to go. I bet you can see why no one likes to make molds. Notch did one sculpt that required 32 mold pieces. It was a masterpiece, both the art and the mold. Cheers, Wendy |
|
H

hang10tiki
Posted
posted
on
Sun, Mar 3, 2019 9:17 PM
Hamo- daaaaaaaang Cheers |
|
D
danlovestikis
Posted
posted
on
Mon, Mar 4, 2019 7:31 PM
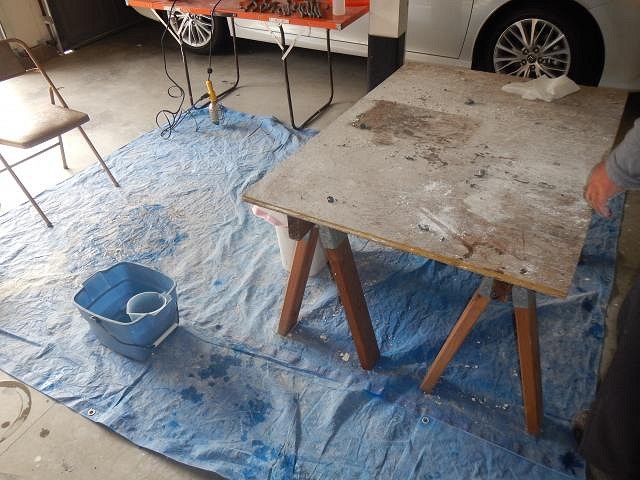
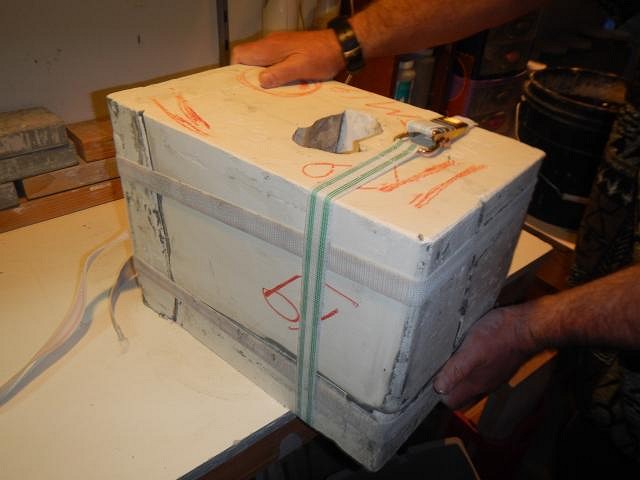
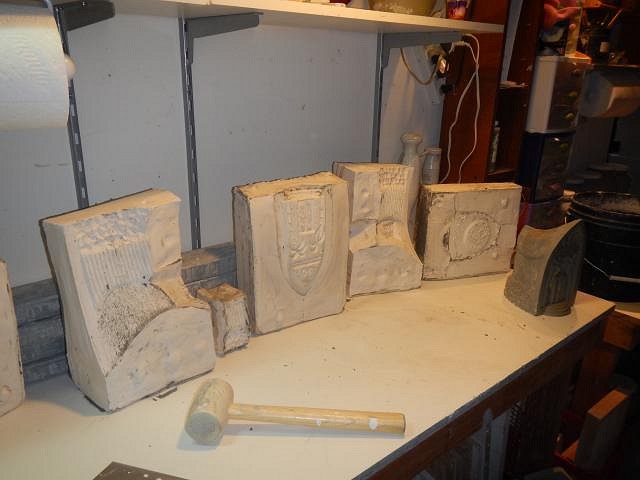
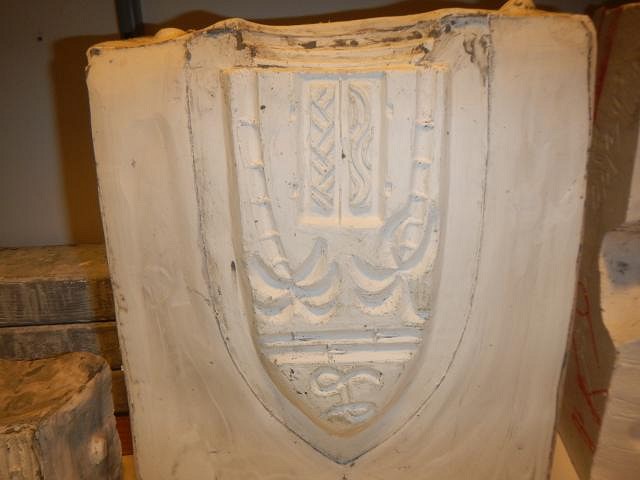
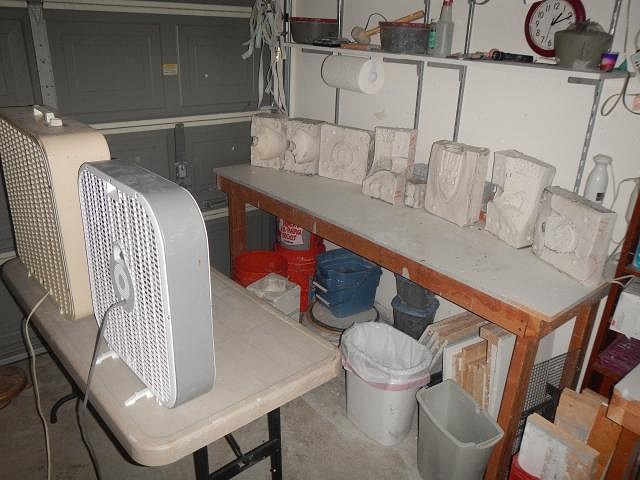
hang10tiki you work work work on carving. You've made a lot of great tiki art. I just checked out your latest entry on the carving thread. Very cool. =========================== SACRAMENTO CRAWL MUG for 2019. The last mold piece is made step by step. I took off the box side where the last mold piece will be poured. I will remove all the blocks, clay and plaster from the leak. That plaster traveled really well. It had a fun trip. Not so fun to clean it up. Before putting the box side on I did the three layers of mold soap. Then the box side went on and I used clay snakes to seal all the places where the box met another box side or a mold piece. We mixed the plaster and Dan poured it in until it reached the very top. Then it took about 45 minutes to set up in the cold garage. It doesn't hurt the mold to leave it like this with the small jutting out but if I ever want to stack another mold on top I'd better make this piece level. So time to rasp. I had Dan do this part while I rested. I eventually dug out the clay so he could rasp across the entry hole for the mold. This is where the slip will pour into the mold. Now all the pieces are level. We began the work to clean up our work space. Dan put straps on the mold to hold it together while he carried it to my table around the corner. Success the mold opened easily and the sculpt came right out. Close up of the most important mold piece. I have a trick to share in the future. Then I put three fans to blow on the mold pieces 24/7. We will rotate the pieces once a day to get the fans blowing on a different side. This speeds it up. We set up the garage for making the mold the night before. Then we started the next morning at 6 am. We finished making this mold at 3 PM. Not bad when you think of the leak taking extra time. Any questions? Wendy |
|
H

hang10tiki
Posted
posted
on
Mon, Mar 4, 2019 8:58 PM
Glad you stopped by the carving area Wow |
|
H

Hamo
Posted
posted
on
Mon, Mar 4, 2019 11:47 PM
I have a question: That looks like another huge mold, so did Dan cancel his gym membership? |
|
D
danlovestikis
Posted
posted
on
Wed, Mar 6, 2019 8:19 PM
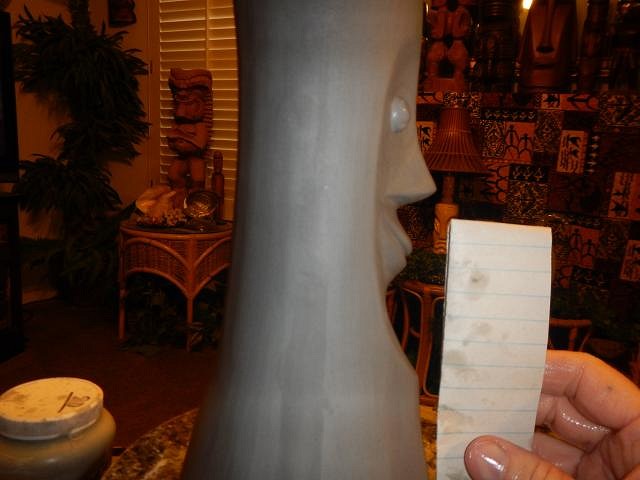
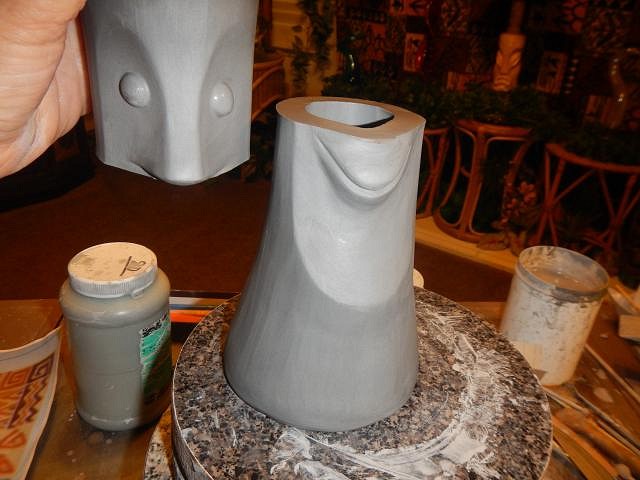
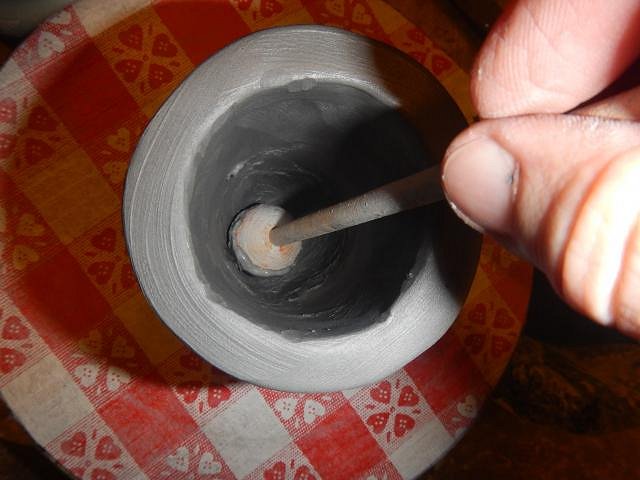
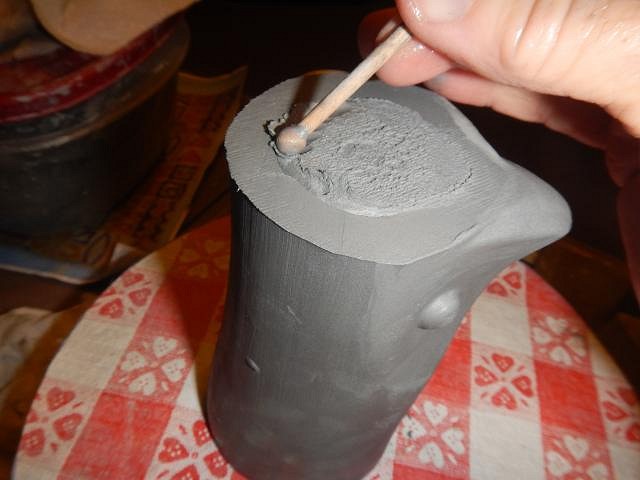
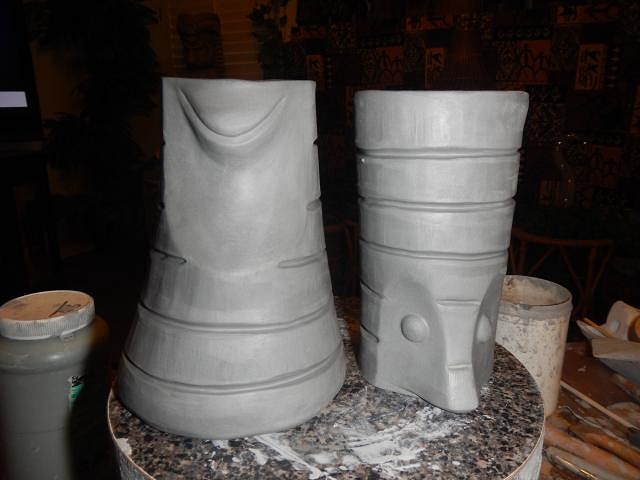
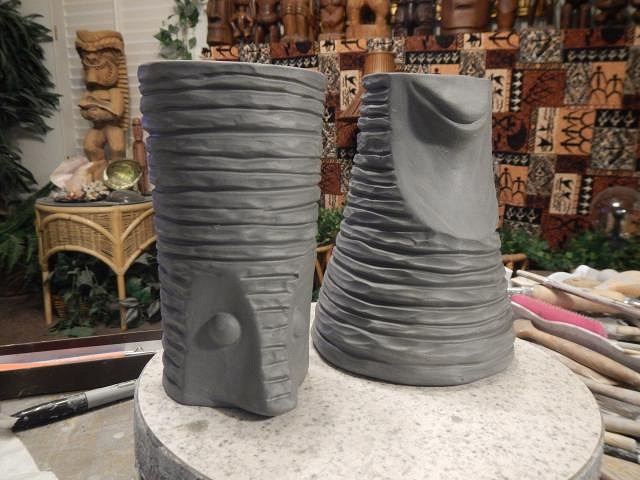
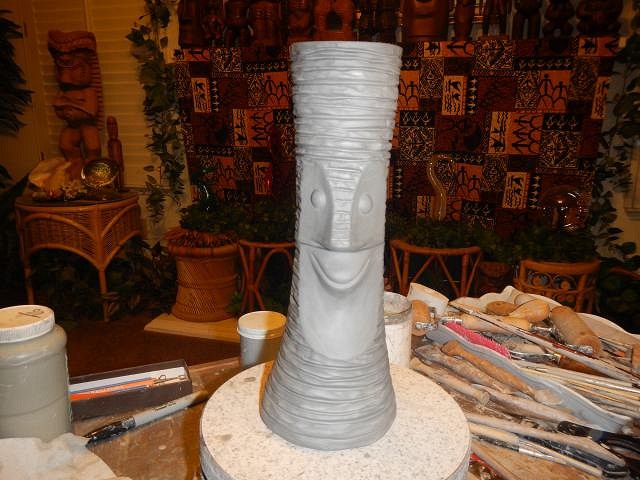
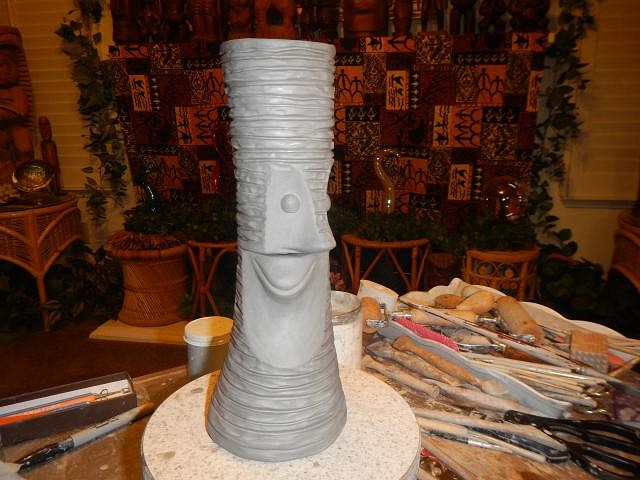
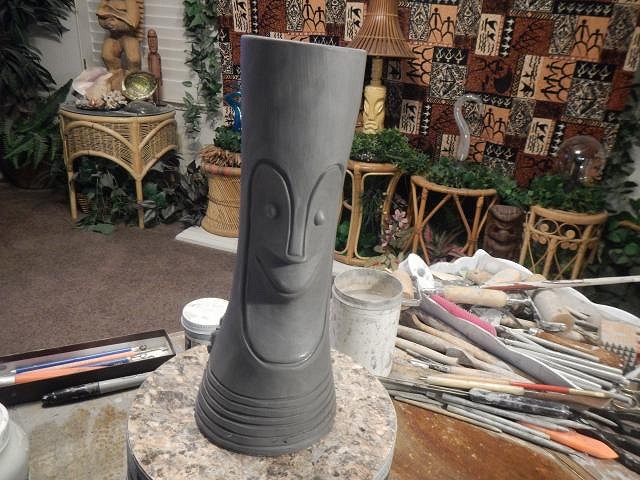
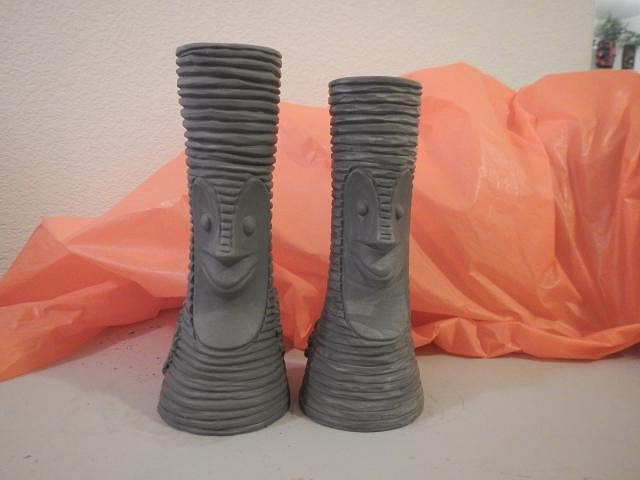
hang10tiki we have a cruise to Alaska this year along with a trip to Maui. But before we do either I must finish all the crawl mugs so that I can relax. Hamo I swear I tried to make it smaller. At least one piece was small. The gym kicked him out for lack of attendance. ================================ Wish List #8 this is the strangest Tiki Bob I have ever made. It is for hang10tiki. I'm wondering if there is a story that goes along with it. If so I hope he shares it. HIs request was for a Tiki Bob cut in half and the top half having a bottom installed so there would be two small mugs. I started by taking a piece of paper and making it the height of the full mug which I had just cleaned up. I folded the paper in half and found that it was perfect to cut the mug just under the nose. I wet a knife and cut the mug. I took the top half and dropped inside of it a ball of clay. I used this round ball tool to smooth the clay on the inside. Then a day later on the outside I smoothed the clay again to remove any separation spaces between the mug and the added clay. First I did the large rings on both halves so that they matched. I counted the cut as a ring. Then I added the classic texture and then I cut in all the additional rings. These are not stacker mugs but I stacked them for fun. Oops must be an earthquake. hang10tiki did I do it right? Wendy |
|
H

Hamo
Posted
posted
on
Wed, Mar 6, 2019 8:36 PM
Way cool. I really like the top half on it's own. It reminds me of Kilroy. "Tiki Bob was here." |
|
H

hang10tiki
Posted
posted
on
Wed, Mar 6, 2019 8:37 PM
WOW
Outstanding Wendy |
|
H
HopeChest
Posted
posted
on
Thu, Mar 7, 2019 10:15 AM
That's a clever idea - that would be a really cool "stash mug". |
|
H

hang10tiki
Posted
posted
on
Thu, Mar 7, 2019 2:27 PM
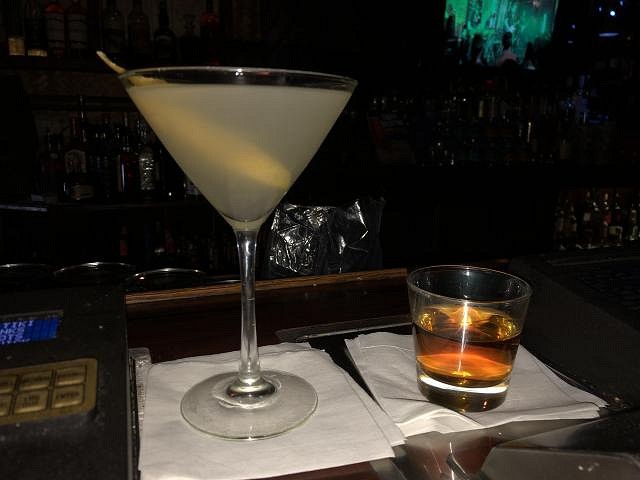
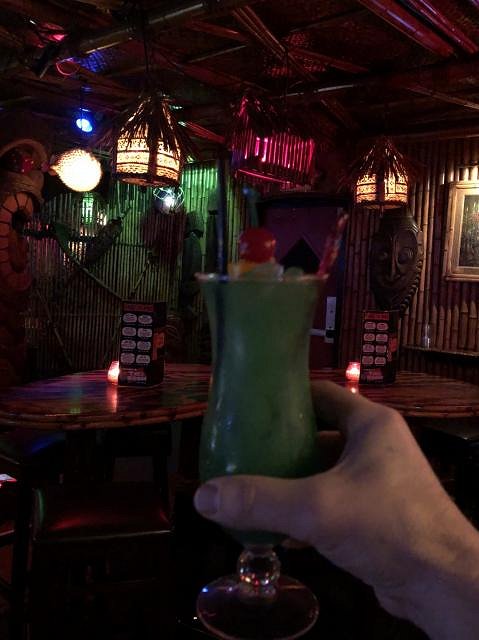
HopeChest: :) Hemingway daiquiri for me
Well well well
Worst sound ever, slurp of an empty tiki mug through my straw!!! [ Edited by: hang10tiki 2019-03-07 14:29 ] |
|
D
danlovestikis
Posted
posted
on
Thu, Mar 7, 2019 7:06 PM
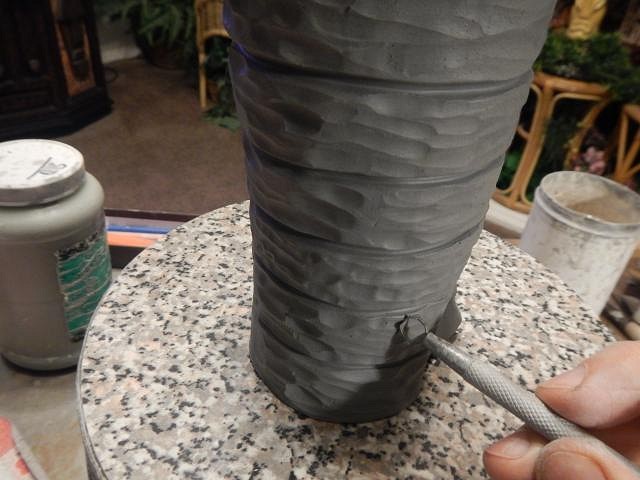
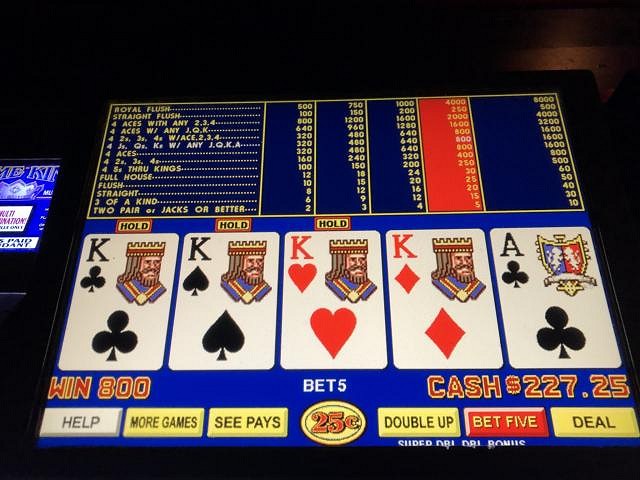
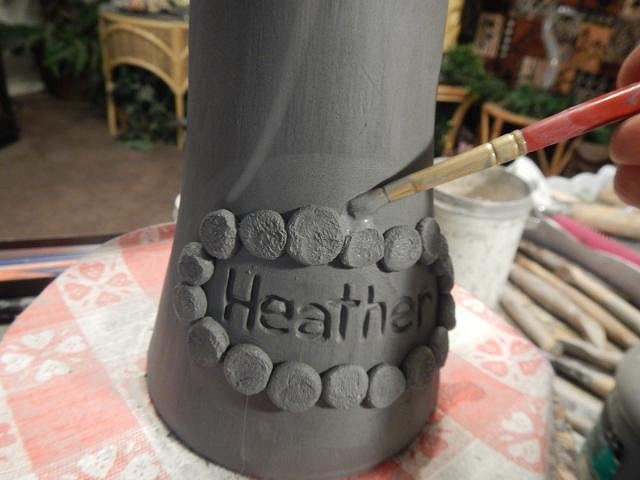
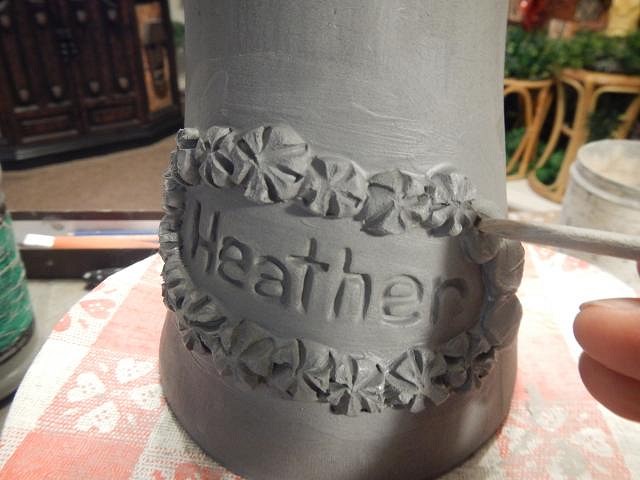
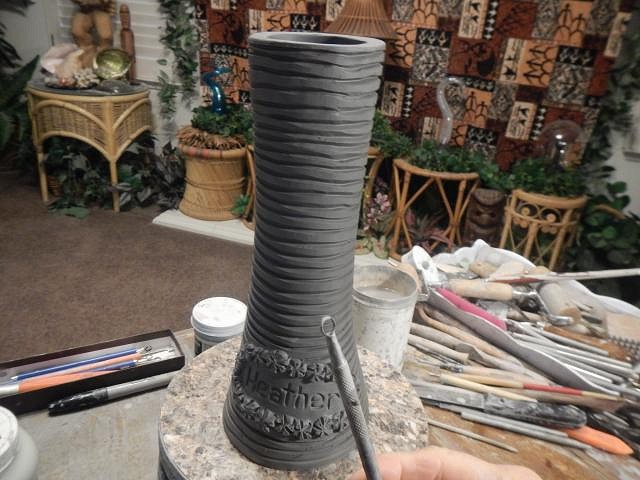
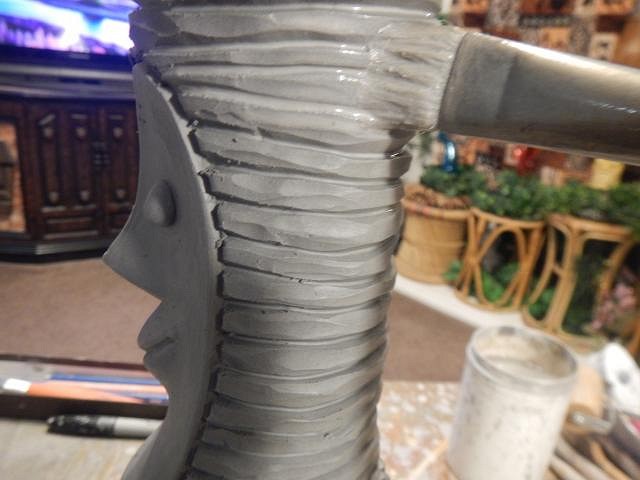
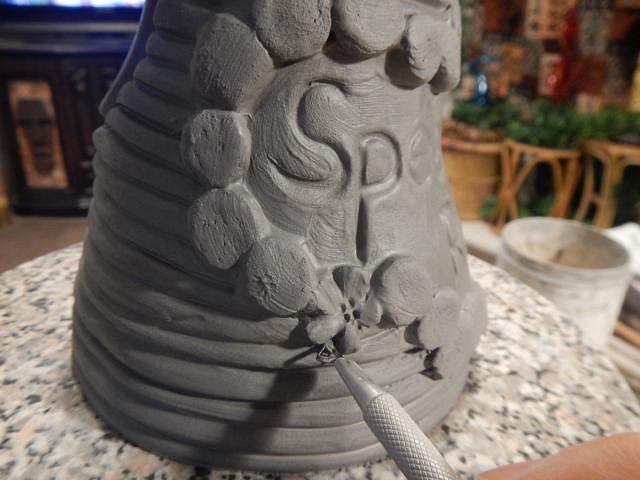
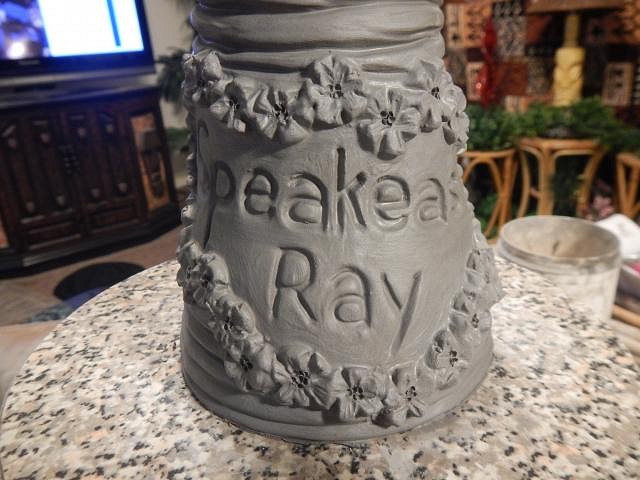
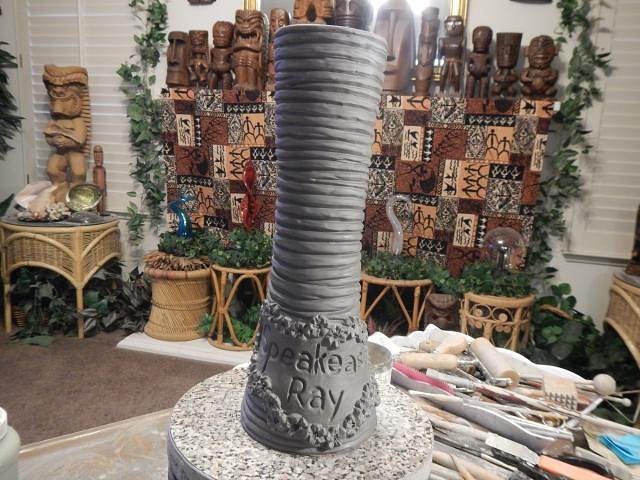
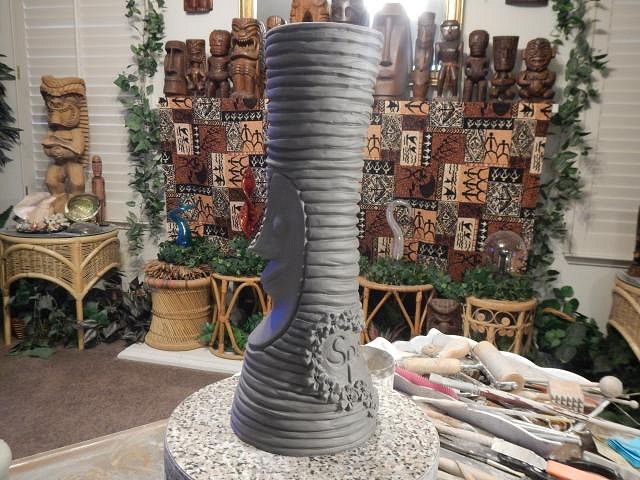
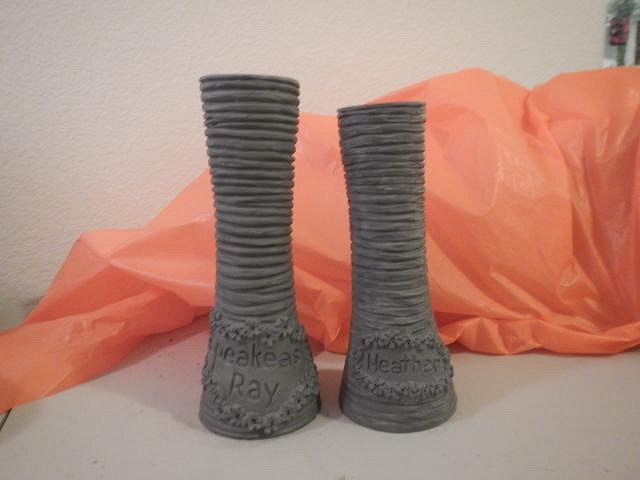
Hammo it was fun to see Kilroy. I hadn't thought of him in decades. hang10tiki you made my day. I've never gotten such a wonderful response before. So cute with you in some of the photos. Congratulations on your big win. I will enjoy taking money from you someday when your projects are completed. That's fun for me. Hope Chest you are up next. I hope to see hang10tiki with half of each mug on a side of his hand or head. hang10tiki did you read that? Don't forget. Wish List #8. This project was done for Hope Chest. One mug for his wife and one for him. I started by carving in her name on the back of a Tiki Bob mug. Next I rolled small balls of clay and pressed them in place around her name. Next I painted slip around each flower to make sure they were sealed to the mug. Then I began to carve each flower and after that I started on the rings. I added texture with this tool and then I "sanded" it with a wet brush. When her mug was finished I started work on his Speakeasy Ray mug. First were the steps for the flowers. There were a lot of flowers because the name was so long.
Her mug had been drying for a few days before I got to his so the actual variation in size will not be this much.
All done, please check my spelling. You may let me know if I got it right here or by PM. Thank you for letting me make these mugs, Wendy [ Edited by: danlovestikis 2019-03-07 19:27 ] |
|
H

hang10tiki
Posted
posted
on
Thu, Mar 7, 2019 8:49 PM
:) Those are some big good lookin Bob’s |
|
H

Hamo
Posted
posted
on
Thu, Mar 7, 2019 11:27 PM
Dang, H10; I really need a trip to Vegas to fund my Wendy bowl.... |
|
H
HopeChest
Posted
posted
on
Fri, Mar 8, 2019 9:38 AM
They're PERFECT!!!!!!!!!!!!!!! Man...I wanted this to be a surprise for the missus for our 20th anniversary but now I'm dying to show her this. |
|
D
danlovestikis
Posted
posted
on
Fri, Mar 8, 2019 7:55 PM
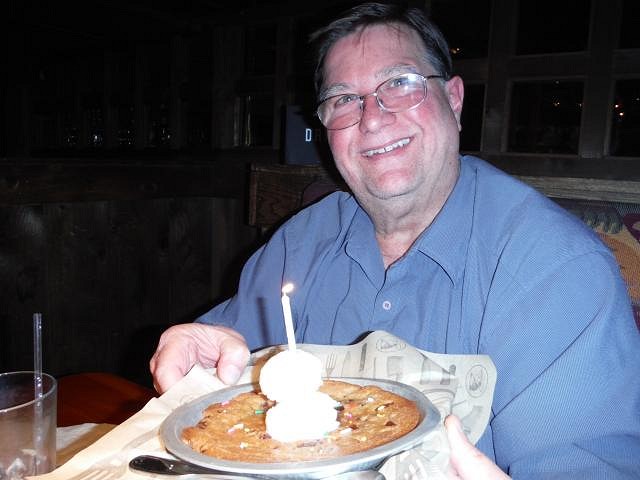
hang10tiki in Elvis's best voice, "thank ya very much". Hamo I won $400 there decades ago. We were standing in a line for a buffet for 45 minutes and I stepped out of line and put in a quarter and got 6 of 7 keno numbers. A lady standing there said if you had put in 3 quarters you would have won $25,000. I said if I'd put in 3 quarters the computer would have made me lose the three of them. I'm happy enough. Finally we got into the buffet at the Rio. There are so many good buffets that now the lines are short. HopeChest when it that date? I'm so glad you like them. It's always scary posting. =============================== This whole month we are celebrating Dan's birthday. He gets to pick what he wants to do each day. Here are some photos of what we have done so far. Dan doesn't like ice cream so I really enjoy his birthdays.
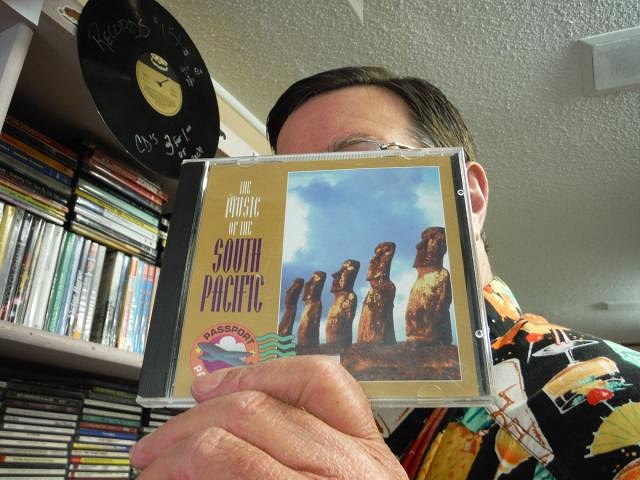
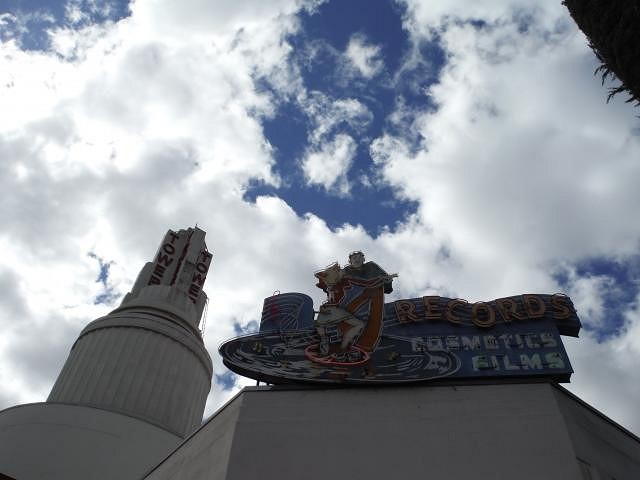
Each day he's wanted to go out to lunch and then to thrift stores looking for $1 records and CD's which he got 3 for a $1 today. I work on the Wish List and Crawl mugs each morning and evening. In the middle of the day we are having fun. We will do it all again tomorrow. Cheers, Wendy |
|
H

hang10tiki
Posted
posted
on
Fri, Mar 8, 2019 8:19 PM
Ok
Tell dan-0 He had better contact the other 6 million people he sent cards to |
|
H

hang10tiki
Posted
posted
on
Sat, Mar 9, 2019 6:42 AM
Happy BDAY Dan-0 |
|
D
danlovestikis
Posted
posted
on
Sat, Mar 9, 2019 8:14 PM
hang10tiki Dan's says, with a big smile, thank you for the wishes and sorry he didn't sign the card which makes it null and void! ================== I've actually finished more projects but I'm beat and heading to bed at 8:15 PM. Wendy |
|
H

hang10tiki
Posted
posted
on
Sun, Mar 10, 2019 6:47 AM
:) Rest up |
|
H

Hamo
Posted
posted
on
Sun, Mar 10, 2019 4:51 PM
Happy birthday, Dan! |
Pages: 1 2 3 4 5 6 7 8 9 10 11 12 13 14 15 16 17 18 19 20 21 22 23 24 25 26 27 28 29 30 31 32 33 34 35 36 37 38 39 40 41 42 43 44 45 46 47 48 49 50 51 52 53 54 55 56 57 58 59 60 61 62 63 64 65 66 67 68 69 70 71 72 73 74 75 76 77 78 79 80 81 82 83 84 85 86 87 88 89 90 91 92 93 94 95 96 97 98 99 100 101 102 103 104 105 106 107 108 109 110 111 112 113 114 115 116 117 118 119 120 121 122 123 124 125 126 127 128 129 130 131 132 133 134 135 136 137 138 139 140 141 142 143 144 145 146 147 148 149 150 151 152 153 154 155 156 157 158 159 160 161 162 163 164 165 166 167 168 169 170 171 172 173 174 175 176 177 178 179 180 181 182 183 184 185 186 187 188 189 190 191 192 193 194 195 196 197 198 199 200 201 202 203 204 205 206 207 208 209 210 211 212 213 214 215 216 217 218 219 220 221 222 223 224 225 226 227 228 229 230 231 232 233 11140 replies

