Pages: 1 2 3 4 5 6 7 8 9 10 11 12 13 14 15 16 17 18 19 20 21 22 23 24 25 26 27 28 29 30 31 32 33 34 35 36 37 38 39 40 41 42 43 44 45 46 47 48 49 50 51 52 53 54 55 56 57 58 59 60 61 62 63 64 65 66 67 68 69 70 71 72 73 74 75 76 77 78 79 80 81 82 83 84 85 86 87 88 89 90 91 92 93 94 95 96 97 98 99 100 101 102 103 104 105 106 107 108 109 110 111 112 113 114 115 116 117 118 119 120 121 122 123 124 125 126 127 128 129 130 131 132 133 134 135 136 137 138 139 140 141 142 143 144 145 146 147 148 149 150 151 152 153 154 155 156 157 158 159 160 161 162 163 164 165 166 167 168 169 170 171 172 173 174 175 176 177 178 179 180 181 182 183 184 185 186 187 188 189 190 191 192 193 194 195 196 197 198 199 200 201 202 203 204 205 206 207 208 209 210 211 212 213 214 215 216 217 218 219 220 221 222 223 224 225 226 227 228 229 230 231 232 233 11,140 replies
|
M
MauiTiki
Posted
posted
on
Thu, Apr 14, 2011 9:04 PM
AWESOME!!!!, Wendy you are amazing. I love customizing the mugs too. That has become my favorite part. Keep up the good work. Beachbumz and I are glazing tonight! Working on your bowl too! |
|
E
ebtiki
Posted
posted
on
Thu, Apr 14, 2011 9:25 PM
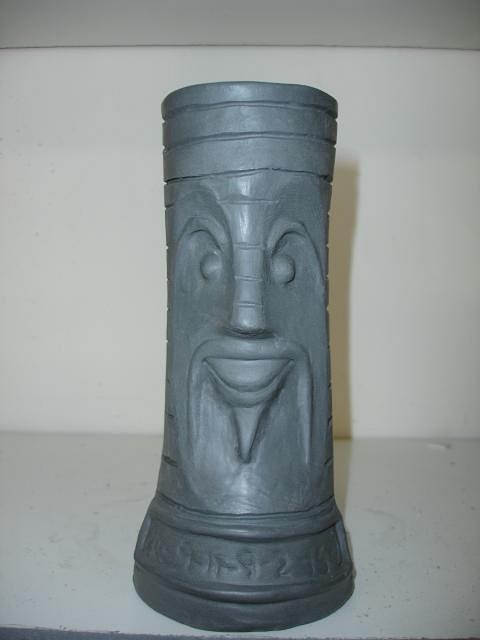
Think you typed the code wrong ... replace the 0 with 9. |
|
D
danlovestikis
Posted
posted
on
Fri, Apr 15, 2011 9:07 AM
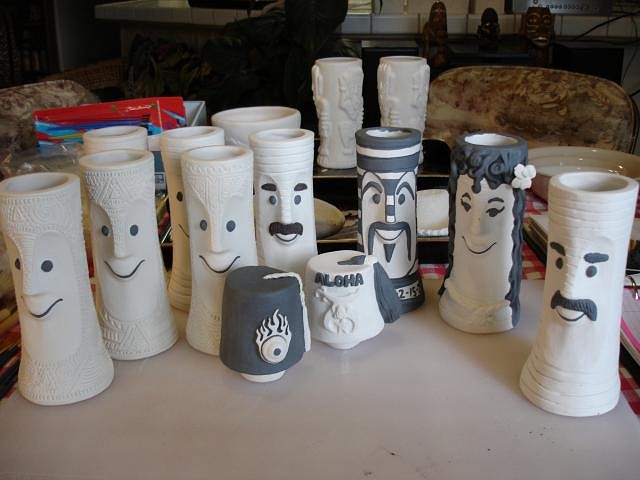
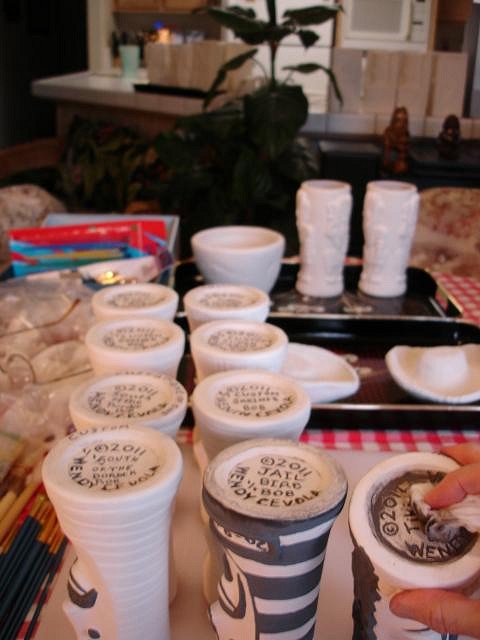
Thank you McTiki, I'm not sure you can tell there is a flower in her hair but it will show up when she is painted. MDM yes give Grog the hug and have a photo taken. Have a terrific time, maybe next time we will be there. MauiTiki, I am so excited to have the bowl in the works. ebtiki, I can't believe I messed up Mr. FMC's induction number. It's good to know you solved it we must have had similar childhoods! I have fixed it. Thank you guys, its good to hear from you, Wendy |
|
T
TikiKIrby
Posted
posted
on
Fri, Apr 15, 2011 9:35 AM
Wow, I love seeing the evolution of the Bob... Very nice. |
|
D
danlovestikis
Posted
posted
on
Fri, Apr 15, 2011 1:31 PM
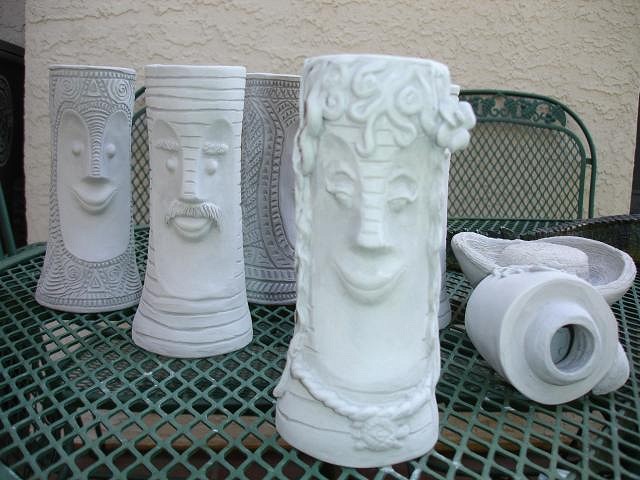
Hi Kirby, thank you for your note. I'm going out now to finish the Bob's off. I think they are dry and I can bisque.fire tonight. I was just asked how to make a mug and this is what I wrote. Did I miss anything? Hi Andrew, I think I may be able to bisque fire the mugs tonight. I have a thread that shows the making of a mug from beginning to end except for the mold. Here is the link. http://www.tikicentral.com/viewtopic.php?topic=36468&forum=17&445 So here's a list of steps for a mug that is made more than once. Design your mug. It's not an easy process I just retired from my career in Nuclear Medicine and I'm doing the art for enjoyment. Let me know if I can help with any other questions. I think I'll post this note on my thread. Cheers, Wendy [ Edited by: danlovestikis 2011-04-15 14:48 ] |
|
T
TikiKIrby
Posted
posted
on
Fri, Apr 15, 2011 2:36 PM
Your instructions made me smile. They remind me of those how to draw ____ books. They list the steps 1) Draw a circle for the head, add center line and eye line 2) draw mouth nose and eyes 3) add details... :D I've been told a fan works best to dry a mold ( It's good to elevate the mold to allow air to circulate all sides), apparently heat will degrade the structure of the mold (It won't last as long)... Who knows how much we would notice this, but I thought I'd pass that info on... |
|
D
danlovestikis
Posted
posted
on
Fri, Apr 15, 2011 2:46 PM
Thank Kirby. Good to know luckily I've just used fans. However I did put my new molds in the kiln shed where tonight it will get to around 80 degrees. I want to pour one of the Tiki Bob Decanters to see if all of our hard work paid off but the molds are still wet. I'm hoping this will dry them out. They are sitting on 2 x 4's for circulation. Wendy |
|
D
danlovestikis
Posted
posted
on
Fri, Apr 15, 2011 9:33 PM
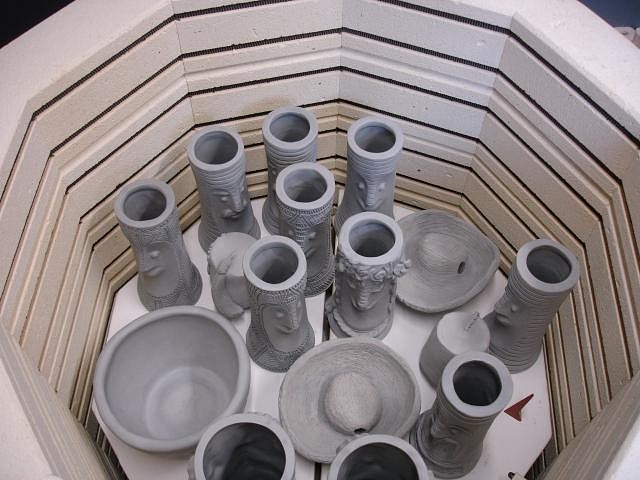
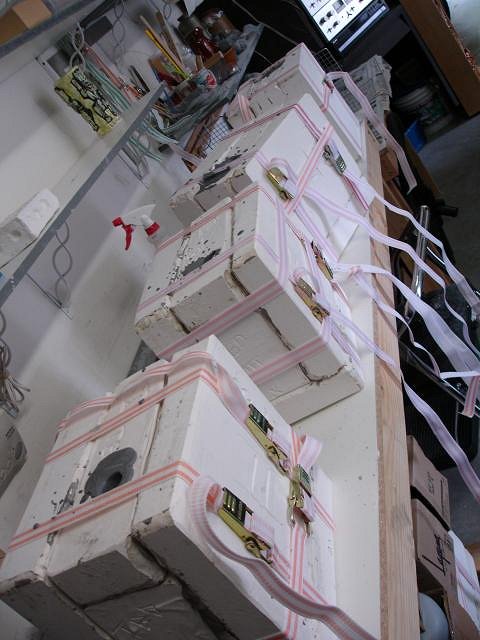
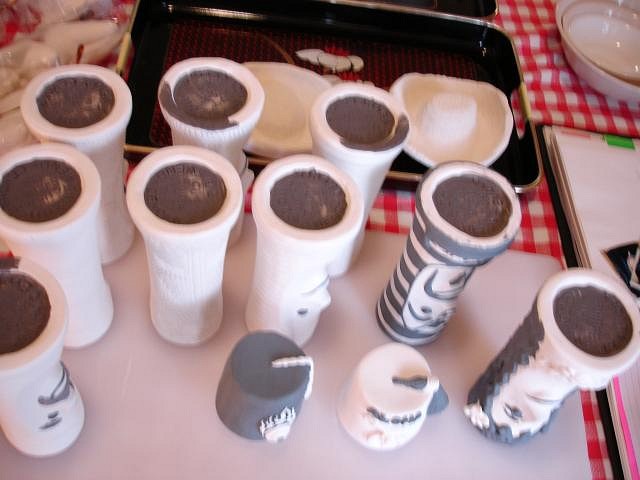
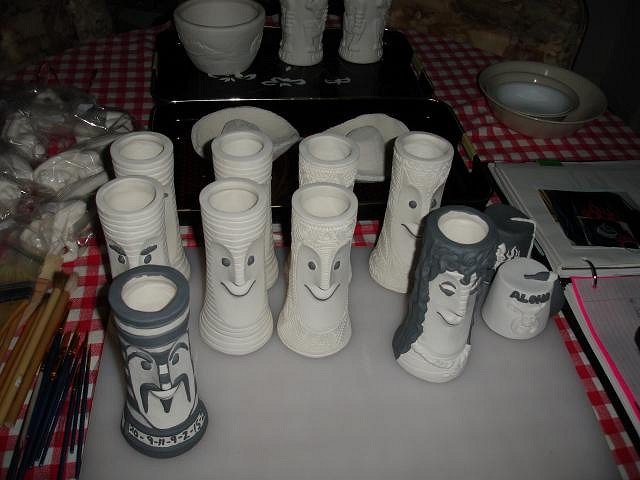
Attention to all the people who have Tiki Bob orders with me. They are firing now and will be out of the kiln on Sunday. I will start glazing them then and I'll keep posting progress photos. Thank you for your patience it's never a fast process. Cheers, Wendy Waiting their turns with the air compressor. Loaded and ready to fire. |
|
Z

ZeroTiki
Posted
posted
on
Sat, Apr 16, 2011 10:37 AM
It is so great that you not only crank out exceptional work, but help the rest of us understand the process, so that we may try to do the same... |
|
D
danlovestikis
Posted
posted
on
Mon, Apr 18, 2011 7:50 AM
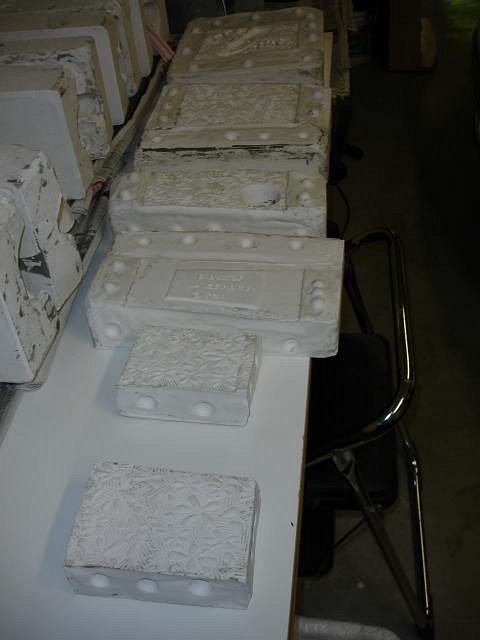
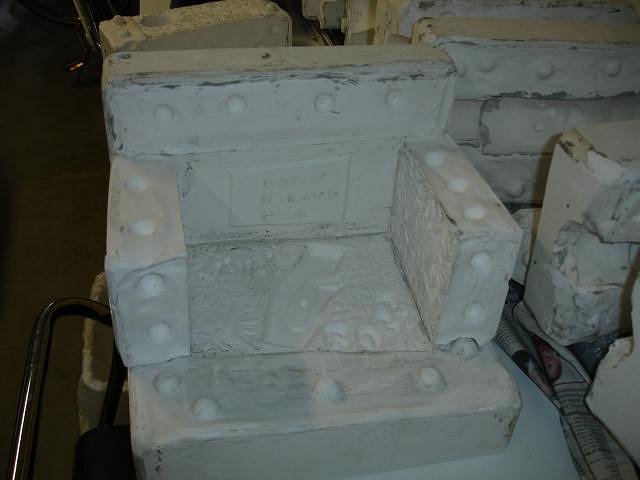
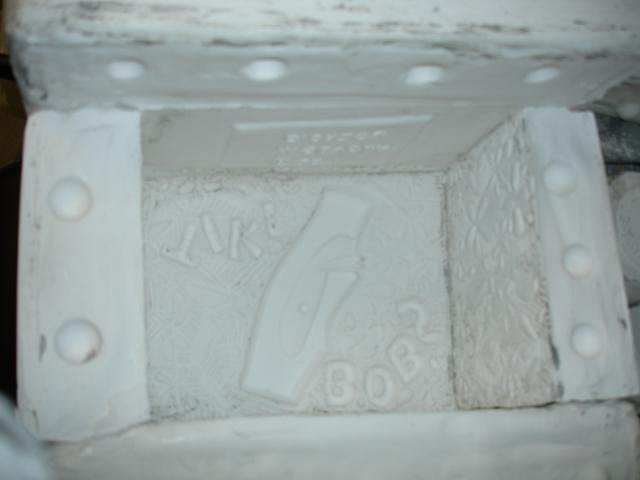
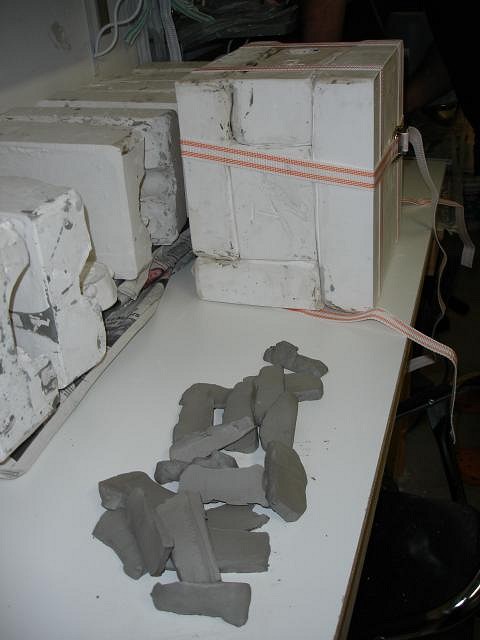
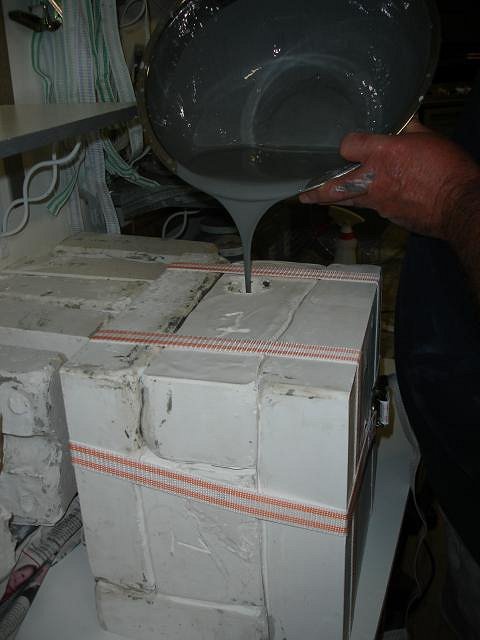
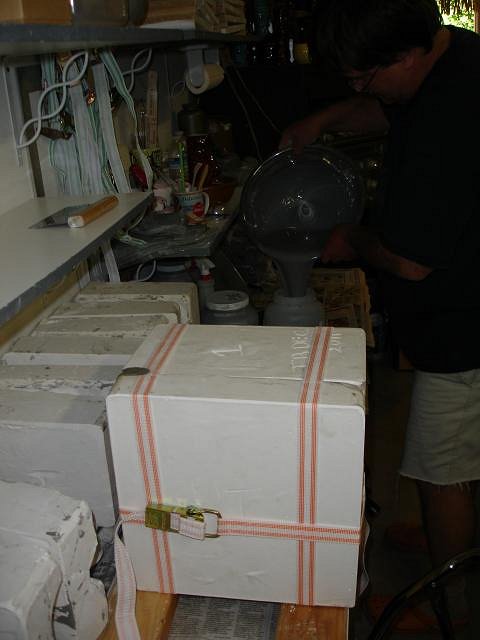
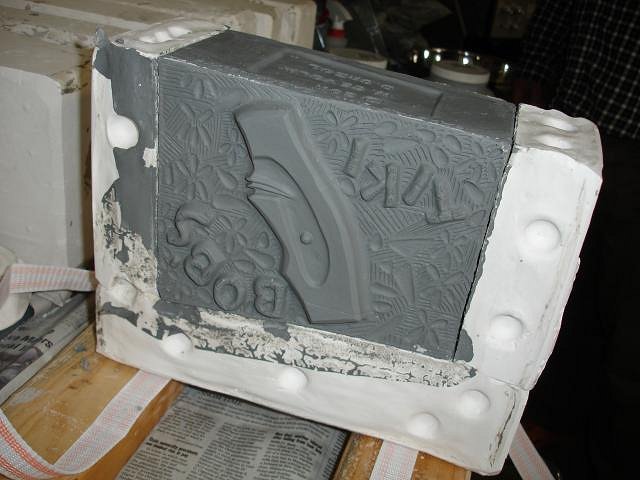
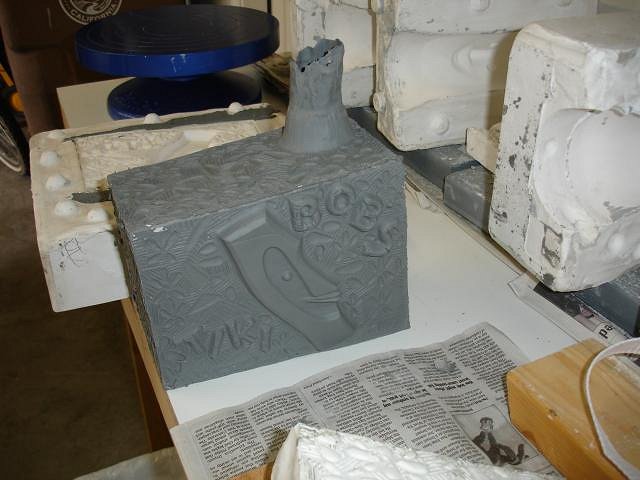
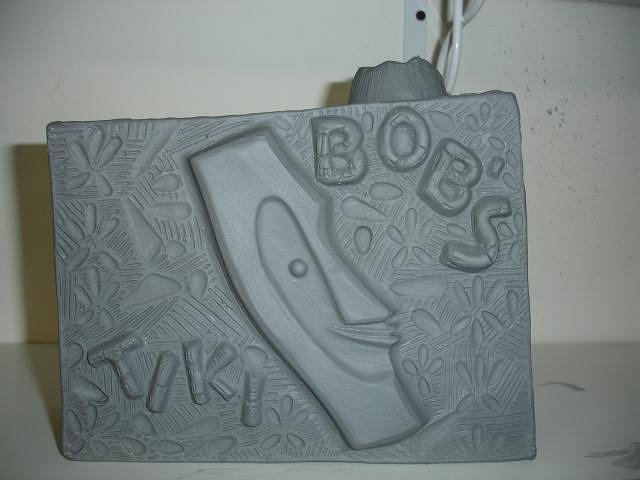
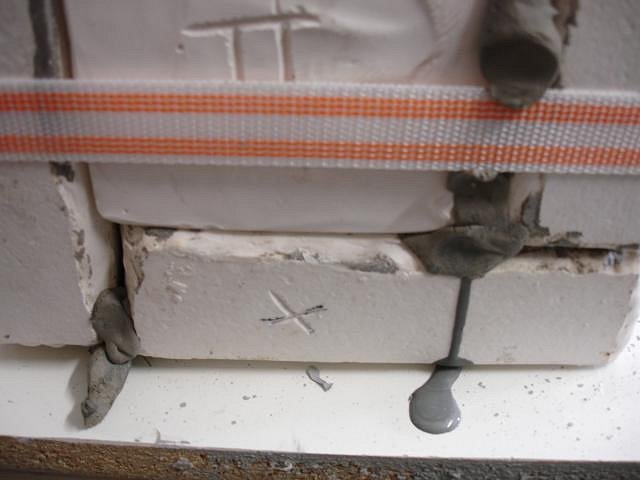
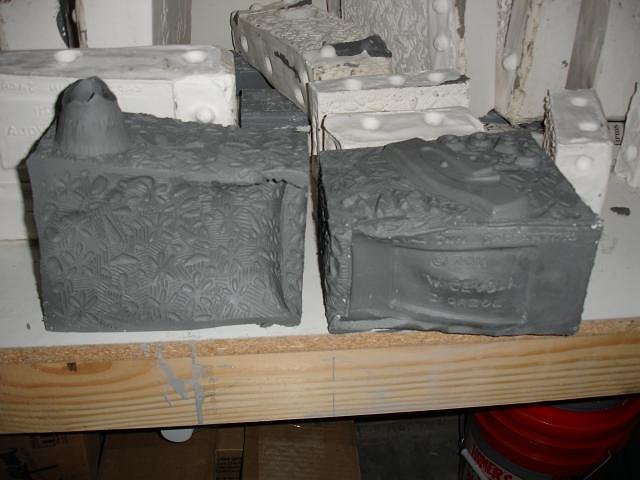
Yesterday we put mold number 1 together and poured in the slip. It had one tiny leak that I plugged with clay. This afternoon I'll see if I can open the mold. It was a puzzle that I had to figure out. Step by step to put it together. Six pieces all together, I had lots of clay ready for leaks and only needed one small piece. Dan poured in the slip. We let this one sit for one hour before pouring out the slip. Upside down it will sit until opened. The Sacramento Crawl is less than 6 months away. The sign up list for this decanter is on page 27. Thanks everyone, Wendy |
|
D
danlovestikis
Posted
posted
on
Mon, Apr 18, 2011 7:58 AM
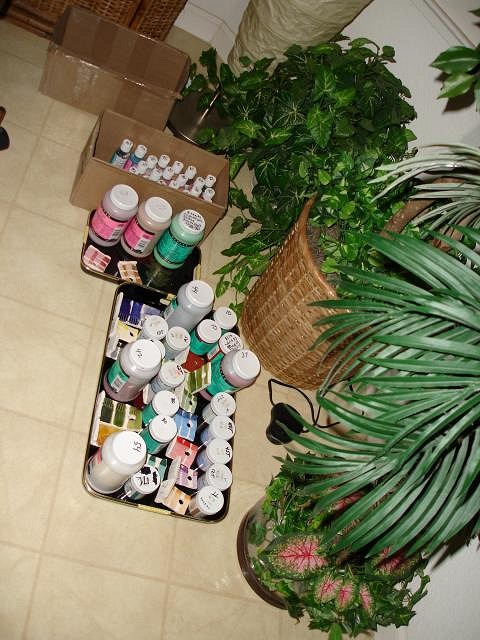
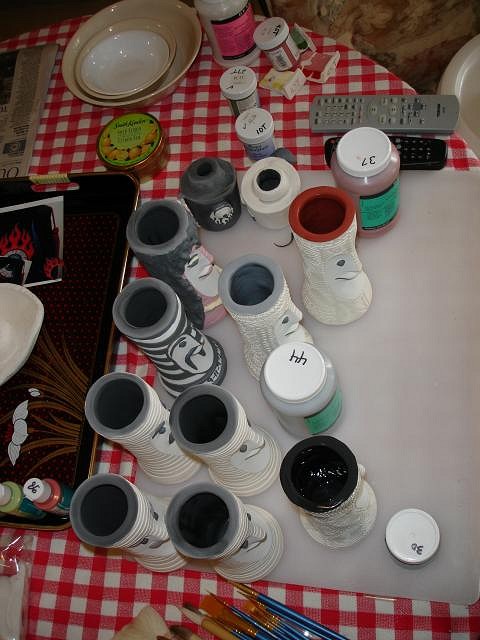
Thank you ZeroTiki. It is really fun to share and if I forget a step I can check it out here. I opened the kiln yesterday and took out all the art and hosed it off. It sat indoors all night drying. Today I will start to glaze all of the Bobs. Three layers of each color. Even though the Forbidden Island party is this Thursday and we'll be there with the Tiki Crate mug/statue my goal is to finish all the glazing by next Monday. I'll keep you posted. Wendy All the glazes that it takes to do these. The room is set up and ready to go. |
|
T
Tobor64
Posted
posted
on
Mon, Apr 18, 2011 8:16 AM
My gosh, Wendy, where do you find the energy to do all of this? Please don't forget to breath every once and awhile! |
|
D
danlovestikis
Posted
posted
on
Tue, Apr 19, 2011 4:16 PM
Hey Torbor64, I'm trying to be Kinny. What's sleep? IMPORTANT MESSAGE FOR MOLD MAKERS. The first pour with mold number one. Success!
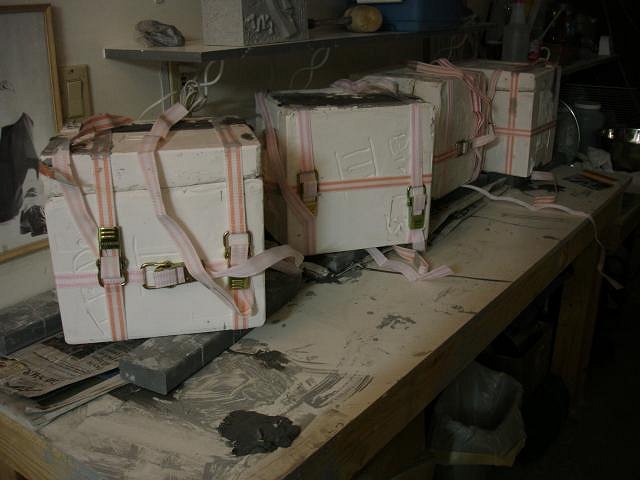
Today pouring all four and again only small leaks. I hope they look as good as the first when I take them out.
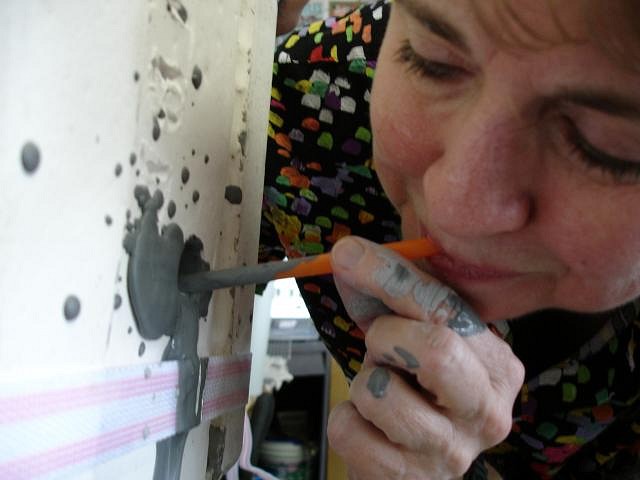
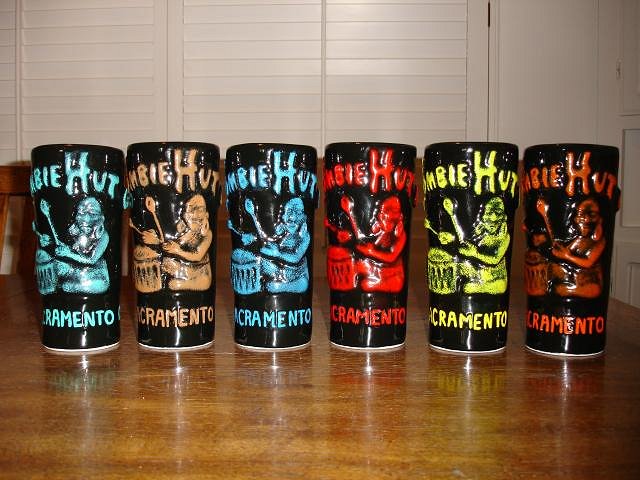
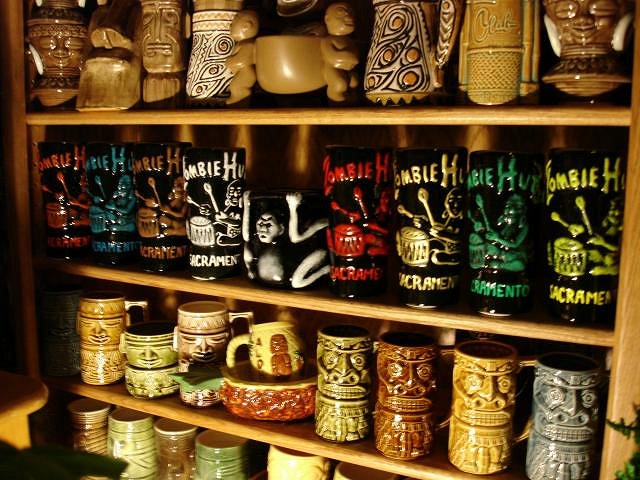
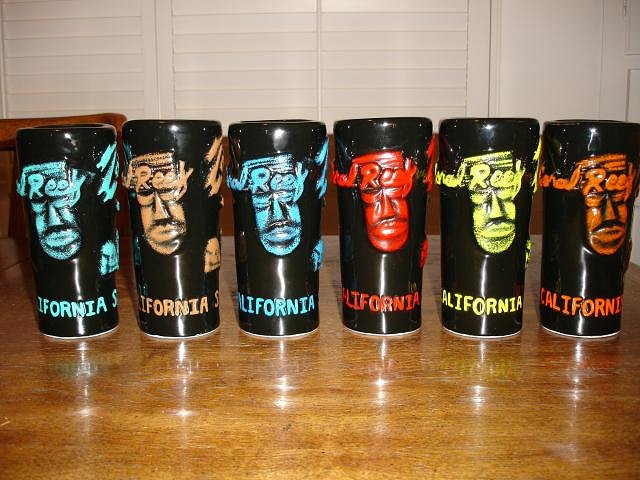
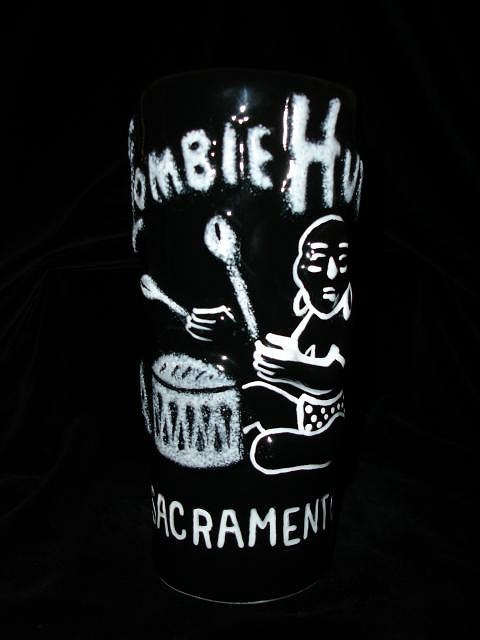
When I made the openings for the decanter it is small. I didn't want the glug glug factor to cave in the walls so I used an engineering technique. Fill it in with air as the slip pours out. Dan tipped the mold and I use a straw to introduce the air. I hope it worked. I wanted to make some of my Zombie Hut/ Coral Reef mugs for eBay. I made them but as soon as they were done Dan bought them! Here's what they look like.
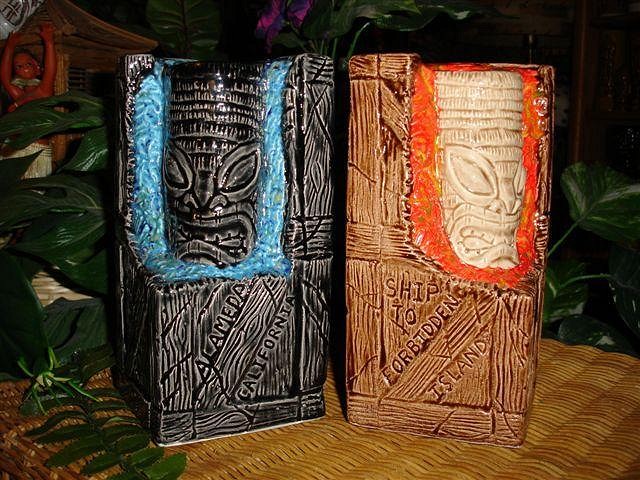
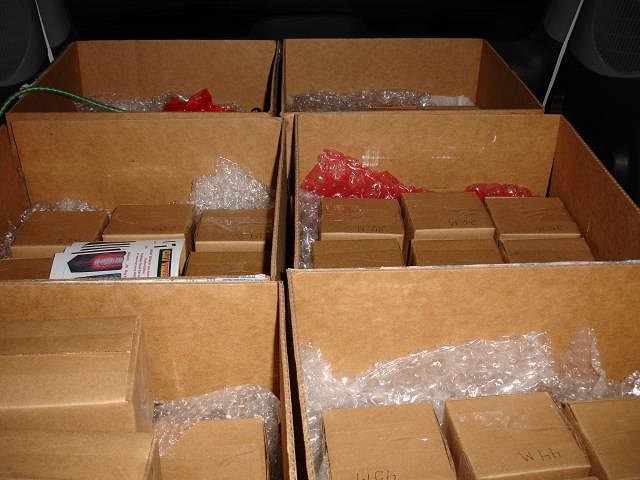
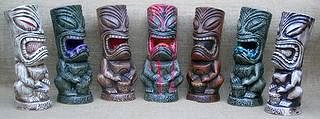
It took me 7 months to make the Tiki Crate mugs and statues for Forbidden Island. Well the party is finally here. I'll be at FI on Thursday I am very excited. Please say hi. If you would like an artist proof or glaze test of these just send me a PM and I'll put you on the list. They will be different from these colors. Some are even hand painted to add detail. The car is loaded and ready to go. Oh good it's only 4:20 I have lots of hours left to paint on the Bob's. Yesterday I finished all three coats of the black. Tonight I will start on the white face, 3 coats white and one coat clear. Torbor64 I will sleep well tonight!
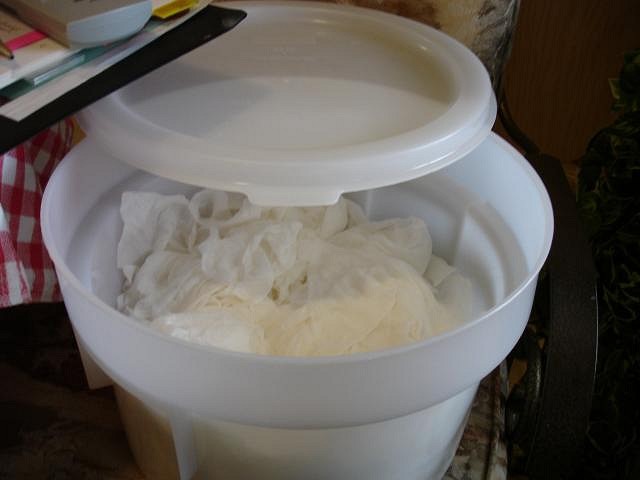
I make a whole tub of wet paper towels. I use them to keep surfaces clean or to wipe glaze off the mugs when I make an error.
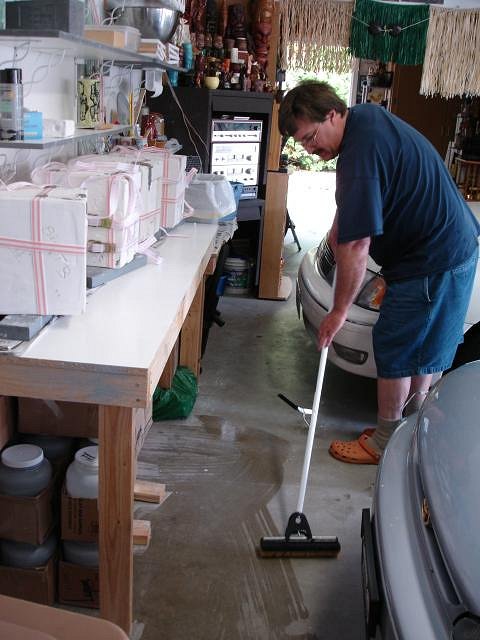
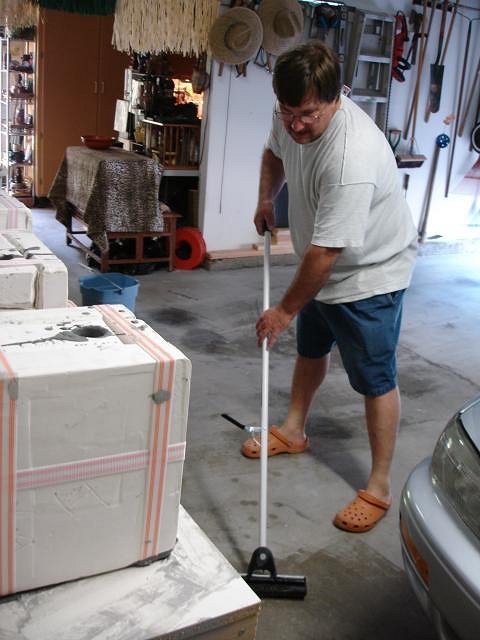
Lots of steps. I keep a TV on for company and just enjoy the time I spend with Bob. Dan's not jealous he's too busy mopping! [ Edited by: danlovestikis 2011-04-21 08:20 ] |
|
A
alohashirtbob
Posted
posted
on
Wed, Apr 20, 2011 9:29 AM
Can't wait to see the finished product! |
|
Z

ZeroTiki
Posted
posted
on
Wed, Apr 20, 2011 3:59 PM
Your work is beautifully done, Wendy. That pretty much encompasses it right there for me. |
|
D
danlovestikis
Posted
posted
on
Wed, Apr 20, 2011 4:34 PM
Hi Alohashirtbob, well I just came in from opening those molds and not one worked. Even blowing in with the straw did not prevent the collapse. So we will have to make the opening bigger. That can be done so we will do it. We are still in the learning stage for mold making. We will make it work. I dropped one of the huge pieces off the table on caught it with my shin and foot. It didn't break but I have my leg up with ice to keep the swelling down. Wouldn't you know I'd do that the day before the big party at Forbidden Island. Oh well it makes a good story when they see me limp. Zerotiki you are just plane sweet and so is your painting on the map. Back after the party. |
|
S
SeaDawg
Posted
posted
on
Wed, Apr 20, 2011 6:53 PM
Just a wild guess that his number stands for "Tiki Bob". Just a wild guess... |
|
M
MadDogMike
Posted
posted
on
Wed, Apr 20, 2011 8:59 PM
Jail Bob :lol: Sorry about the setbacks Wendy (and the sore leg), but I have NO DOUBT that you will make it work - you are so resourceful! Party hard at FI, you've earned it! |
|
D
danlovestikis
Posted
posted
on
Wed, Apr 20, 2011 9:35 PM
SeaDawg, you are right. You are still a kid at heart. I put your name on the list. When I first posted it I had a typo and ebtiki let me know I needed to change a 0 to a 9. You and he were the only two who came to me with the answer. Thank you for playing along. MDM, ice worked a miracle and I'm fine. I wouldn't be wearing a dress anyway so all the signs of being attacked by a mold are fine. When we come back from FI we will drill the openings as big as we can. I wanted more photos of your Mohave Bar project. That whole area with Kinny's roof was so terrific. You were part of a very special place, congratulations on a huge success. How was it sleeping in the tent? All four looked like these. I'm just glad that we know what caused it and what we need to do to fix it. Wendy [ Edited by: danlovestikis 2011-04-21 08:23 ] |
|
E
ebtiki
Posted
posted
on
Wed, Apr 20, 2011 11:51 PM
Holy Zombie Huts, I see what you meant - they do look amazing! It looks like #50 is a blue one ... |
|
D
danlovestikis
Posted
posted
on
Sat, Apr 23, 2011 6:56 PM
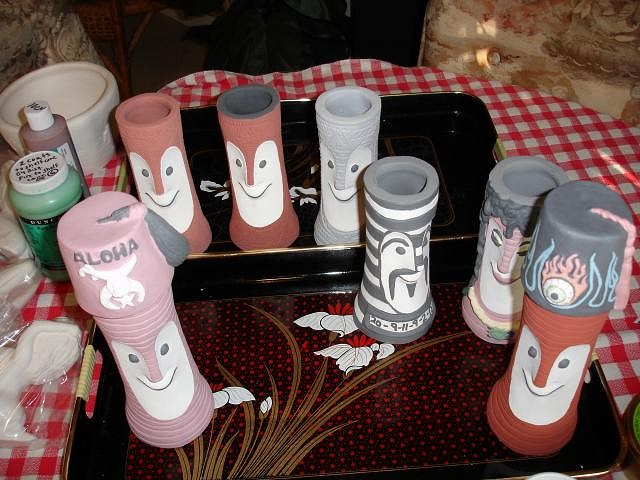
Today I got up early at 7 am and started to glaze. I did the third white coat on all the faces and then touched up all the black and brown eyes etc. Then I glazed all of the insides of the mugs and hats. Then I started on all of the colored parts of the outside of the mugs and hats. By 6 pm I had one coat of color and every one of them. Tomorrow I will only have part of the day to paint but I'm getting there. Cheers, Wendy
I have posted photos on the event page for the Forbidden Island 5th anniversary party and the sale of my Tiki Crate mugs and statues. That was one fun party. I have some statues left if you are not on my list on page 7 and want to be added send me a PM and I'll add you. I've just started with Swizzle. Wendy |
|
E
ebtiki
Posted
posted
on
Sat, Apr 23, 2011 7:06 PM
To quote Gary Larson, from my favorite Far Side cartoon, "She's lookin' good, Vern!" |
|
B
Beachbumz
Posted
posted
on
Sat, Apr 23, 2011 7:14 PM
There all looking great Wendy! Congrats on the Anniversary party at F.I., sounded like fun.. |
|
D
danlovestikis
Posted
posted
on
Mon, Apr 25, 2011 9:42 AM
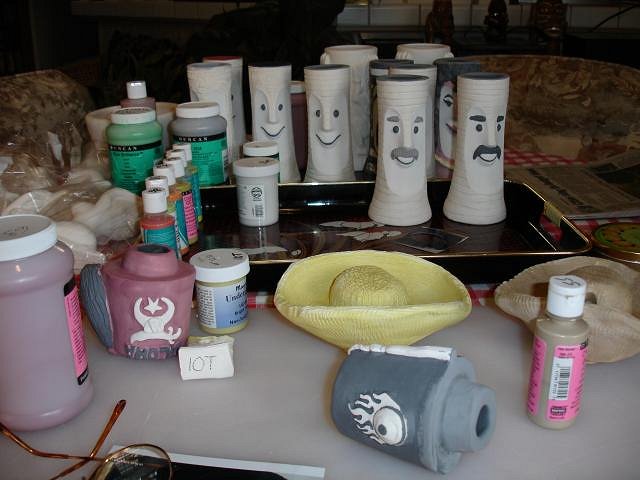
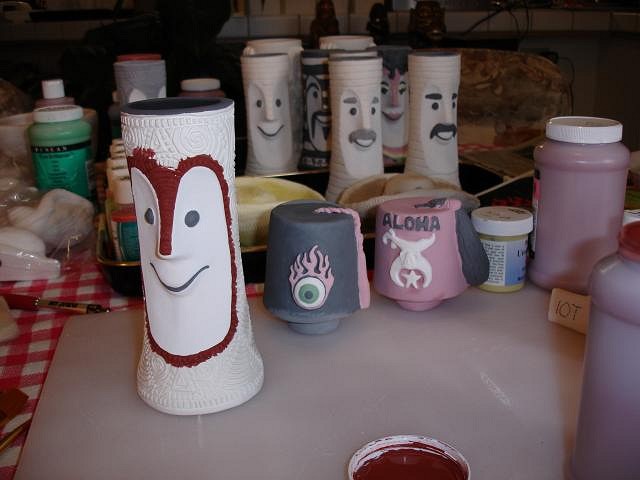
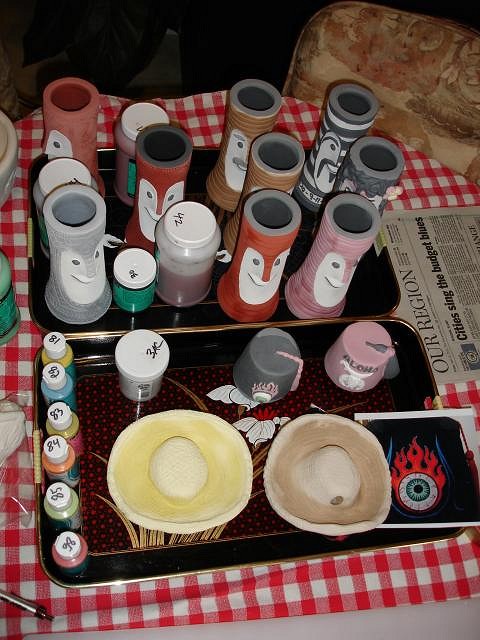
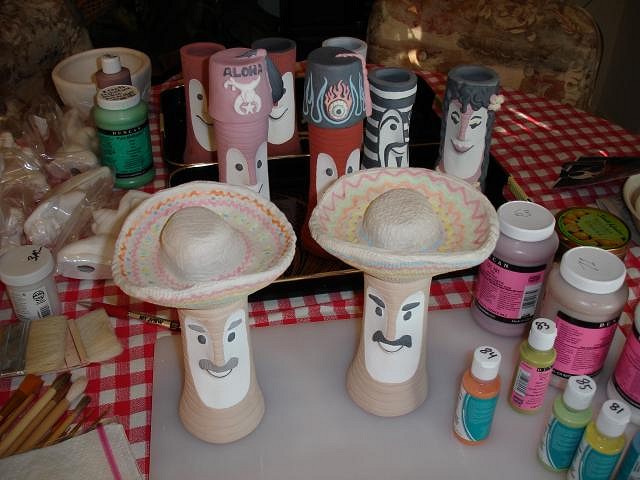
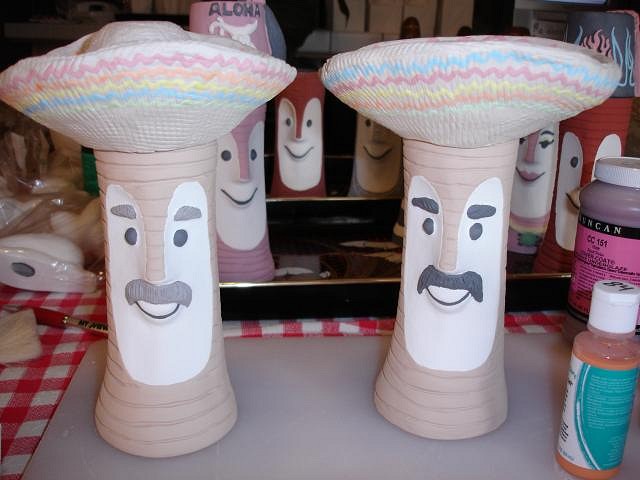
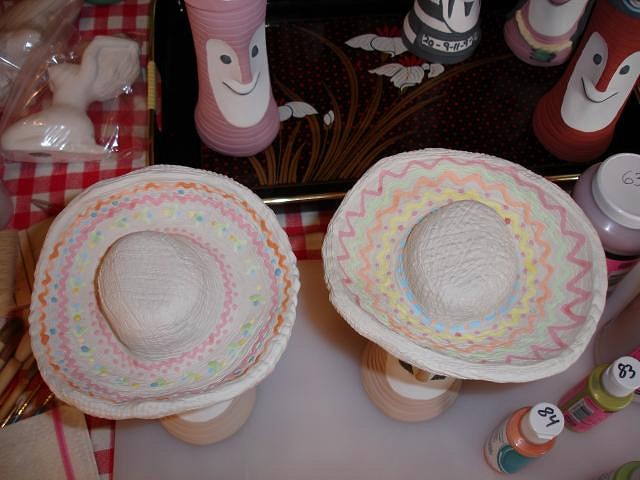
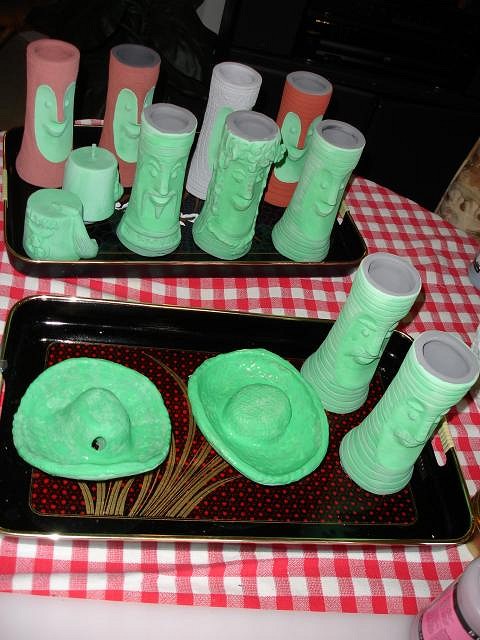
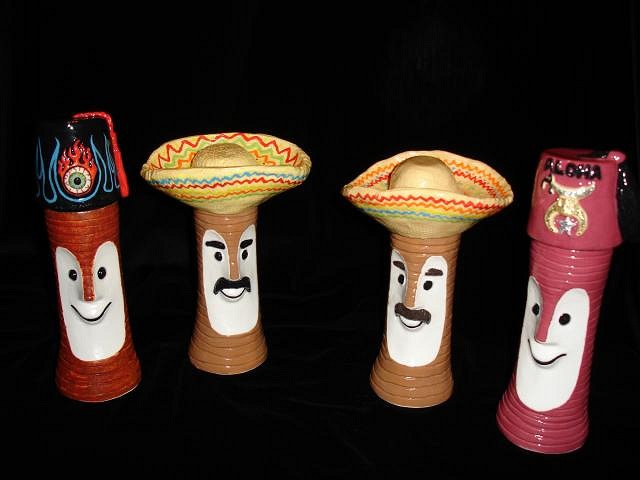
ebtiki, thank you for all your support. Beachbumz, the very first one we poured was the first mold with a larger hole and it came out perfectly. The next three molds we made had openings the size of a carrot. No good at all. We will open them up as large as possible. We couldn't pour them without the glug glug so we knew right off we would fail with this first batch. I should have made the openings big when we made the molds, never again will I forget to do that. Here's the progress on the Tiki Bob projects. Yesterday I painted every Bob and hat until each had three layers of glaze or under glaze. On the sombrero's some of the painting doesn't show up well in the photos but it's there. The clear glaze will make these bright. I did my best to keep them looking different so they can stay 1/1's. Today I will put two layers of clear glaze over all the parts that are painted with under glazes. So that means five total layers on some areas.
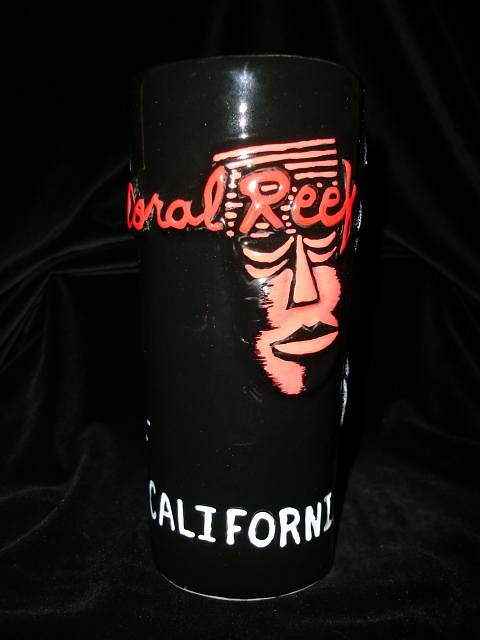
It was Easter when I painted the sombrero's and it sure felt like I was doing Easter Eggs! I have the last one 50/50 of my Zombie Hut/Coral Reef mugs up on eBay. I've listed it on Marketplace. This is the first time I've sold my art on eBay myself. I am going to have fun watching this one.
Until next time, Wendy |
|
G
GROG
Posted
posted
on
Mon, Apr 25, 2011 10:01 AM
GROG hate glazing. Wendy welcome to come glaze GROG' crap. |
|
D
danlovestikis
Posted
posted
on
Mon, Apr 25, 2011 1:04 PM
Grog, I only glaze ceramics, your "crap" will have to go to the out house. |
|
S

swizzle
Posted
posted
on
Mon, Apr 25, 2011 6:14 PM
I'm looking forward to seeing all these mugs fired to give me some idea of how the colours change. I'll be glazing my first mugs in a couple of weeks when I go back to school and am really looking forward to it. More great work Wendy. P.S. Good luck with the Zombie Hut mug.
[ Edited by: swizzle 2011-04-25 18:15 ] |
|
D
danlovestikis
Posted
posted
on
Mon, Apr 25, 2011 6:26 PM
Hi Swizzle, I'm jealous that you are in school for this. I've done it by reading books and asking questions. Be a sponge so I can squeeze you for answers! Well I've just finished after a whole day of putting two layers of clear glaze over the under glazes. They will dry until tomorrow night. Then I hope to fire up the kiln! For the sombreros I bought Duncan under glazes called neons that are suppose to be super bright. Fingers Crossed. Cheers, Wendy
|
|
S
SeaDawg
Posted
posted
on
Tue, Apr 26, 2011 3:40 PM
:tiki: |
|
D
danlovestikis
Posted
posted
on
Tue, Apr 26, 2011 10:19 PM
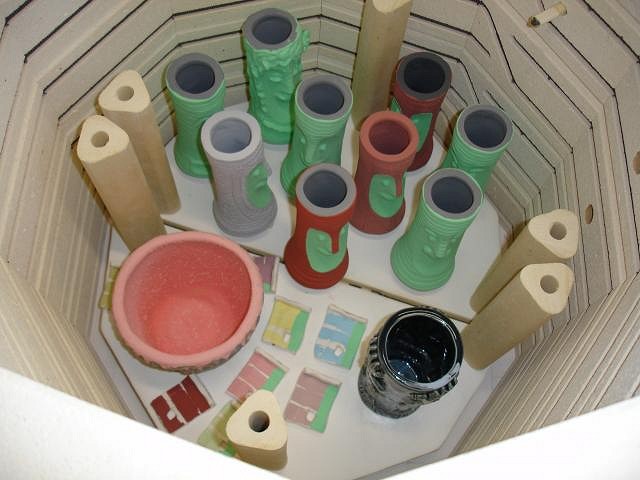
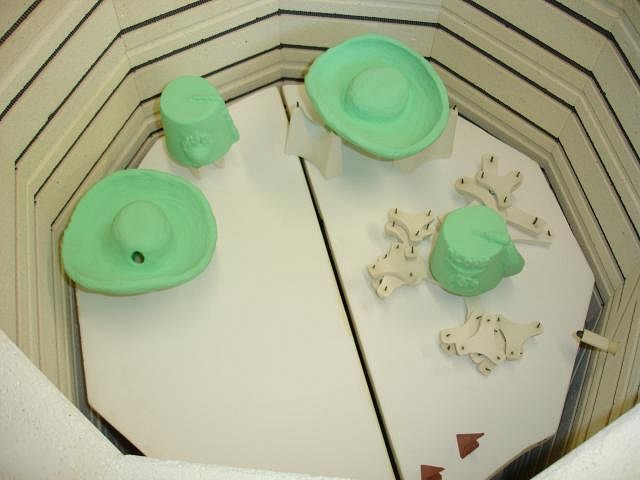
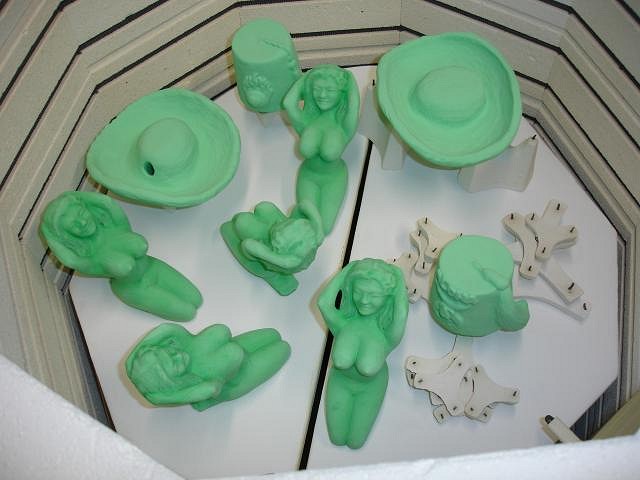
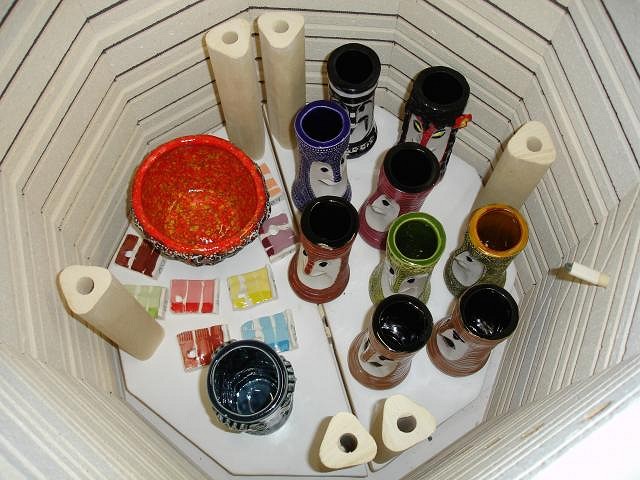
SeaDawg, your SOBB is in the kiln. I always fire at night when electricity is cheaper and I always try to have a full kiln. So today while waiting for night to arrive I glazed some of my Missionary Downfall woman. I'll use a couple for the Swap coming up run by ZeroTiki this time. So here's what it looked like before I shut the lid and turned it on. It will be cool enough to open on Thursday morning. This is so scary, keep your fingers crossed. Wendy
|
|
G
GROG
Posted
posted
on
Wed, Apr 27, 2011 11:44 AM
They were looking really neat until you painted them all green. :D
[ Edited by: GROG 2011-04-27 11:45 ] |
|
LLT
little lost tiki
Posted
posted
on
Wed, Apr 27, 2011 9:58 PM
JailBird Bob is a HOOT! |
|
BB
Bruddah Bear
Posted
posted
on
Wed, Apr 27, 2011 10:09 PM
So... These are going to glow in the dark? :D
The glow in the dark kit of "The Mummy" (from the classic Universal Pictures films) was awesome. Love your work Wendy, I always look forward to reading what you've been up to. Bear |
|
D
danlovestikis
Posted
posted
on
Thu, Apr 28, 2011 7:10 AM
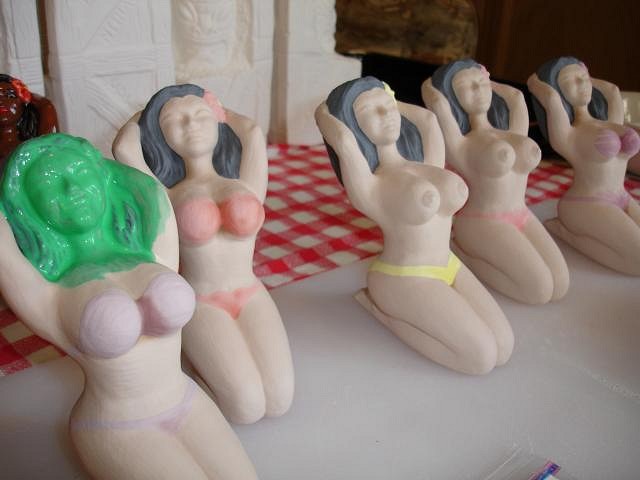
Grog knows, Grog has secrets concerning his glaze knowledge. Thank you Kinny, Brudda Bear and SeaDawg for checking out my progress. The green is a clear gloss the brings the under glaze colors to their full potential. I get to open the kiln today and I'll post photos. The girls will still need cold paint for their eyes etc. Then they bake in the home oven to set it. Soon, Wendy |
|
D
danlovestikis
Posted
posted
on
Thu, Apr 28, 2011 11:14 PM
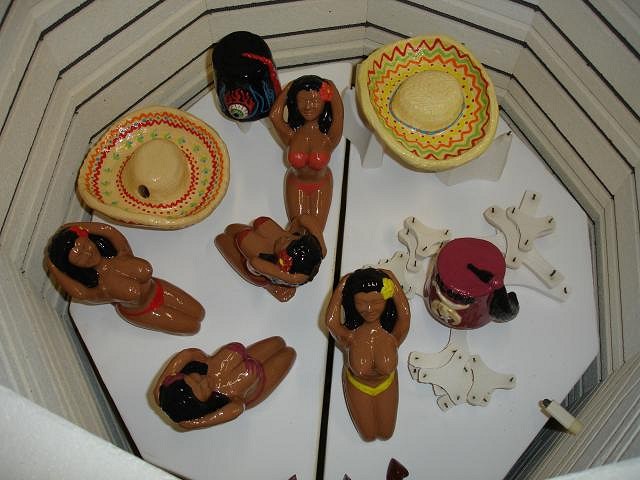
Ok here goes. The kiln was opened and here's what it looked like.
So I unloaded the kiln.
So far so good. Here are some more.
I'm really happy at this point. Here's some more.
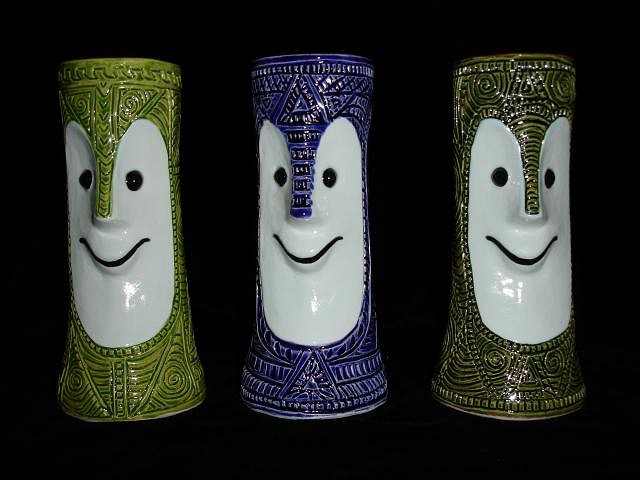
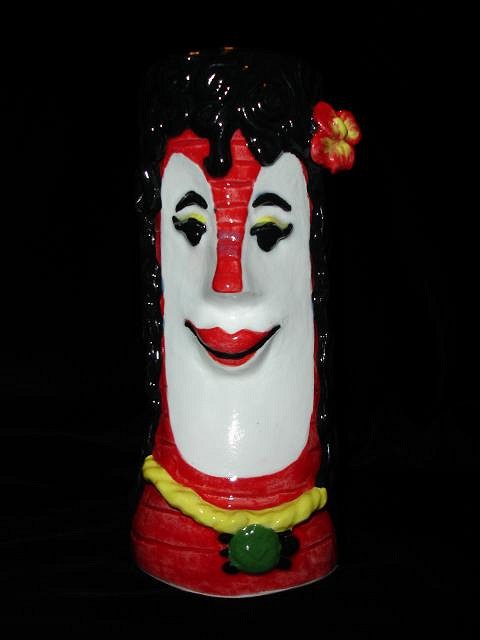
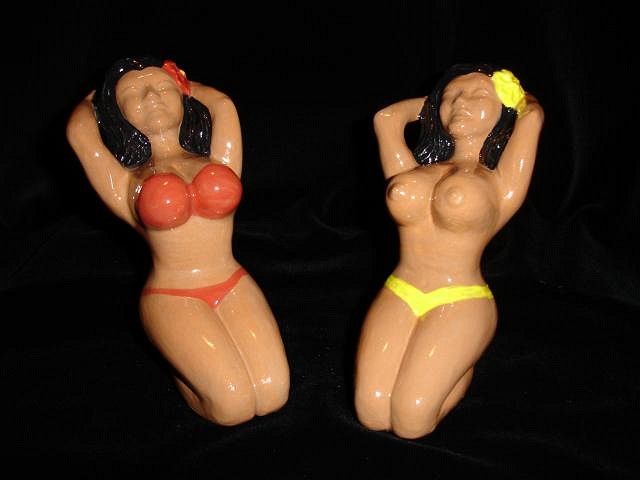
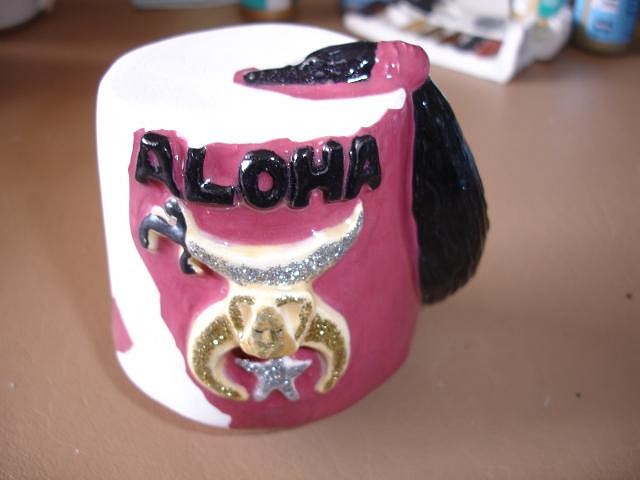
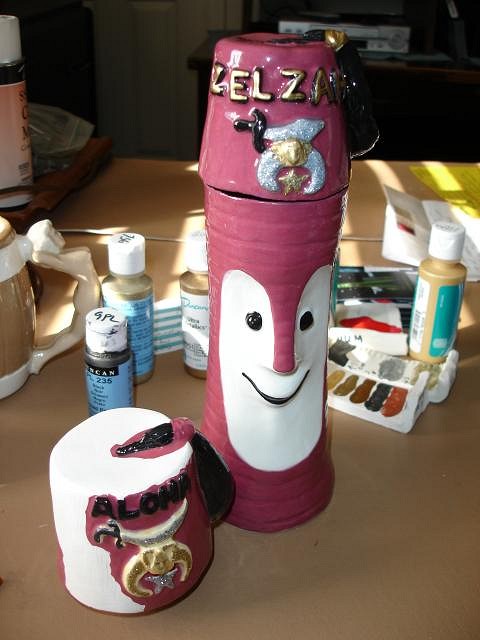
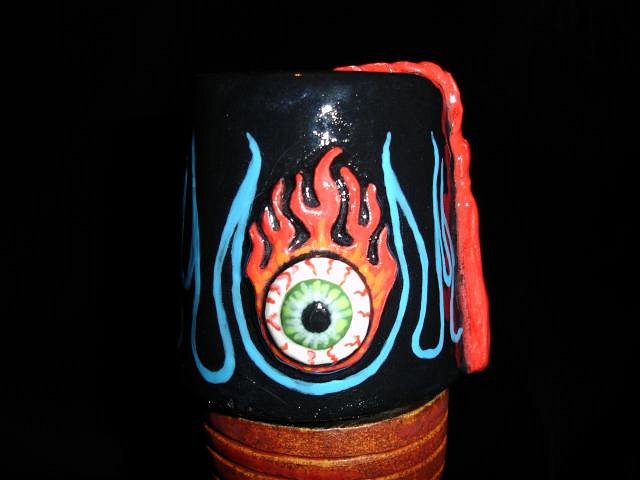
The girls have lost their green hue. Then the downhill. While I take the photos I start to notice problems. One of the SuperCarved Bob's has two small glaze slips inside. Ok I can give a discount or fix that in a couple of weeks. But when handling the Aloha Shriner Hat a piece of Grog falls off. I mean glaze. He'll understand. Then another piece. Then I take a needle and pop off all that will budge. Eventually it looked like this. Well it was Dan to the rescue. The buyer wanted the Zelzah Bob that Dan bought and Dan gave it up so I could fill the order and we were all happy. Then I noticed that there were bubbles on the Shriner Cult of the eye hat. So I discounted it and worked to hide the bubbles as best I could. However I saw some fine hairline cracks, could this mean the glaze is going to pop off here? So no charge for the hat and a promise that I'll refund even more if it pops off. So it will ship for display. I covered it with a clear enamel to help keep it stabilized.
Every other piece in the kiln was fine. Just the Shriner hats and 1 Super Bob had problems. In the end it is my job to keep everyone happy and communication is super important. Thanks for checking this out, Wendy |
|
BB
Bruddah Bear
Posted
posted
on
Thu, Apr 28, 2011 11:47 PM
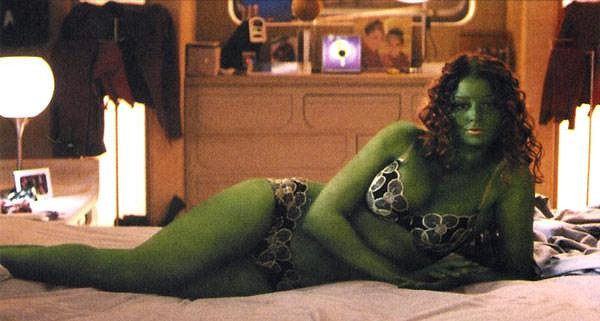
Well darn. Green hued girls can be hot. Such as...
or...
But brown wahines are always welcome. Sorry to hear about your glazing woes, I feel for you. I hope you have better luck soon. :( Bear |
|
G
GROG
Posted
posted
on
Fri, Apr 29, 2011 12:13 AM
Sorry to hear your troubles Wendy. GROG definitely understand about the glaze chipping off. Seems like the pieces That GROG has had that trouble with are the hand-built ones with the low- fire clay. Haven't had any trouble with glaze chipping off of stuff out of the molds. Glaze seems to like slip cast stuff better. The hand-built clay may have oils from the hands handling it that may be causing the problem, but who knows. GROG read on the internet that the glazes that have red in them are usually the troublemakers and that's been true for GROG. Your stuff is looking really nice. You got some lucky customers going to get some really nice pieces. [ Edited by: GROG 2011-04-29 00:14 ] |
|
B
Beachbumz
Posted
posted
on
Fri, Apr 29, 2011 12:46 AM
REALLY REALLY NICE Wendy!! Very Cool Wendy, Your art is amazing. Aloha |
|
S

swizzle
Posted
posted
on
Fri, Apr 29, 2011 1:19 AM
I love the sombreros on the SOBB's and that blue super carved Bob is great. Sorry to hear about your glaze problems. I'll have to ask my teacher when I go back to school next week if she has any ideas what would have caused that. GROG's point of the oils from your hands seems a logical enough reason. Shame it happened though. Keep up the great work Wendy. |
|
D
danlovestikis
Posted
posted
on
Fri, Apr 29, 2011 9:55 AM
Good Morning Men, that has a good sound to it. Brudda Bear is the first green woman from the old Star Trek? I think Dan had a crush on her. If I show him the second girl I think the crush will move to her. I guess I should have left them green. At least I can use the faces as models when I do the cold paint. Grog, that never would have crossed my mind. It is a 04 clay hand built. Humm. I did notice when the glaze came off that there was clay dust under it. So I thought that maybe since the clay on these hats is so thick that it expanded and contracted enough to break down and make clay dust. Before I glaze my work is as dust free as I can make it so all this dust now there was a surprise. Swizzle you bought a Tiki Crate that Eric wanted, he bought the blue SuperCarved. You two have similar taste in my tiki art. That was fun to read. I look foreword to hearing what your teacher thinks. Thank you all for your kind words and encouragement, Wendy |
|
M
MadDogMike
Posted
posted
on
Fri, Apr 29, 2011 11:48 AM
Wendy, I had glaze come off on a couple of my handbuilt fruit bats like that - soooo disheartening :( Do you burnish your clay when it is almost dry? I suspect that was my problem - I love the feel of the talc in super-smooth leather hard clay so I like to burnish it with a marble or smooth stone. But maybe the clay is TOO smooth and the glaze can't grip to it? I stopped burnishing and so far have not had that problem since. Everything else looks great though! |
|
Z

ZeroTiki
Posted
posted
on
Fri, Apr 29, 2011 11:56 AM
After looking at your newest pieces, I would like to just take this moment to say: |
|
D
danlovestikis
Posted
posted
on
Fri, Apr 29, 2011 2:49 PM
MDM, nope never burnished any of them. I think it has to do with the clay shrinking more than the glaze. Well we just have to keep trying to follow all the rules and hope for the best. Thank you ZeroTiki for the aaaaaaaaaaaaaaaaaah and the Swap which is up and running due to you. HINT; TO EVERYONE WHO BOUGHT A SHRINER BOB OR SOUTH OF THE BOARDER BOB EVEN THOUGH THE HATS HAVE INSETS INTO THE MUG USING A BIT OF EARTHQUAKE PUTTY WOULD MAKE THEM SECURE AND YOU COULD SAFELY WALK AROUND WITH THEM. IF YOU HAVE THEM DISPLAYED AND SOMEONE PICKED THEM UP THIS WOULD ALSO BE A SAFEGUARD. PLEASE LET ME KNOW WHEN THEY ARE WITH YOU AND SAFE. THANK YOU VERY MUCH, Wendy |
|
B

Babalu
Posted
posted
on
Fri, Apr 29, 2011 4:27 PM
The muggies are looking great kiddo!!
VERY GOOD - A+ :up: :) It's called Shivering... Suggested Remedies: Reduce silica in the clay body If you like those particular store brought glazes you are using, ask your clay supplier for a low fire clay with a little less silica in it. That should solve the problem. You can also try holding the final temp on your bisque firing for 5 to 10 mins...just to make sure that the clay matures completely. Kilns do tend to fire at uneven temps...a short hold at the end of the firing will help catch those cooler spots in the kiln. YAY! |
|
D
danlovestikis
Posted
posted
on
Mon, May 2, 2011 6:40 PM
Babalu you are my mentor. Thank you for the suggestions to help with this problem. I'm back to work after a whole day off. I read the second half of a Michael Connolly book The Fifth Witness and it was terrific. So now Dan and I are starting to cast the decanter's for the Sacramento crawl. We enlarged the holes using a door knob drill. It worked well but the mold still wants to fill it up and suck in the sides. So today I bought a turkey baster and I'll remove some of the slip before we start to pour. We got three perfect casts and one that will be a second. It's a little warped but not bad enough to toss. I'll need to practice on these. Last night. We had lots of leaks but we are getting better at plugging them. Dan's an expert now. Next I've started working on the Girls of Tiki Swap. Today I bought fringe to use as their hula skirts. Next I started the Painting for Elroy Artspace, a Gallery of Modern Art for their show Scootiki: Mods and Gods check them out.
I have a lot of work to do! Cheers, Wendy |
|
B
Benzart
Posted
posted
on
Tue, May 3, 2011 5:51 AM
Loving seeing your new stuff Wendy, Awesome works. |
|
PTD
Psycho Tiki D
Posted
posted
on
Tue, May 3, 2011 7:24 AM
You guys don't know how lucky we are in Sacramento to have such a bonafide collaborative team in Dan and Wendy! I am very fortunate to have been able to see their work in person and it is jaw-dropping. The attention to detail is phenomenal and the visuals are spectacular. I am looking forward to many years of their creations in ceramic and other mediums. Each time I visit I learn more and more of the pain-staking labor and the blood, sweat and tears that goes into each and every piece and each process. It seemed like such a simple suggestion I made to Wendy to create an event mug for us last year. Little did I realize what a sacrifice to time and money I was asking the Cevolas to make. Even if I didn't collect tiki per se, I would collect Wendy and Dan's artwork. Needless to say, I love these guys...
A proud moment in my life. What a vision... PTD |
|
D
danlovestikis
Posted
posted
on
Tue, May 3, 2011 10:44 AM
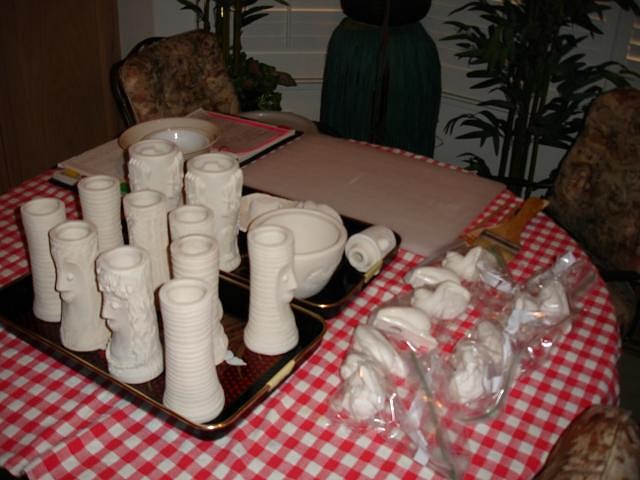
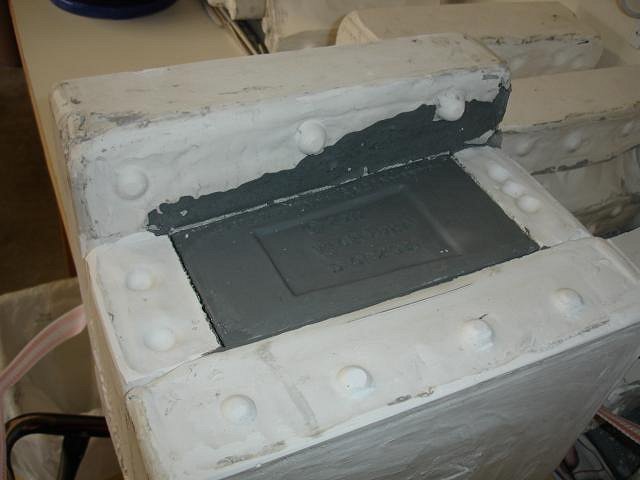
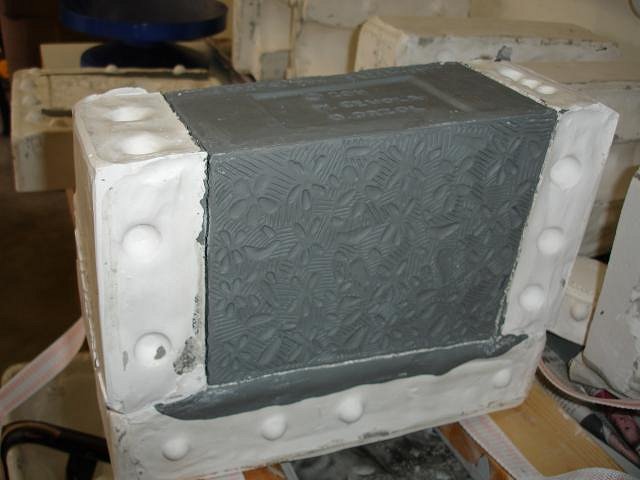
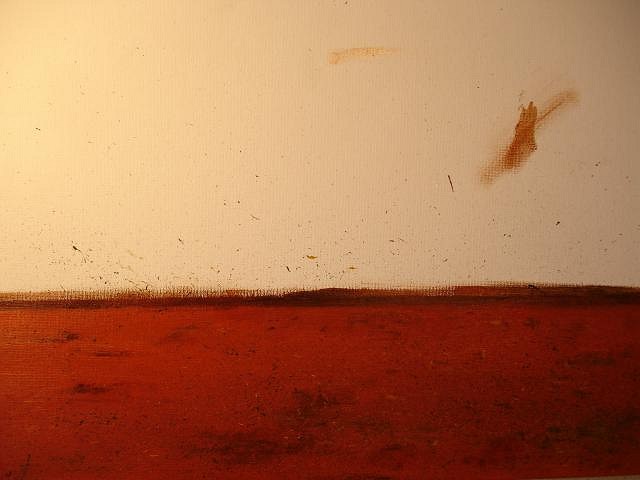
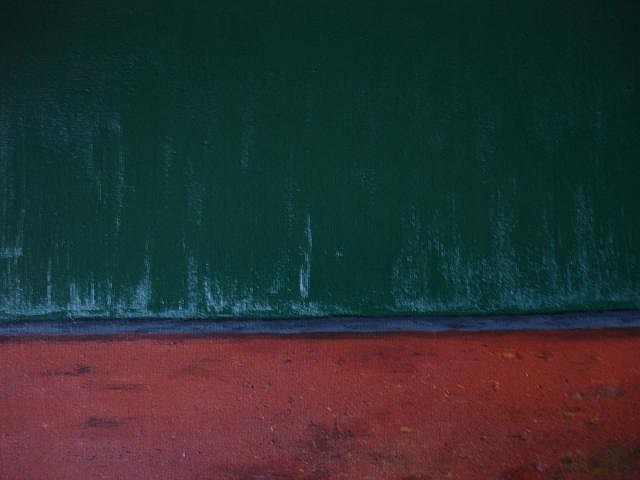
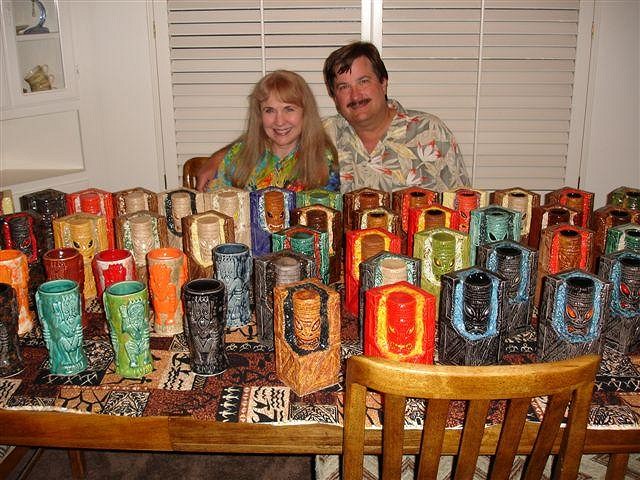
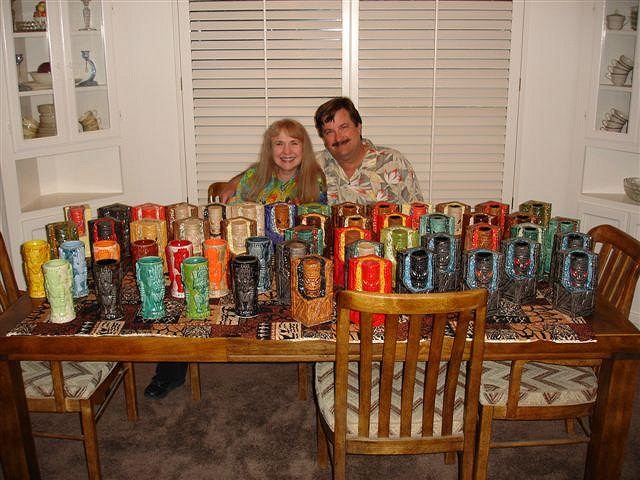
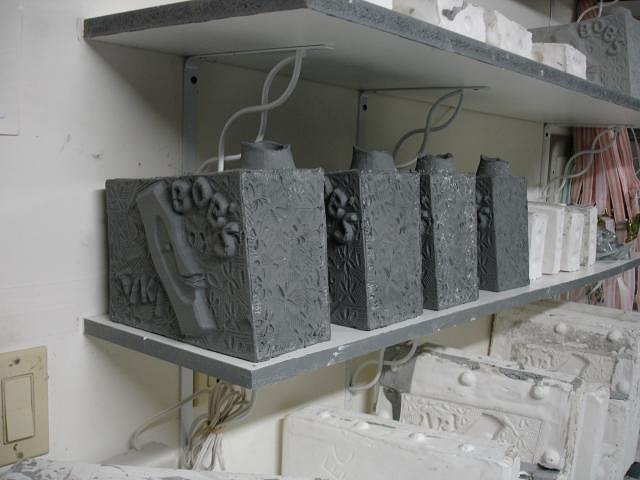
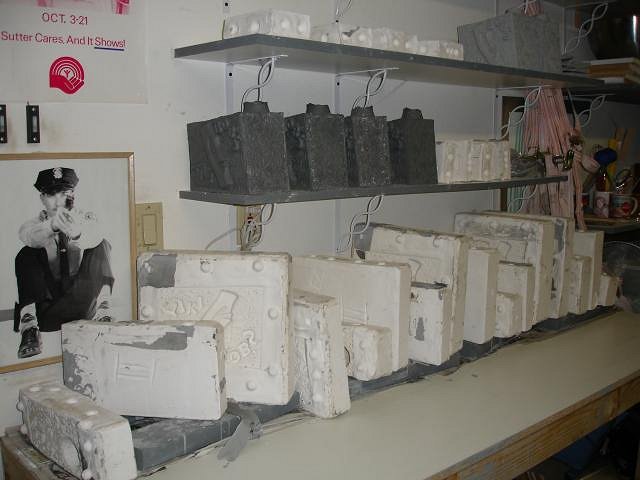
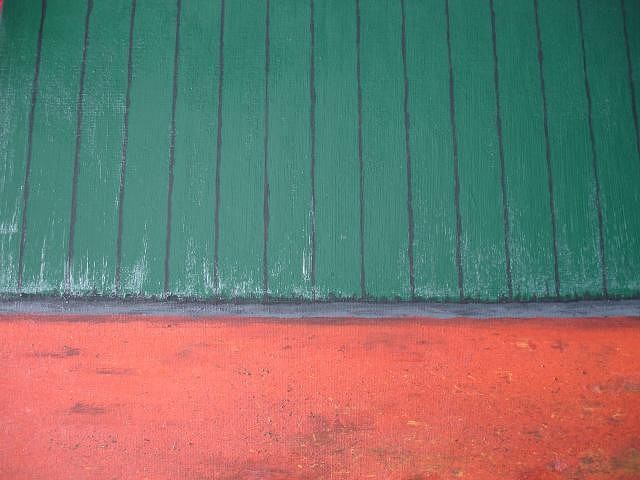
I certainly didn't expect to find such a wonderful post when I logged on here this morning. It's easy to say that it has made our day start off wonderfully. Thank you Duane you are such a dear friend. Everyone should know that you inspired us to become ceramicists and mold makers. Every day I wake up ready to tackle another day with clay and it makes me very happy. Dan's motto, "Will Work For Tikis" keeps him going, he gets the husbands discount and first pick. Since these photos were taken half what you see has been sold to those on our waiting list. They are two projects the first is the tribute to the Lanai of San Mateo which I call the Eat Drink and Be Merry Mug which it says in Hawaiian under each of the three different tikis. The others are my glaze tests and artist proofs for the Forbidden Island Tiki Crate. When I started this project I was new to glazes with color. My first the Zombie mug was black and hand painted with white. I decided to do every color combination that looked well together. I used every glaze I had accumulated. So I made this vast collection of colored Tiki Crates. From now on I will not need to do this for my projects. I still have some of each for sale at $80 plus shipping. I am going down the waiting list. If you would like to be on that list send me a PM. So here are my next set of photos for my projects in the works. Duane you better be there Tuesday for a big hug. Wendy Tiki Bob Decanter for the Sacramento Crawl in October When full the mold an slip are close to 60 pounds. It takes Dan and I to pour them out and it is so hard. Step by step for the Scootiki: Mods & Gods at Elroy Artspace It's a wall! It's red dirt! Benzart my dear friend, it is a joy to have you check out my art. I'll write you an email in a moment. Hugs, Wendy [ Edited by: danlovestikis 2011-05-03 21:23 ] |
Pages: 1 2 3 4 5 6 7 8 9 10 11 12 13 14 15 16 17 18 19 20 21 22 23 24 25 26 27 28 29 30 31 32 33 34 35 36 37 38 39 40 41 42 43 44 45 46 47 48 49 50 51 52 53 54 55 56 57 58 59 60 61 62 63 64 65 66 67 68 69 70 71 72 73 74 75 76 77 78 79 80 81 82 83 84 85 86 87 88 89 90 91 92 93 94 95 96 97 98 99 100 101 102 103 104 105 106 107 108 109 110 111 112 113 114 115 116 117 118 119 120 121 122 123 124 125 126 127 128 129 130 131 132 133 134 135 136 137 138 139 140 141 142 143 144 145 146 147 148 149 150 151 152 153 154 155 156 157 158 159 160 161 162 163 164 165 166 167 168 169 170 171 172 173 174 175 176 177 178 179 180 181 182 183 184 185 186 187 188 189 190 191 192 193 194 195 196 197 198 199 200 201 202 203 204 205 206 207 208 209 210 211 212 213 214 215 216 217 218 219 220 221 222 223 224 225 226 227 228 229 230 231 232 233 11140 replies

