Pages: 1 2 3 4 5 6 7 8 9 10 11 12 13 14 15 16 17 18 19 20 21 22 23 24 25 26 27 28 29 30 31 32 33 34 35 36 37 38 39 40 41 42 43 44 45 46 47 48 49 50 51 52 53 54 55 56 57 58 59 60 61 62 63 64 65 66 67 68 69 70 71 72 73 74 75 76 77 78 79 80 81 82 83 84 85 86 87 88 89 90 91 92 93 94 95 96 97 98 99 100 101 102 103 104 105 106 107 108 109 110 111 112 113 114 115 116 117 118 119 120 121 122 123 124 125 126 127 128 129 130 131 132 133 134 135 136 137 138 139 140 141 142 143 144 145 146 147 148 149 150 151 152 153 154 155 156 157 158 159 160 161 162 163 164 165 166 167 168 169 170 171 172 173 174 175 176 177 178 179 180 181 182 183 184 185 186 187 188 189 190 191 192 193 194 195 196 197 198 199 200 201 202 203 204 205 206 207 208 209 210 211 212 213 214 215 216 217 218 219 220 221 222 223 224 225 226 227 228 229 230 231 232 233 11,163 replies
|
H
Heath
Posted
posted
on
Thu, Feb 2, 2017 9:54 AM
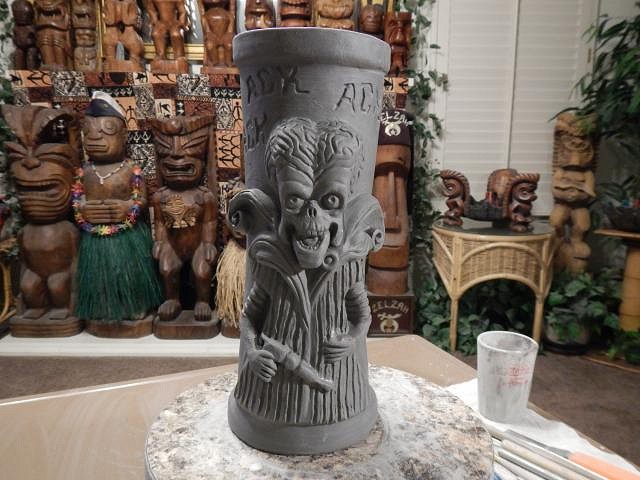
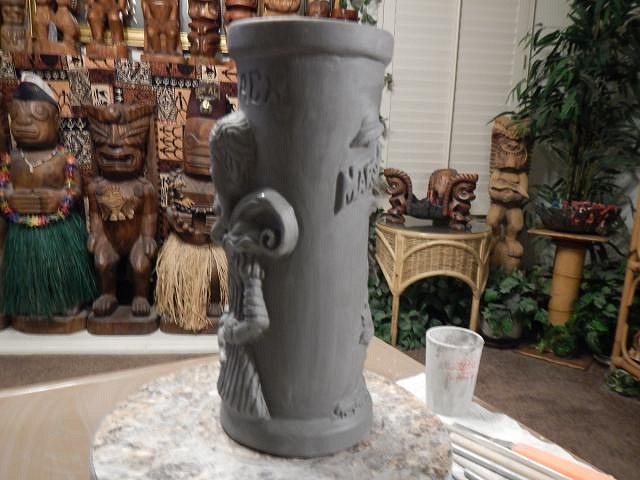
The "Female" mug looks awesome! A little bit of trivia for you, the movie was based this set of trading cards from 1962. I actually just learned that as a result of you creating these! Here's some more info, as well as the wikipedia entry about the movie. ACK ACK, ACK, ACK ACK |
|
L
lunavideogames
Posted
posted
on
Thu, Feb 2, 2017 11:07 AM
Looks great Wendy! Such a fun movie to make mugs after. I like the pictures one after another, not side by side so that I can just scroll down and not side by side. :) I am lazy :wink: :D |
|
H

hang10tiki
Posted
posted
on
Thu, Feb 2, 2017 2:14 PM
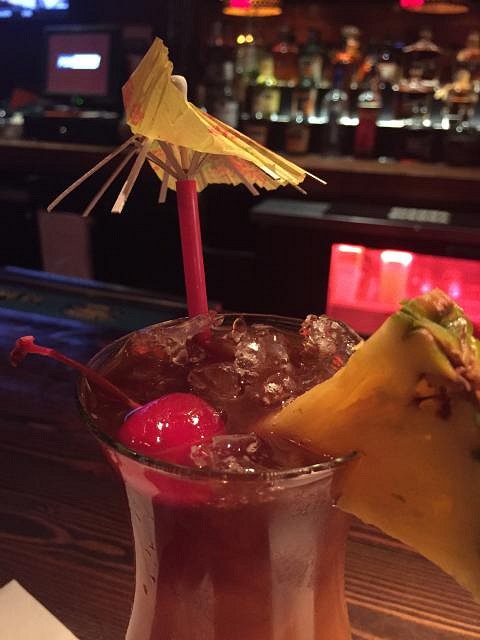
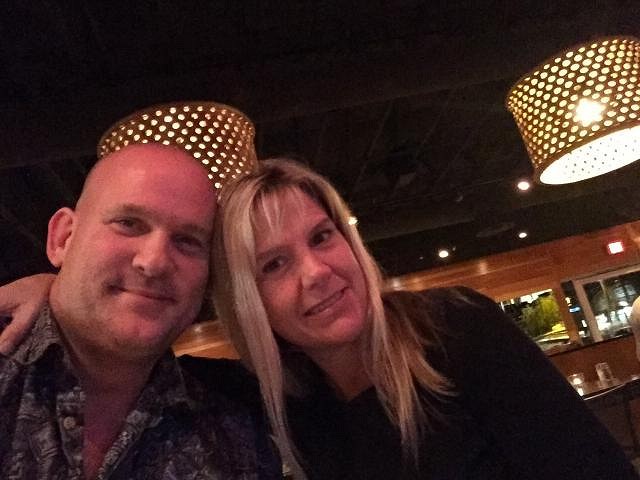
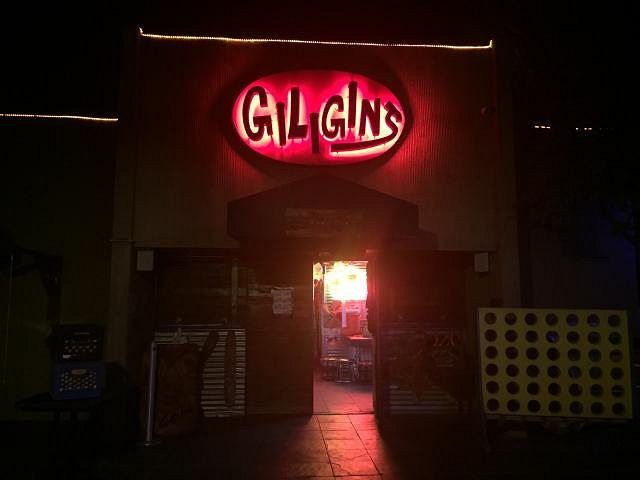
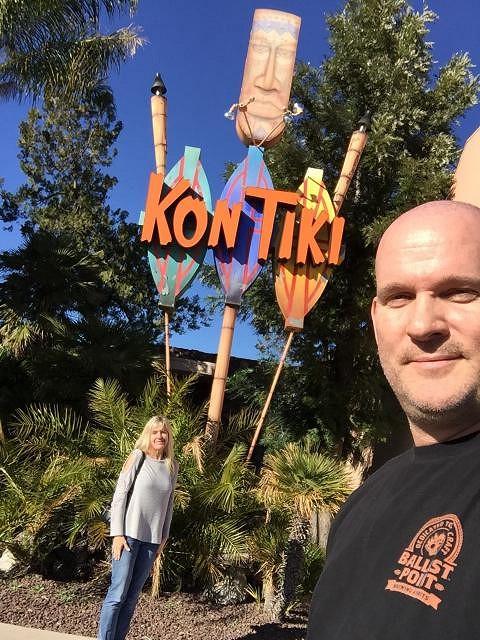
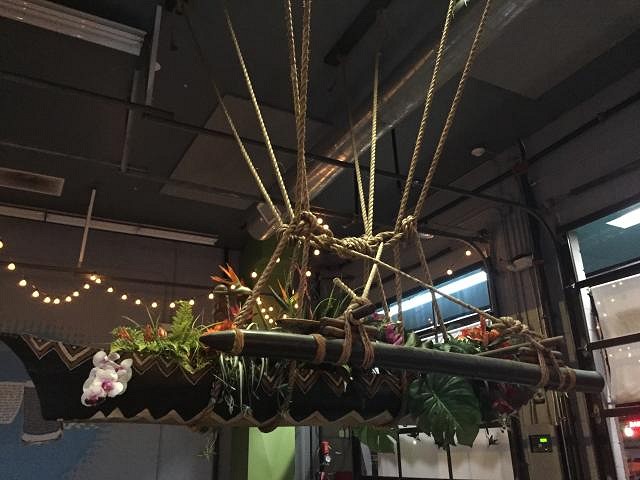
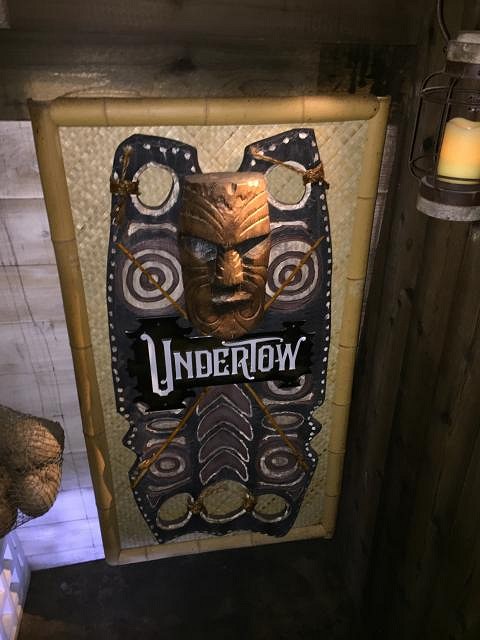
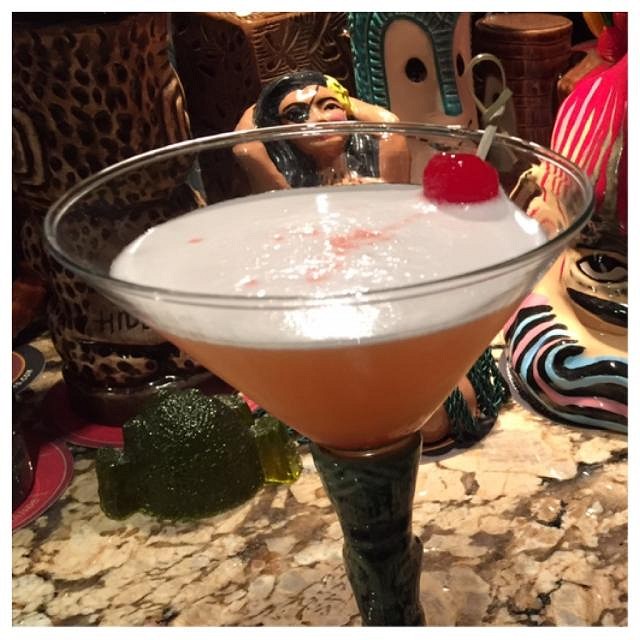
Wendy- dig the new mug Just got back from a quick Arizona trip; 3 places we had to hit 1st up (I posted more pics on Critiki)
It's a hurricane, notice my umbrella
Worst sound ever, slurp of an empty tiki mug through my straw!!! [ Edited by: hang10tiki 2017-02-02 14:19 ] |
|
D
danlovestikis
Posted
posted
on
Fri, Feb 3, 2017 7:02 AM
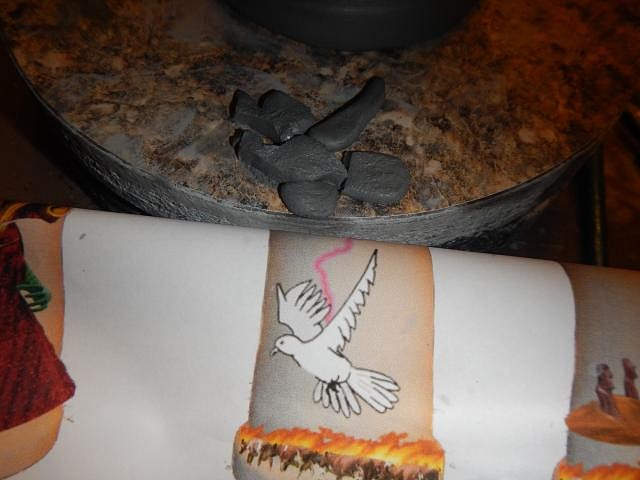
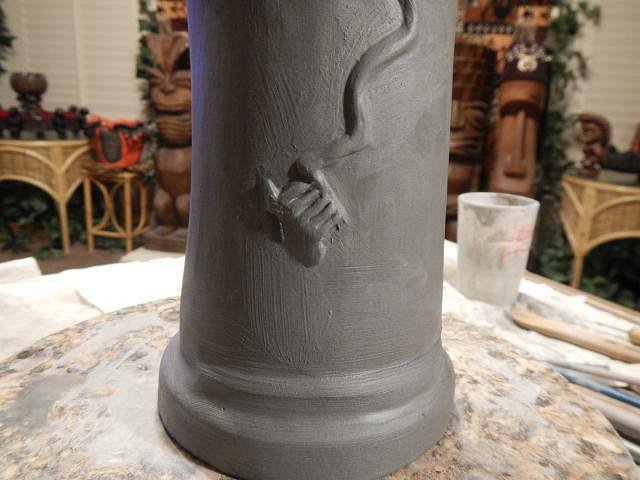
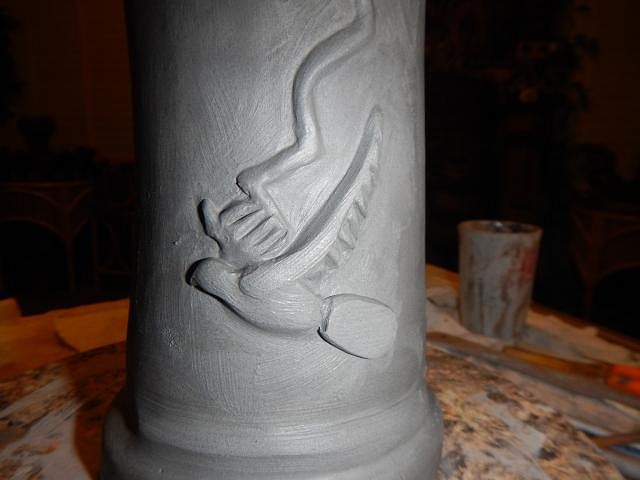
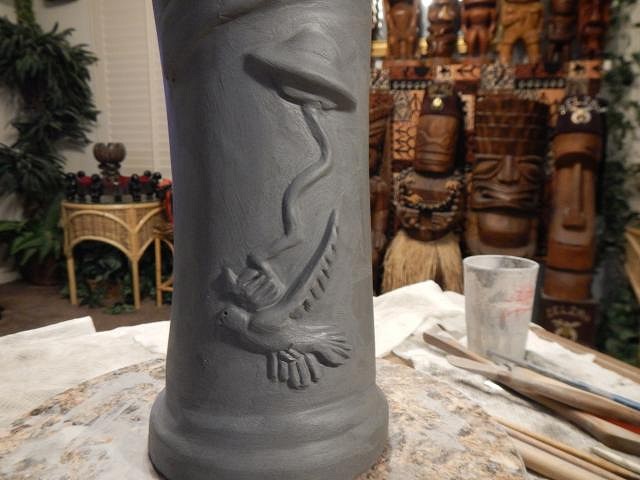
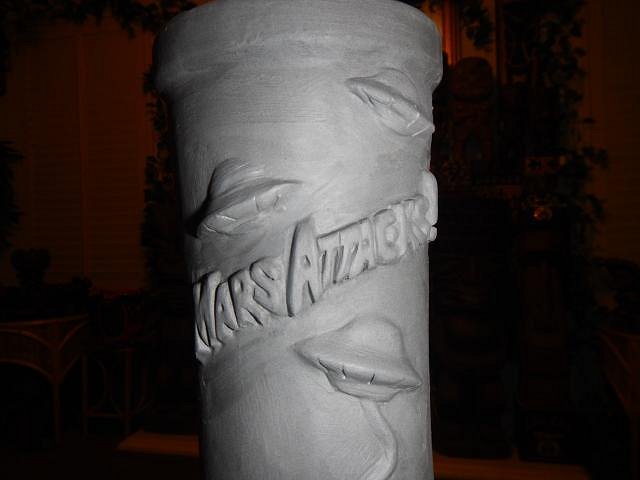
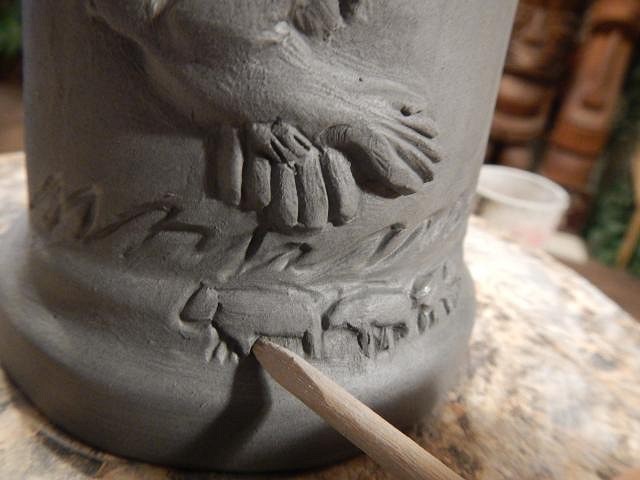
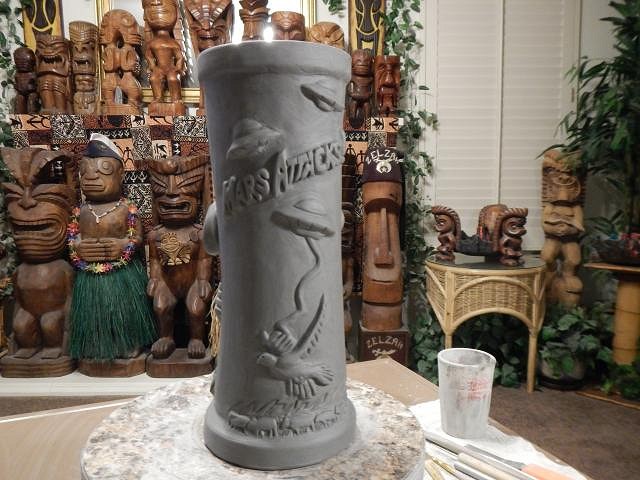
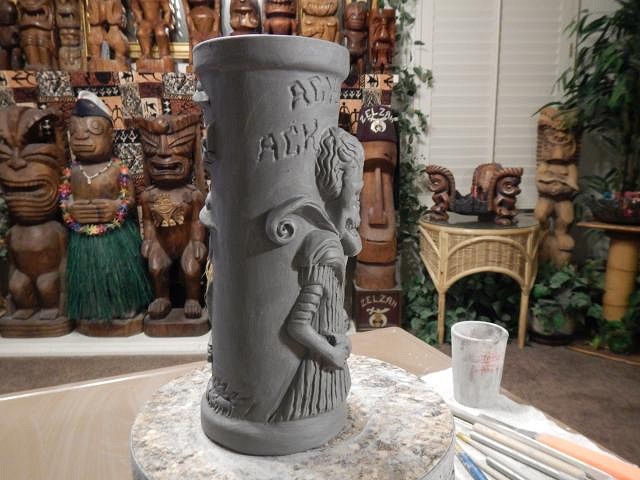
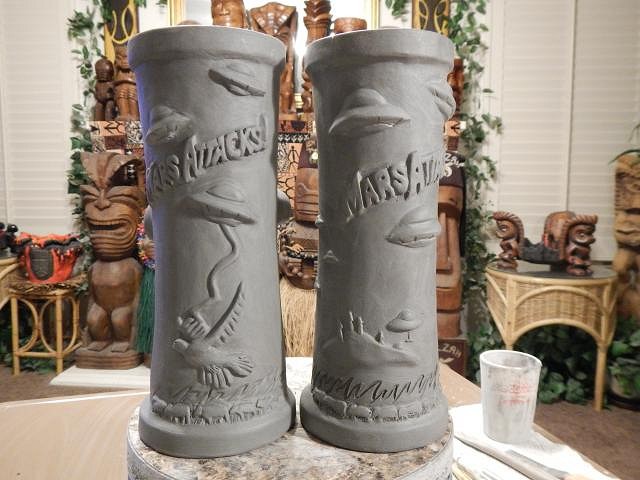
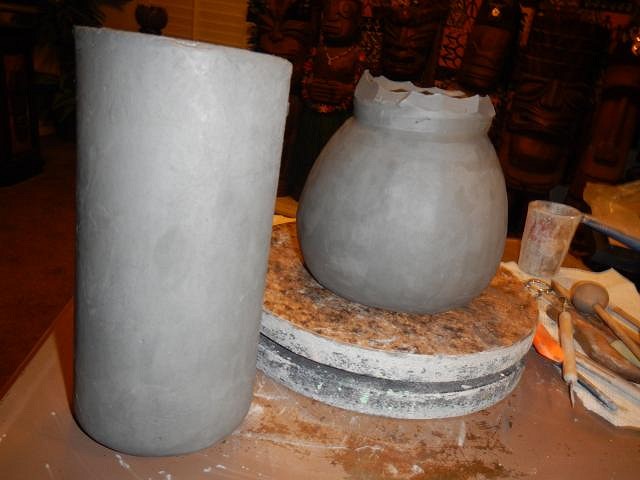
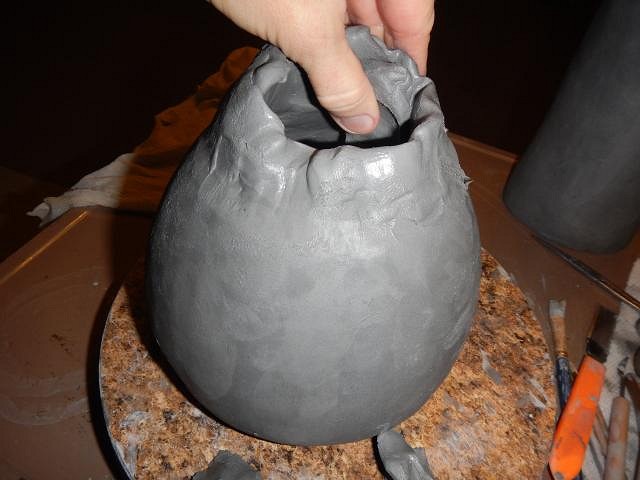
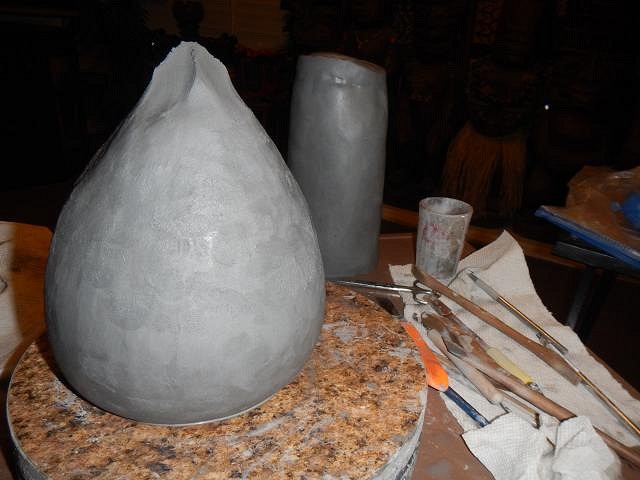
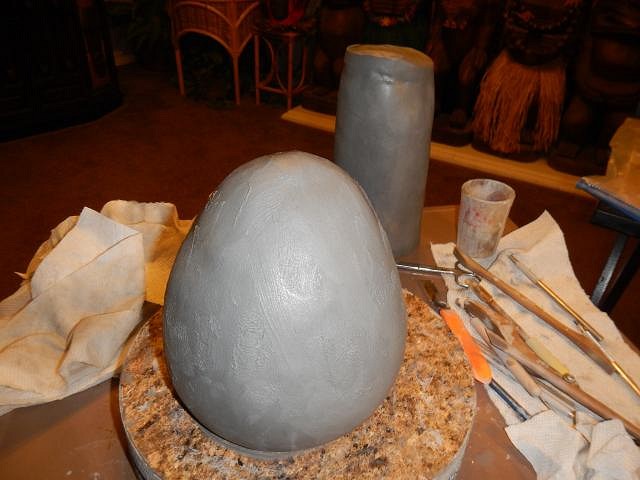
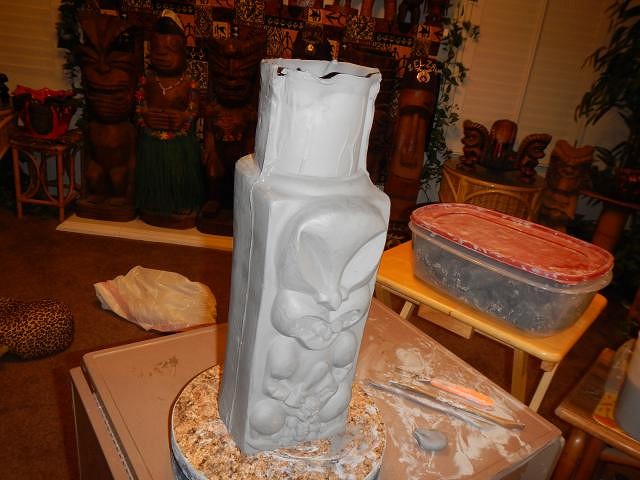
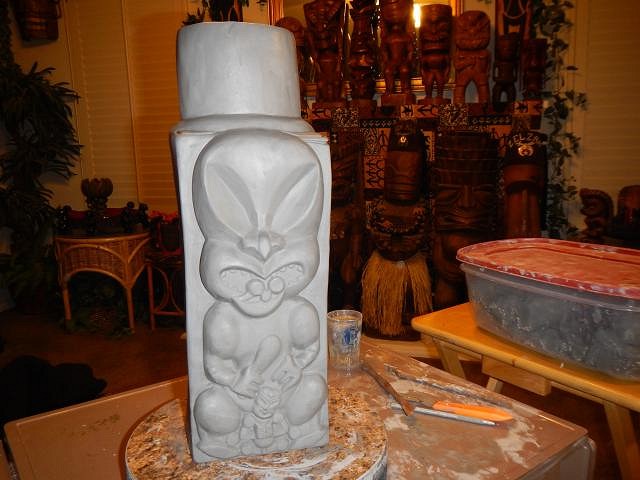
Heath thank you for all the fun links for Mars Attacks. I'm going to have to sit Dan down and have him take a look. It is such a fun movie. lunavideogames good it is easier for me too. I'm betting that you had to scroll sideways to see them all. Both are on my screen at the same time. I will keep them in a line up. hang10tiki was this a trip just for fun? I love travel and just going on a whim, Dan not so much. The photos are so much fun so I know you had a great time. I do miss seeing you and Janelle in the photos. Do you have some of those to share? ================================= Wish List #7 The second MARS ATTACKS! mug the male version. I placed the band for the words and this time I started on other areas. I can't carve the name until the next day when the clay is firmer. Next after the spaceships and the attack bolt I stared to build the bird. Figuring out the 3D on a flat surface from a cartoon drawing. This is when I have to think! I just keep adding and when it looks wrong I subtract. Nothing is ever easy. Done. Time to carve the letters. More tiny cows in front of flames. Done. This side is done. I saved the male Martian for last because he will be the hardest part but also the most fun. Thank you for the visit, Wendy |
|
H

hang10tiki
Posted
posted
on
Fri, Feb 3, 2017 10:11 PM
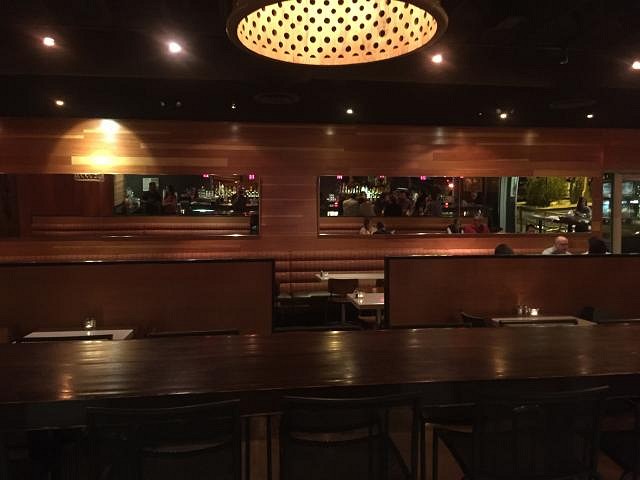
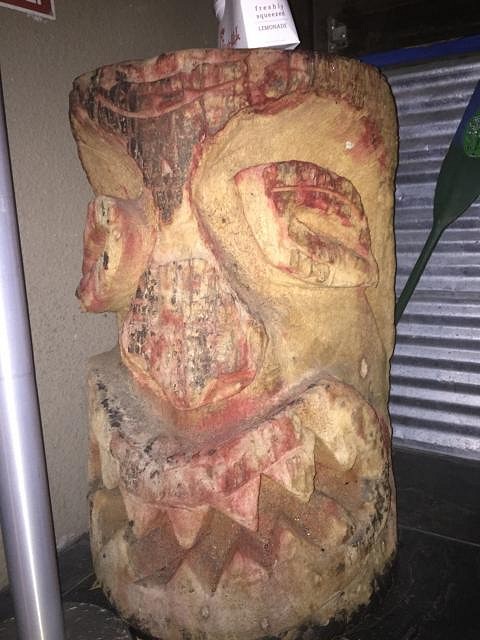
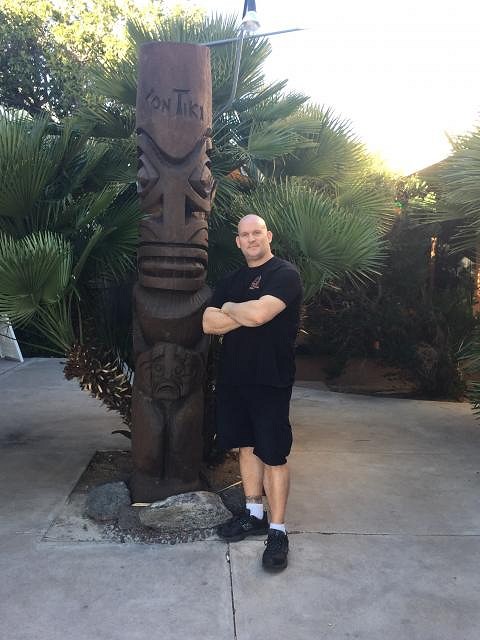
Next mug lookin good Found 1 from 1st stop
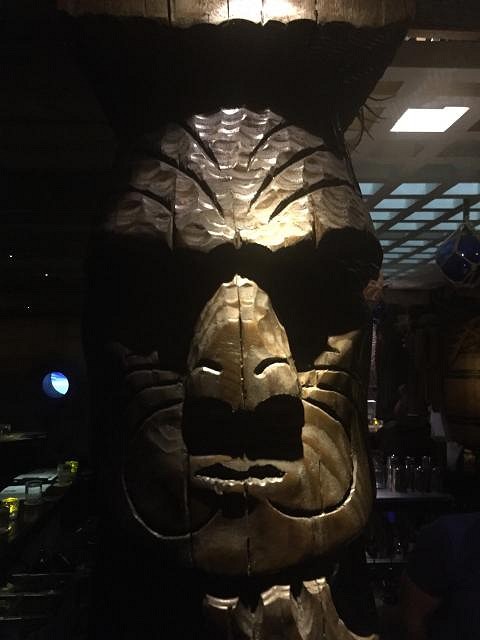
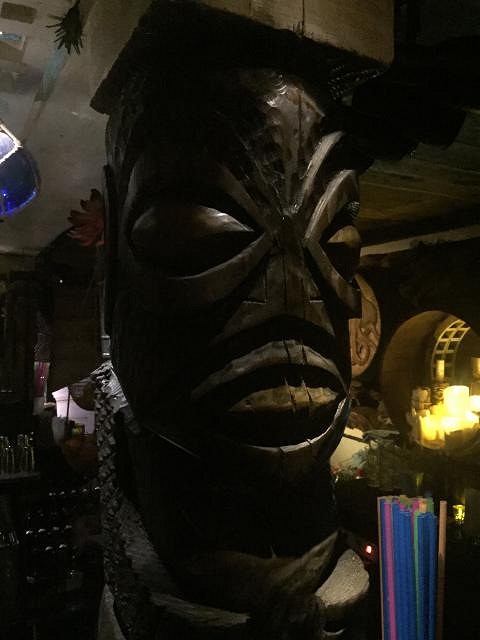
The trek was for fun Next stop
Not a tiki bar Edit- just posted 1/2 our finds on the "Tiki Finds" area Worst sound ever, slurp of an empty tiki mug through my straw!!! [ Edited by: hang10tiki 2017-02-03 23:29 ] |
|
D
danlovestikis
Posted
posted
on
Sat, Feb 4, 2017 7:26 AM
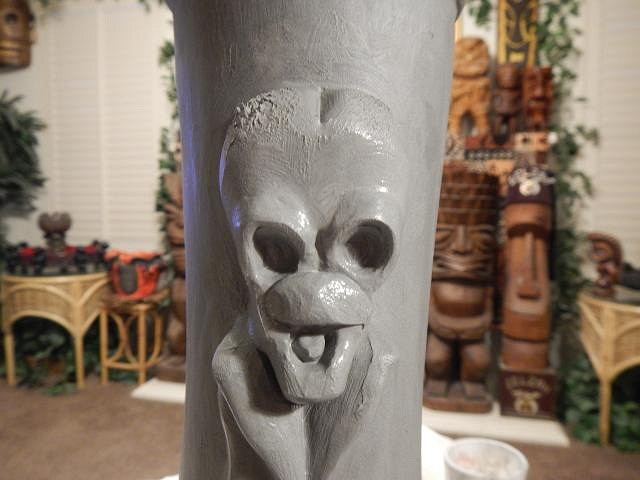
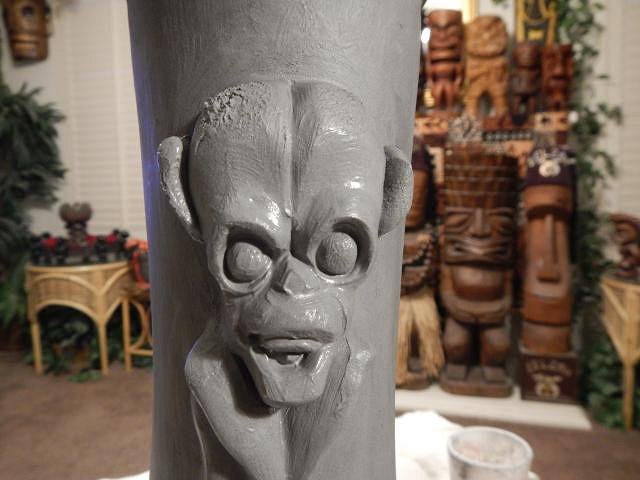
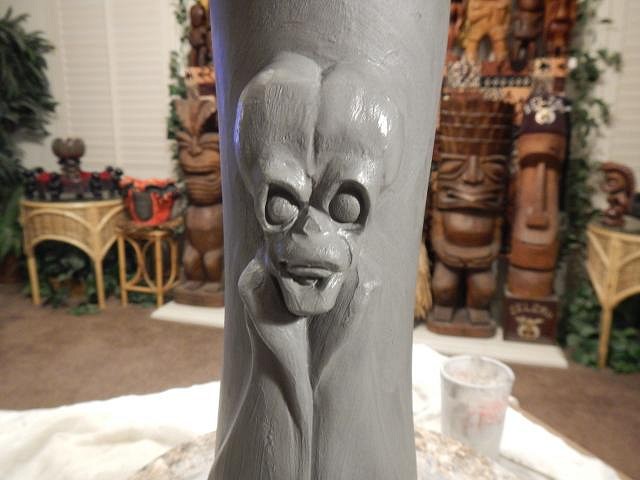
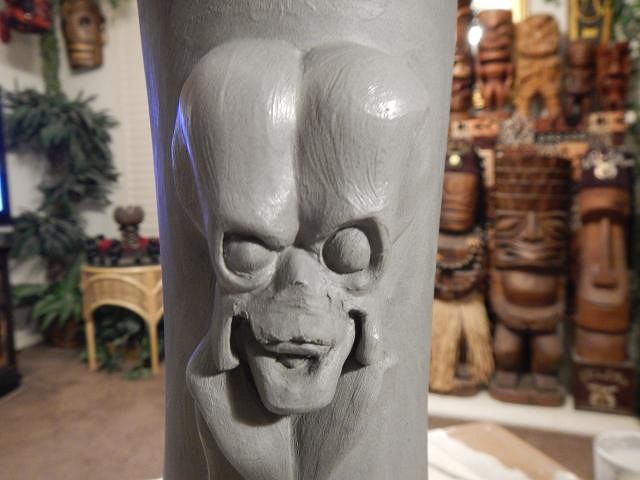
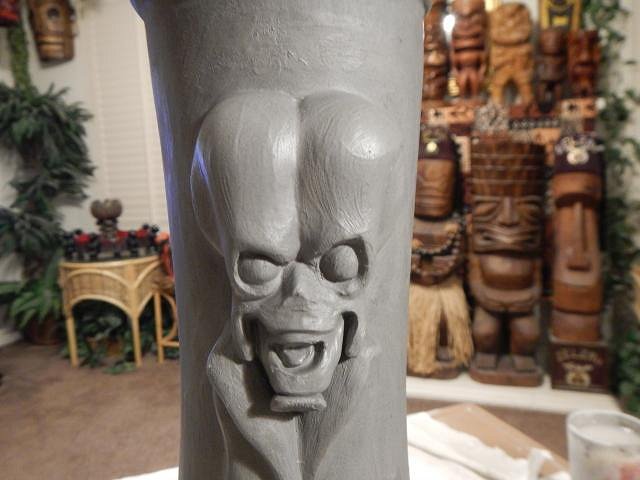
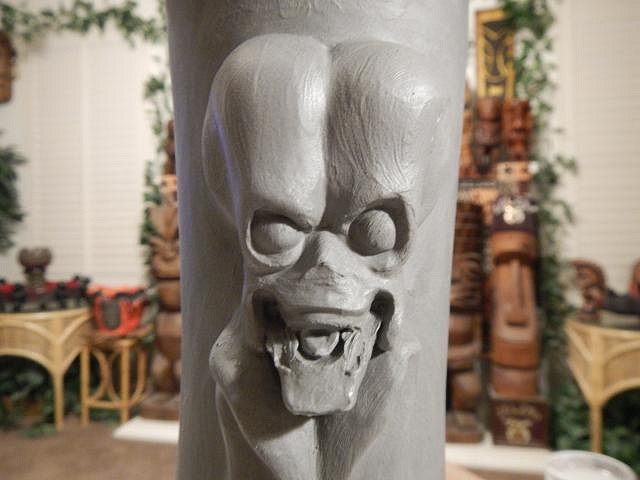
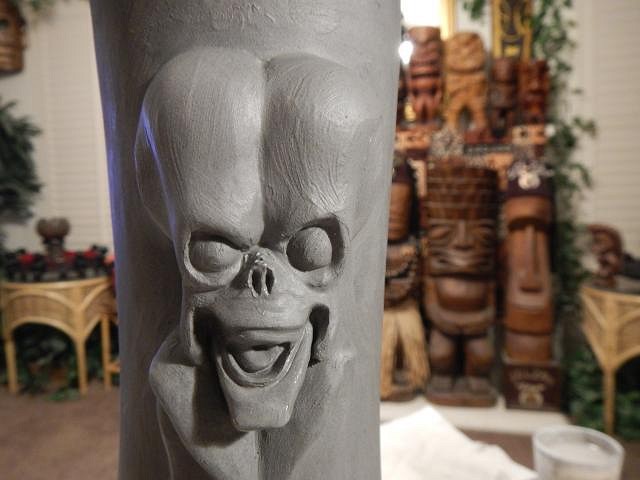
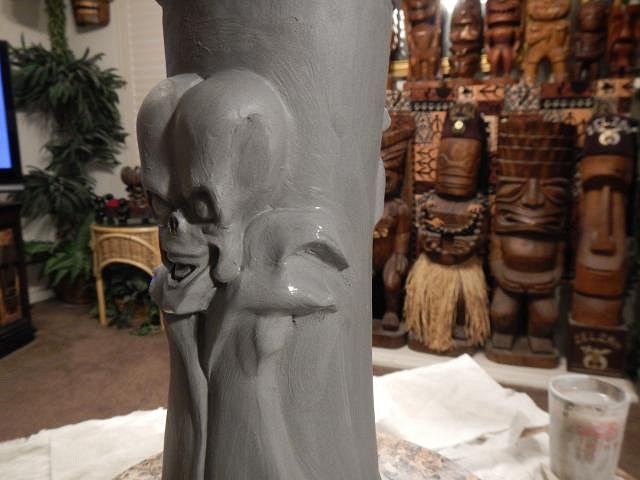
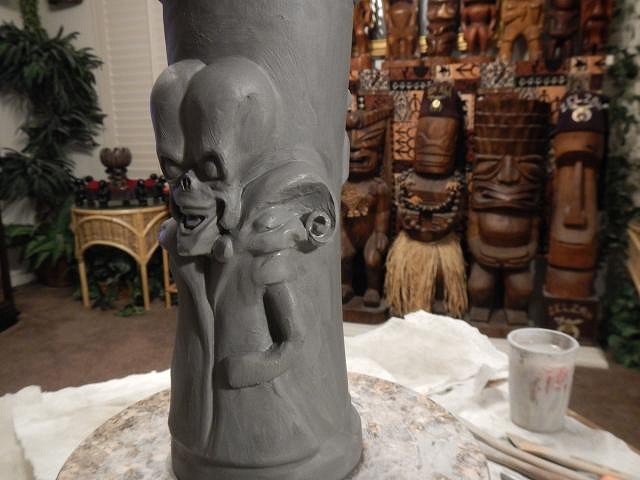
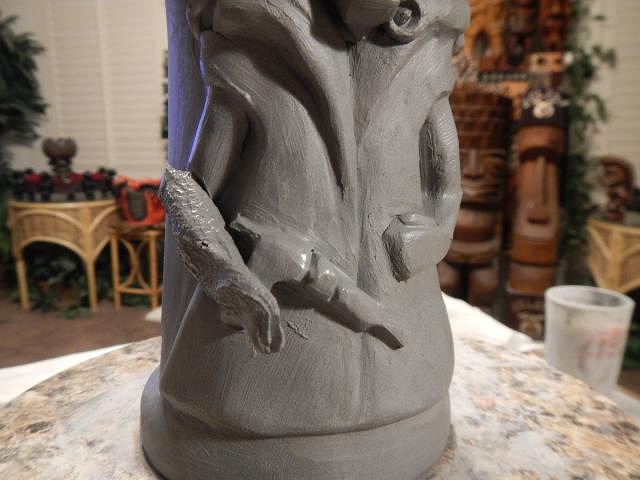
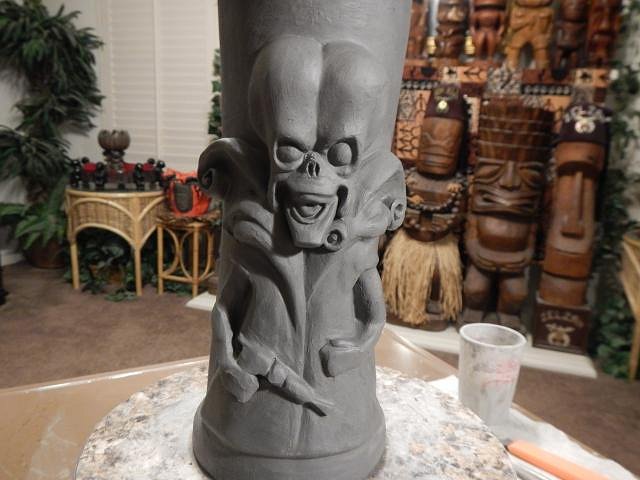
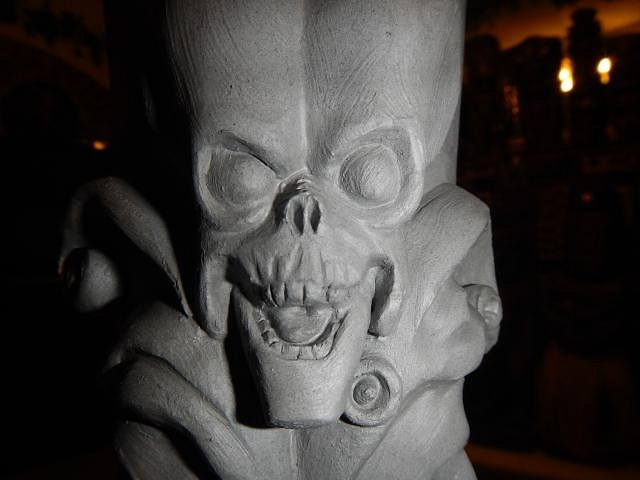
hang10tiki now that's a great photo. Feels like a visit. At least they had that tiki. I will check out your finds next. =========================== Wish List #7 the Mars Attacks! male mug continues with the head. This head has so much detail and is so small that I do it with sticks and stones and a tiny paint brush. Here are a FEW of the steps.
It's all so much fun as it begins to look at me. Wendy |
|
H

hang10tiki
Posted
posted
on
Sat, Feb 4, 2017 8:02 PM
He looks Kool Next stop
Posted more pics on Critiki Worst sound ever, slurp of an empty tiki mug through my straw!!! [ Edited by: hang10tiki 2017-02-04 20:03 ] |
|
D
danlovestikis
Posted
posted
on
Sun, Feb 5, 2017 6:44 AM
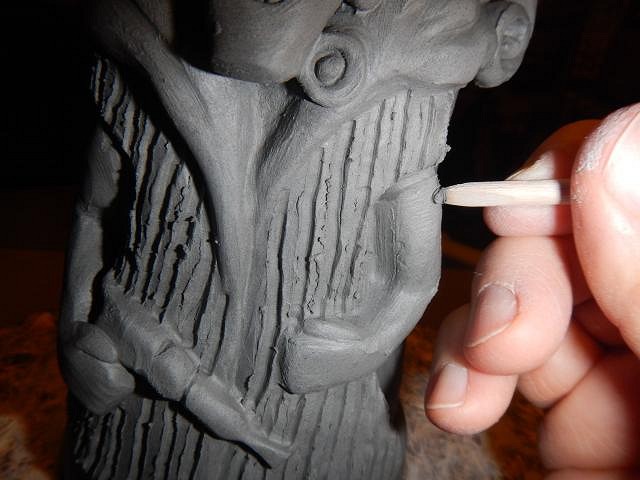
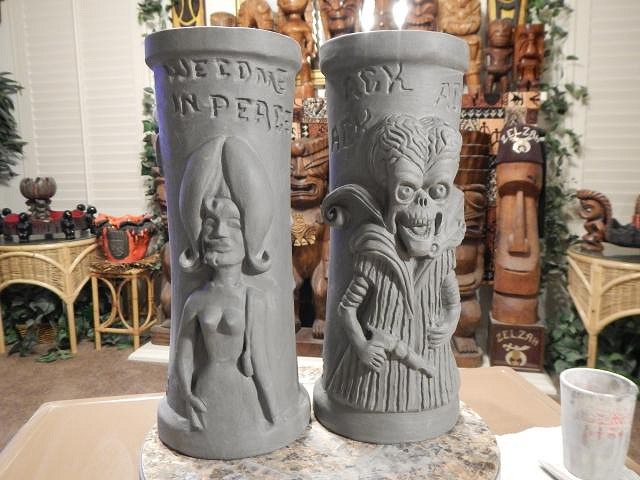
hang10tiki those are wonderful photos and I feel like we got to go with you. I remember it well. Bamboo Ben did the re-model to make it look like it never happened. =================================== Wish List #7 MARS ATTACKS! male mug. It takes days to do this work. I build it with soft sticky clay and then a day later I carve the clay now that it is firm.
This photo best shows how mushy the clay is when I put it on the mug.
Done and ready to pose.
Another fun project. On to the next Wish, Wendy |
|
H

hang10tiki
Posted
posted
on
Sun, Feb 5, 2017 4:22 PM
Wow Last day Funny
Great bar More pics on critiki Cheers Worst sound ever, slurp of an empty tiki mug through my straw!!! [ Edited by: hang10tiki 2017-02-05 16:23 ] |
|
T
TikiAno
Posted
posted
on
Sun, Feb 5, 2017 11:01 PM
Wendy, wow, that Mars Attacks carve is brilliant, amazing details. Can't wait to see it progress. Jon, great photos and sounds like a great trip. |
|
D
danlovestikis
Posted
posted
on
Mon, Feb 6, 2017 7:15 AM
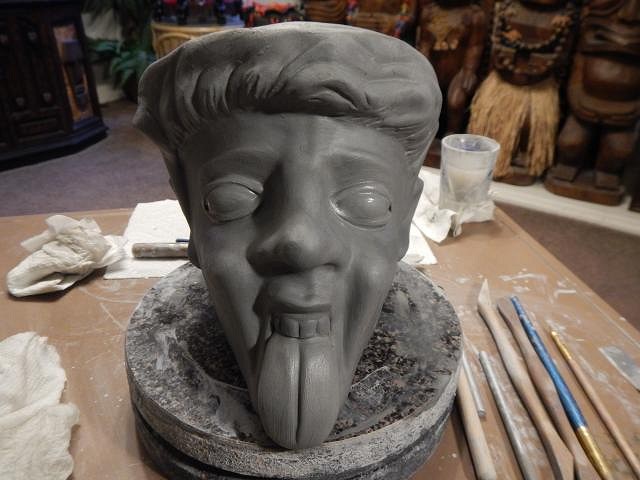
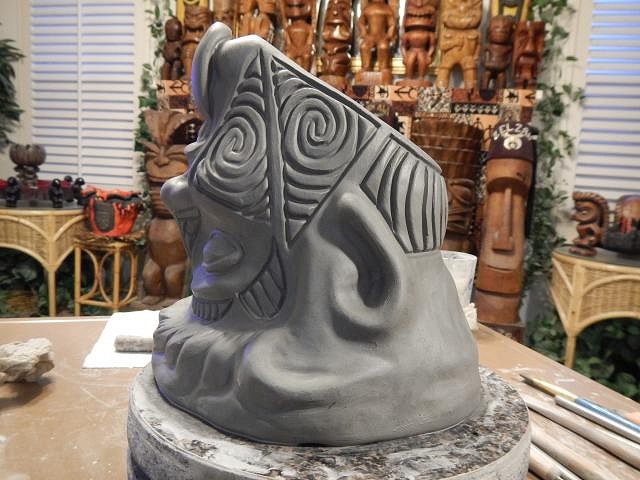
hang10tiki we rarely go to bars so this is a treat to see these photos. One day you'll come here to see the Jungle Bird and our home. TikiAno thank you so much. I have a project coming up that was even harder to make it work but not near the detail. ========================= Wish List #7 another mug for Dan so that he'll keep on working for me. I enlarged the teeth and tongue.
Bulging eyes with lids. It's good to check your work from different angles. All done and posing.
One by one I am progressing through the Wish List and making the Sacramento Crawl mug (as shown on page one of this thread). I am going to try to start 3 months early from now on. It's fun to post each project as one post rather than spread out. But one day my posts will catch up. I almost forgot to post these to show the two MARS ATTACKS! mugs together. Husband and wife just like Dan and I!
Wendy [ Edited by: danlovestikis 2017-02-06 07:21 ] |
|
H

hang10tiki
Posted
posted
on
Mon, Feb 6, 2017 7:42 AM
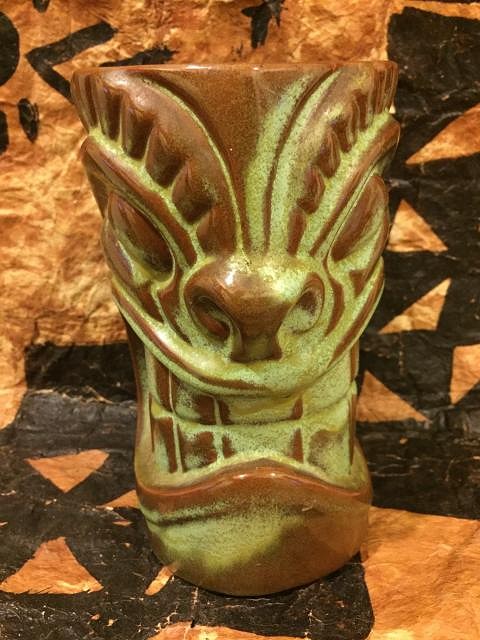
Ano- it was quick but fun Dan-0 picked out another good mug When it rains it pours
|
|
D
danlovestikis
Posted
posted
on
Mon, Feb 6, 2017 9:05 AM
hang10tiki Unbelievable. Did you find it in Las Vegas? So few were made that this is indeed special. The best deal we ever got was in Reno, NV and it was $40. But most have cost us $600 each. A read one sold on eBay for $1,000 a few years back. I wish I could do that glaze. The fire burnt up all the formula's that they had so Donna Frank just made them from memory. Even Joniece couldn't do them later on. Congratulations, even the glaze is beautiful on your find. |
|
H

hang10tiki
Posted
posted
on
Mon, Feb 6, 2017 12:17 PM
Thanks Wendy :) |
|
D
danlovestikis
Posted
posted
on
Tue, Feb 7, 2017 8:14 AM
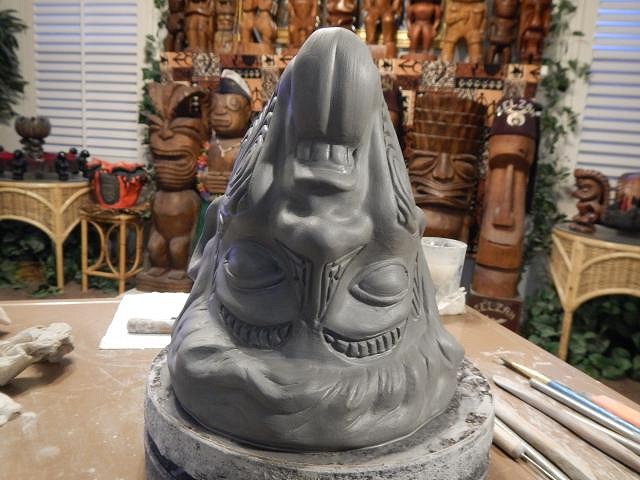
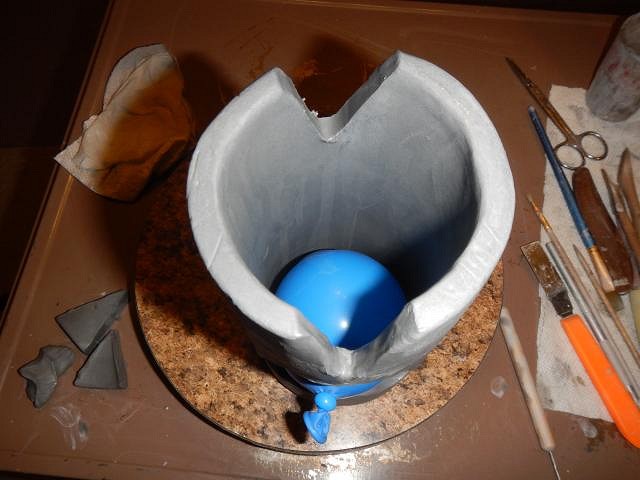
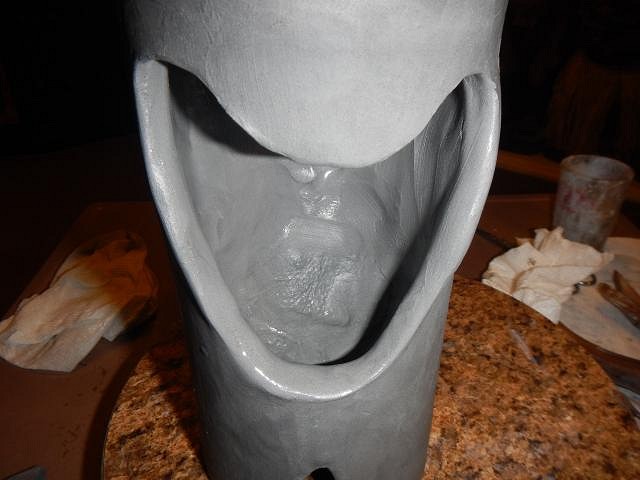
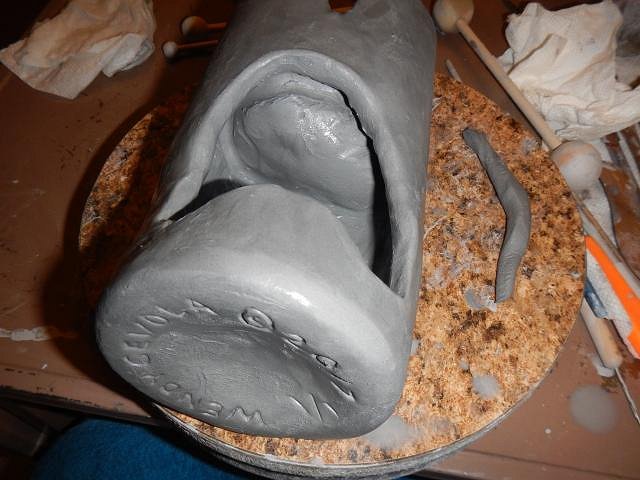
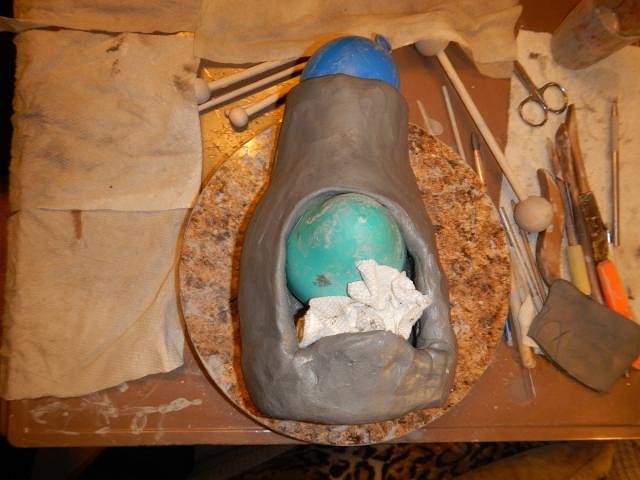
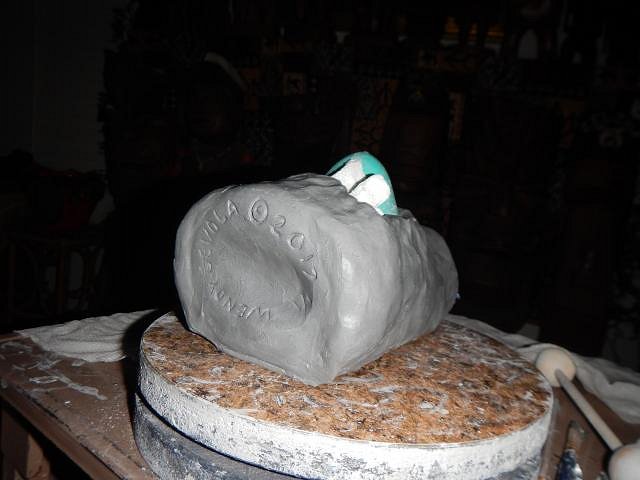
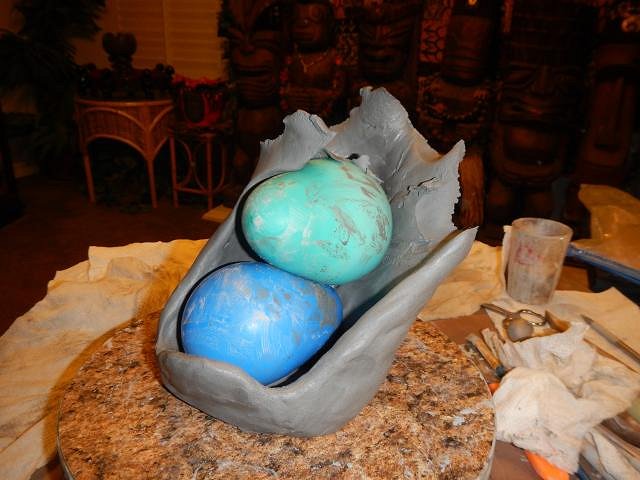
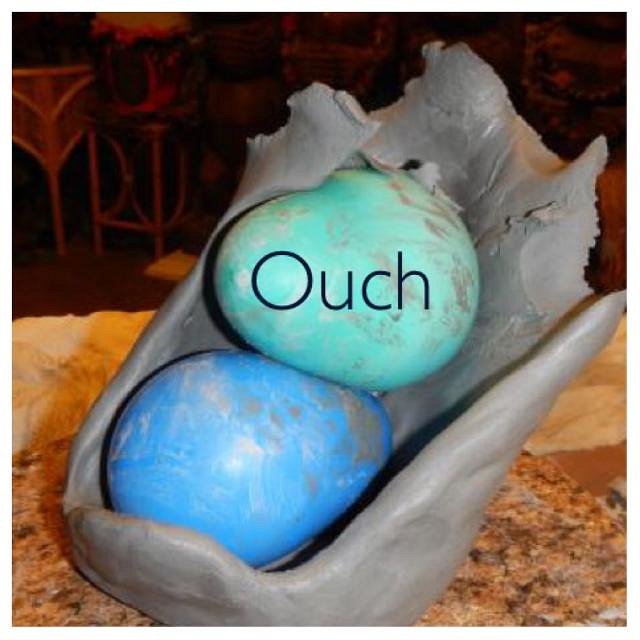
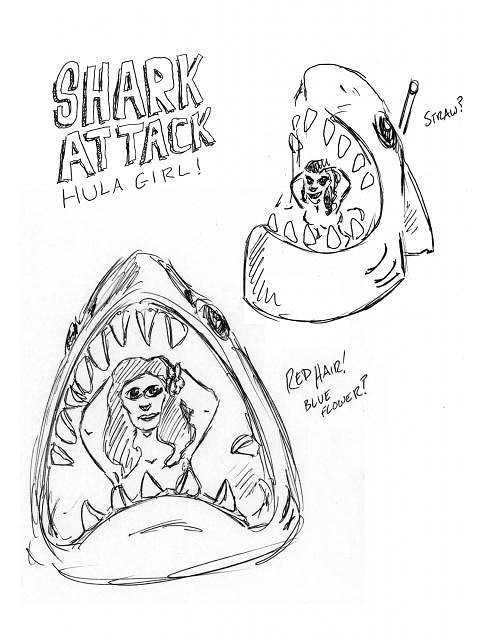
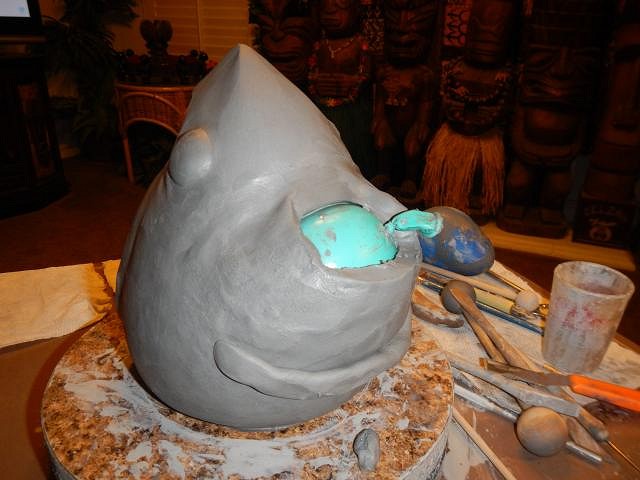
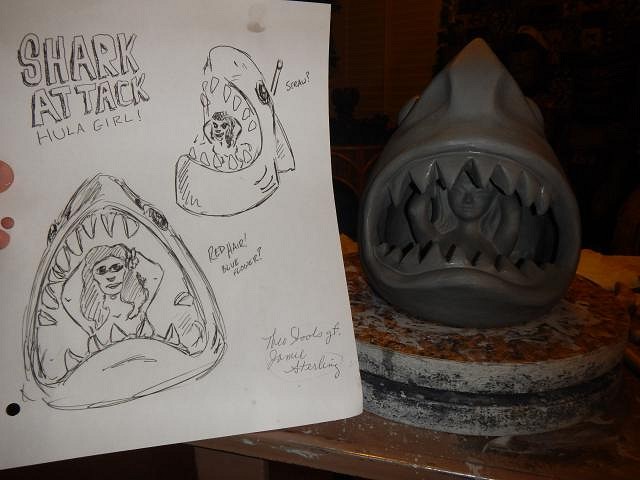
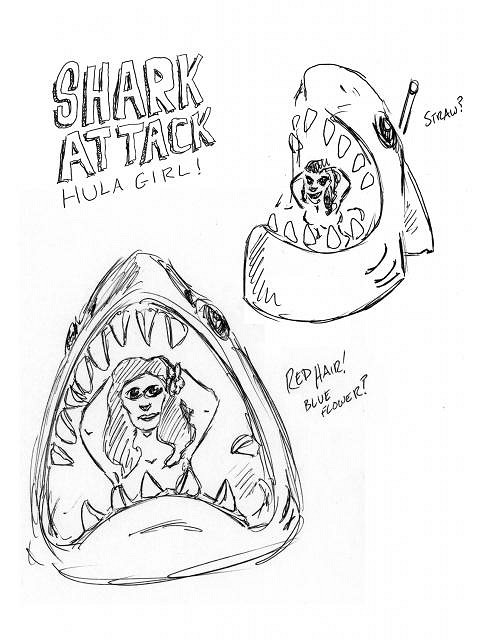
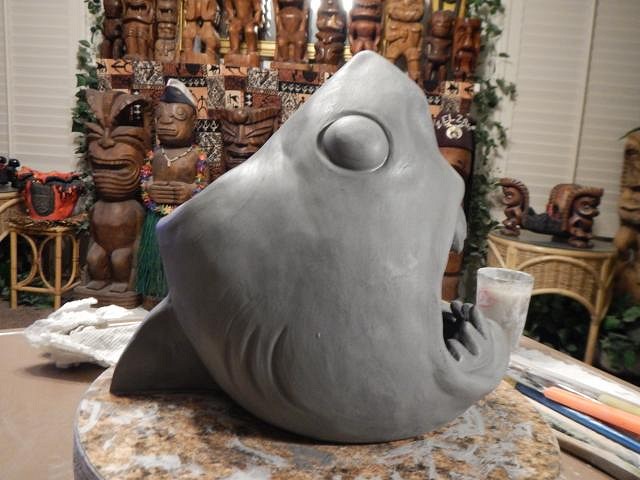
hang10tiki I am so happy that you have one in your collection. It is a treasure. ========================= Wish List #7 a Shark Attack mug. Oh how funny first it was Mars and now it's a Shark! Jamie aka Jay drew excellent pictures of her wish. I started with a nice firm tube mug. I cut out the mouth. This would be an easy project if it weren't also a drinking vessel. I needed to make a floor so that half the mug could hold a beverage. So with a balloon in place to hold the clay I began to press in the floor. I removed the balloon to see how it was working. So so but the whole mug was stealing water from this clay and becoming limp. I used more balloons to hold it up while I started to build the sides. I lay it on its back and added a paper towel to hold up the lower jaw. I left it overnight to firm up. The next day I looked at it and said to myself that this isn't working. Time to quit and to scrap the clay. I learn from every failure. I have since figured out how to do this project which I will share tomorrow. Clay days are the best days. |
|
H

hang10tiki
Posted
posted
on
Tue, Feb 7, 2017 7:56 PM
|
|
H

hang10tiki
Posted
posted
on
Tue, Feb 7, 2017 7:56 PM
sorry [ Edited by: hang10tiki 2017-02-07 19:57 ] |
|
D
danlovestikis
Posted
posted
on
Wed, Feb 8, 2017 9:30 AM
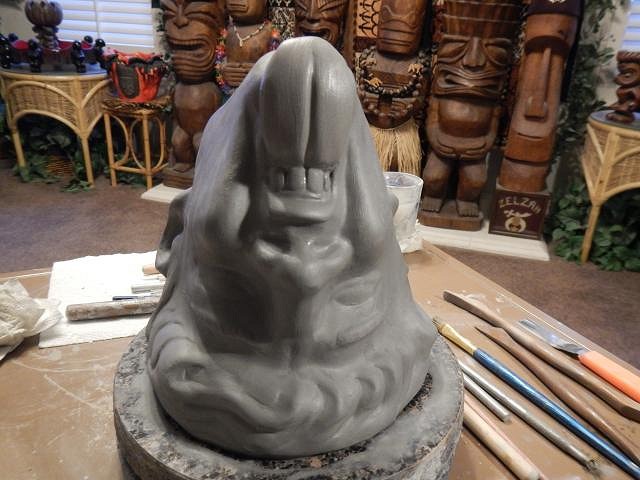
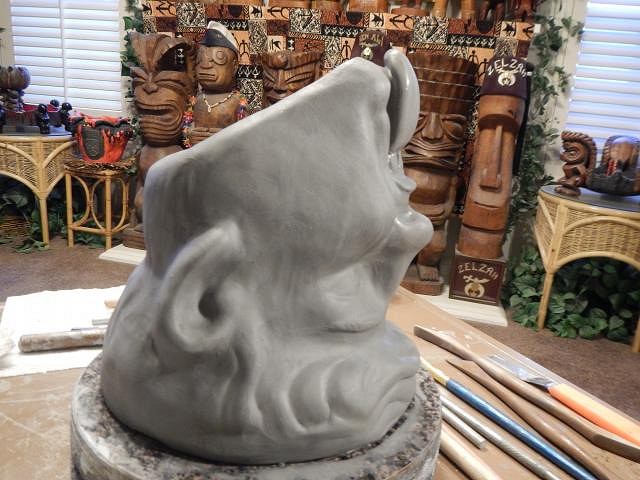
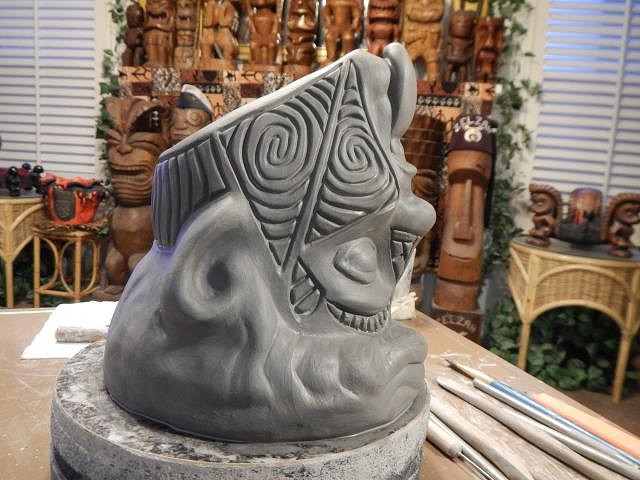
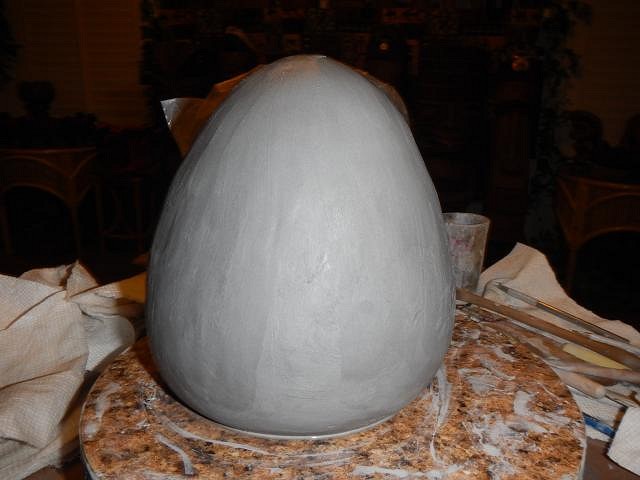
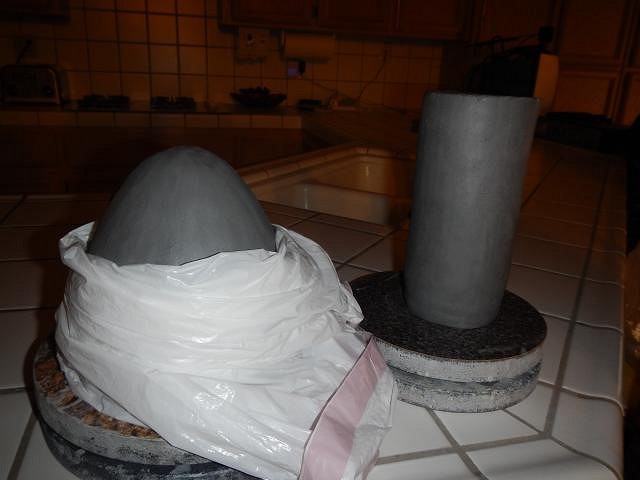
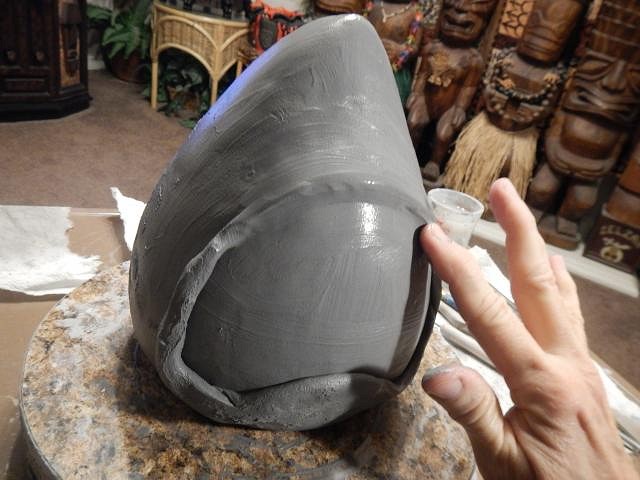
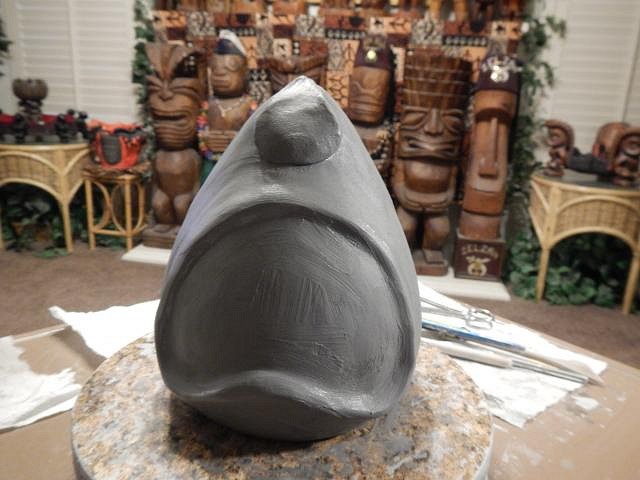
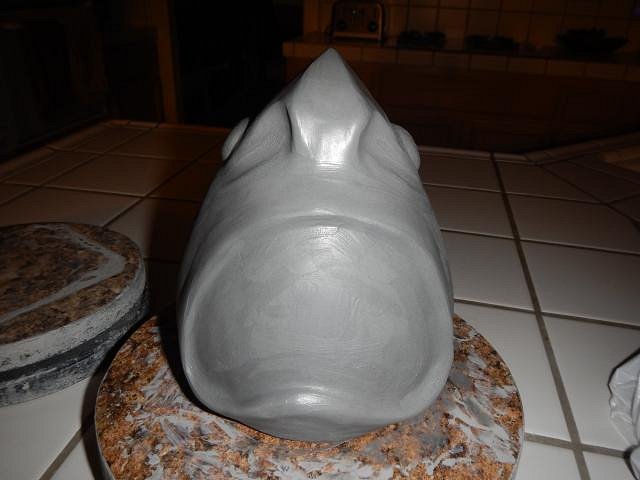
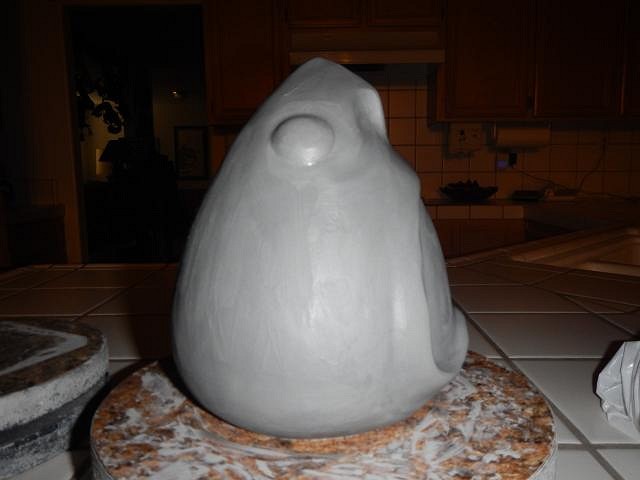
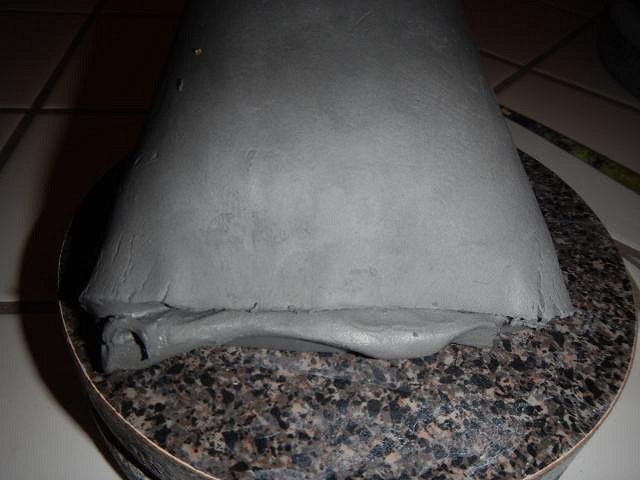
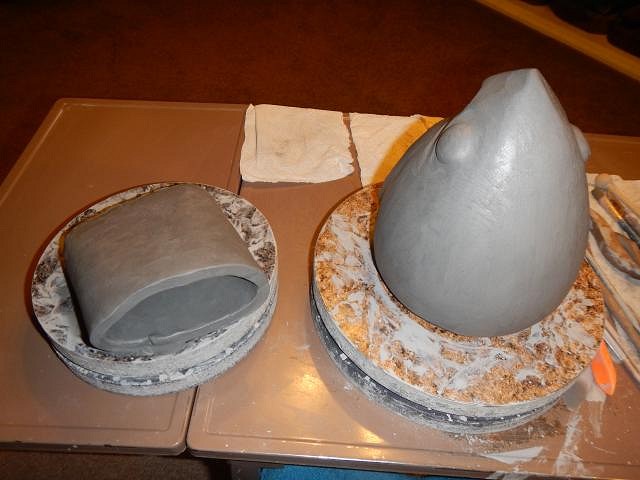
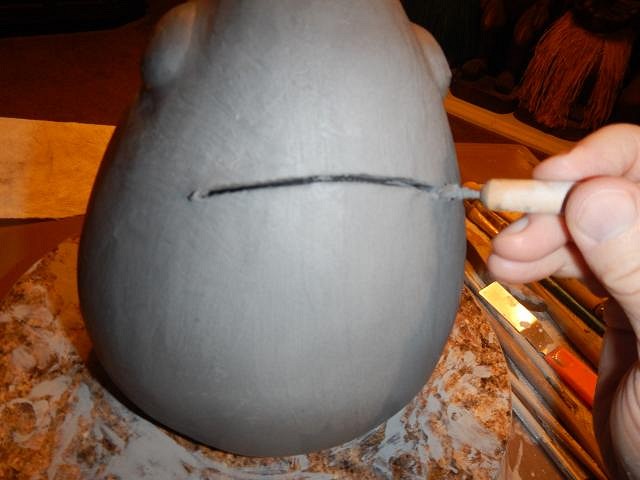
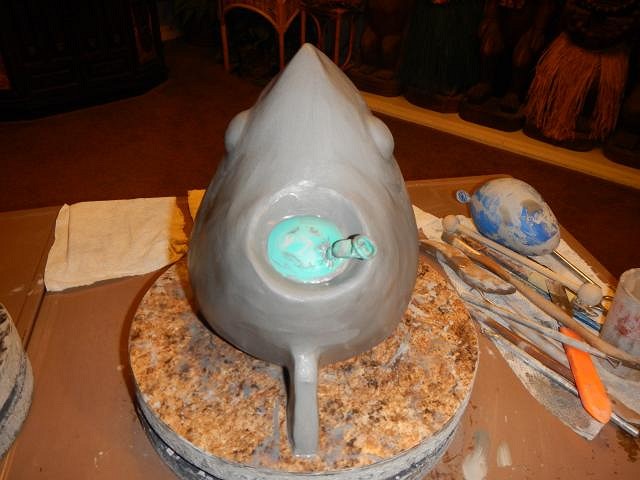
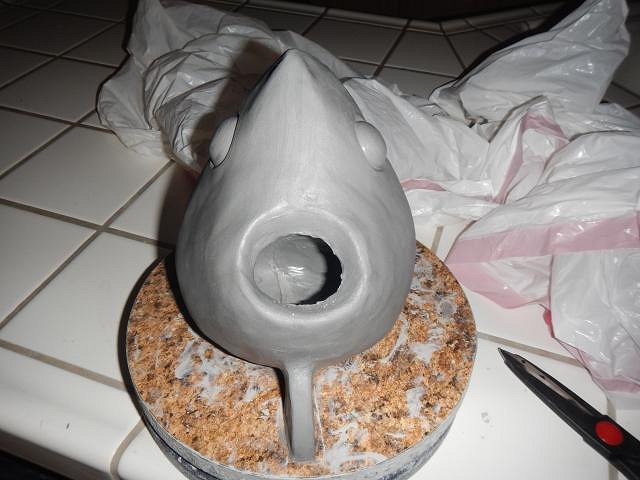
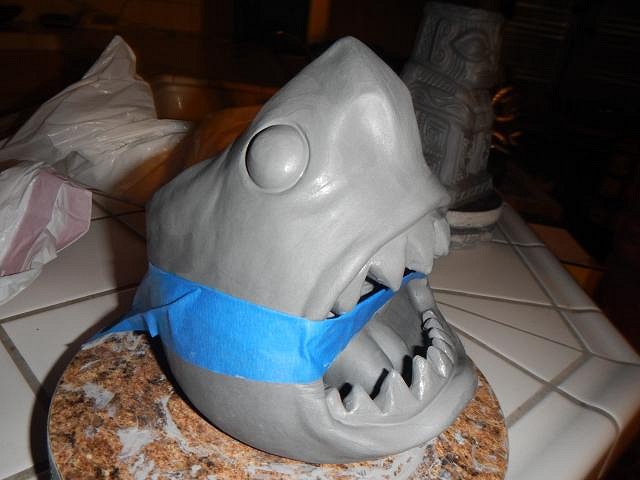
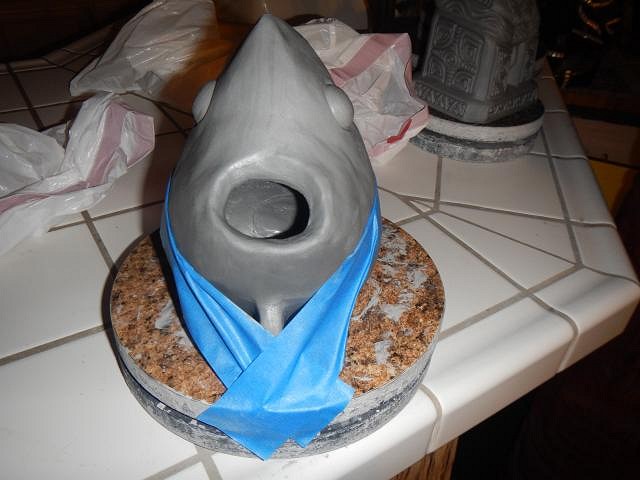
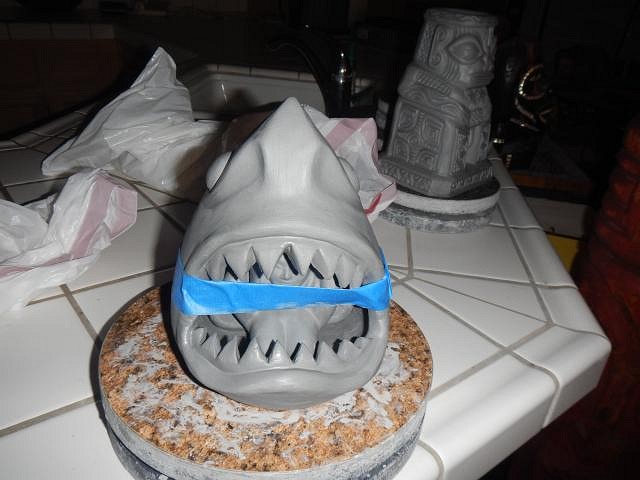
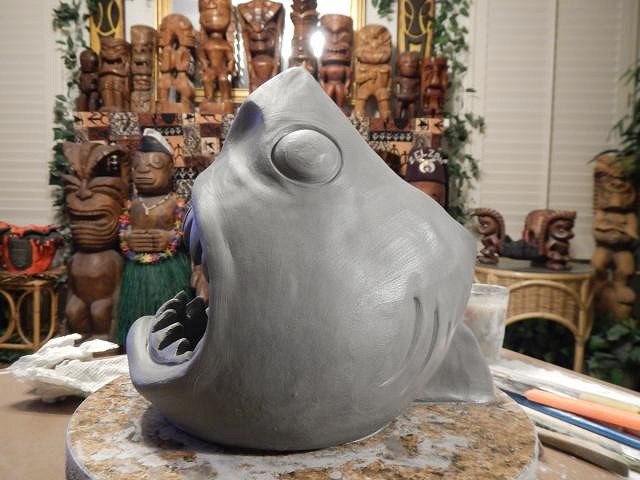
hang10tiki it's OK, it gave me something to show that ceramics are hard work. Hey I was looking at your photos again and thought of something cute. ============================== Wish List #7 I'm starting over on the Shark Attack Hula Girl for Jamie Sterling. The only way I could figure out how to do this is to make the mug larger than requested. I hope it works out and that I can make her happy. Her drawings are a big help. I began with these two cast pieces. The tube mug will go inside the shark to make it a mug. I began by adding clay to the top so that I could close it off into a nose. I built it up and then pinched it off. Now I smoothed the top so that as I add clay I won't trap air. I built it up for the nose but I had to stop here to let the clay firm up overnight. Since I would still be nearby I wrapped the sides to prevent drying and left the top exposed for an hour. Then it too was covered. The next day I decided to map out the mouth like the drawing. I just added clay and smoothed it in place. The nose clay was firm enough to add more so I worked to finish it off. Next I added the eyes. Side view. I am now hopeful this will work. I do though need to add a mug inside and a hula girl. Wish me luck. Wendy |
|
H

hang10tiki
Posted
posted
on
Wed, Feb 8, 2017 10:57 PM
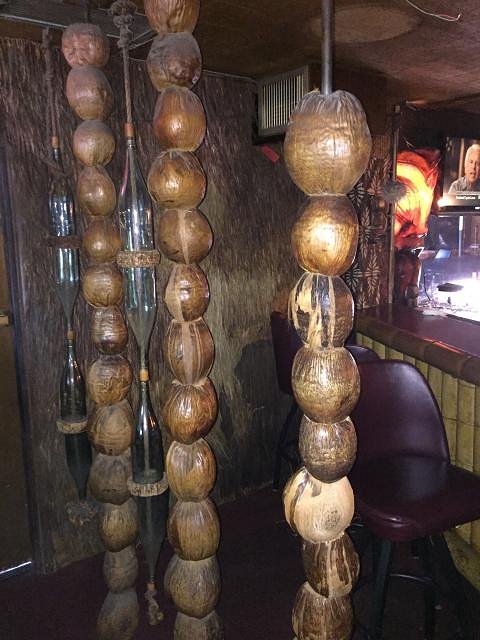
Coconut banks Love this pic
|
|
D
danlovestikis
Posted
posted
on
Thu, Feb 9, 2017 8:07 AM
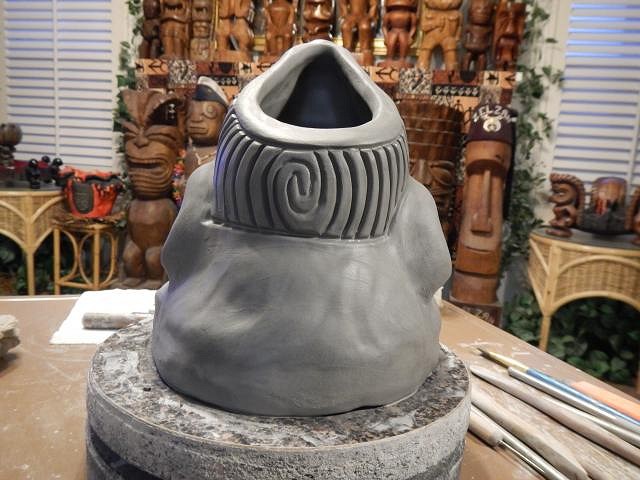
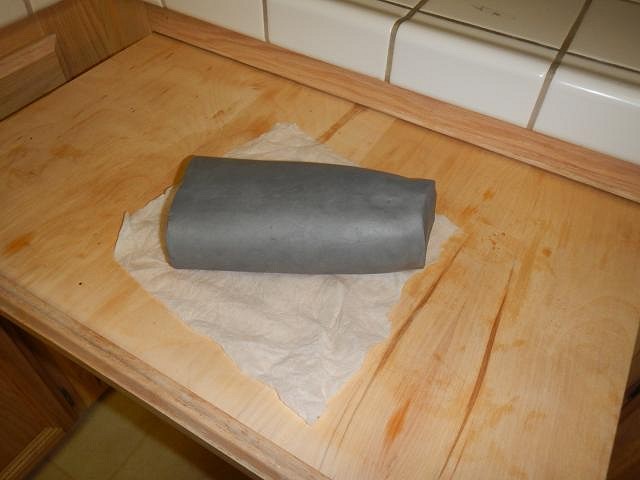
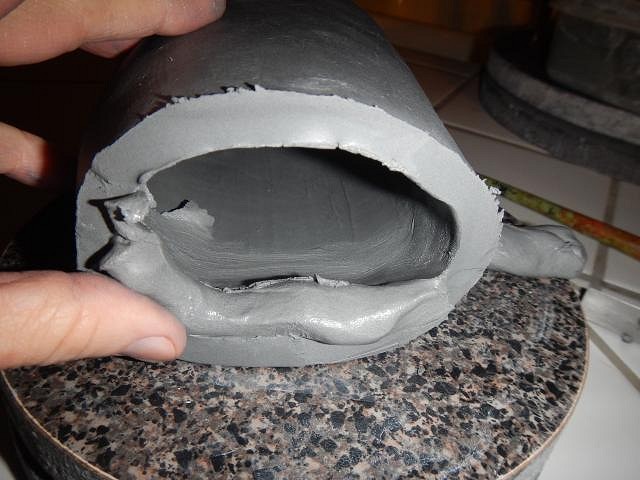
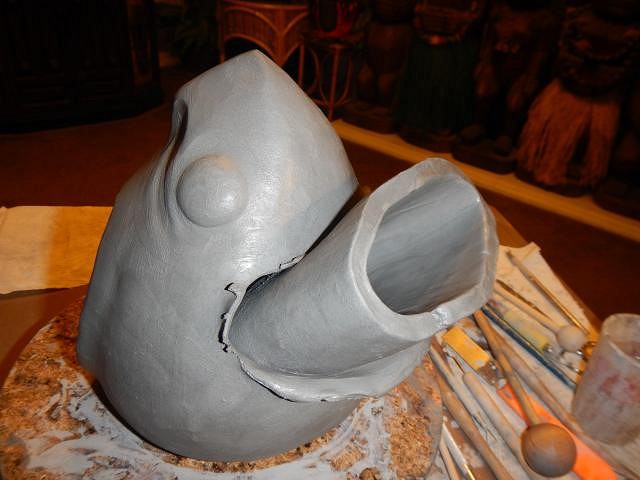
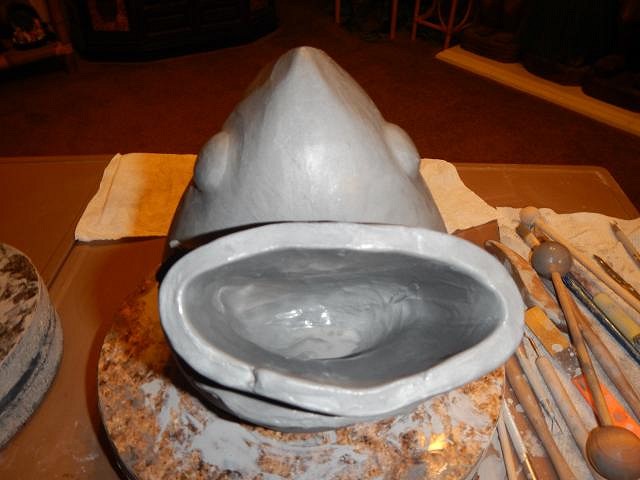
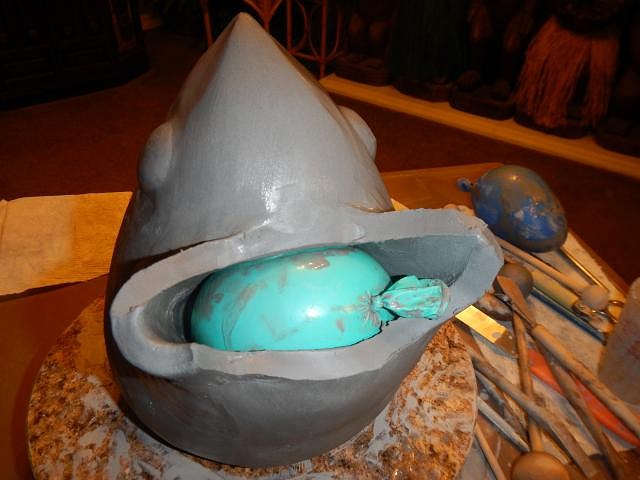
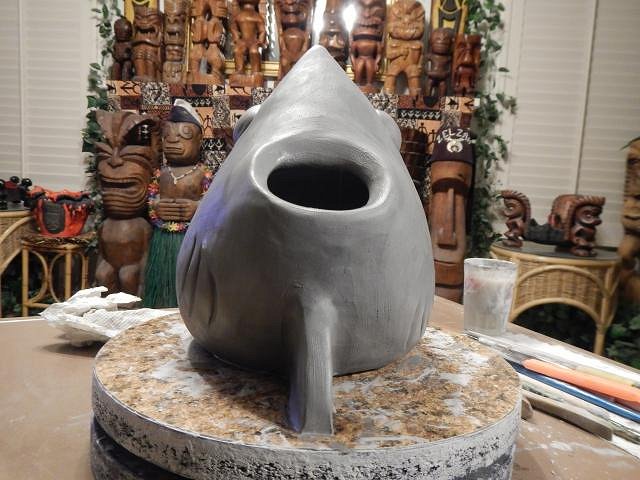
hang10tiki I was at Goodwill yesterday and they wanted $7 for one of the coconut monkey banks. They used to be a dollar. I like your photo. I'm going to keep looking for $1 banks. ============================== Wish List #7 the Shark Attack Hula Girl mug continues with the building of the drink pocket. Drawing by Theo Stool on facebook. Check out his site. The stool goes everywhere and meets famous people too! I took the tube mug cast and rolled it on the bread board to soften up the clay. I cut off one end to make it shorter. I put some sticky clay along the edge. (sticky clay is clay mixed with slip) I pressed the edges together and smoothed the inside of the pocket with a wet ball on the end of the stick. So I am ready to put the pocket into the back of the sharks head. This is where I might trap air and if I do then this will explode in the kiln. I used the sharp stick to cut a hole the shape of the pocket. Close as I can make it. Next I shoved it into place. Here is a top view into the drink pocket. I placed a balloon inside to prevent it from collapsing. I pinched the sides together and cut them off. The weight of the pocket needed more support so I started adding clay to the back of the head. Thank you for the visit. This mug has a lot more steps to come. Wendy |
|
H

hang10tiki
Posted
posted
on
Thu, Feb 9, 2017 5:49 PM
He looks hungry |
|
D
danlovestikis
Posted
posted
on
Fri, Feb 10, 2017 7:19 AM
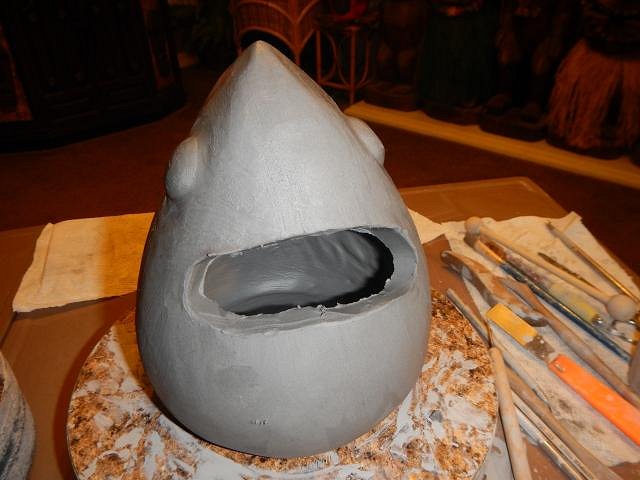
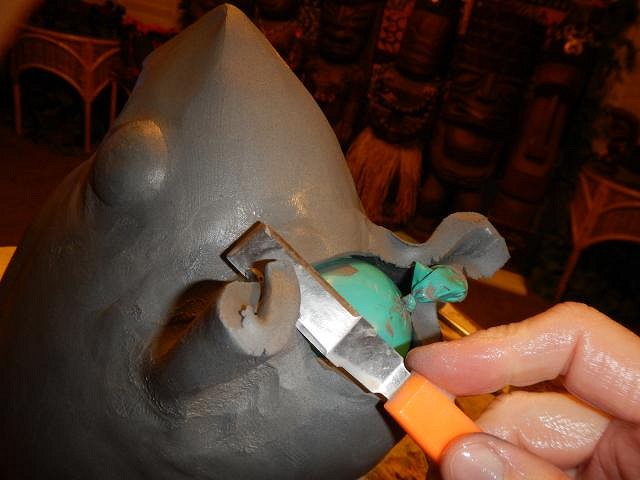
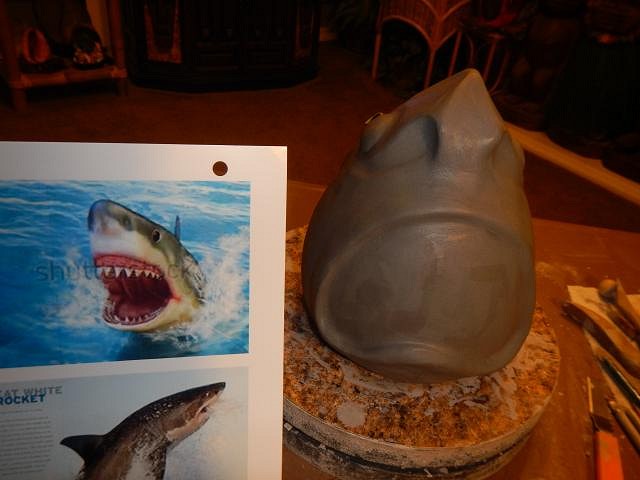
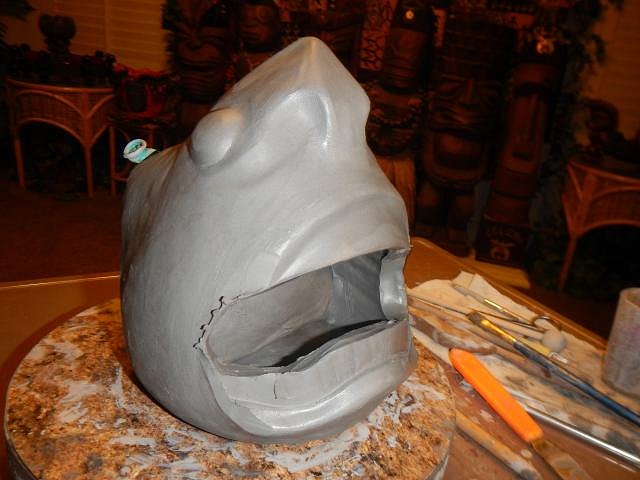
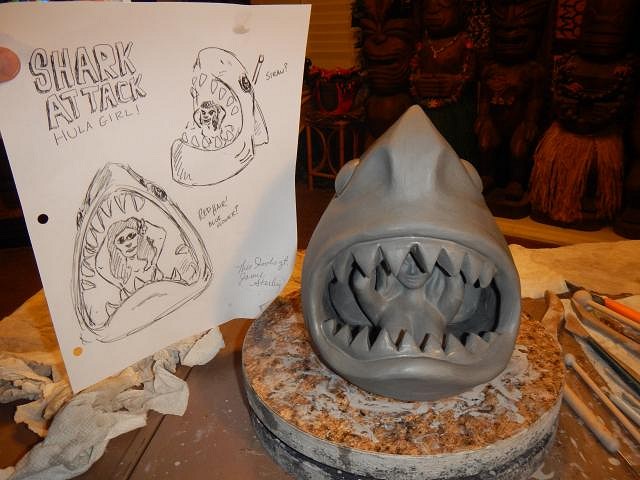
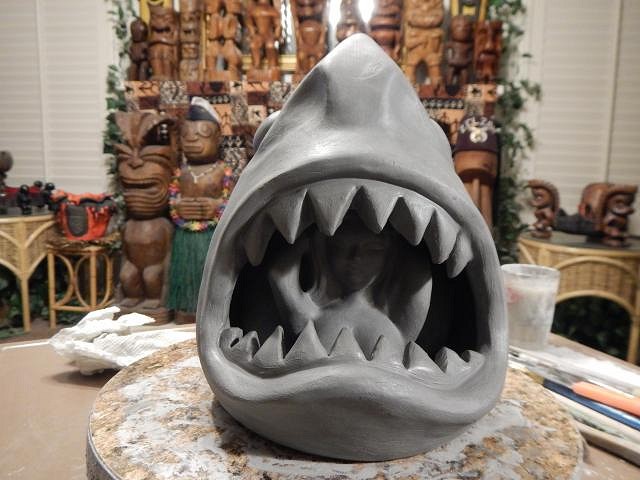
hang10tiki I better show you his mouth then. ========================= Wish List #7 more steps for the Shark Attack Hula Girl for Jamie Sterling. I worked on the opening and eventually I will pop the balloon. I added the top of the dorsal fin. If dorsal isn't right then it's the top one. I want to get the teeth right so I looked at photos of real sharks. Now I cut the opening to the mouth leaving clay at the top and bottom to use for the teeth. At this point I was able to put my hand inside and to smooth the clay at the inside top right under the nose. Looking at a real shark caused me to go back further on the sides. I cleaned up a Hot Tub Hula Girl and fixed the shark lips. I did a magic trick and cut the girl in half. Now I had to fit her into the mouth. It's so wonderful when your measurements are right. Then I began to cut out the teeth. All done. Now I checked the mug against the drawing by Theo Stool. Nighttime. Now I popped the balloon. Tomorrow I'll show what to do if your mug starts to collapse due to the weight at the top. Cheers, Wendy |
|
H

hang10tiki
Posted
posted
on
Fri, Feb 10, 2017 11:57 AM
He was hungry |
|
D
danlovestikis
Posted
posted
on
Sat, Feb 11, 2017 8:22 AM
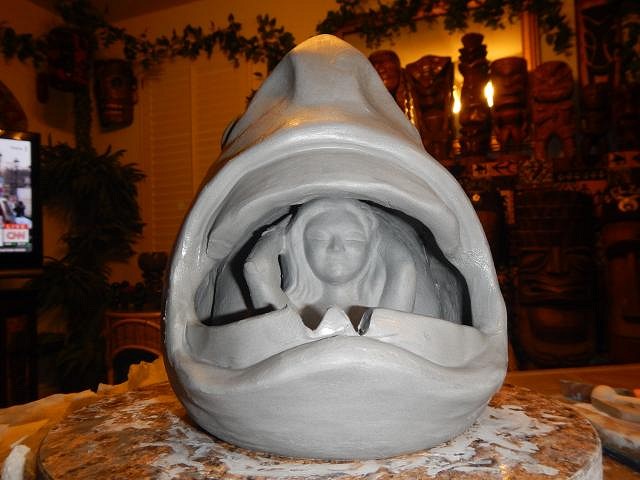
hang10tiki it's just you and me kid! Where is everyone? ============================ Wish List #7 The last photos for now of the Shark Attack Hula Girl for Jamie Sterling.
The shark nose is very thick with clay. It wanted to bend down and crush the girl.
This did mess up the mouth but I just fixed it the next day. This worked really well. All done and posing for your inspection.
Thank you for the visit. How about a comment. hang10tiki is getting writers cramp! Wendy |
|
H

hang10tiki
Posted
posted
on
Sat, Feb 11, 2017 10:42 AM
No writers cramp here, my pleasure. |
|
G
GROG
Posted
posted
on
Sat, Feb 11, 2017 11:34 AM
Good job Wendy. You always work with your clay so much wetter than GROG. Babalu would have sculpted the shark solid, then cut it in half and hollowed it out. GROG has never tried that. It's a scary way to do it, but Babs makes it work. That's how he does his bunnies. [ Edited by: GROG 2017-02-11 11:53 ] |
|
M
MaukaHale
Posted
posted
on
Sat, Feb 11, 2017 8:04 PM
Wendy, You continue to amaze me how you can always make the most difficult projects look easy. |
|
H

hang10tiki
Posted
posted
on
Sat, Feb 11, 2017 9:53 PM
Cheers to U Wendy
Worst sound ever, slurp of an empty tiki mug through my straw!!! [ Edited by: hang10tiki 2017-02-11 21:56 ] |
|
H

hang10tiki
Posted
posted
on
Sun, Feb 12, 2017 7:14 PM
Sunset
|
|
D
danlovestikis
Posted
posted
on
Sun, Feb 12, 2017 7:22 PM
hang10tiki not seaweed? GROG you saved me. I was trying to make a skull and it wasn't working. So I got some firm clay and made a ball and now I'm carving it out. Thank you for sharing this technique. Nice to see you come by for a visit. MaukaHale did it look easy? It wasn't at all but in the end it worked. I still hope it doesn't blow up in the kiln. hang10tiki thank you. ================================ No photos today. I've been organizing my work space in the garage and the kiln shed and then I sanded a full load of mugs and the kiln is firing overnight. So now I'm going to bed and it's 7:15 pm. Good night. |
|
D
danlovestikis
Posted
posted
on
Mon, Feb 13, 2017 6:15 AM
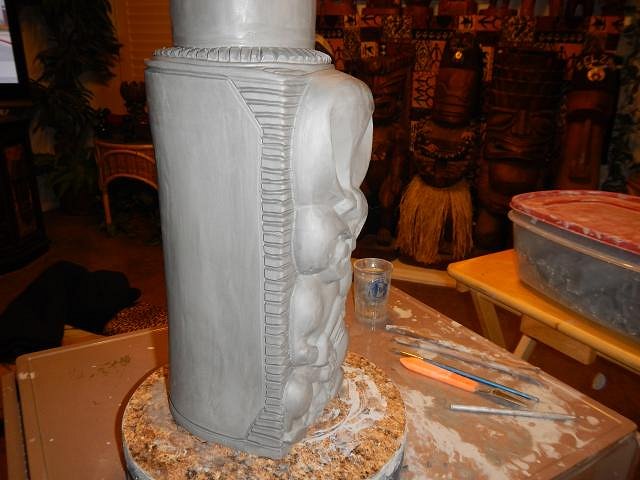
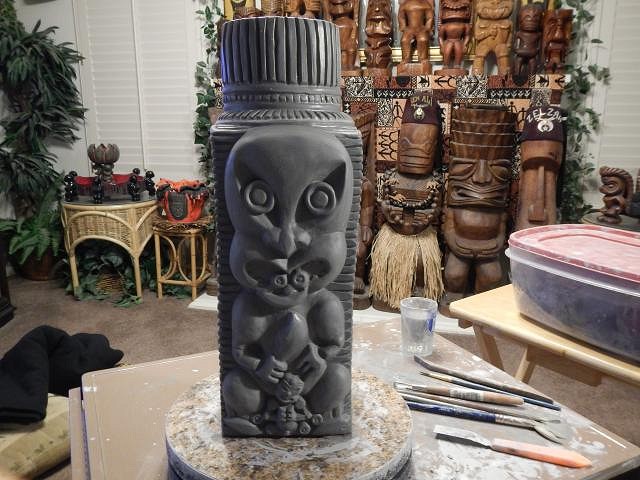
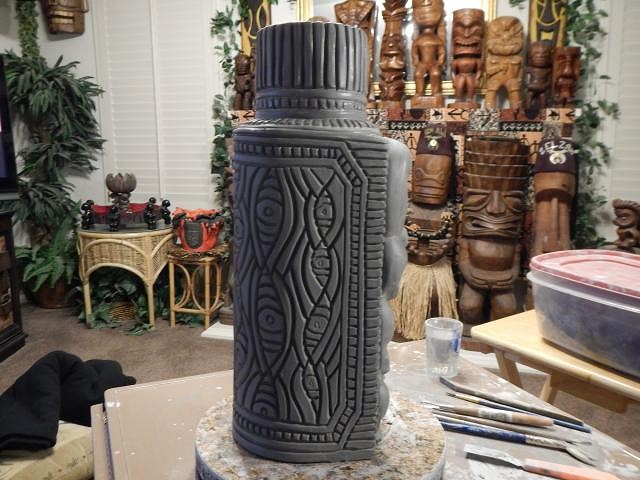
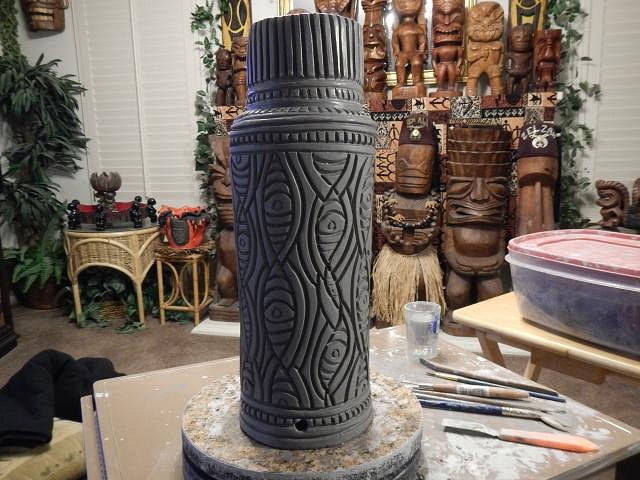
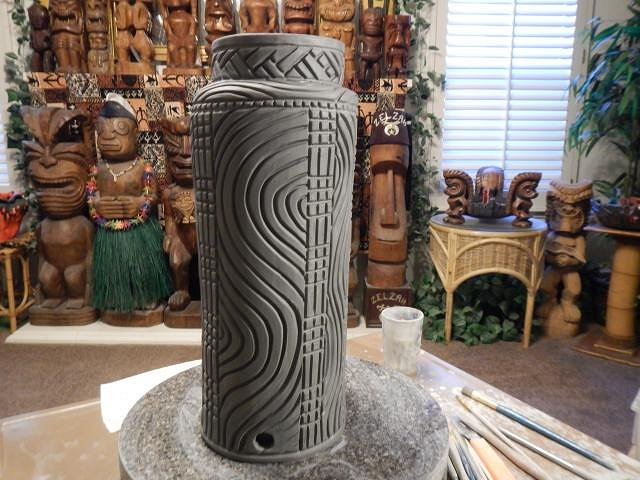
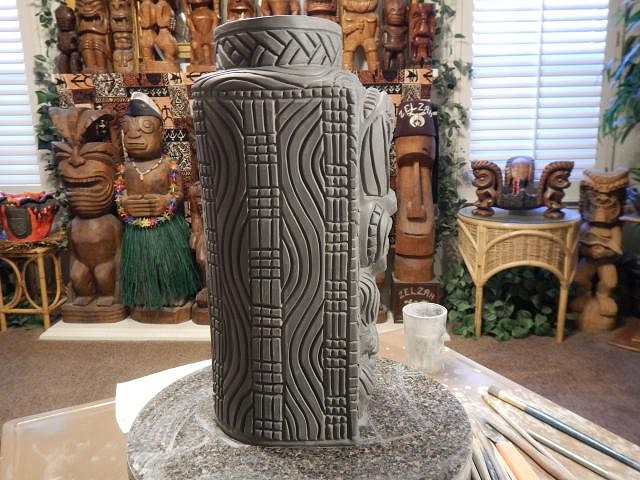
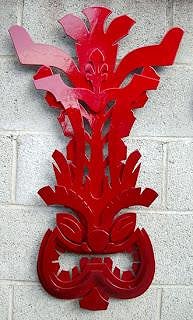
Back during the month of November I worked on making three of my foot tall Maori Lamps. I cast a blank and then carve the lamps so that each one is different. These are not on the Wish List and are for sale. I already posted one but I will show it again. They are around a foot tall and have a removable top. You may choose the color of glaze and then the lamp will become part of the Wish List #7. THIS IS LAMP NUMBER TWO. $250 You choose a color and wire it yourself. I cast a couple of HUGE Maori Lamps but I didn't have any wishes for them so I'll experiment with them. I cleaned it up and started carving the sides. All Done and Posing................................ I decided to add to the eyes. The shadow makes one look tipped back. It isn't. The rest I carved. I place a hole at the bottom for the chord.
I build a removable lid for the top. This makes adding the lamp parts easy. =================================================== LAMP NUMBER ONE. $250 you choose a color and wire it yourself.
All Done and Posing....................................... I added clay inside the eyes also.
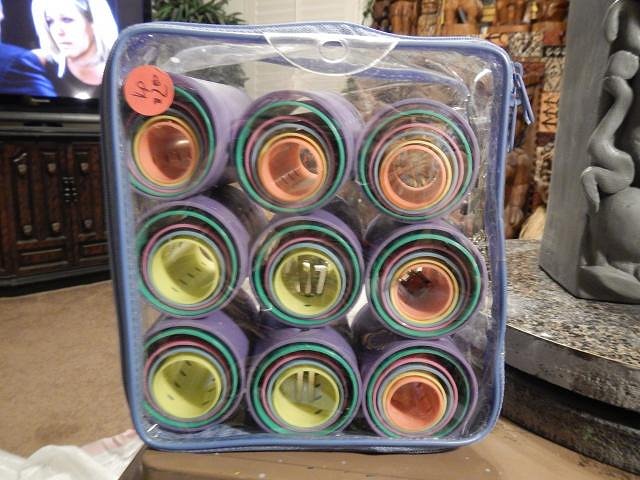
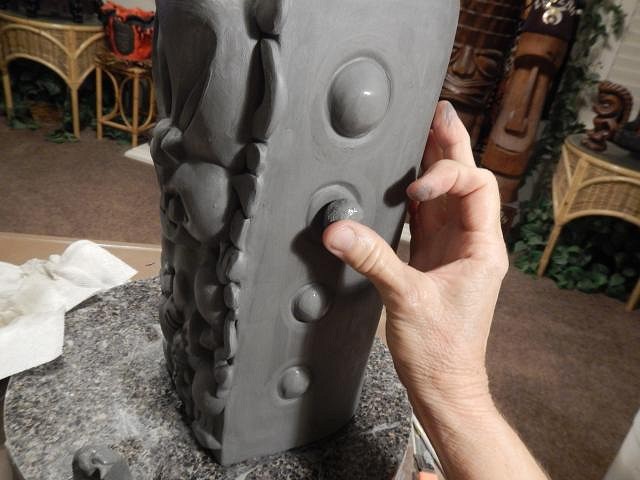
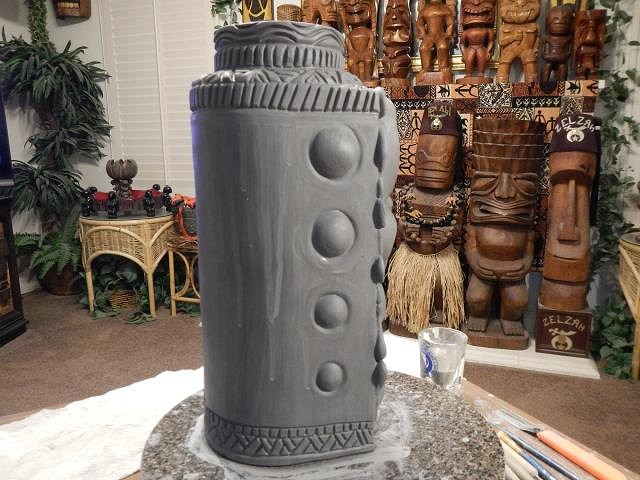
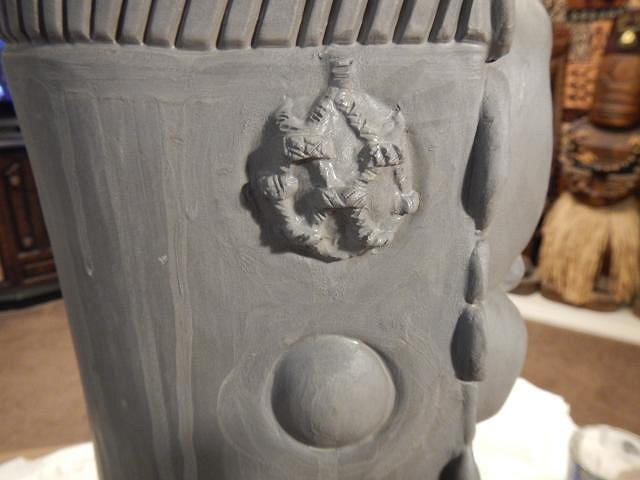
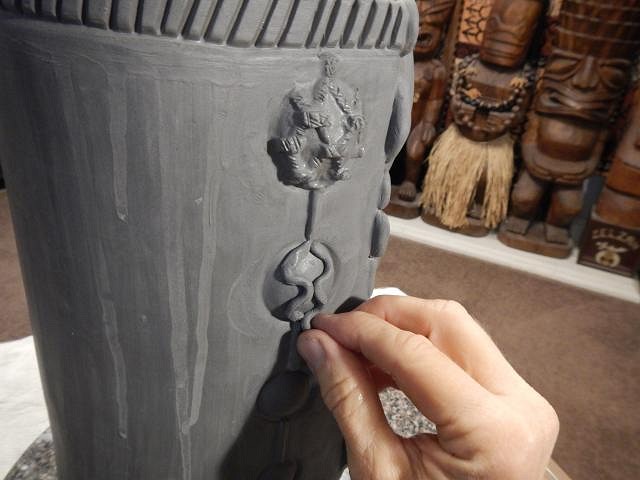
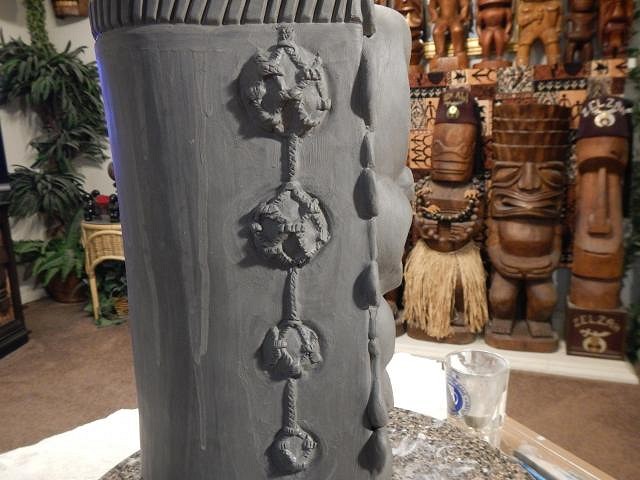
=========================== LAMP NUMBER THREE is the one I worked on for more days than the first two. I added a lot of clay and carved it too. I found a new tool to use with this lamp. Curlers!!! I added a lot of clay to the front and then I used the curlers to make circles to follow for the floats. I filled each circle with clay and smoothed it. I also began the carving. Once the clay was added (on both sides) I let it sit overnight in a plastic bag to firm up and then the next day I added rope. I put it on and later I went back and carved some detail. The rope is done. Then I completed the carving all over the lamp. Done and Posing..............
============================================================ This shows the lamps. I made tops for each of them plus one extra. Well I needed three extras because three of the four cracked.
I will remake the lids soon. If anyone wants one just send me a personal message. Cheers, Wendy PS Thank you Tyber Tiki for asking for thinking up this lamp and asking it to be your Wish a few years back. [ Edited by: danlovestikis 2017-02-13 08:50 ] |
|
D
danlovestikis
Posted
posted
on
Tue, Feb 14, 2017 8:11 AM
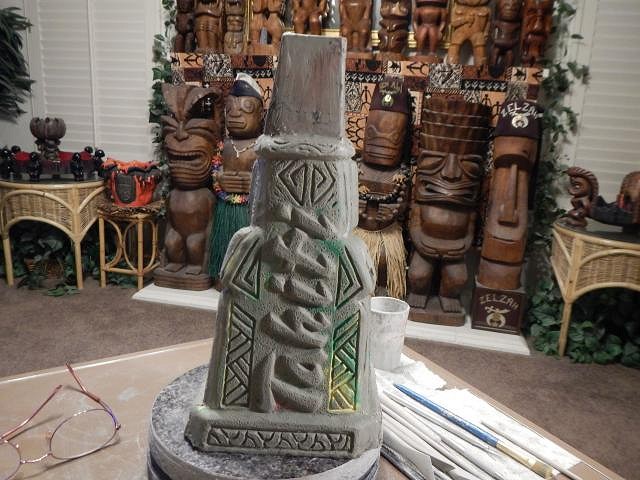
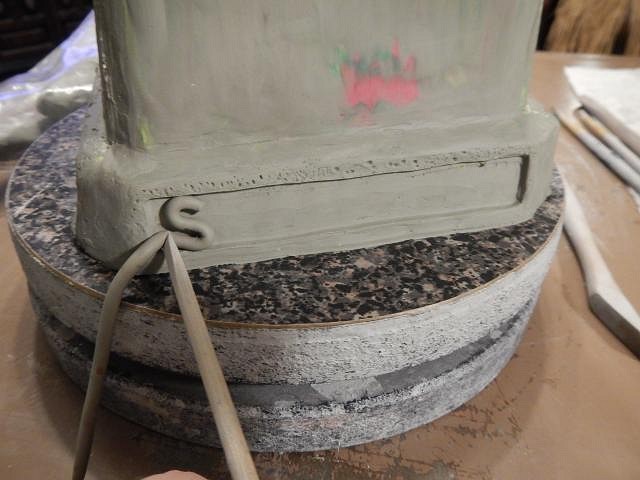
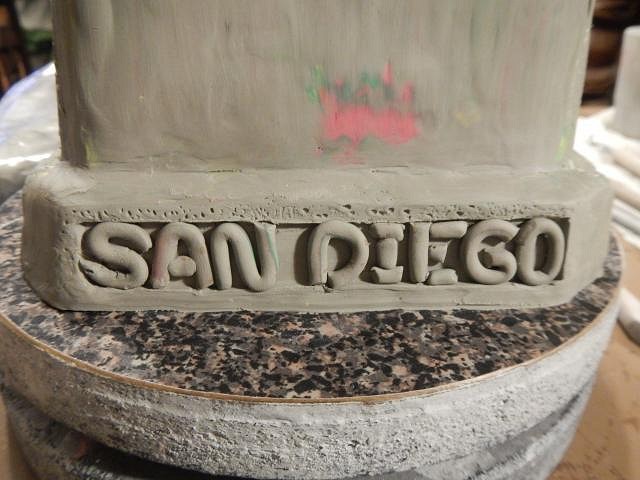
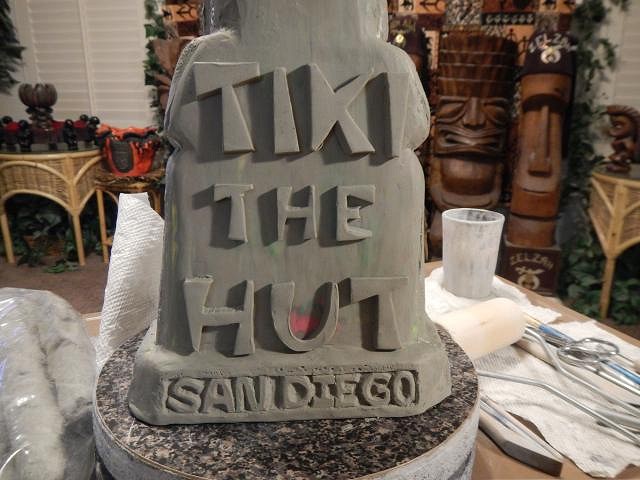
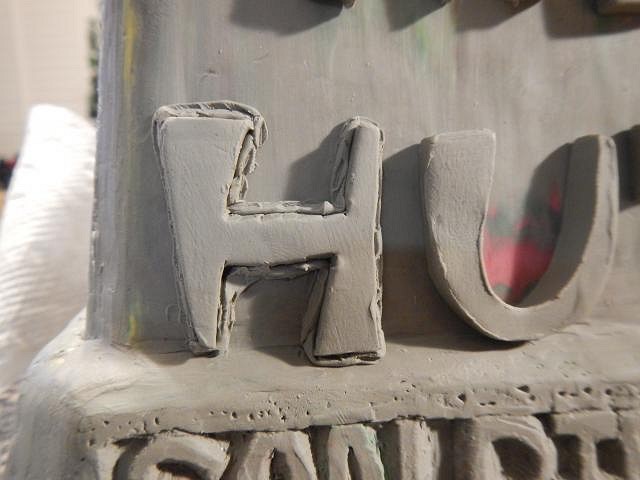
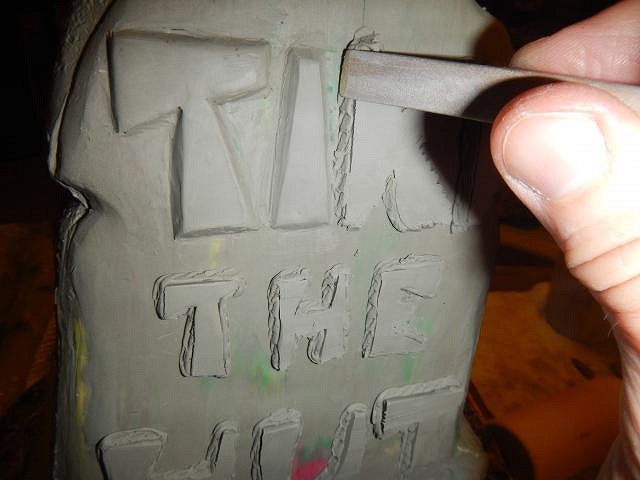
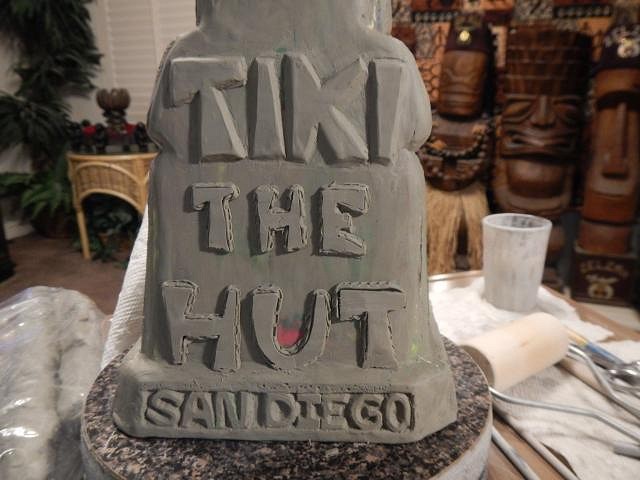
Wish List #7 continues with lunavideogames wish. His idea inspired the Sacramento Crawl mug. I have made the mold for those so now I can modify the sculpture to make his idea. His mug will say Tiki The Hut inspired by Jabba. He wanted a hula girl to represent Leah but I couldn't make it so I could mold it so I did a mermaid instead. What I need to change for his mug is this backside. I removed the detail from the sculpture and started the replacement. When he said he wanted the name of his city I also removed the detail at the bottom to make room. I rolled out snakes and spelled the name. San Diego fit perfectly. Next I used my label scrapper and sliced off the part of the letters that stuck out. Then I used a little stick to press the sides and to make them stick to the back of the tiki. I cut some pieces of the sculptures clay and then rolled them so that they were all the same thickness. I used a spike to cut out each letter. All the letters fit to the back of the tiki. I rolled out a whole bunch of tiny snakes and pressed them along the side of each letter. I did this around every side of every letter. Once they were all secured I cut off the letters to make them less thick. Using this tool where possible I smoothed the side. One done. I did it at a 45 degree angle so that the letters will come out of the mold piece easily. A little detail at the top and this backside is all done. This mug will be for Treg's aka lunavideogames home tiki bar. Cheers! Wendy |
|
D
danlovestikis
Posted
posted
on
Tue, Feb 14, 2017 12:56 PM
|
|
H

hang10tiki
Posted
posted
on
Tue, Feb 14, 2017 7:07 PM
Those lamps are HUGE Luna's home bar mug is Lookin sweet Happy Valentines Day u 2
|
|
D
danlovestikis
Posted
posted
on
Tue, Feb 14, 2017 7:49 PM
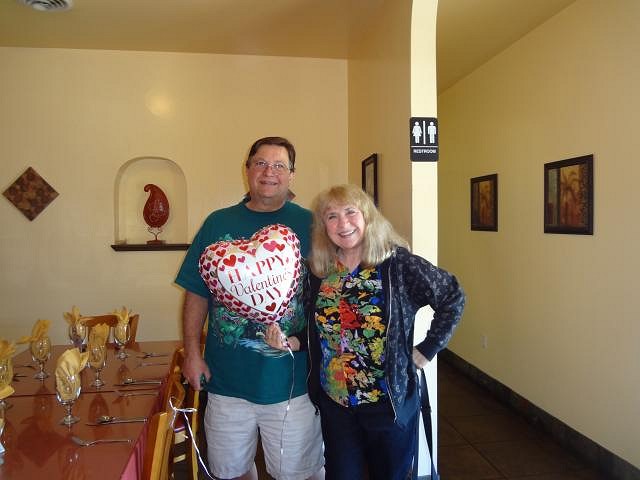
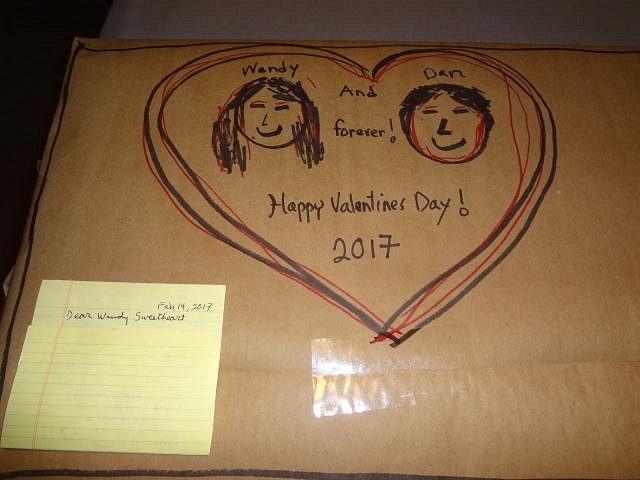
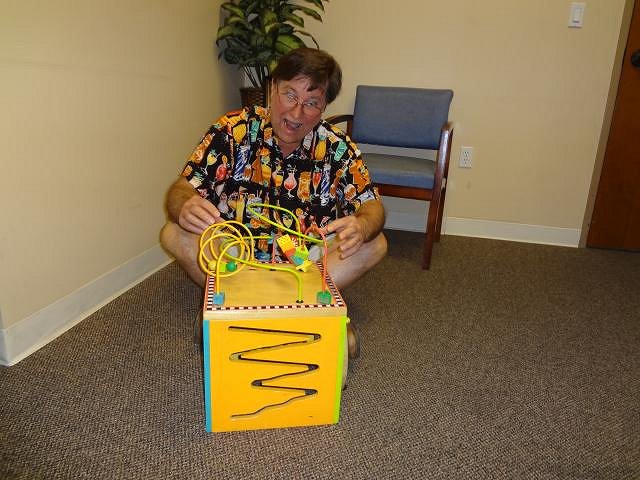
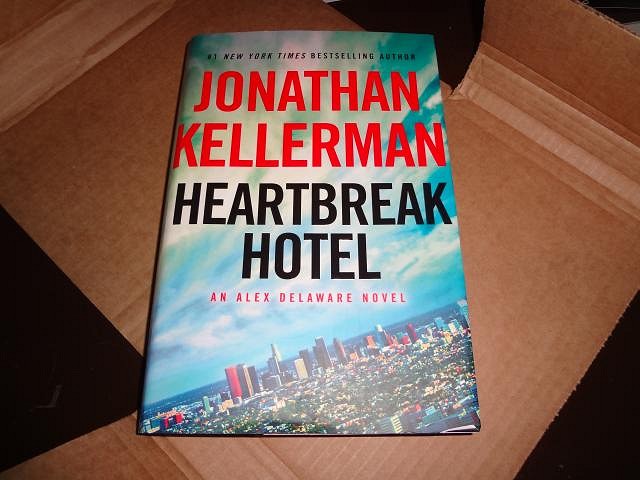
Thank you for all the valentines hang10tiki. The lamps are large. ======================== Here's the rest of our Valentine's day activities. For all occasions what I want is a love letter from Dan. This time he surprised me with his artistic ability. For the past 3 weeks at night I have an irregular heart beat and a couple of fingers and a thumb that go numb. I had an EKG today and it was normal. It's not night. So I get to wear a halter monitor next week for 24 hours. After that I was diagnosed with left carpal tunnel from all my clay work. So the doctor ordered a brace for me to wear at night. I get fitted next week. I'll hope I don't have to have surgery like I did have on the right side. Dan kept entertained in the waiting room while I was having my test! I got home and a book I ordered was on the front porch. Funny title for today. A wonderful day all round. I wish you all to have wonderful days. Wendy |
|
L
lunavideogames
Posted
posted
on
Wed, Feb 15, 2017 12:44 AM
Wendy I am excited to see how my idea will turn out. Thank you for spending your time to make it work. I like the shark attack mug. I had a drink special at my home bar a few years ago called the Shark Attack. It was a blue drink and when I set it down, I would yell "shark attack" and pour a shark shooter of grenadine into the blue drink. It was pretty funny and everyone got into it. We talked some bar into giving us one of their shark shooters a few weeks earlier and I saw on TV some place in New Orleans had a shark attack drink. The only thing was that the grenadine would sink, so if I ever did it again I might try a combo with some food coloring. I only served it one night. I am glad you are in good health and I am sorry about your carpal tunnel. It is too bad that you have to suffer for your art. We all appreciate it more than you could ever imagine. Hope you and Dan had a great Valentines Day! Come visit us soon. |
|
D
danlovestikis
Posted
posted
on
Wed, Feb 15, 2017 7:01 AM
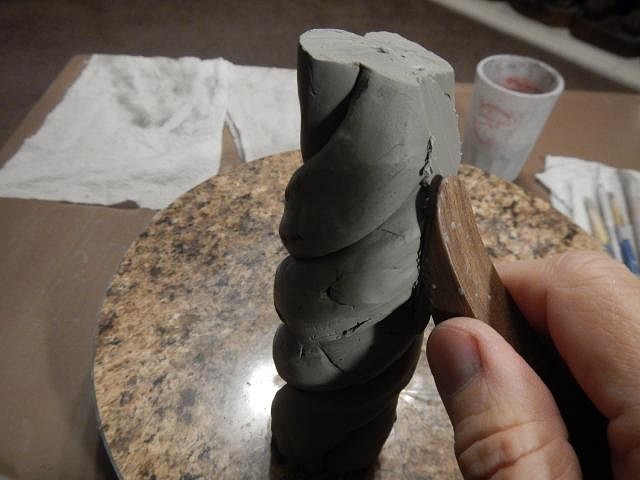
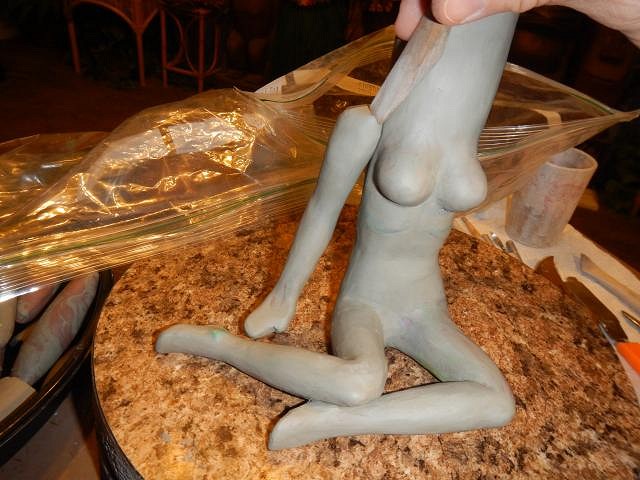
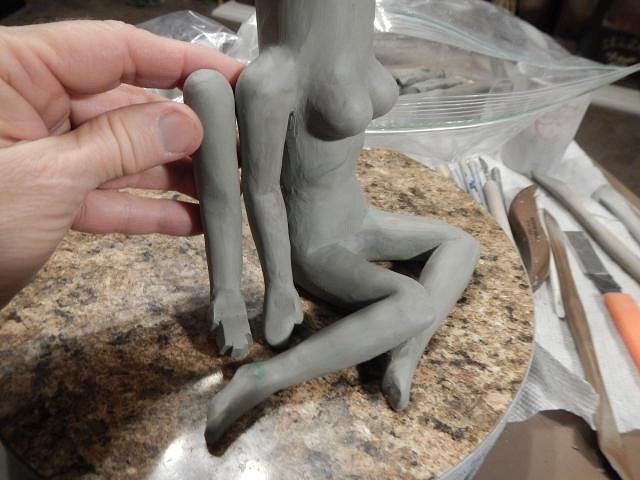
lunavideogames I hope you like the finished project. I'm glad yours is one I got a head start on. Because of my left hand giving out I'm cutting back the number of photos I post each day. No matter what I will get everyone's work done. I wonder if Jamie has seen that drink on a menu. We hope to be at Tiki Oasis 17. =============================== Wish List #7 Part two for lunavideogames. The attempt to make Leah as a hula girl. I started by twisting clay together and then smoothing it with a wooden "thumb". Once that was done I added a leg. Then a second leg. Next came two bumps and an arm. I made sure both arms were the same length. I forgot to show that I did this with the legs as well. As I work on the head I'm thinking about how I could make a mold for Leah in this position. I build up the face rather than carve it. I just add and smooth. Ok, now she is roughed up as a "stick" figure. Not very curvy. I thought about molding for days. I decided that it was beyond my capabilities to do. Notch has made a mold with about 27 pieces. That is just too hard. So it was off to plan B with Treg agreeing to see if it would work or not. Cheers, Wendy |
|
H

hang10tiki
Posted
posted
on
Wed, Feb 15, 2017 3:46 PM
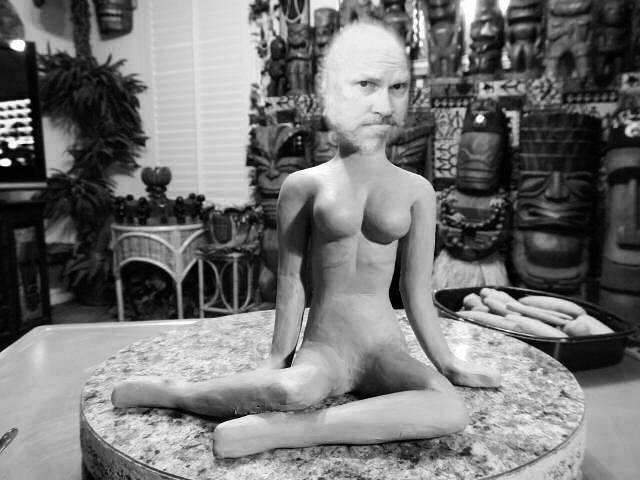
Is Dan-0 the reason for all the palpitations? Hope the wrist gets better soon The 2nd part of Luna's mug came out great Just don't let Grog get his hands on it or else it might look like this
[ Edited by: hang10tiki 2017-02-15 15:49 ] |
|
D
danlovestikis
Posted
posted
on
Thu, Feb 16, 2017 6:52 AM
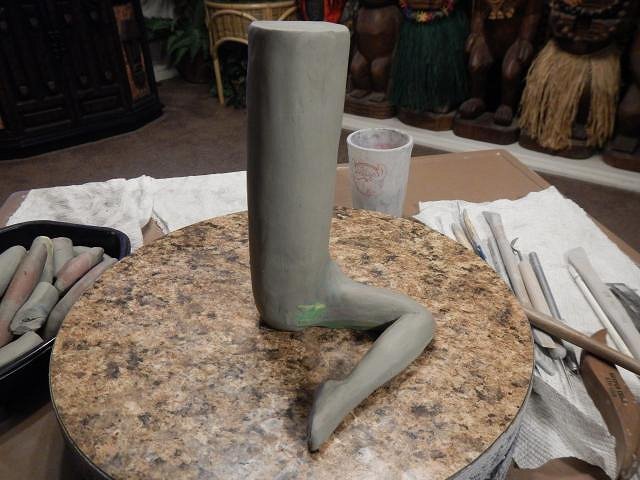
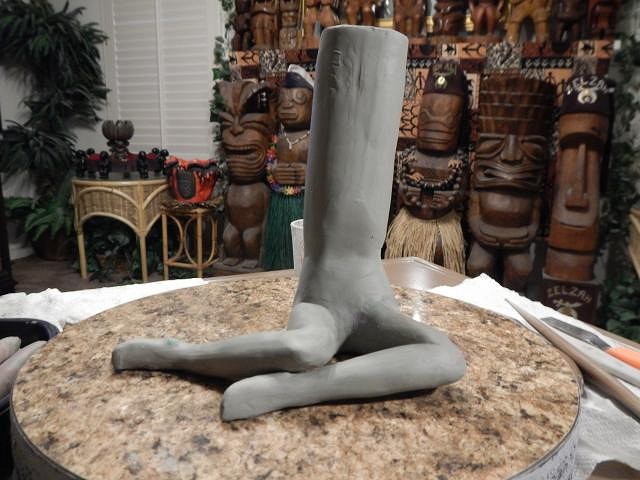
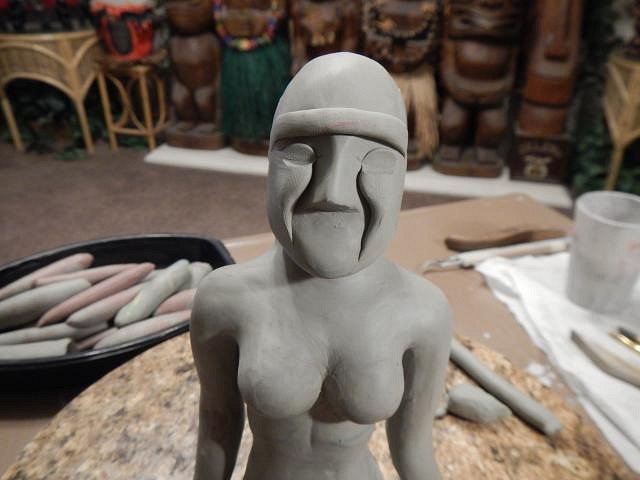
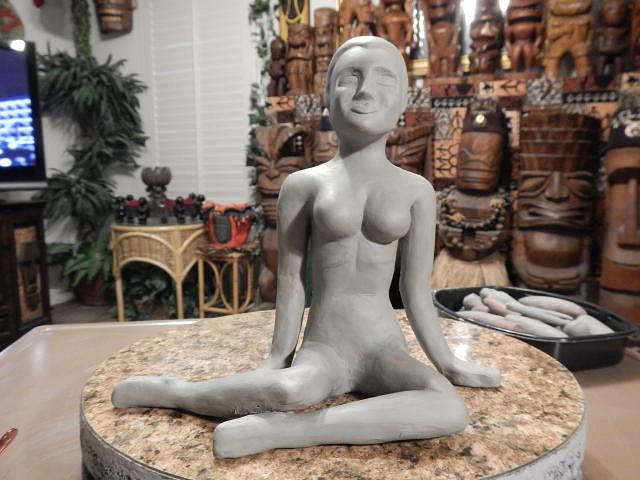
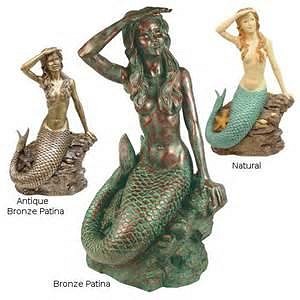
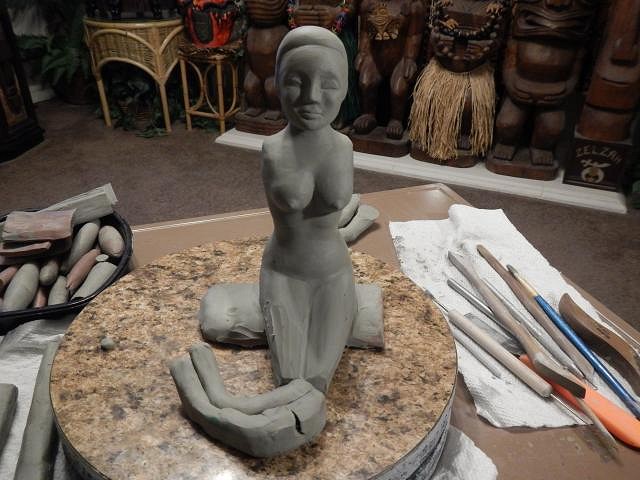
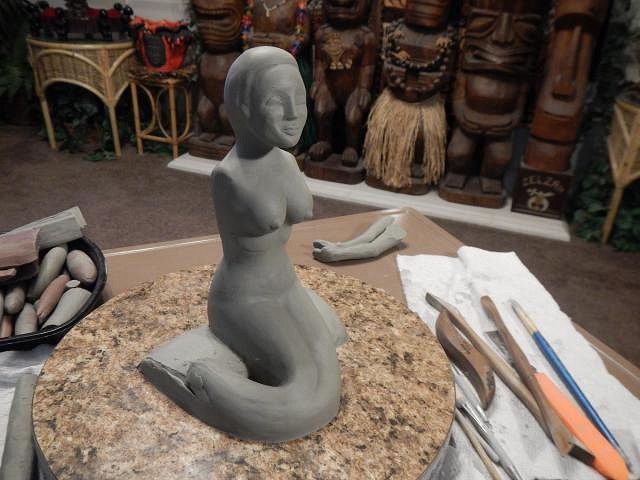
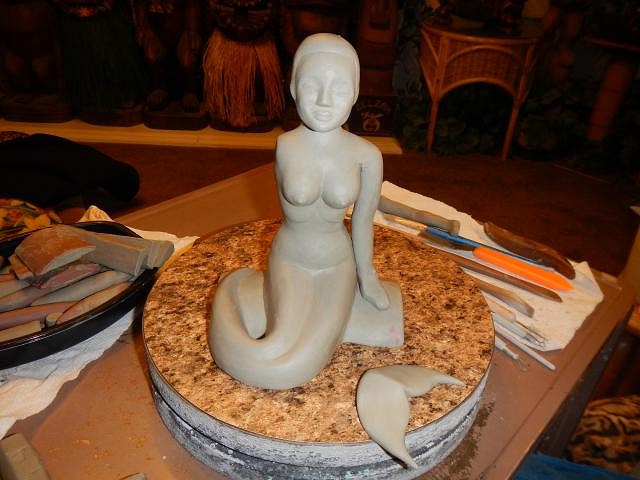
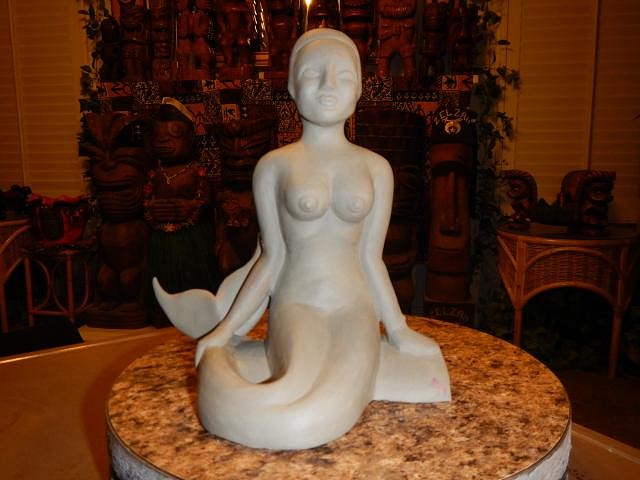
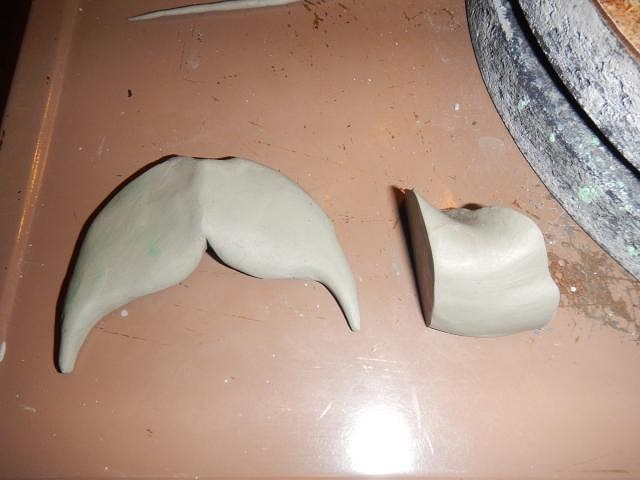
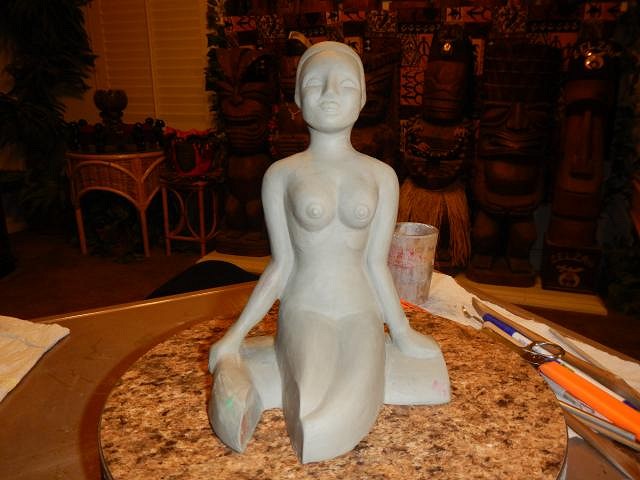
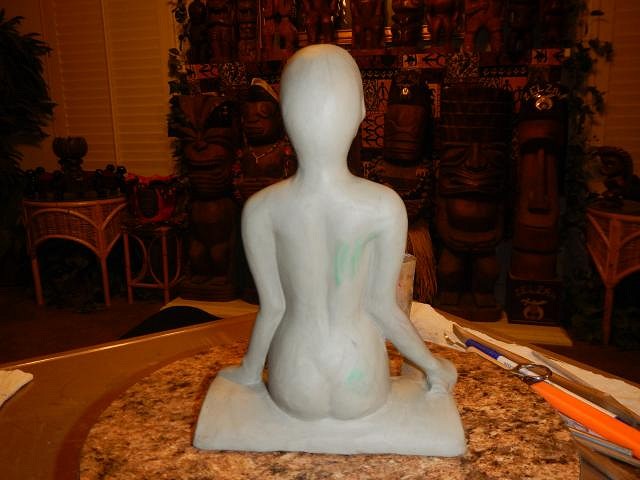
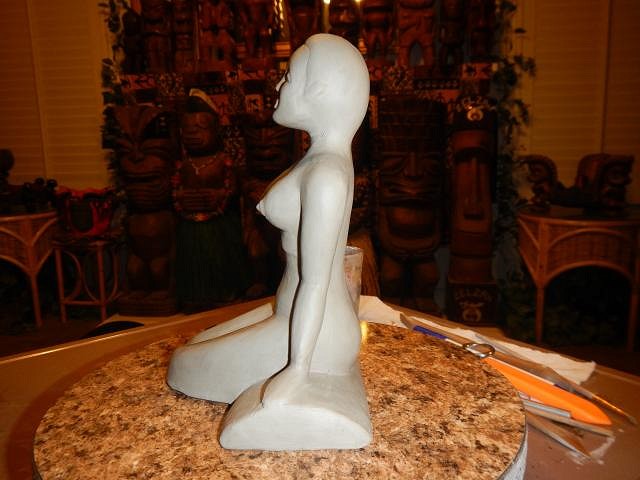
hang10tiki ohhhhhhhh GROG gonna get you at Oasis! ======================= Tiki Ray does blogs on facebook of tiki people. He posted one on Dan and I today. Here is the link. Hey Wendy! Here is my blog post on you. I hope you like it. I can't wait to meet you in a couple weeks! -Ray tikiwithray.com http://www.tikiwithray.com/tiki-vip-14-wendy-cevola-tiki-mug-artist/#more-3056 Tiki VIP #14 Wendy Cevola (Tiki Mug Artist) - Tiki with Ray Tiki blog featuring tiki bar reviews, tiki drinks, tiki recipes and anything embracing the tiki lifestyle - by Ray Wyland in Seattle, WA. tikiwithray.com ======================= Wish List #7 continues with lunavideogames request. Next up fixing the "Leah" sculpt into a mermaid. This is going to be used for projects other than just this one project. I searched the internet until I found a mermaid whose tail was in the position that I wanted. I found one photo! I cut off her lower legs and then her arms. Now was the time to make the body more curvy. The best part of clay is that I will be customizing these in the future. Example this project will have a bun and braid. Other projects will have long flowing hair. I worked on her bottom. I will tweek her face each time one is made. Time to work on her tail. I add the clay and smooth it. I made the end of the tail and here it is attached in a possible position. It's time to think about how I can mold this. I decided that I had to remove this part and mold it separately. I will do the same with the end of the tail. This will be my very basic mermaid. She will be able to change to many different "looks" when I make one.
One change is that lunavideogames will have on a shell bra. Next up will be making the molds. Wish me luck, Wendy [ Edited by: danlovestikis 2017-02-16 07:12 ] |
|
L
lunavideogames
Posted
posted
on
Thu, Feb 16, 2017 11:21 AM
Good luck!!! :) |
|
H

hang10tiki
Posted
posted
on
Thu, Feb 16, 2017 6:50 PM
Wow love all the publicity Luna's lil merlady is so curvy |
|
D
danlovestikis
Posted
posted
on
Fri, Feb 17, 2017 6:50 AM
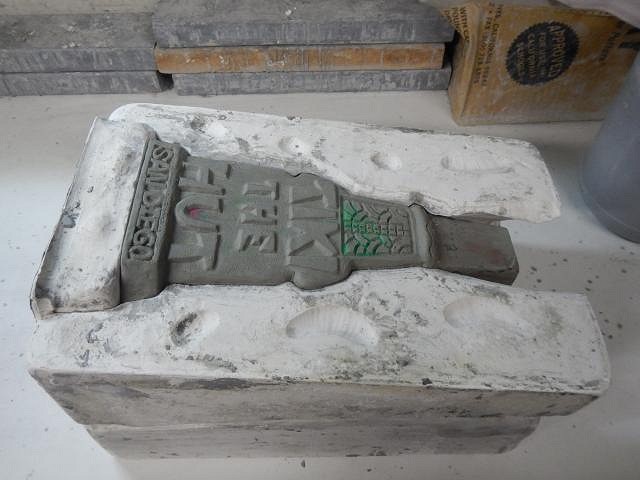
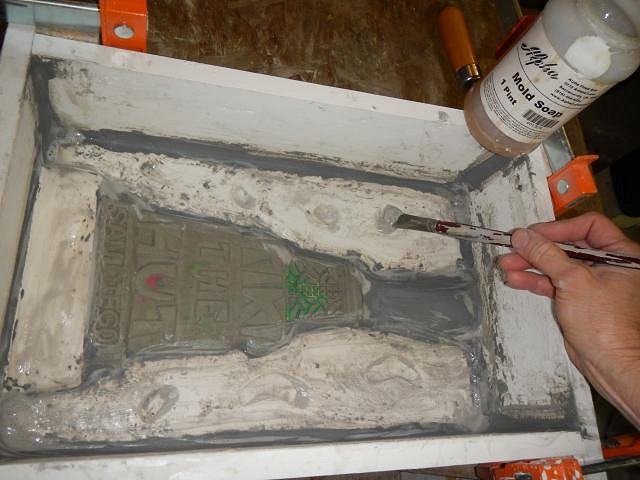
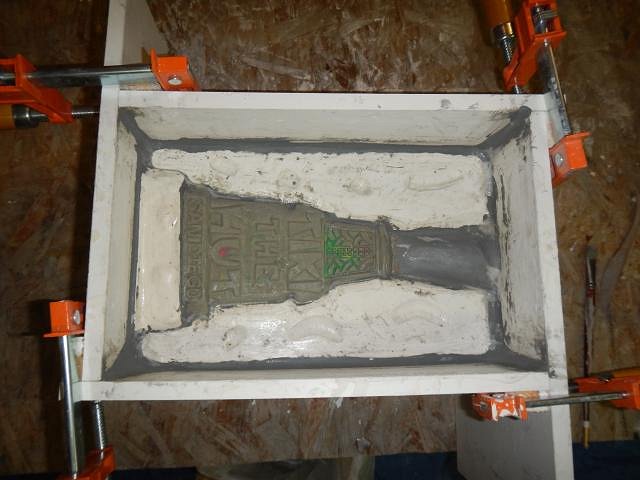
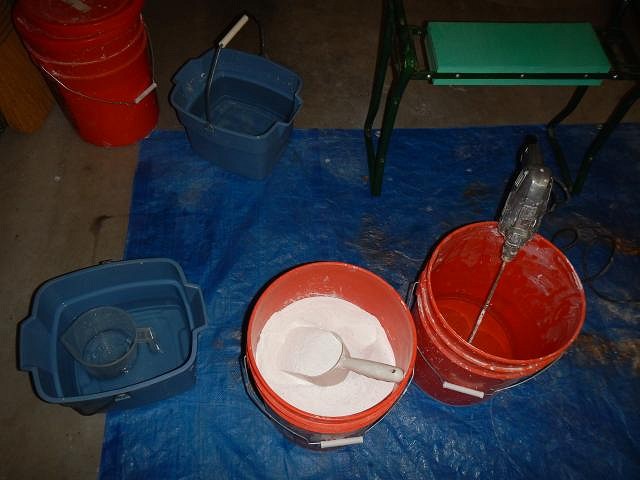
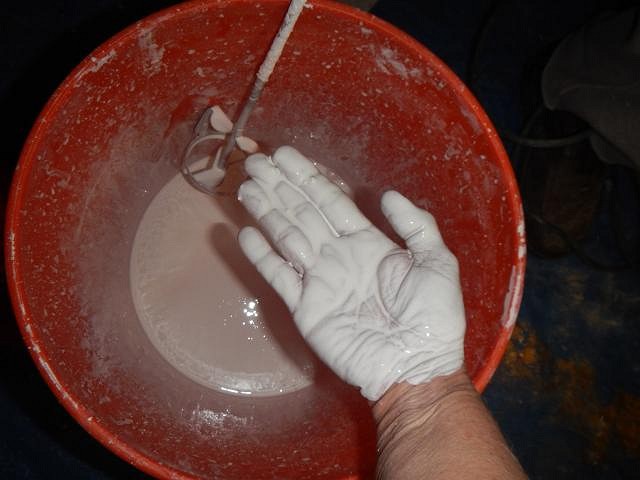
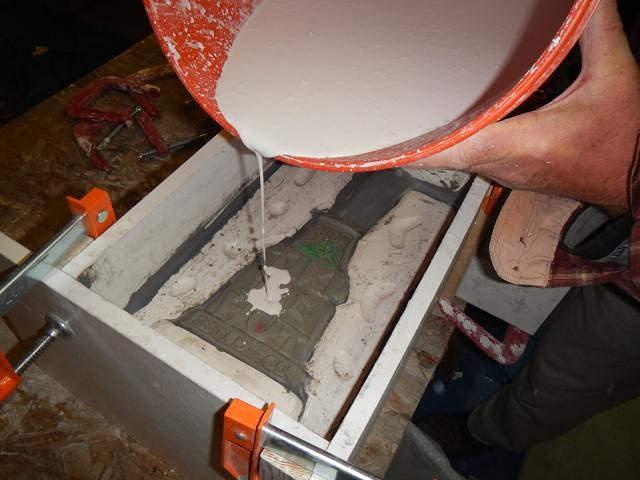
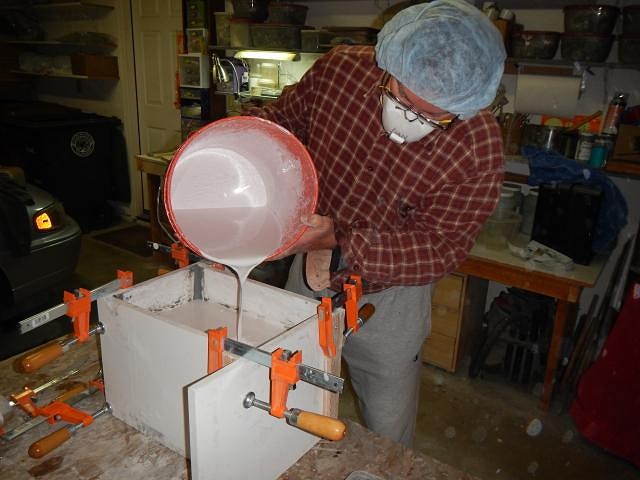
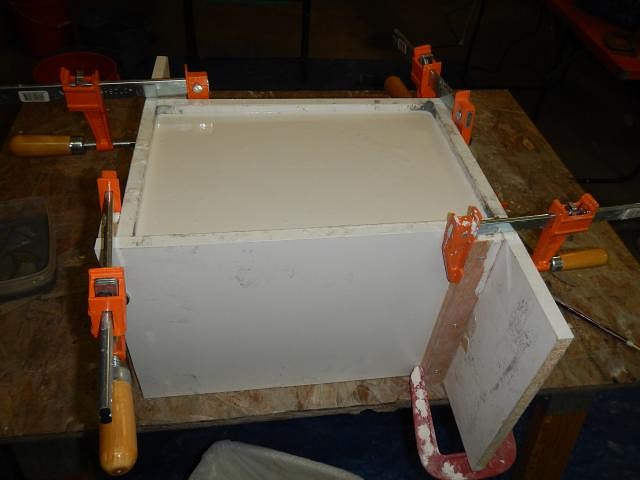
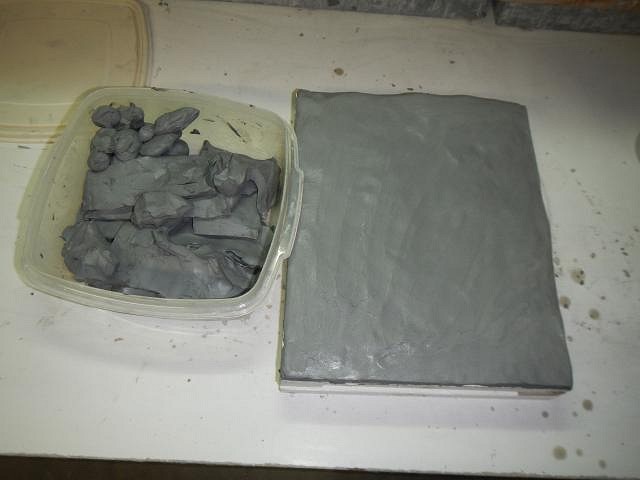
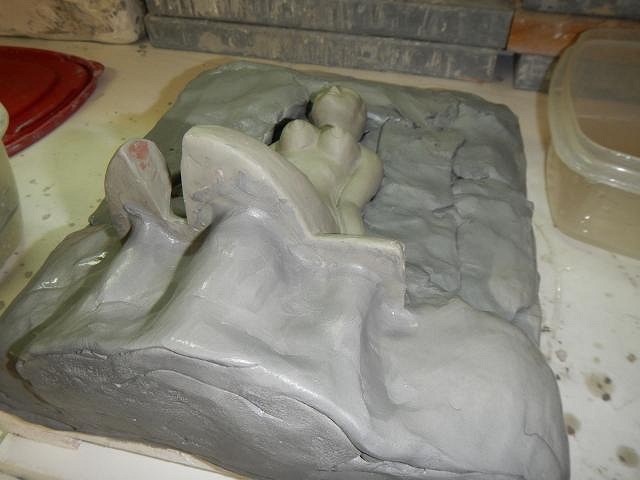
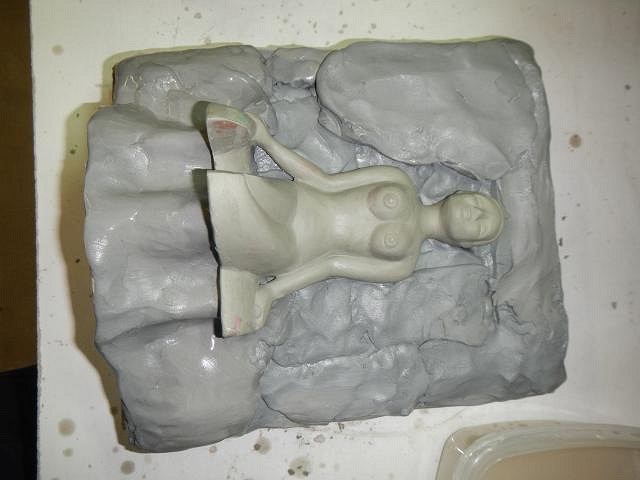
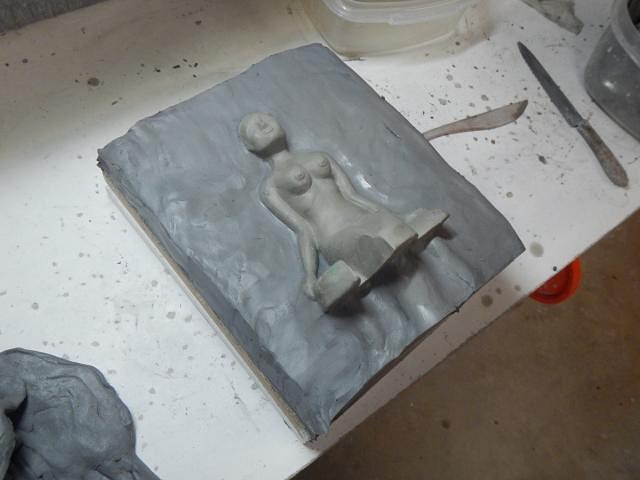
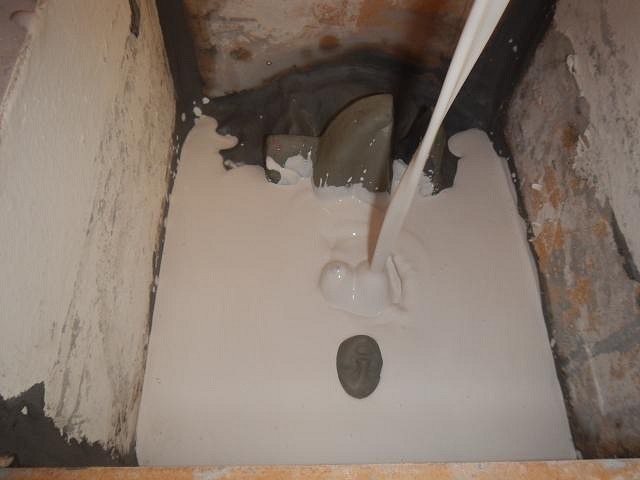
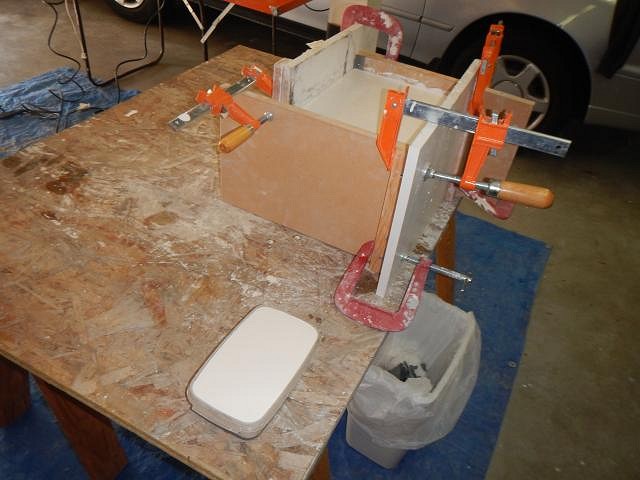
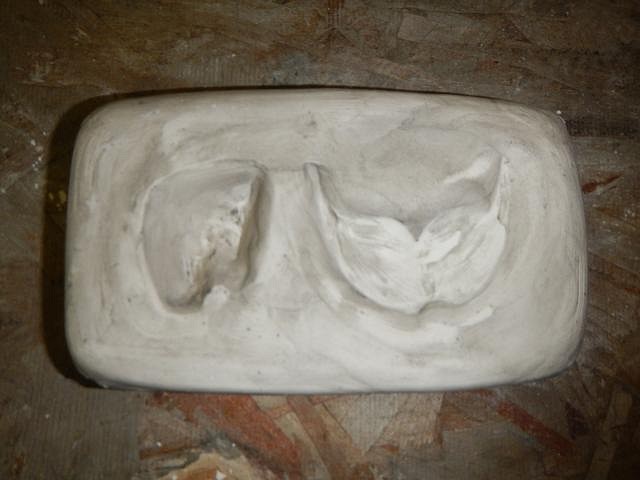
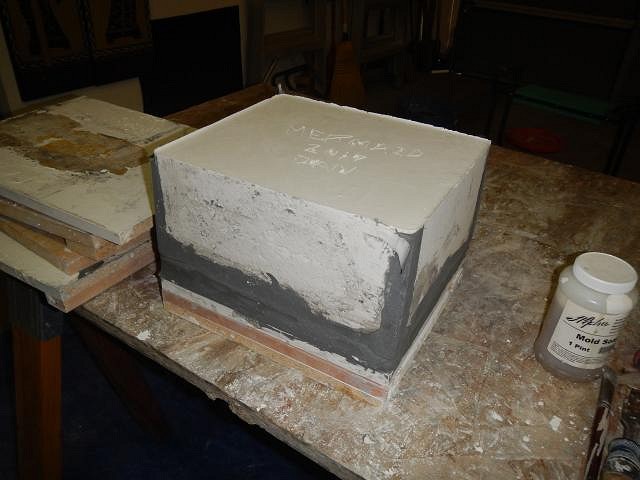
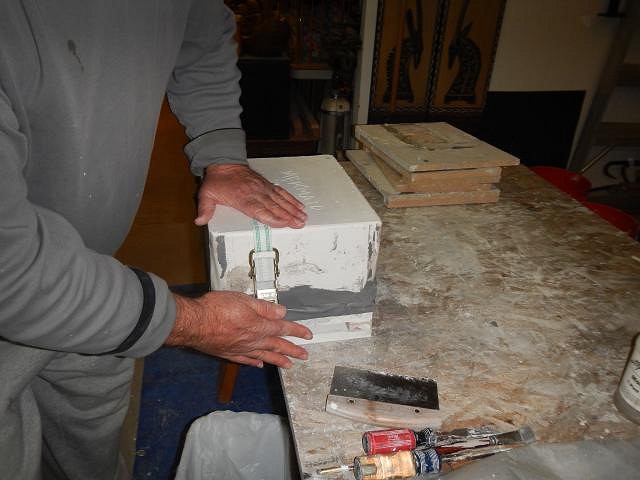
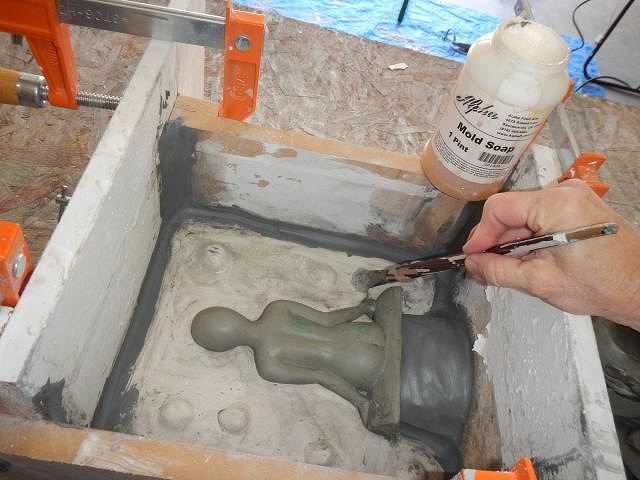
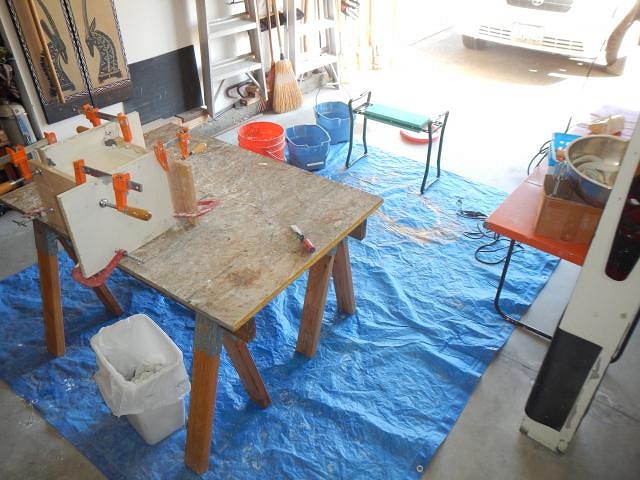
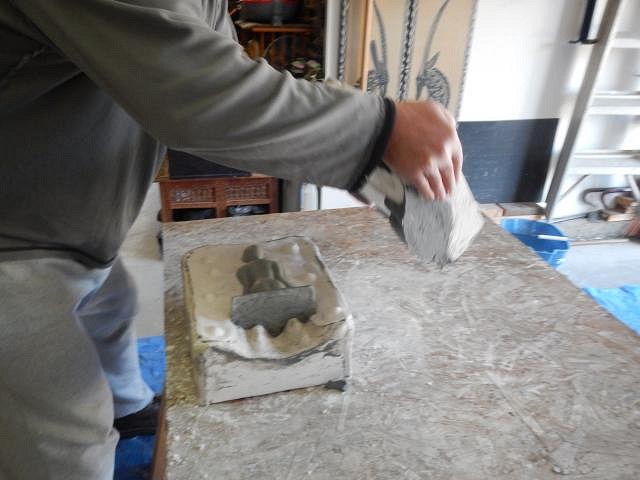
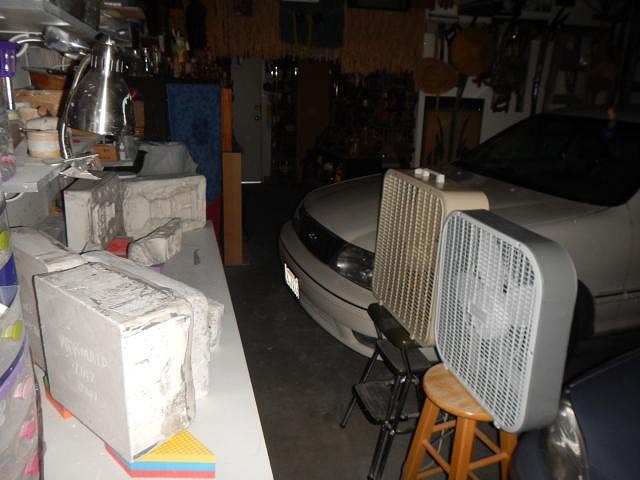
lunavideogames I would have to accept that retroactive. I'm three months ahead of schedule. Thank you. hang10tiki it's been a really fun time with all the exposure. I've been doing this for 6.5 years now. I hope I've earned it. I've sure been having fun. ============================ Wish List #7 making the one piece mold to alter the Sacramento Crawl mug for lunavideogames. I had saved the original sculpture for the mug and now it was time to put it back into the mold. I left just the new backside exposed. This is the one piece I need to make a cast of for the new version of the mug. We put the mold box around this and then I sealed the edge around the sculpt. I can't let any plaster leak down the sides because that would ruin the other mold pieces. I also snaked the joints where the box sides come together. I run a wet paper towel along this clay to make the seal even better. Next I do 4 layers of mold soap. 3 is recommended but I've found 4 works best. I paint it on (while wearing a face mask, it's poison) and wipe it off. I don't let it get on my hands. Gloves are recommended. All done and ready to pour. Supplies. A bucket of water in the back to immediately spin wash the mixer after mixing the plaster. A bucket of water to draw from (water first then plaster slowly sprinkled into the water). The plaster and the mixing bucket. I mix until the consistency is like buttermilk and covers my hand like this. Dan is my heavy lifter. He slowly pours it in so that the detail is filled and the air bubbles pop. It filled to the top. Dan rushes out to clean the bucket. I shouldn't make the mold so big and thick. I am torturing Dan. Also he likes to use the last drop and I over guessed what I needed. 45 minutes later we opened the mold and had the perfect cast of the back. It will take 3 weeks with 2 fans blowing 24/7 to get this mold piece dry. It is important that the piece be completely dry before it's first use. This is the last step to set the plaster so that it will not break down. Cheers, Wendy
|
|
L
lunavideogames
Posted
posted
on
Fri, Feb 17, 2017 11:13 AM
Looking pretty great! |
|
H

hang10tiki
Posted
posted
on
Fri, Feb 17, 2017 1:43 PM
Dan-0 is strong like bull |
|
D
danlovestikis
Posted
posted
on
Sat, Feb 18, 2017 7:31 AM
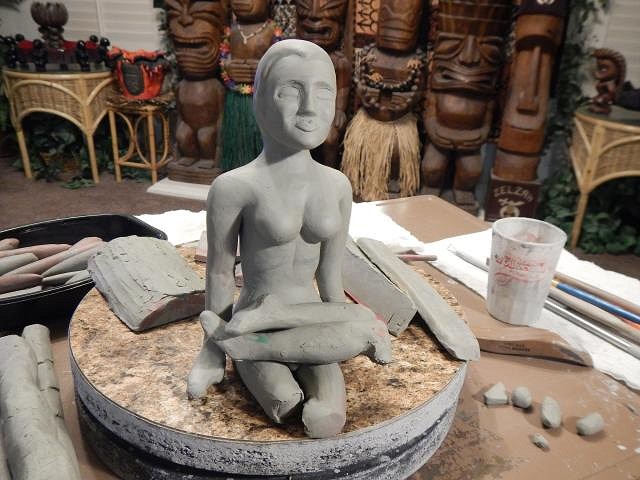
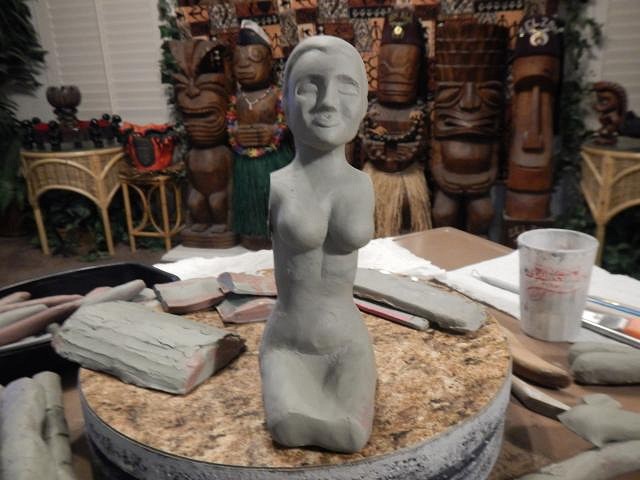
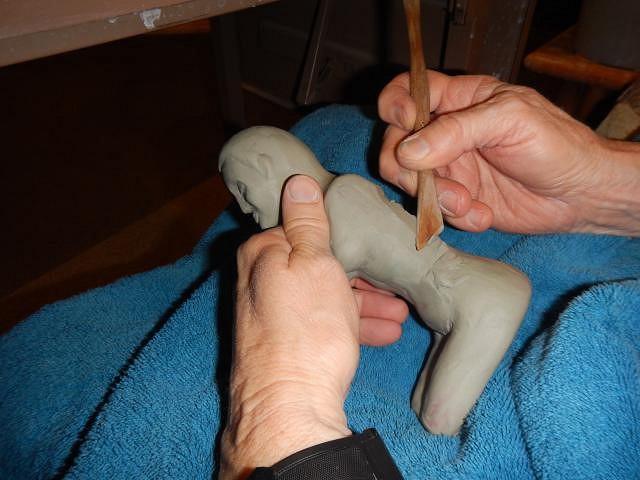
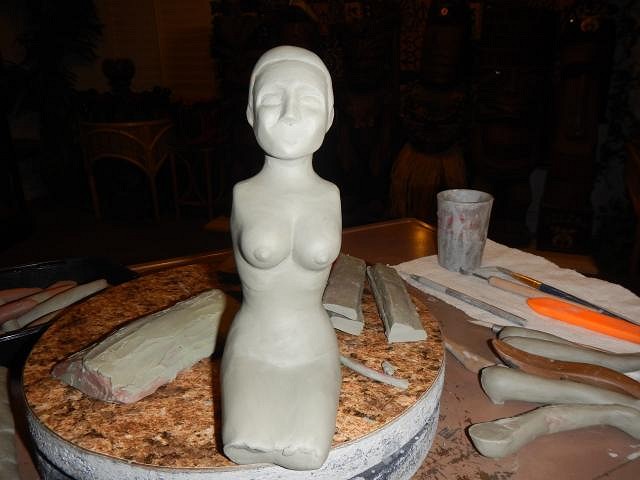
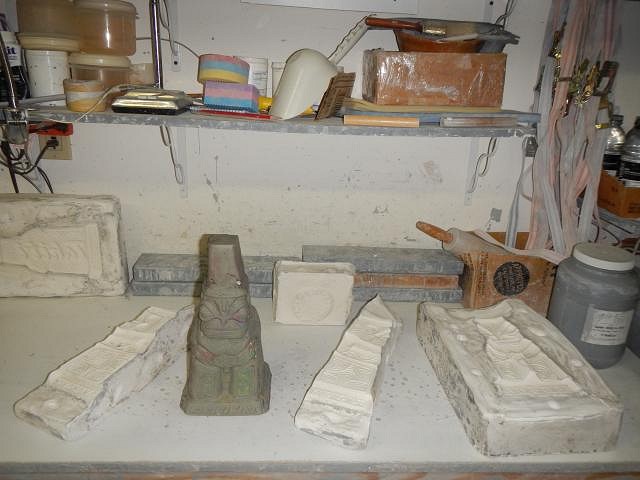
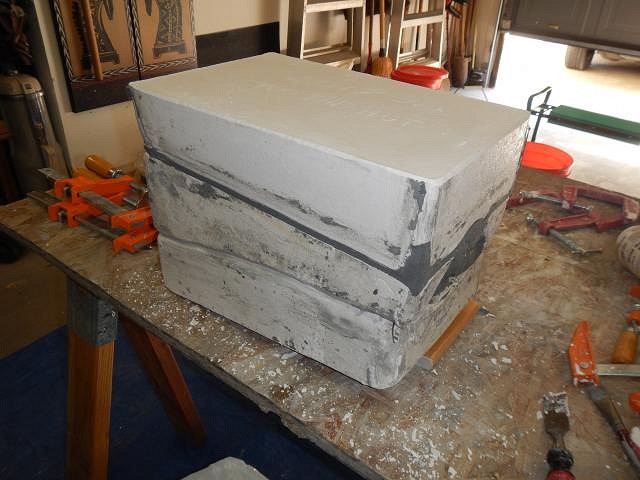
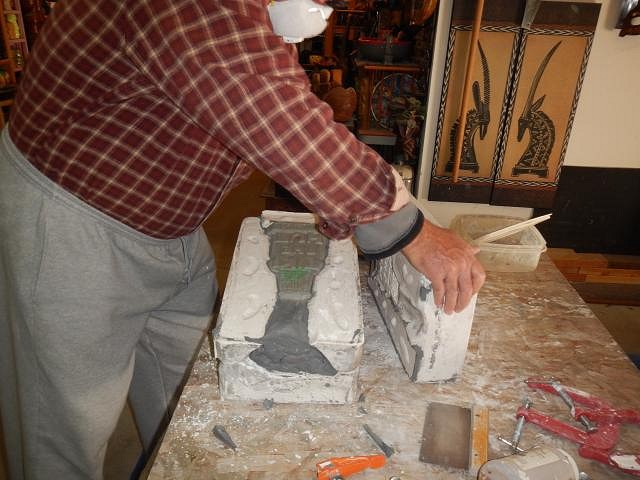
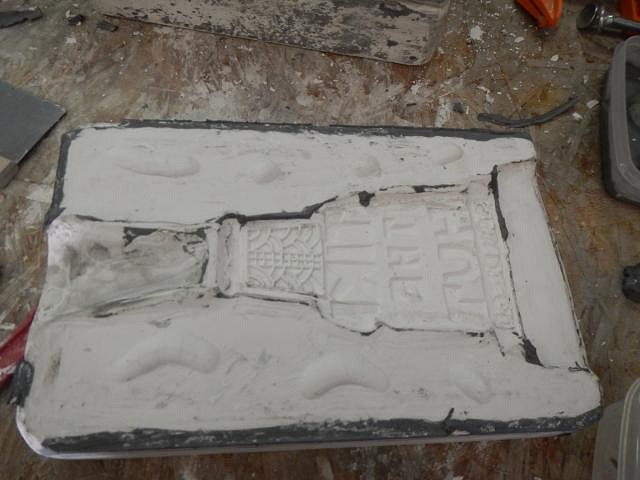
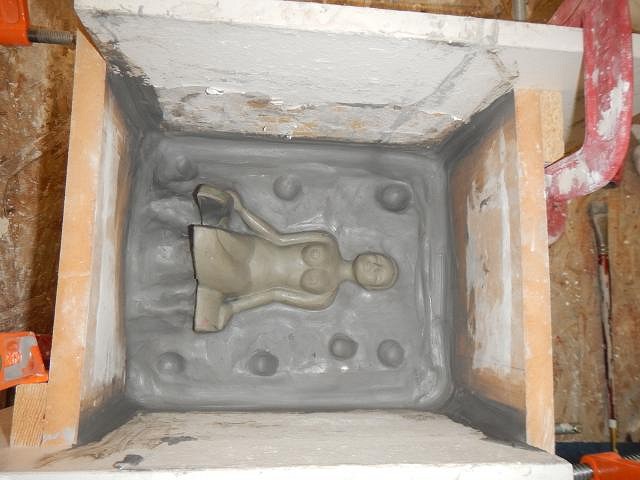
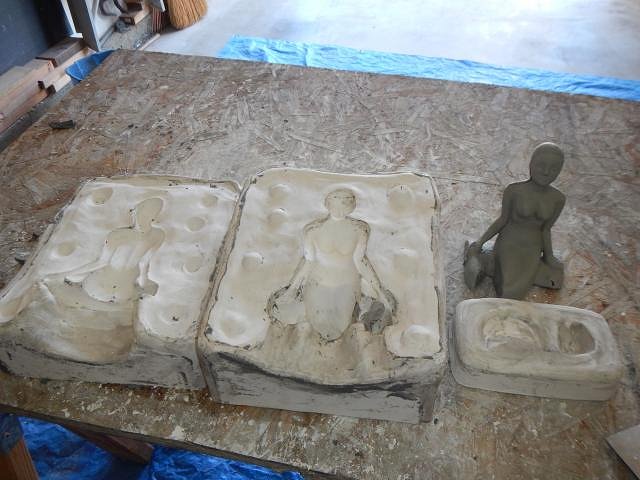
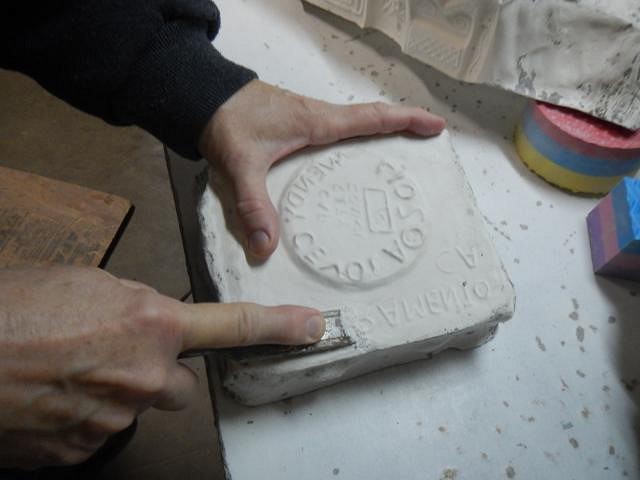
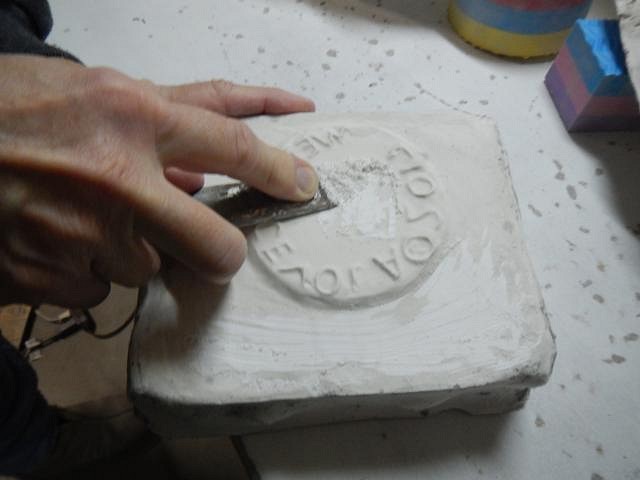
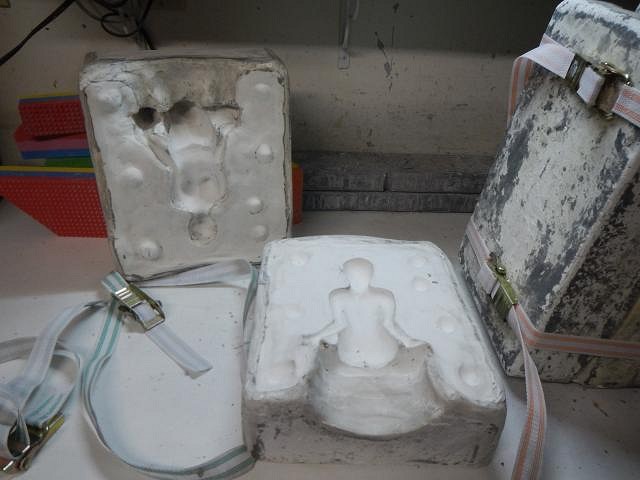
lunavideogames as Elvis would say, "thank you very much". hang10tiki ditto! ================================ Wish List #7 continues with the Tiki The Hut Mermaid mold for lunavideogames. Every time plaster is mixed there is clean up. You don't want to wait even five minutes or you will have plaster set up on your tools that has to be chiseled off. I started the day by putting a layer of clay on the bottom board of the mold. I put the mermaid in place so that she was level. and then I began to surround her with clay. I want to do a 2 piece mold so I have to stop the clay at the right place along the sides of her body. Otherwise she will stick inside the mold. I built up clay at the base where the opening to the mold will be. This is where the slip will pour into the mold. I used a knife to cut away any clay that was hanging over the sides of the board. It looks ready so I pressed into the clay to form locks between the two mold pieces we will make today. Snakes to seal the box joints and it's good to go. I do also seal it with a wet paper towel all the way around the bottom too. Wet T-shirt contest! The first slab is poured. I prepped the tail pieces in a little Tupperware container. It was poured at the same time. When it hardened I removed the sculpture and the mold was ready to start drying. The box was removed and the edges smoothed. Now we put on straps so the mold could be flipped over. I removed all the clay and so far it looks really good. I then put the box around the slab. No need for a bottom board because the slab is taking it's place. Snakes at the joints and mold soap 4 layers so now the last slab has been poured. Once the mold has set I carve into a side what the mold is and the year it was made. I clean up the sharp edges. It looks like I made another thick mold for Dan to lift. Now it is time to open the mold. The first piece came off without a hitch. Next I took out the sculpture from the second piece. No problems there. I put all the pieces on the table for drying. It took three weeks because it is winter and the slabs are so thick. 24/7 with two big fans. Drying the molds sets the plaster so it doesn't break down. It is wonderful to have reached this point in the process. Cheers, Wendy [ Edited by: danlovestikis 2017-02-18 21:51 ] |
|
H

hang10tiki
Posted
posted
on
Sat, Feb 18, 2017 7:39 PM
Hope that mermaid can breathe OK in the mold |
|
D
danlovestikis
Posted
posted
on
Sun, Feb 19, 2017 7:28 AM
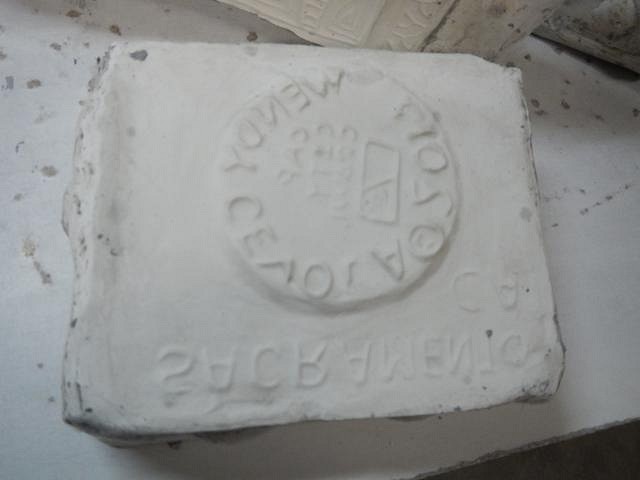
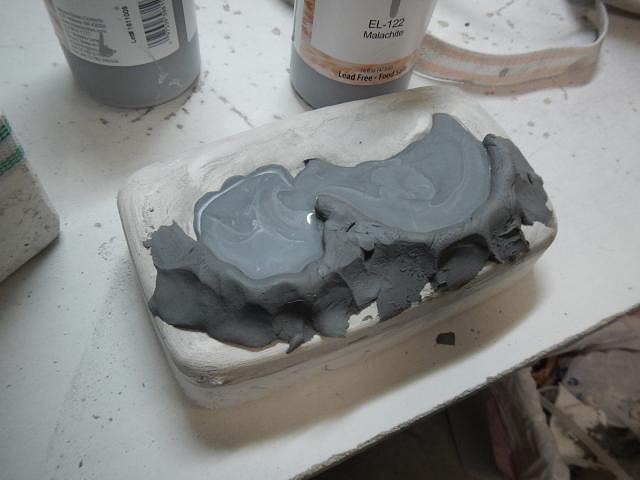
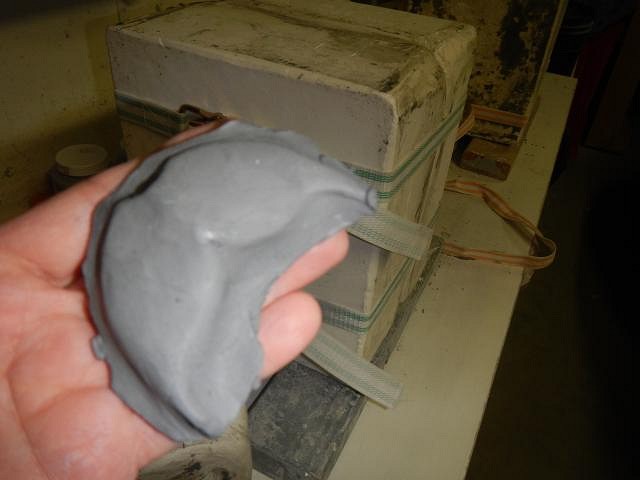
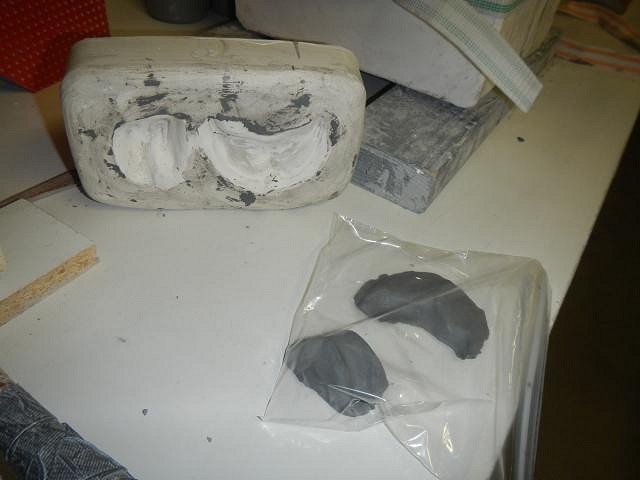
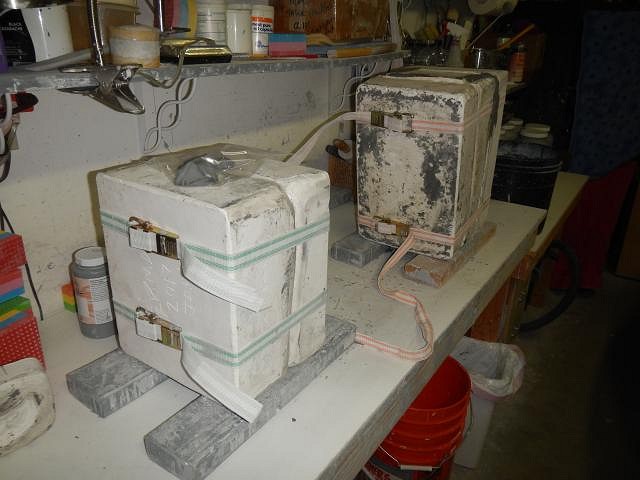
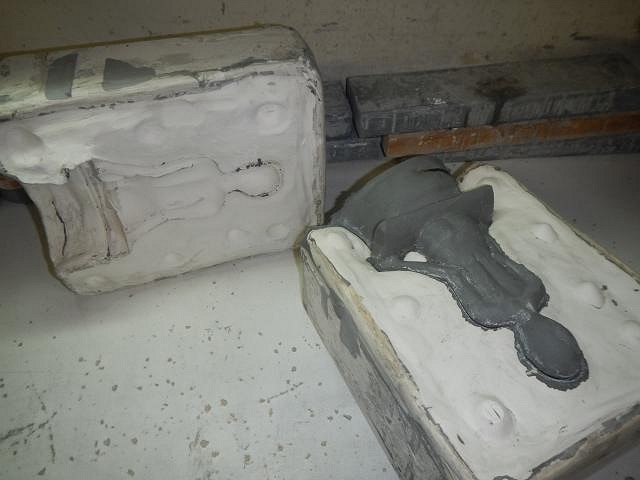
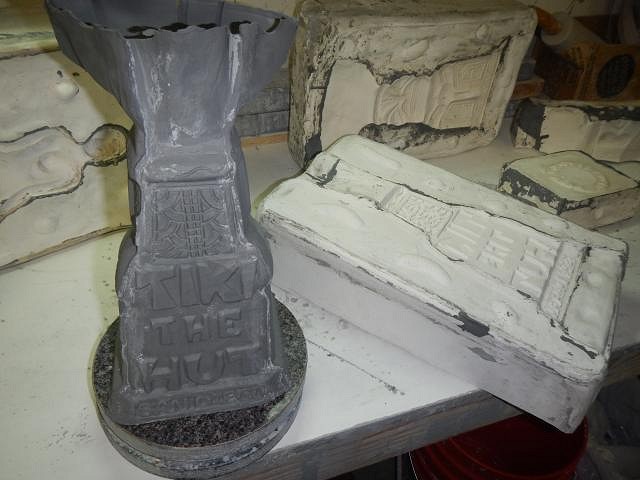
hang10tiki I will tell you about keeping her neck open for air shortly! ====================================== Wish List #7 Tiki The Hut and captured mermaid for lunavideogames. The molds have been drying for 3 weeks with the constant flow of air from two fans. They are now dry and it's time to cast the first mug set for lunavideogames. But first I have a task to accomplish. I am using the same bottom that I used to cast the Sacramento Crawl mugs. I need to remove the Sacramento Crawl words and the Cap City Crawl words. It is easier to carve these back into the run of crawl mugs than to fill them in on Treg's mugs. The Tiki The Hut back piece is ready. So is the mermaid mold. Right off I saw a problem with the tiny mold for the tail pieces. So I built a clay dam so we could fill in more slip. With the other two molds assembled we poured in the slip. The mug will sit full for two hours and the mermaid will sit for 45 minutes. I can't let her neck become solid or in the kiln the air trapped in her head would explode. After two hours the tail is pretty firm. I filled it in with more clay. I want a solid tail. This is what the other side looks like. I stored the two pieces in a plastic bag to keep them from drying. Once the slip was poured out the mugs remained upside down until it was time to open them. 3 to 4 hours is plenty of time for them to firm up. It was time to open the molds. First the mermaid. One slab off and then I was able to wiggle out the cast. She's looking fine. The back piece for Treg's mug worked too. Now I will work to alter and combine them into one mug. Wendy |
|
L
lunavideogames
Posted
posted
on
Sun, Feb 19, 2017 9:23 PM
Glad that the molds worked out without too much trouble :) |
Pages: 1 2 3 4 5 6 7 8 9 10 11 12 13 14 15 16 17 18 19 20 21 22 23 24 25 26 27 28 29 30 31 32 33 34 35 36 37 38 39 40 41 42 43 44 45 46 47 48 49 50 51 52 53 54 55 56 57 58 59 60 61 62 63 64 65 66 67 68 69 70 71 72 73 74 75 76 77 78 79 80 81 82 83 84 85 86 87 88 89 90 91 92 93 94 95 96 97 98 99 100 101 102 103 104 105 106 107 108 109 110 111 112 113 114 115 116 117 118 119 120 121 122 123 124 125 126 127 128 129 130 131 132 133 134 135 136 137 138 139 140 141 142 143 144 145 146 147 148 149 150 151 152 153 154 155 156 157 158 159 160 161 162 163 164 165 166 167 168 169 170 171 172 173 174 175 176 177 178 179 180 181 182 183 184 185 186 187 188 189 190 191 192 193 194 195 196 197 198 199 200 201 202 203 204 205 206 207 208 209 210 211 212 213 214 215 216 217 218 219 220 221 222 223 224 225 226 227 228 229 230 231 232 233 11163 replies


